主料:
飞饼皮,
4张,
红豆沙,
60克
辅料:
蛋黄适量,
水适量爱心豆沙酥的做法步骤
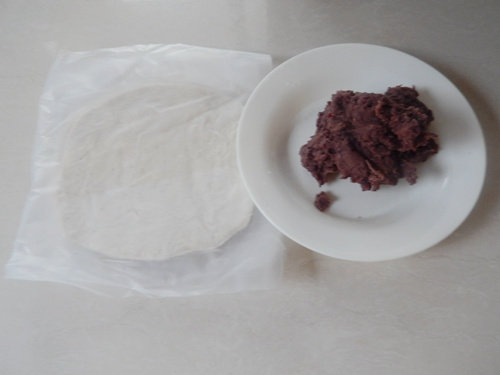
1.食材。
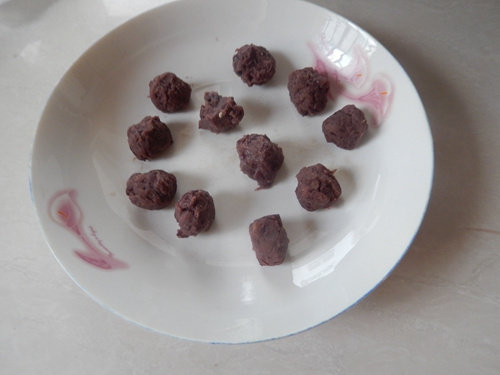
2.红豆搓为大小相匀的球。
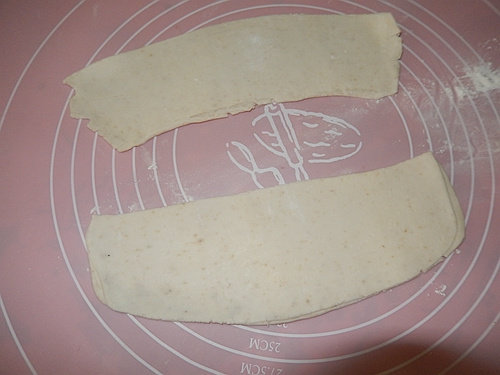
3.案板上撒些低粉,飞饼皮擀开,折叠为长方形,比模具为宽些。
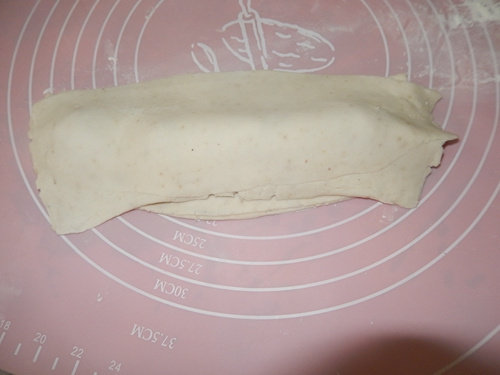
4.在飞饼皮上放上红豆沙,再盖上另一张飞饼皮。
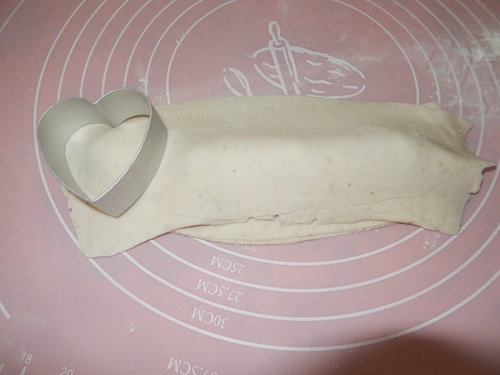
5.用模具印出,每一个红豆沙馅片印一个。
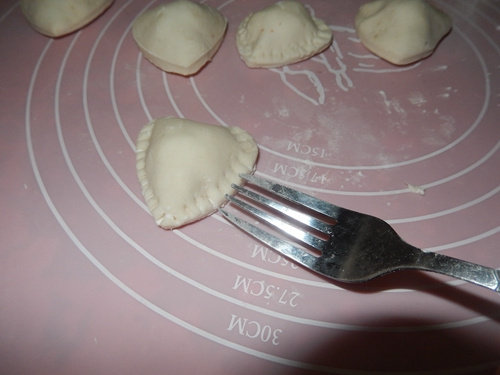
6.做好之后,用叉子压一下边缘。
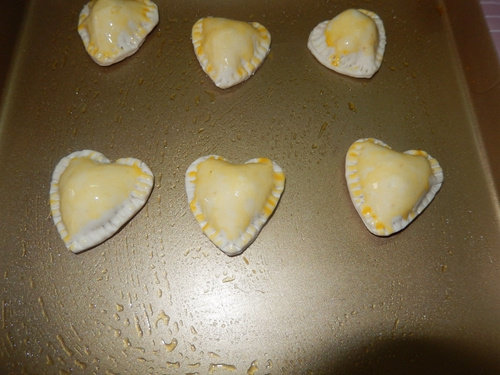
7.烤盘上涮层薄油,摆上。再涮层蛋黄液。
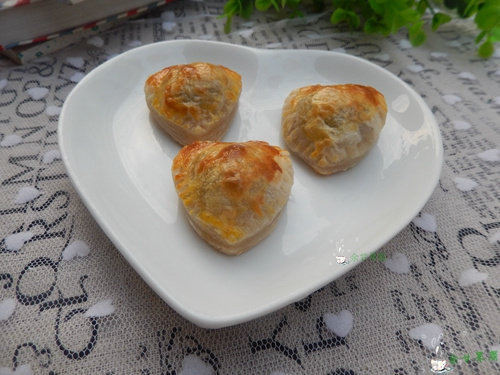
8.烤箱180度烤约20分钟。
小窍门&温馨提示
1、搓好的豆沙不宜太大。
2、叉子压边要实,要不烤的时候会开。
3、温度与时间要以自家烤箱为准。
TAGS:
烘焙 儿童 老人 饼干 下午茶 宴客菜 其他菜系 飞饼皮
免责声明:本站部分文章转载自网络,图文仅供行业学习交流使用,不做任何商业用途。文章仅代表原作者个人观点,其原创性及文章内容中图文的真实性、完整性等未经本站核实,仅供读者参考。
上一篇: 红豆派的做法,红豆派怎么做,红豆派的做法,红豆派肯德基,红豆派空气炸锅几分钟,红豆派图片
下一篇: 酥皮花生冰淇淋的做法,酥皮花生冰淇淋怎么做,酥皮花生冰淇淋的做法,酥皮花生冰淇淋图片,酥皮花生冰淇淋怎么做,花生卷冰激凌
Deprecated: mysql_connect(): The mysql extension is deprecated and will be removed in the future: use mysqli or PDO instead in
/data/haozs.cc/xianguan.php on line
5
Deprecated: mysql_query(): The mysql extension is deprecated and will be removed in the future: use mysqli or PDO instead in
/data/haozs.cc/xianguan.php on line
7


