主料:
秋刀鱼适量
辅料:
韩国辣酱适量,
大蒜适量,
料酒适量生抽酱油适量蚝油适量辣酱香煎秋刀鱼的做法步骤
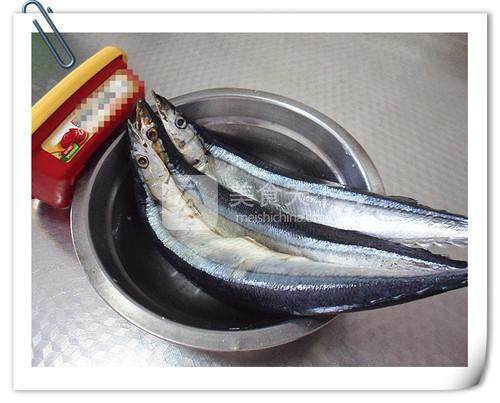
1.主要原料。
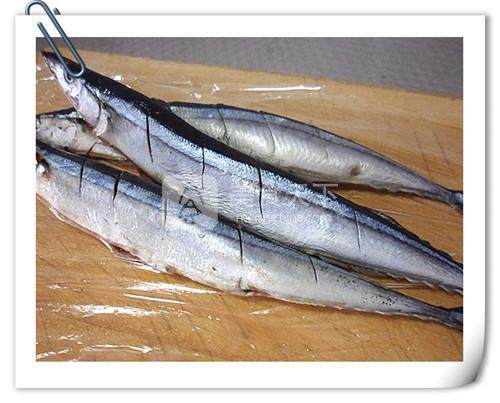
2.秋刀鱼洗净在鱼身上划口子,便于入味。
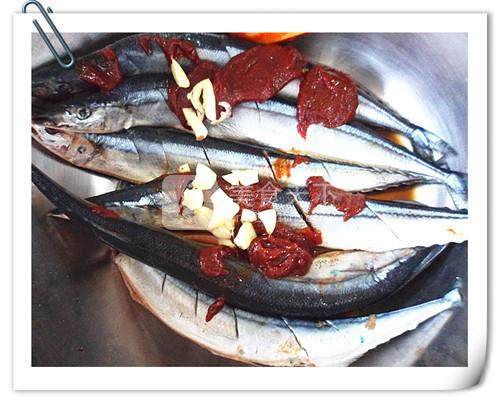
3.秋刀鱼放盆里,加入韩国辣酱,拍碎的大蒜,料酒,生抽,蚝油。
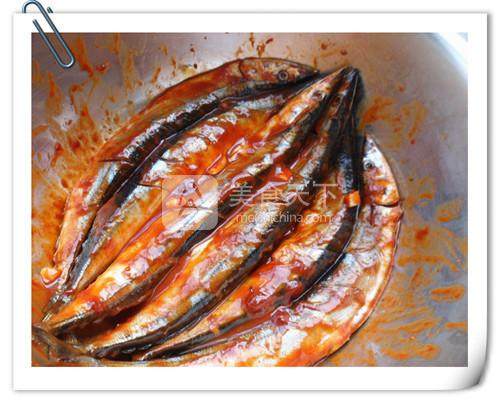
4.所有原料拌匀,将秋刀鱼腌制一小时左右。
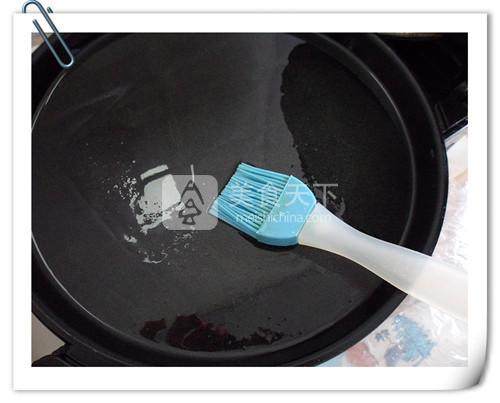
5.电饼铛加热,刷匀了油。
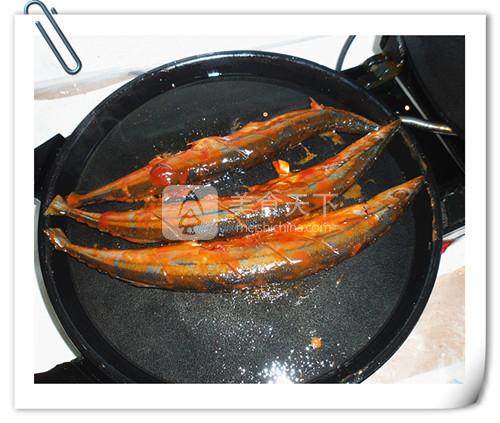
6.放入腌好的秋刀鱼煎制。
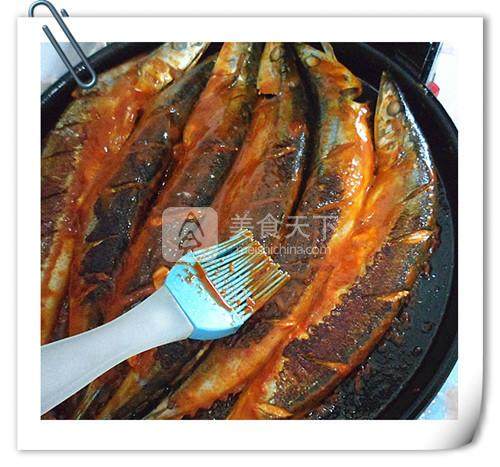
7.煎熟后,再刷一层韩国辣酱,稍微煎制一会儿即可。
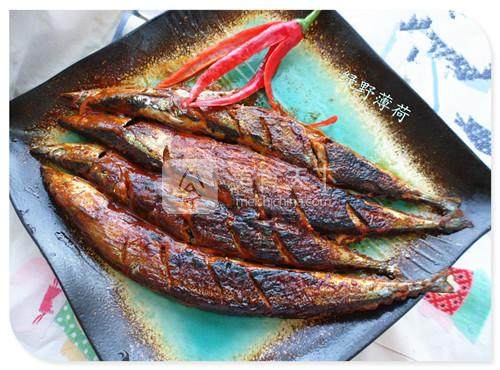
8.辣酱香煎秋刀鱼。
小窍门&温馨提示
用电饼铛我建议单面火煎制,我用的双面火煎制有些糊了。下次我用单面火煎制会更好。
TAGS:
热菜 家常菜 常见菜式 荤菜 老人 朋友聚餐 秋季食谱 午餐 秋刀鱼
免责声明:本站部分文章转载自网络,图文仅供行业学习交流使用,不做任何商业用途。文章仅代表原作者个人观点,其原创性及文章内容中图文的真实性、完整性等未经本站核实,仅供读者参考。
上一篇: 干煎秋刀鱼的做法,干煎秋刀鱼怎么做,干煎秋刀鱼的做法,干煎秋刀鱼的做法窍门,干煎秋刀鱼图片,干煎秋刀鱼的美味做法
下一篇: 孜然秋刀鱼的做法,孜然秋刀鱼怎么做,孜然秋刀鱼的做法,孜然秋刀鱼的做法窍门,孜然秋刀鱼的图片,孜然刀鱼的做法
Deprecated: mysql_connect(): The mysql extension is deprecated and will be removed in the future: use mysqli or PDO instead in
/data/haozs.cc/xianguan.php on line
5
Deprecated: mysql_query(): The mysql extension is deprecated and will be removed in the future: use mysqli or PDO instead in
/data/haozs.cc/xianguan.php on line
7


