主料:
海蛎子,
200克,
黄瓜,
1根
辅料:
盐适量,
葱适量,
姜适量海蛎子瓜片汤的做法步骤
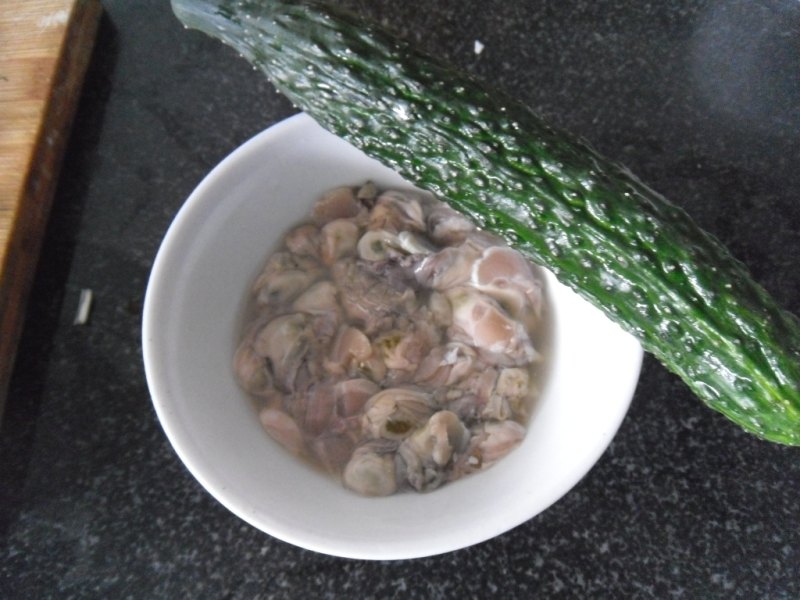
1.主
辅料
: 海蛎子 黄瓜
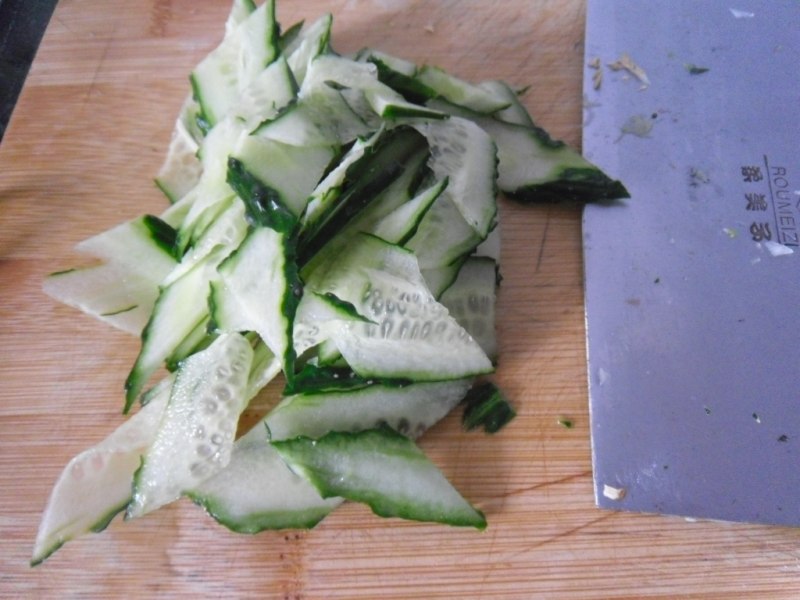
2. 把黄瓜洗净切薄片。
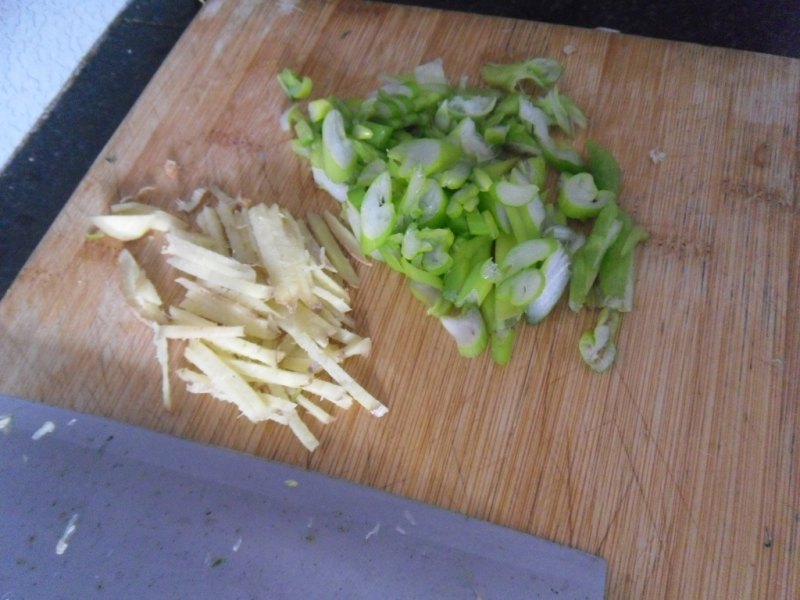
3. 把葱姜洗净切碎。
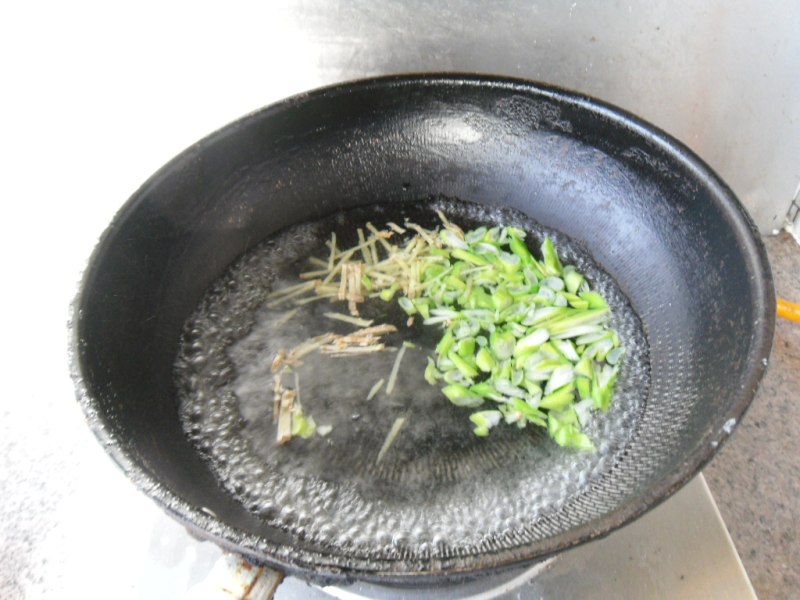
4. 锅烧开水,放入葱姜。
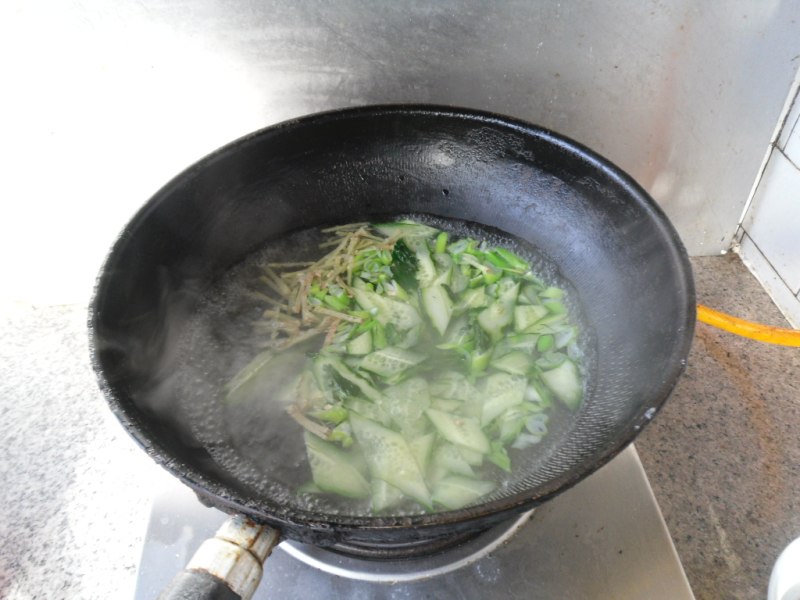
5.放入瓜片。
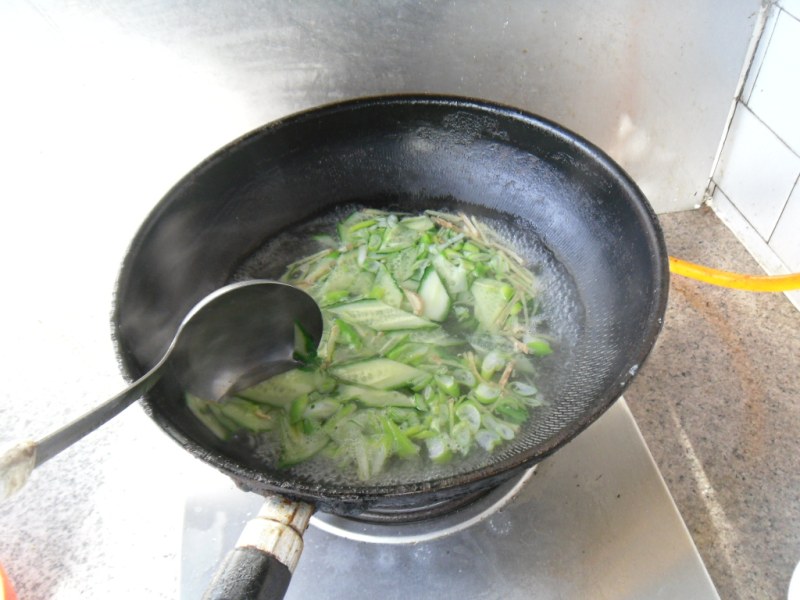
6. 烧开后加少许盐调味。
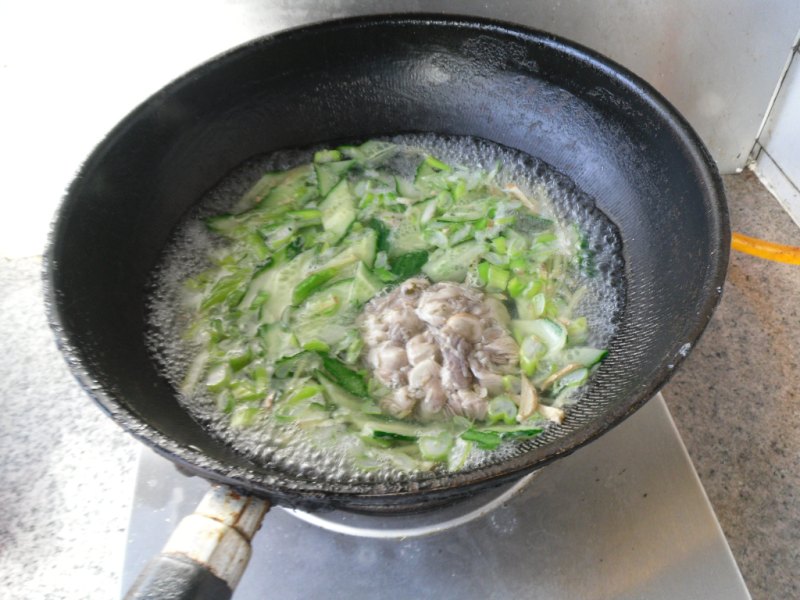
7. 放入海蛎子。
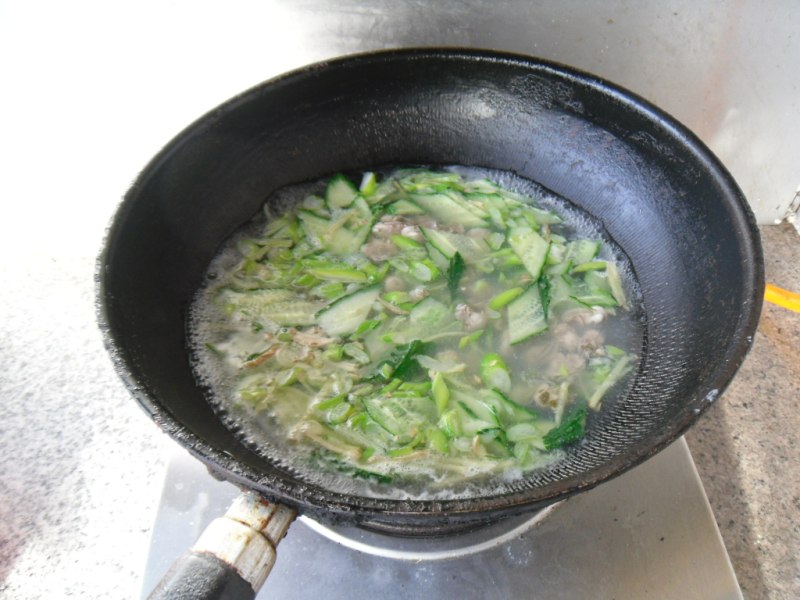
8. 烧开即可关火。
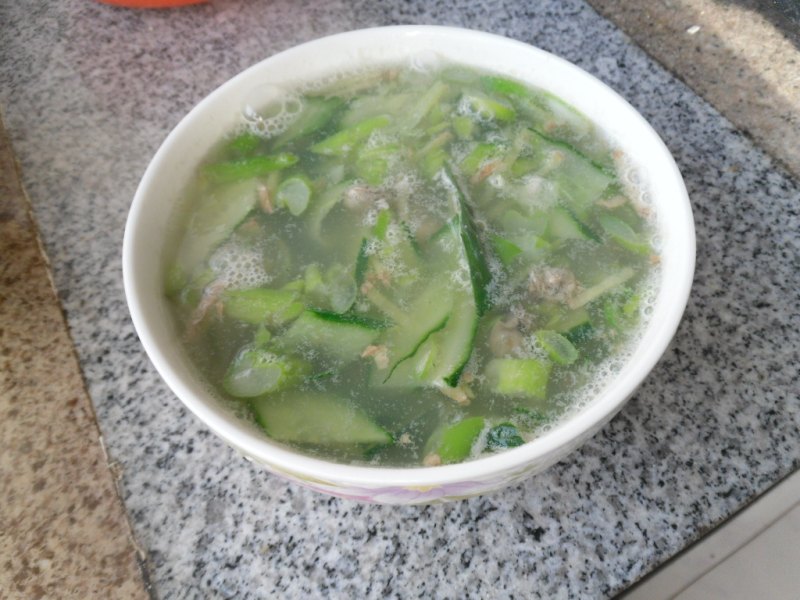
9. 出锅盛入碗中,即可上桌品味。
小窍门&温馨提示
1、姜一定要放,最好多一些。
2、盐要少放,并且不宜放生抽酱油。
TAGS:
汤类 家常菜 午餐 晚餐 海蛎子
免责声明:本站部分文章转载自网络,图文仅供行业学习交流使用,不做任何商业用途。文章仅代表原作者个人观点,其原创性及文章内容中图文的真实性、完整性等未经本站核实,仅供读者参考。
上一篇: 清蒸海蛎子的做法,清蒸海蛎子怎么做,清蒸海蛎子需要蒸多长时间,清蒸海蛎子的做法,清蒸海蛎子的做法视频,清蒸海蛎子蘸料怎么调
下一篇: 干煎带子的做法,干煎带子怎么做,干煎带子的做法,干煎带子怎么做好吃,干煎带子配芦笋,干煎带子图片
Deprecated: mysql_connect(): The mysql extension is deprecated and will be removed in the future: use mysqli or PDO instead in
/data/haozs.cc/xianguan.php on line
5
Deprecated: mysql_query(): The mysql extension is deprecated and will be removed in the future: use mysqli or PDO instead in
/data/haozs.cc/xianguan.php on line
7