主料:
蛋挞皮,
9个
辅料:
榴莲适量,
蛋黄适量,
黑芝麻适量榴莲酥的做法步骤
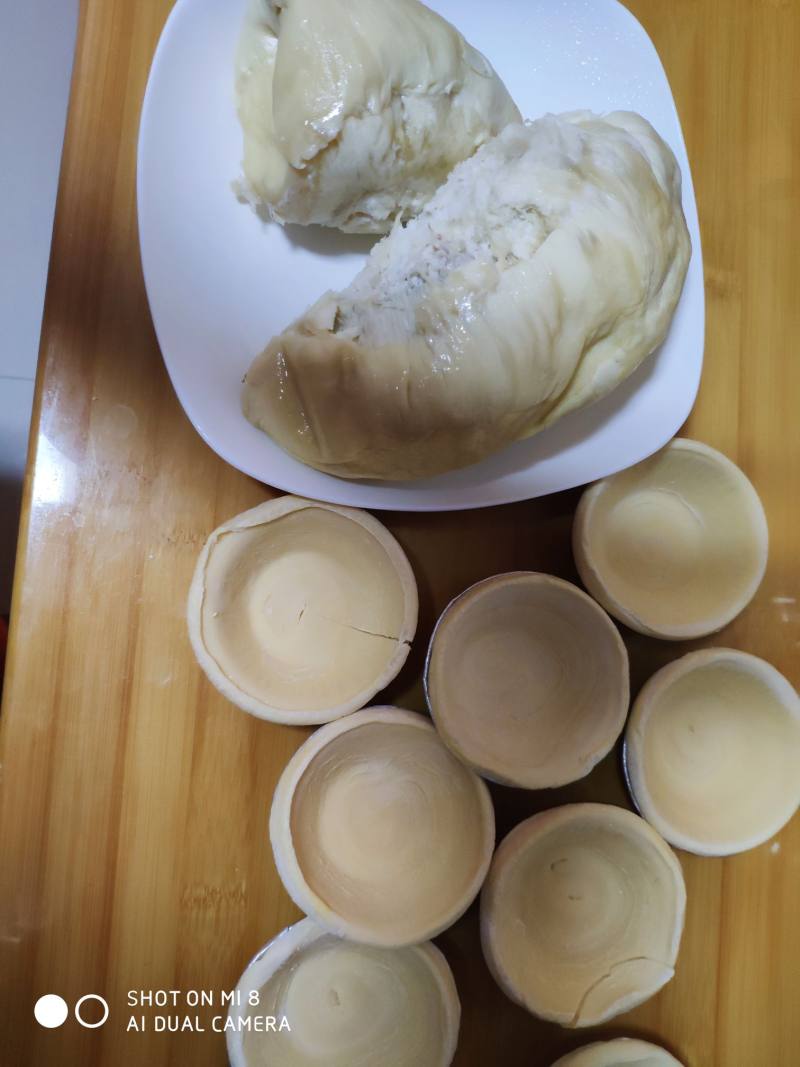
1.蛋挞皮室温软化。
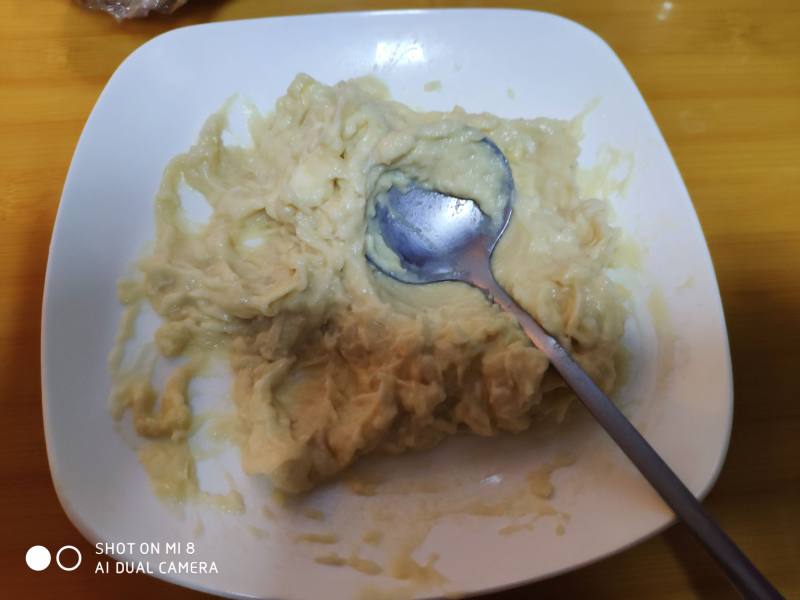
2.榴莲压成泥。
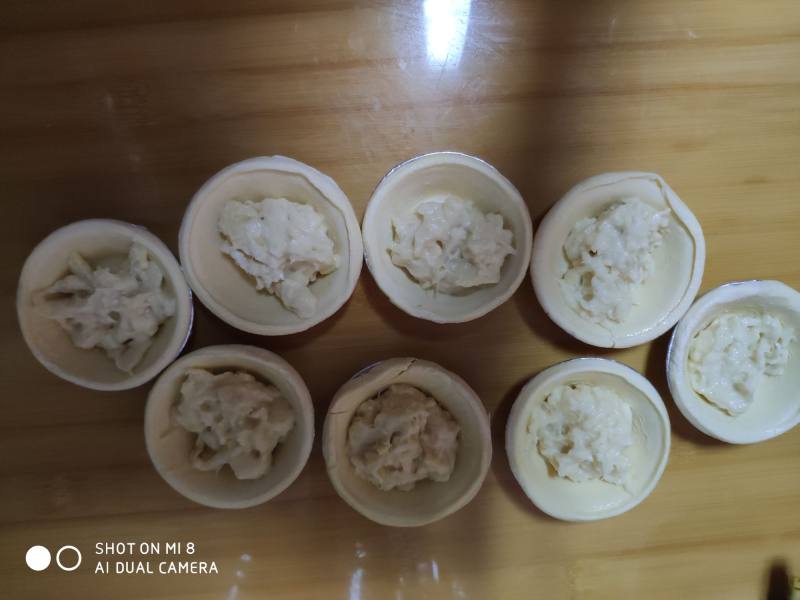
3.把榴莲泥放入蛋挞皮中。
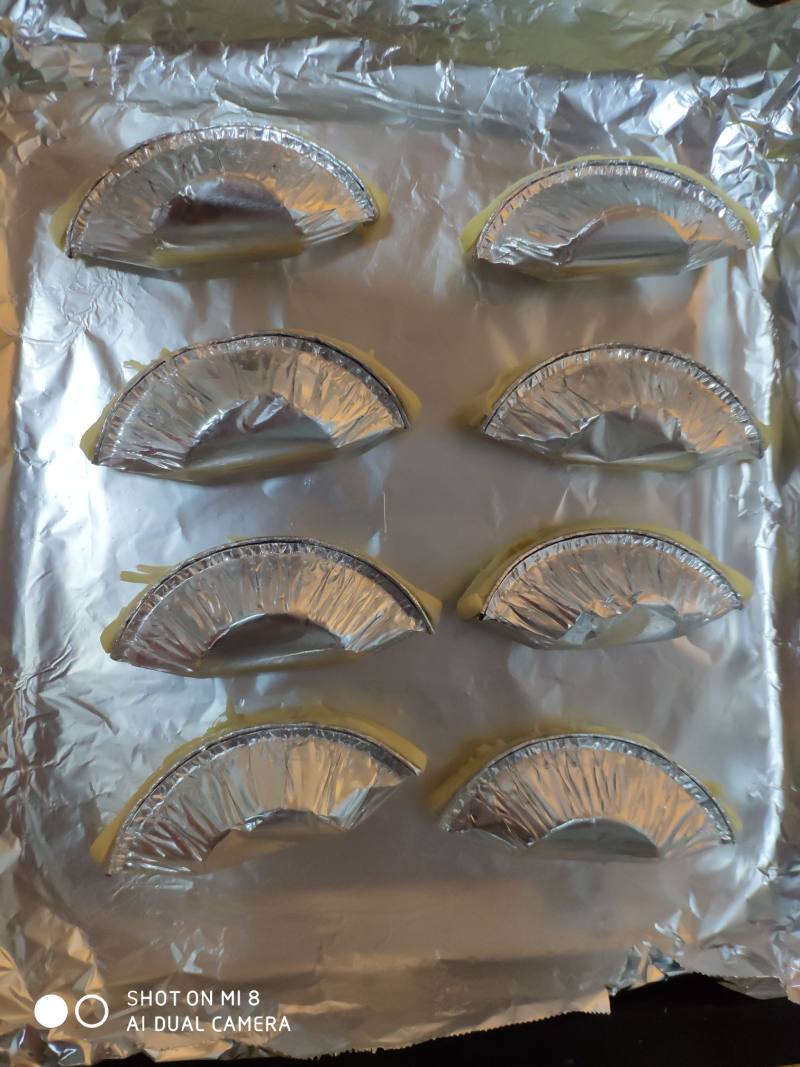
4.对折捏上,200℃烤20分钟。
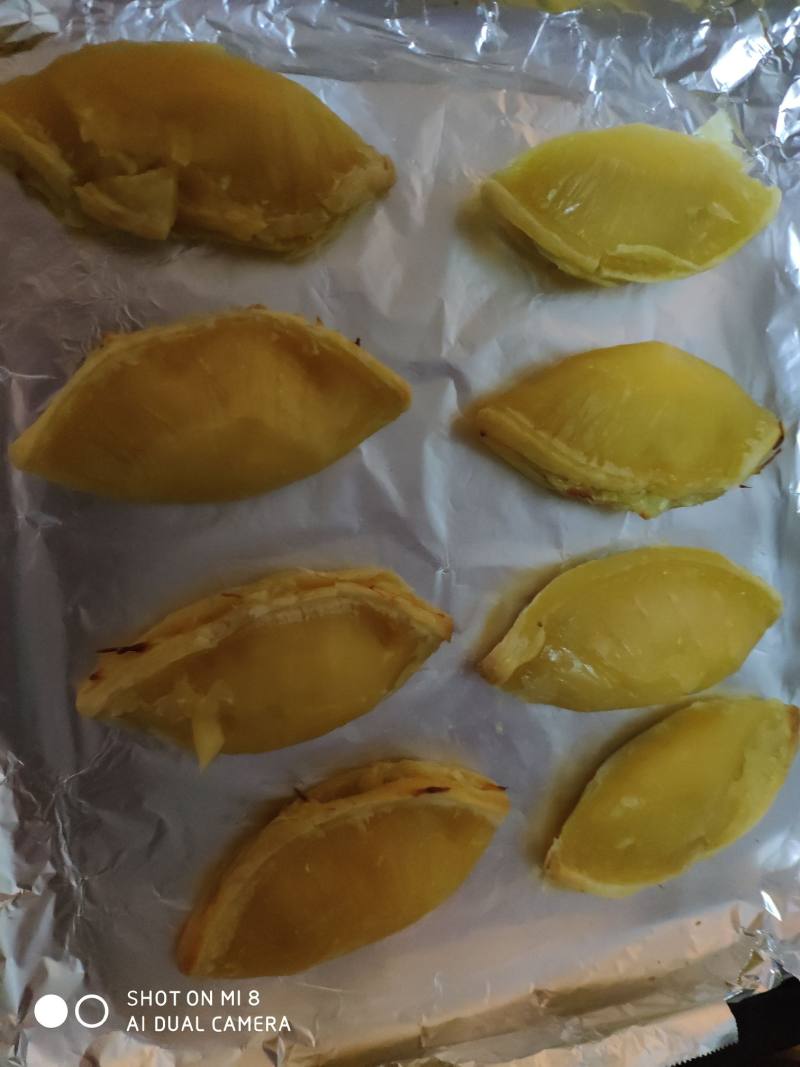
5.去皮。
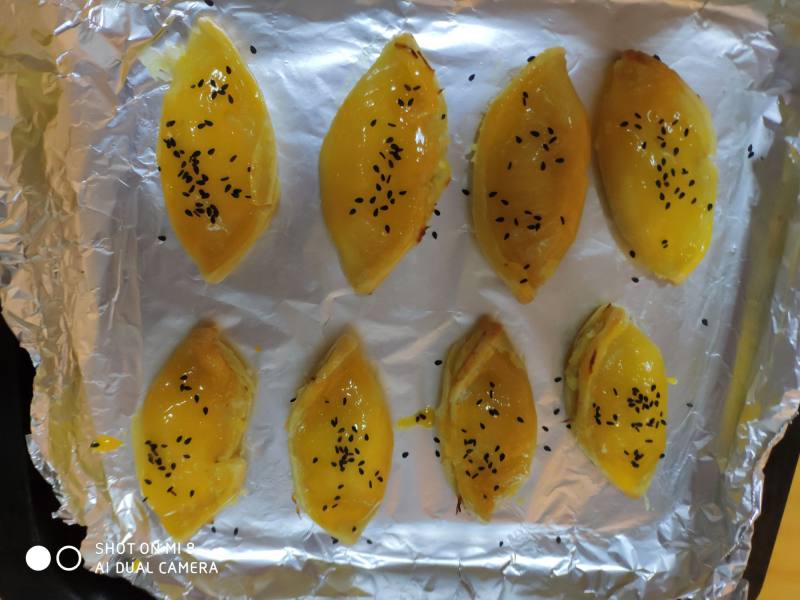
6.刷蛋液撒芝麻,180℃烤20分钟。
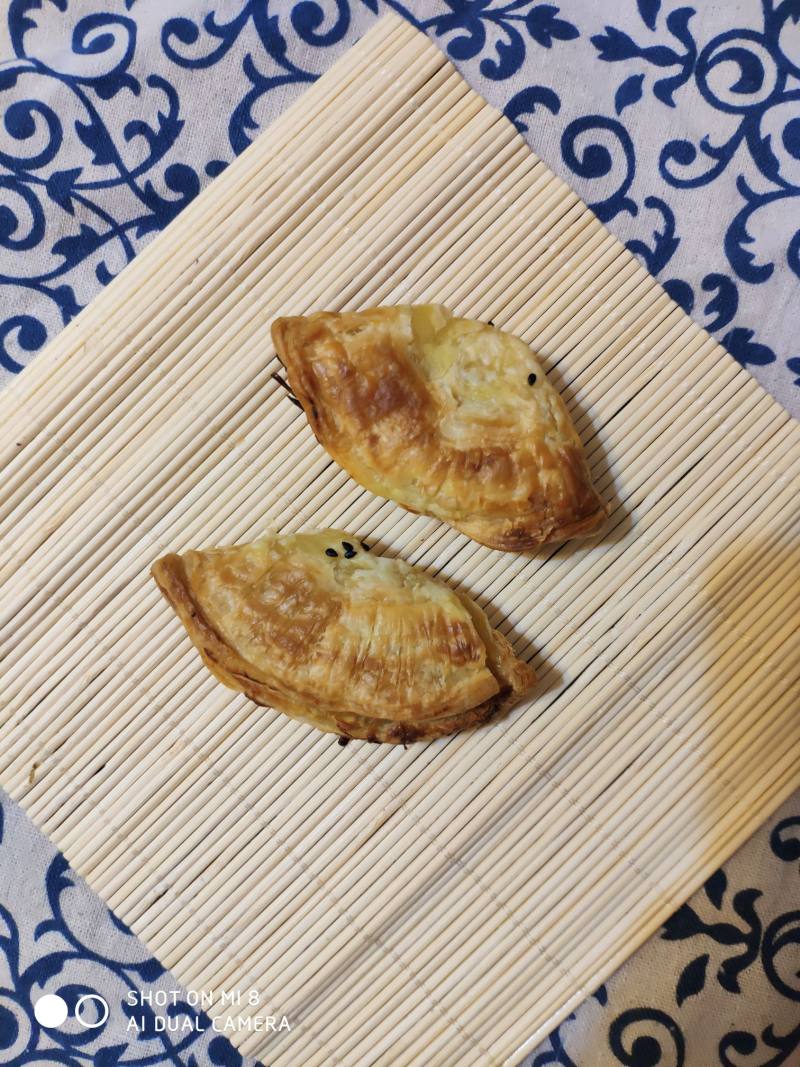
7.成品。
TAGS:
甜品 下午茶 其他菜系 蛋挞皮
免责声明:本站部分文章转载自网络,图文仅供行业学习交流使用,不做任何商业用途。文章仅代表原作者个人观点,其原创性及文章内容中图文的真实性、完整性等未经本站核实,仅供读者参考。
上一篇: 榴莲雪媚娘的做法,榴莲雪媚娘怎么做,榴莲雪媚娘可以保存几天?,榴莲雪媚娘热量,榴莲雪媚娘的做法,榴莲雪媚娘图片
下一篇: 奶香榴莲包的做法,奶香榴莲包怎么做,榴莲牛奶包,奶油榴莲包,奶香榴莲酱,榴莲奶黄包
Deprecated: mysql_connect(): The mysql extension is deprecated and will be removed in the future: use mysqli or PDO instead in
/data/haozs.cc/xianguan.php on line
5
Deprecated: mysql_query(): The mysql extension is deprecated and will be removed in the future: use mysqli or PDO instead in
/data/haozs.cc/xianguan.php on line
7


