主料:
预拌粉,
100g85度热水,100g紫山药,1块
辅料:
炼乳,
1匙调料
蔗糖糖浆适量紫山药冰皮月饼的做法步骤
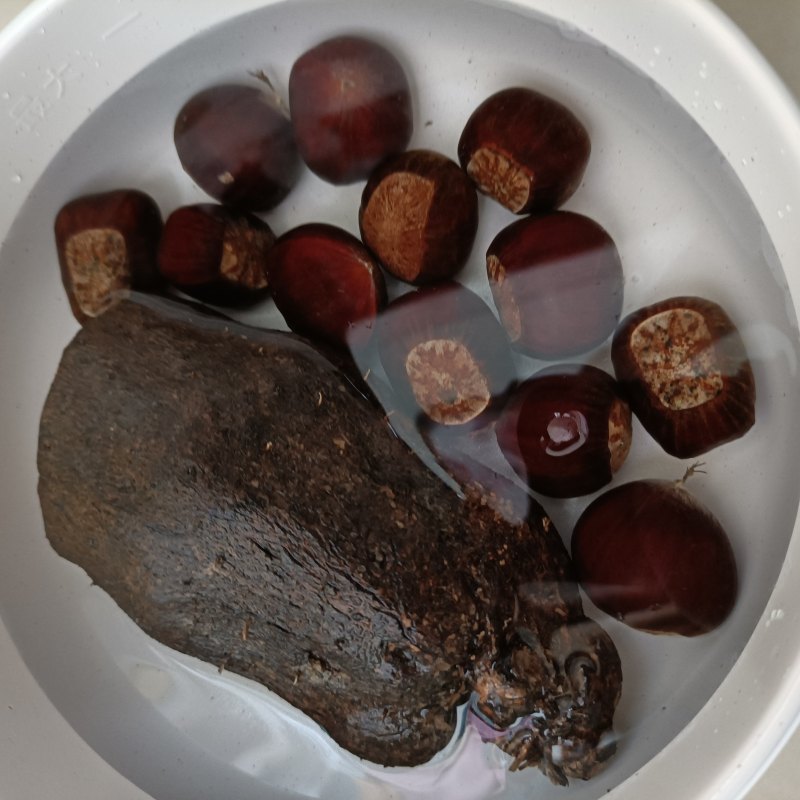
1.山药洗净下锅煮熟。
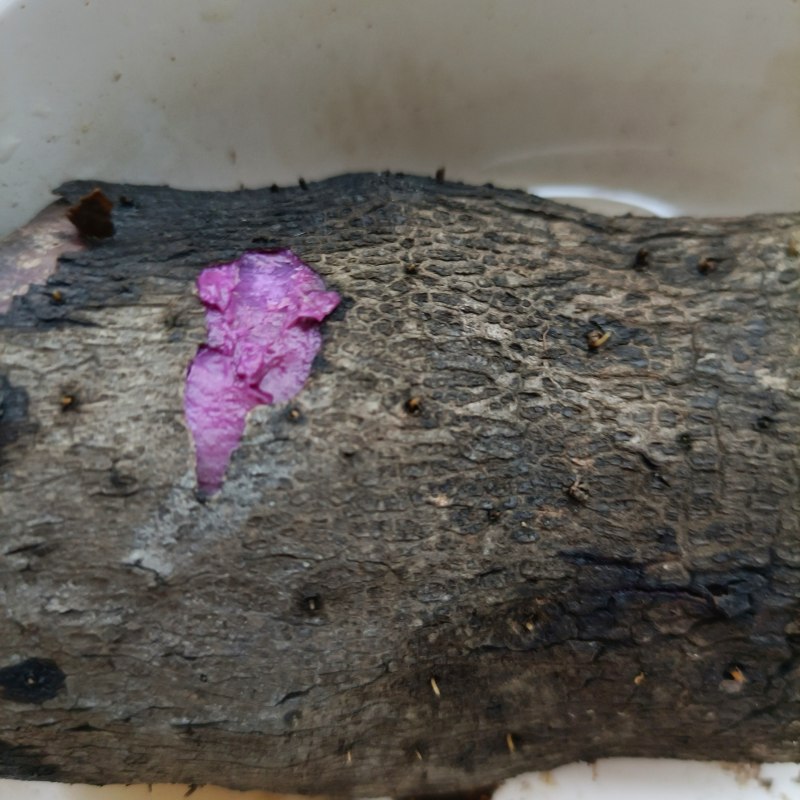
2.放凉,去皮。
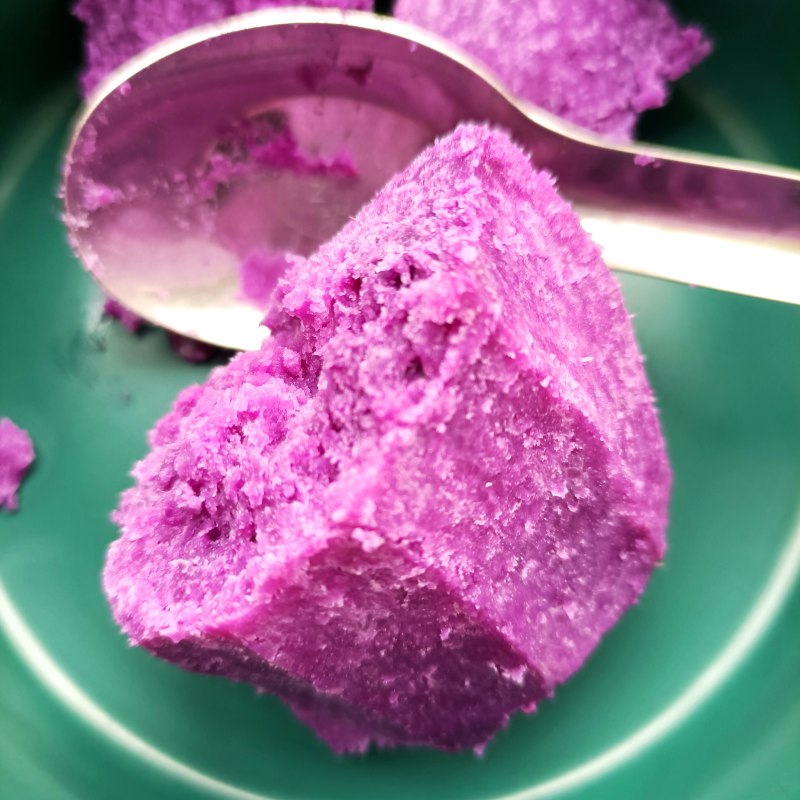
3.取内瓤。
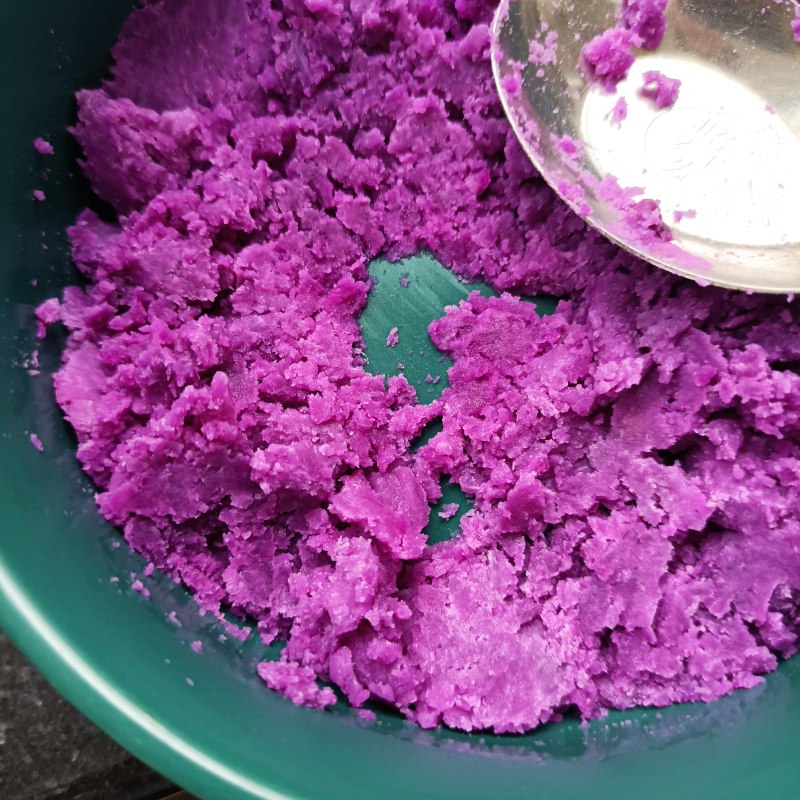
4.碾碎,我喜欢有颗粒感的,不喜欢有颗粒的,用料理机打碎。
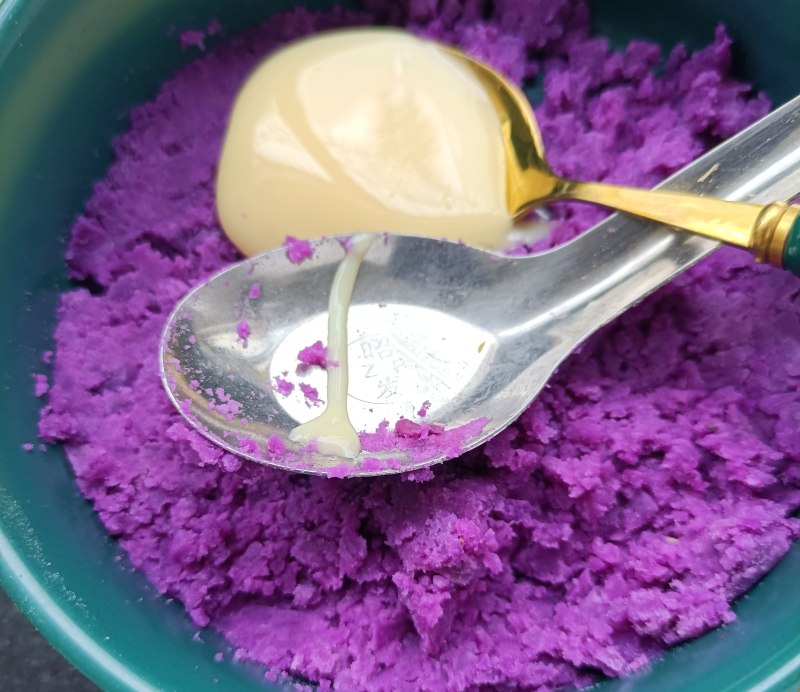
5.取炼乳。
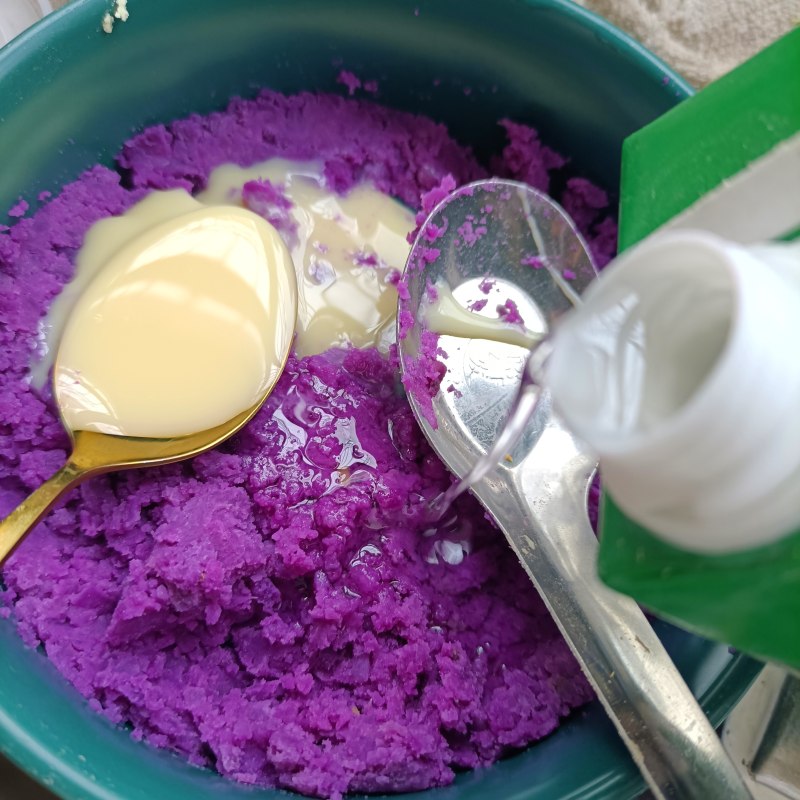
6.放糖浆。
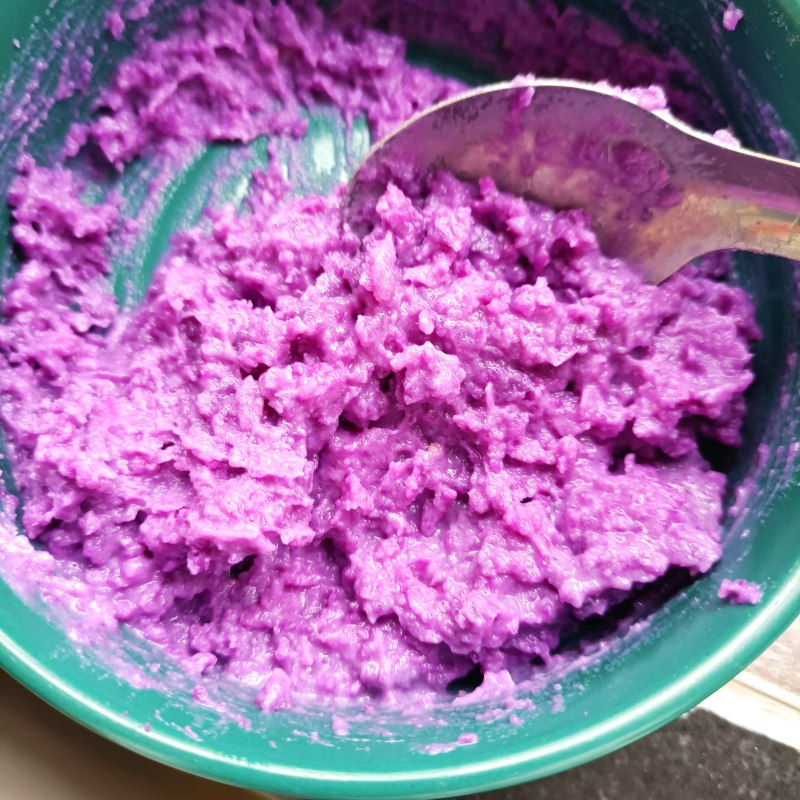
7.搅拌均匀。

8.锅烧热,放糯米粉。
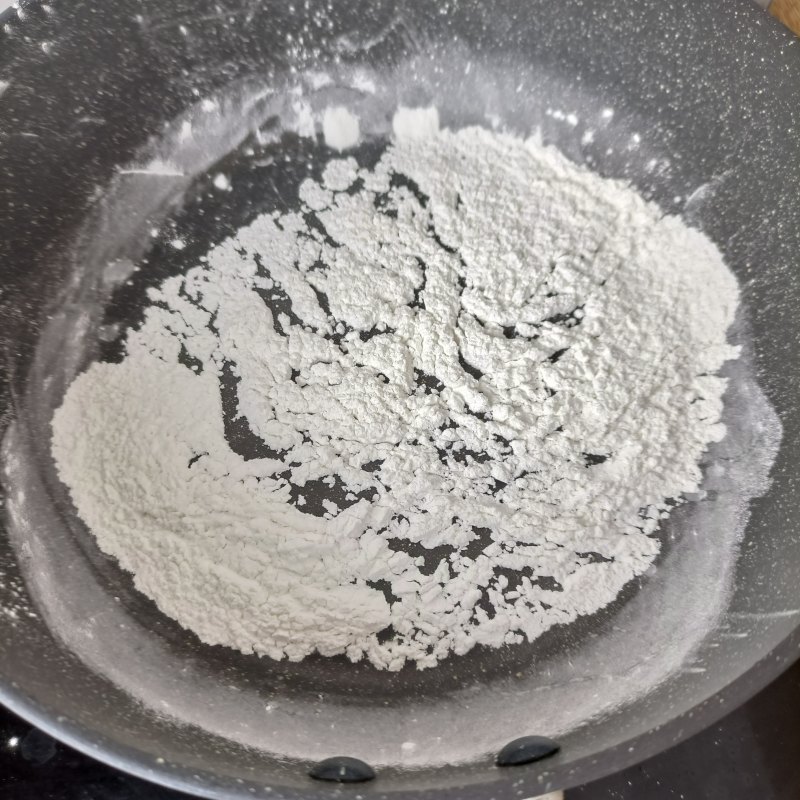
9.不停晃。
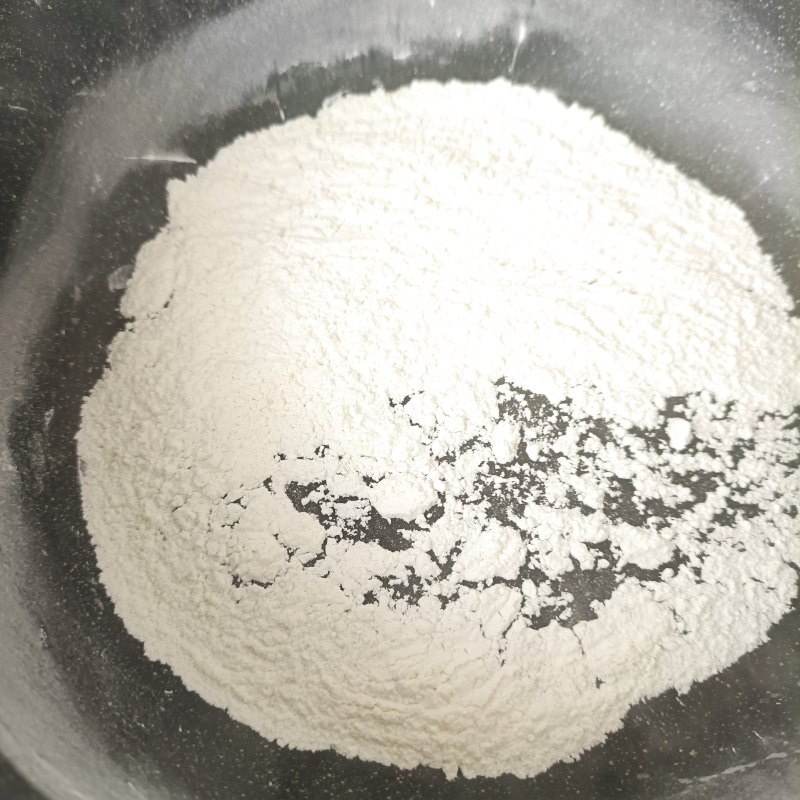
10.把糯米粉炒熟。
11.盛出来。
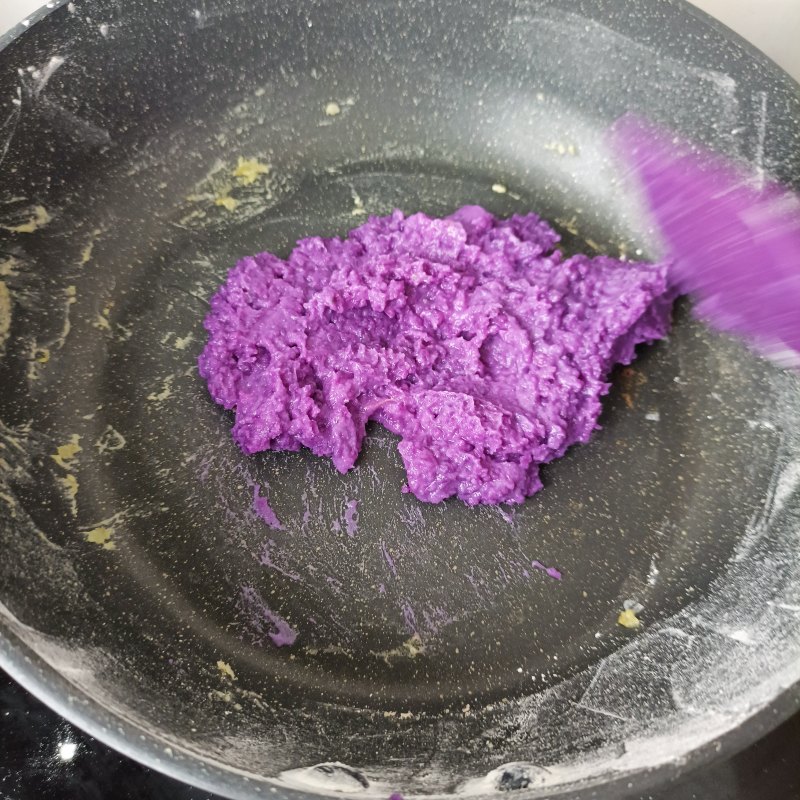
12.放紫山药馅翻炒。
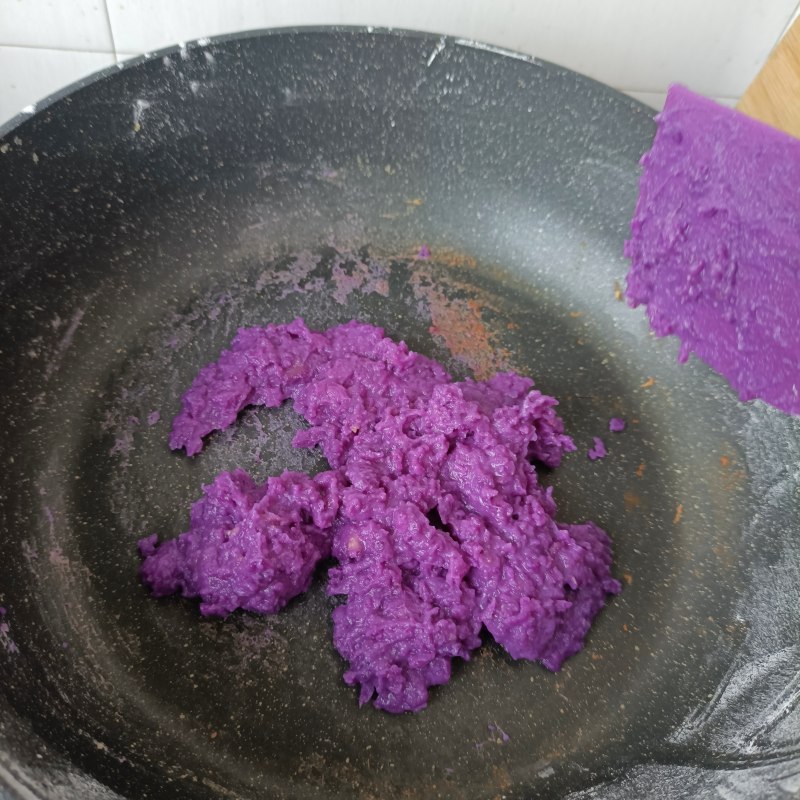
13.炒至变色即可。
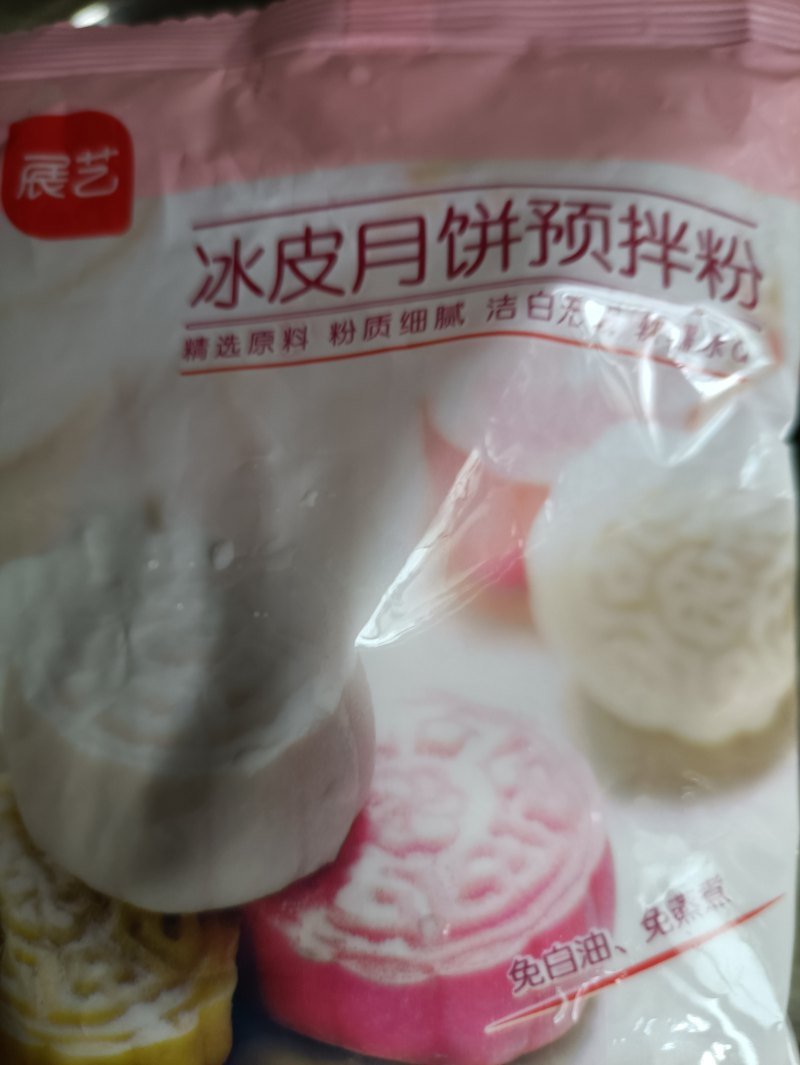
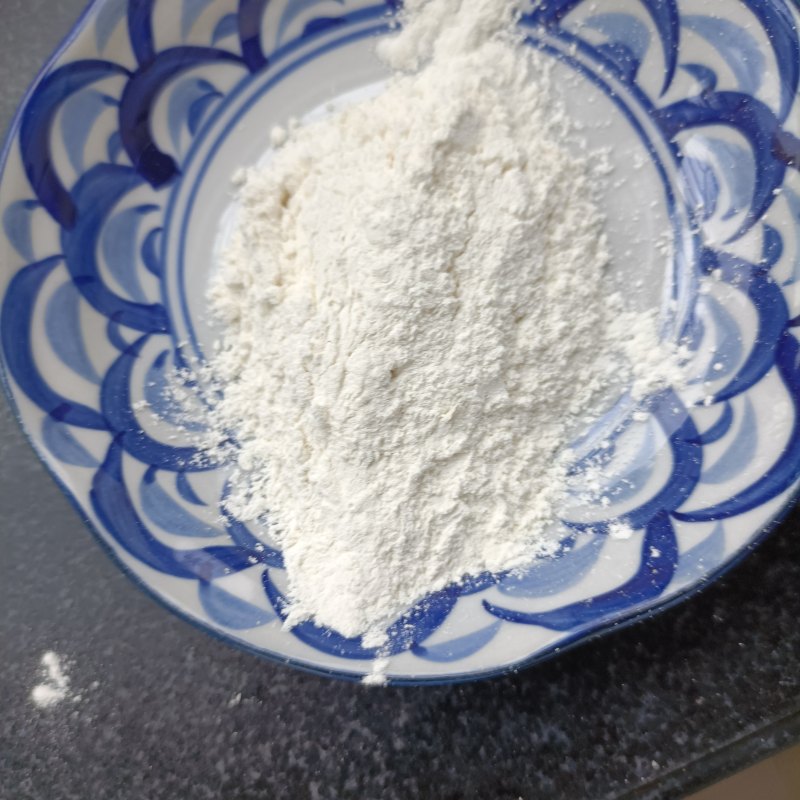
14.取预拌粉。
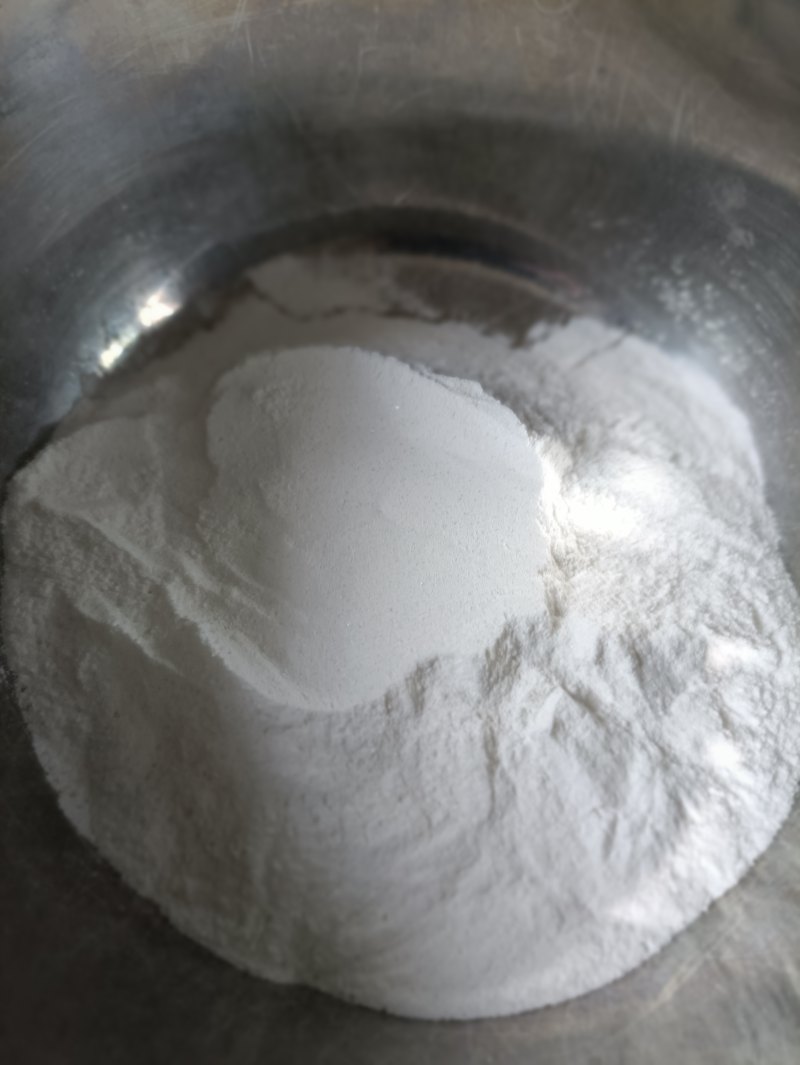
15.取100克。
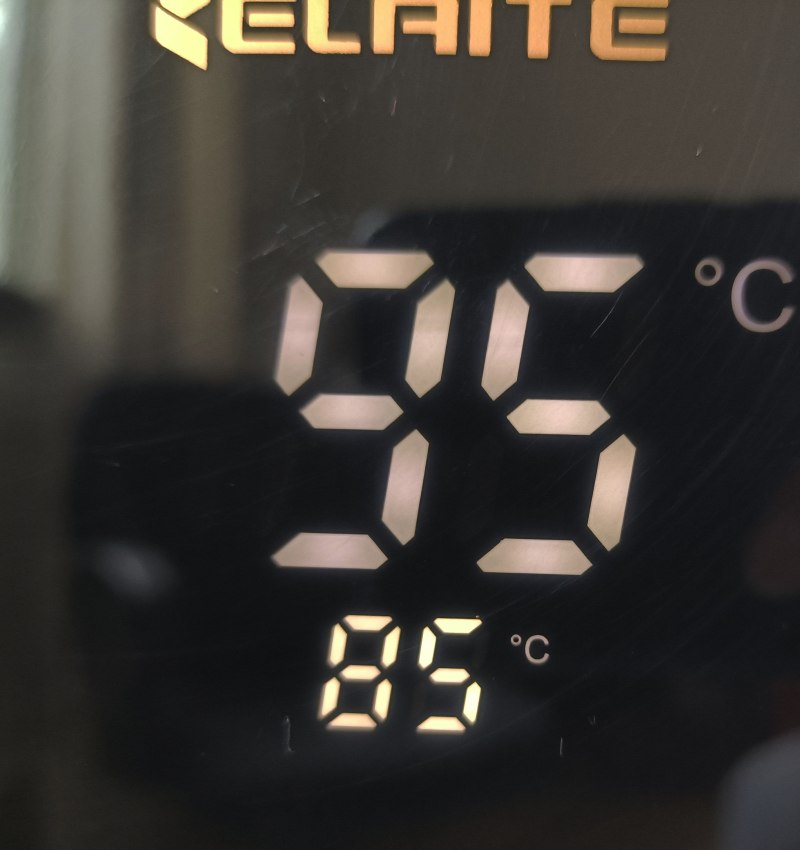
16.烧开水,放至85度。
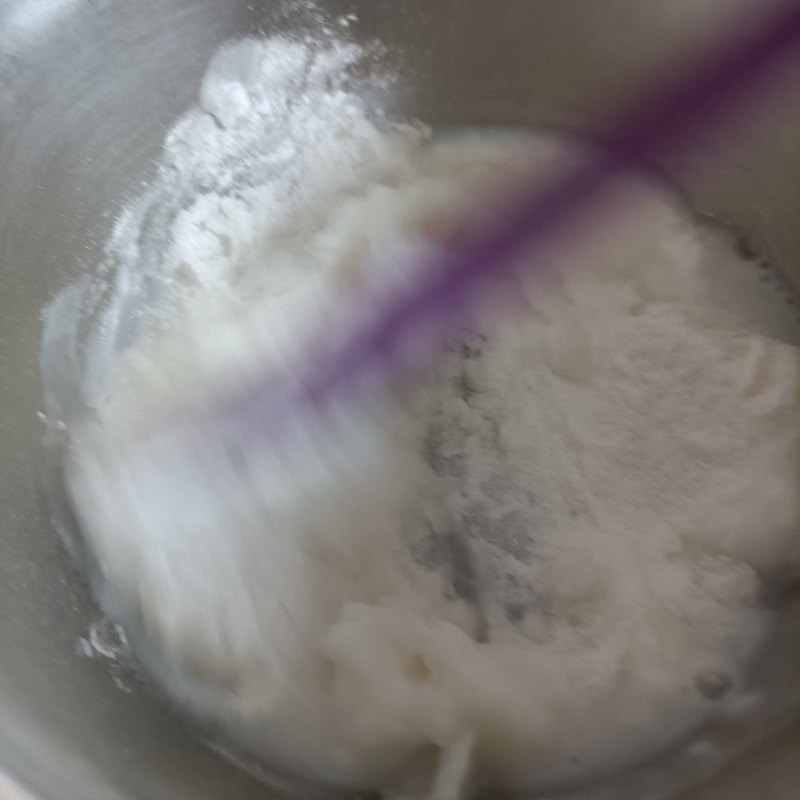
17.直接放预拌粉里,粉和水的比例是1:1。
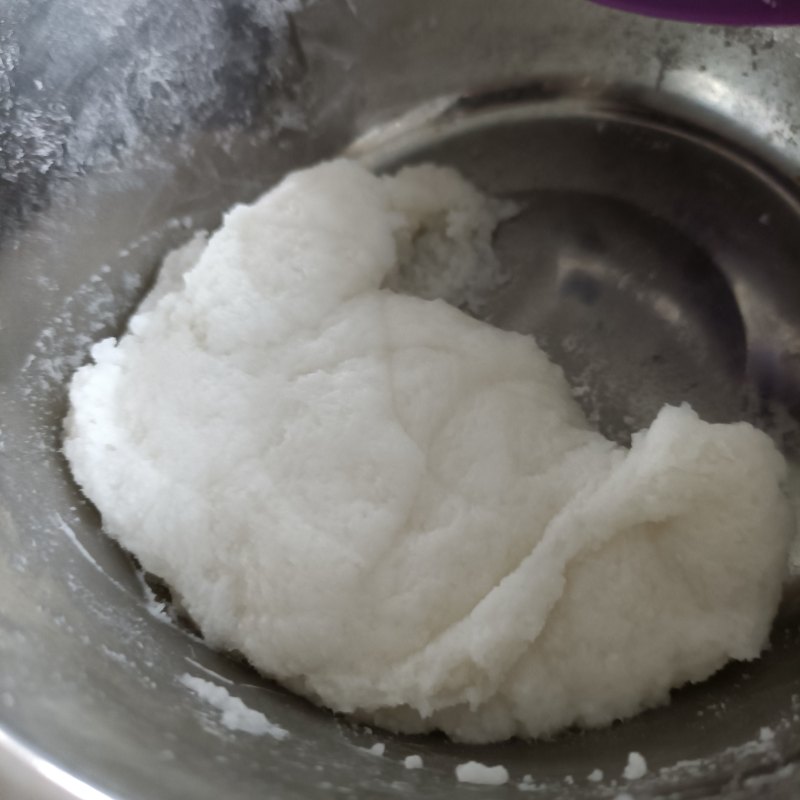
18.拌匀至没有干粉。
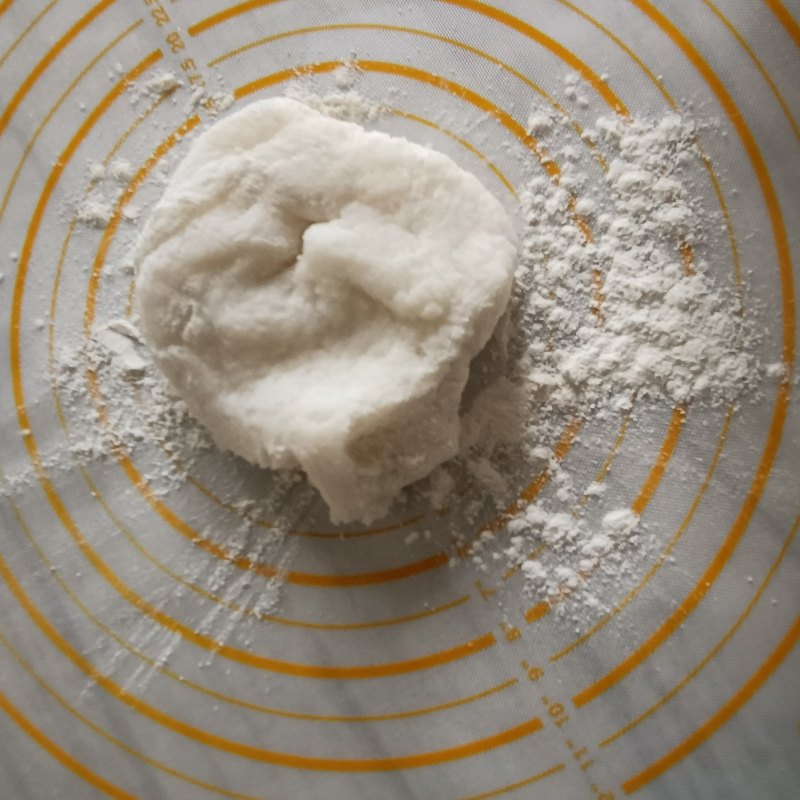
19.案板放熟糯米粉,放面团。
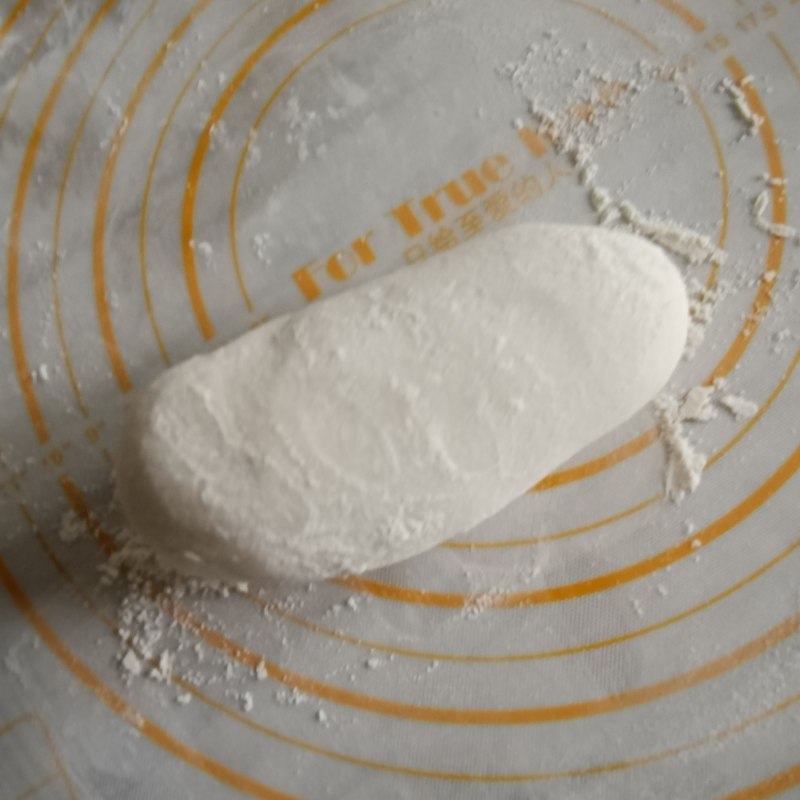
20.反复揉搓只细腻光滑没有颗粒。
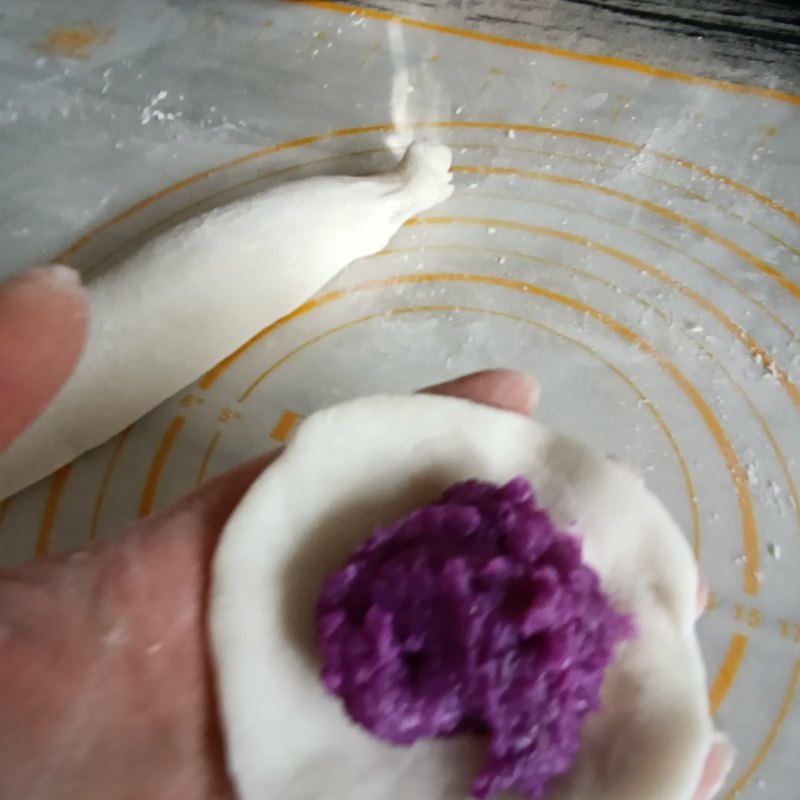
21.取一块,捏成圆饼,包上馅料。
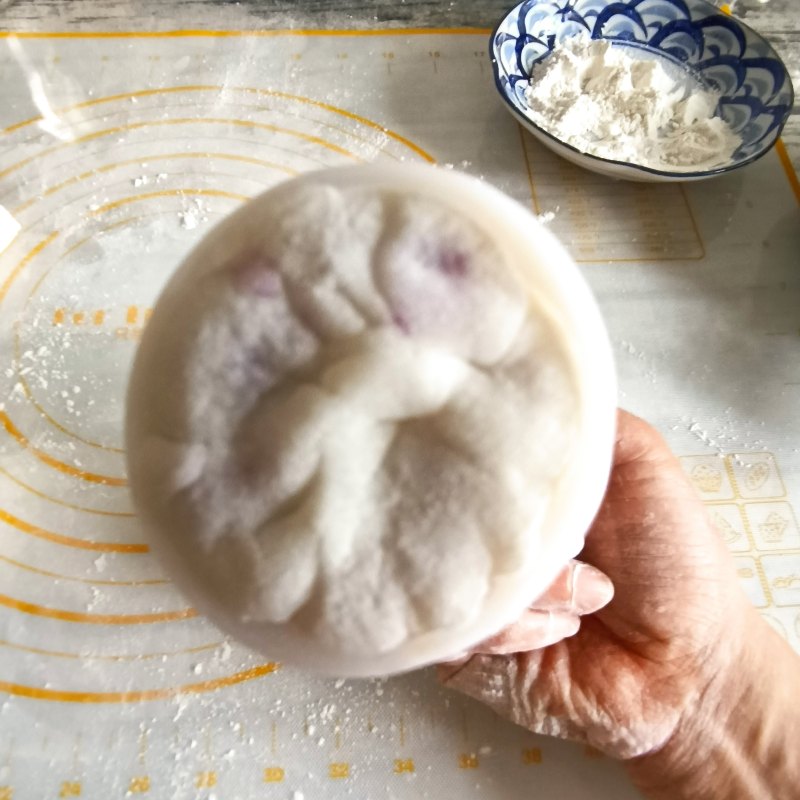
22.收口,放模具里压实。
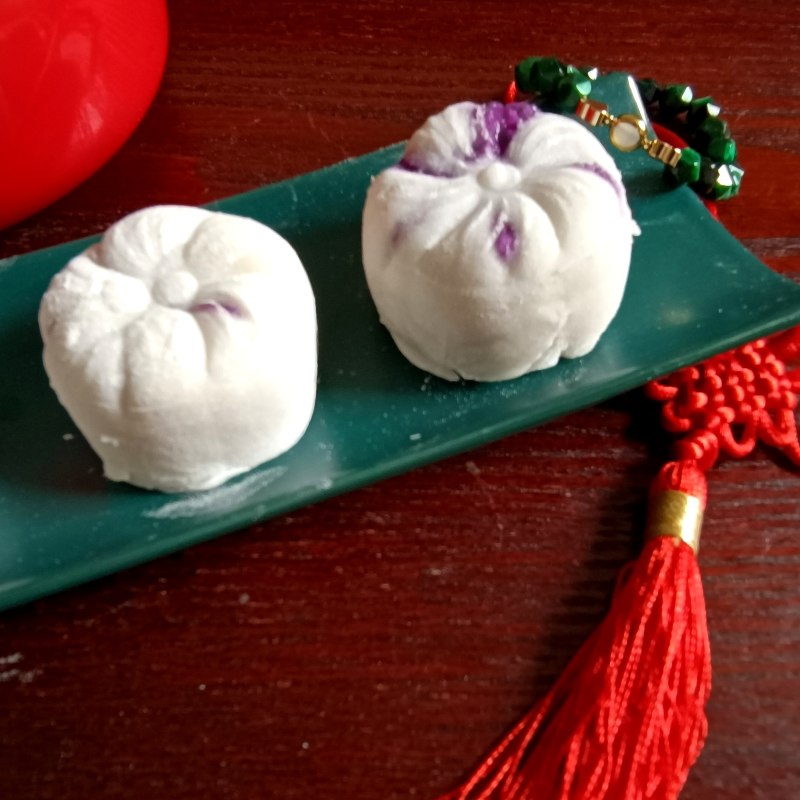
23.装盘。
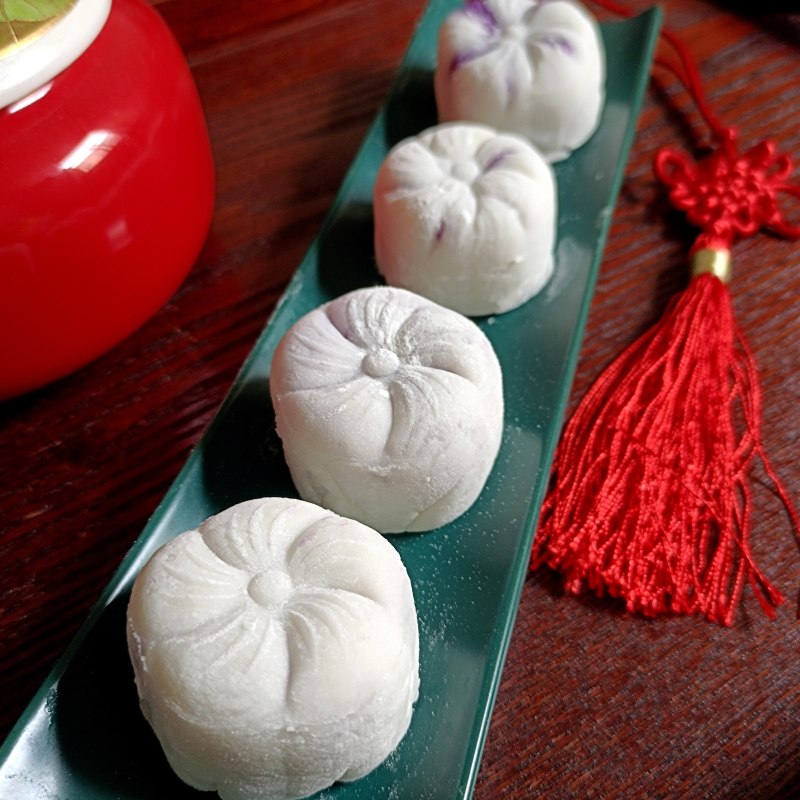
24.成品。
TAGS:
糕点 中秋 其他菜系 预拌粉
免责声明:本站部分文章转载自网络,图文仅供行业学习交流使用,不做任何商业用途。文章仅代表原作者个人观点,其原创性及文章内容中图文的真实性、完整性等未经本站核实,仅供读者参考。
上一篇: 培根韭菜炒蛋的做法,培根韭菜炒蛋怎么做,培根韭菜炒蛋怎么做,韭菜花培根炒鸡蛋,鸡蛋炒培根,韭菜根可以炒鸡蛋吗
下一篇: 荠菜春笋的做法,荠菜春笋怎么做,荠菜春笋的做法,荠菜春笋饺子,荠菜春笋图片,荠菜春笋馄饨
Deprecated: mysql_connect(): The mysql extension is deprecated and will be removed in the future: use mysqli or PDO instead in
/data/haozs.cc/xianguan.php on line
5
Deprecated: mysql_query(): The mysql extension is deprecated and will be removed in the future: use mysqli or PDO instead in
/data/haozs.cc/xianguan.php on line
7
