主料:
蛋糕粉,
45g,
鸡蛋,
3个,
色拉油,
35g,
纯牛奶,
40g草莓粉,5g白砂糖,
60g,
玉米淀粉,
5g,
原味酸奶,
50g,
糖霜适量
辅料:
纯牛奶,
250g,
蛋黄,
2个,
白砂糖,
10g,
玉米淀粉,
25g奶油芝士,100g食用盐,
2g,
淡奶油,
50g,
草莓适量,
杏仁片适量爆浆草莓海盐奶盖蛋糕的做法步骤
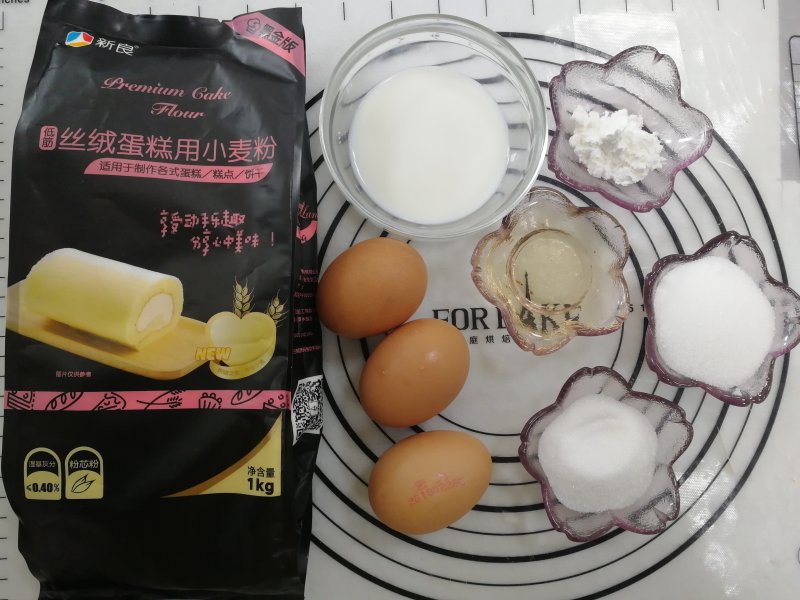
1.戚风蛋糕蛋糕食材集合
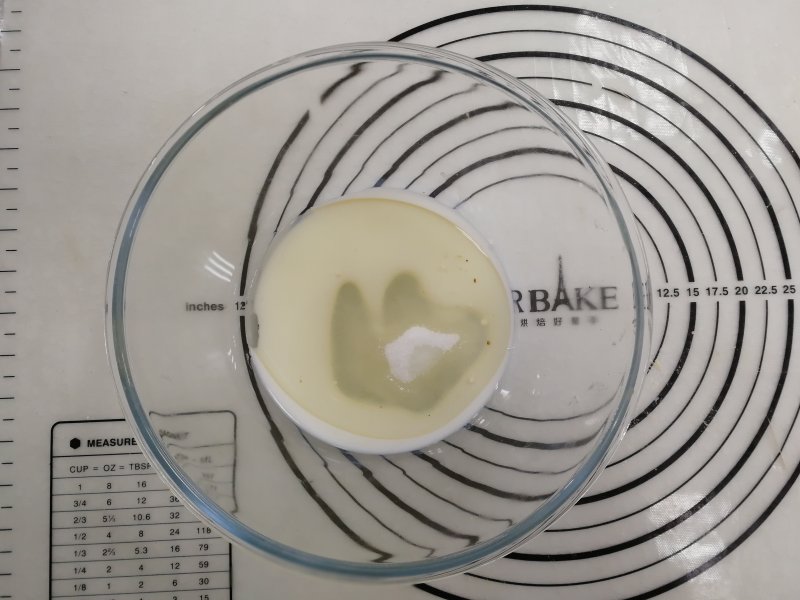
2.制作面糊部分:称量纯牛奶、色拉油,加入20g白砂糖搅拌均匀

3.称量蛋糕粉、草莓粉并过筛搅

4.搅拌均匀

5.分离3个鸡蛋,将蛋清部分放入无水无油的容器内,放置一旁备用
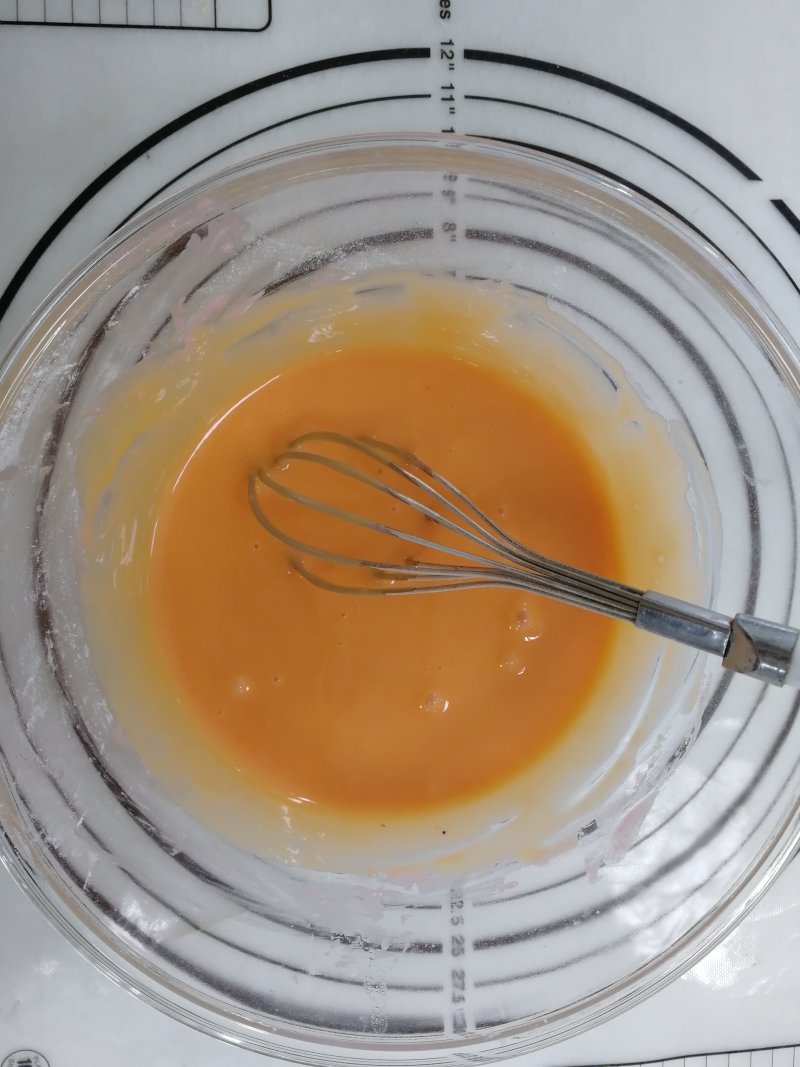
6.把蛋黄加入面糊部分搅拌均匀,

7.将剩余的40g细砂糖分三次加入蛋清中,最后一次加入细砂糖时,一起加入玉米淀粉,

8.最后将蛋清打发至比较坚挺、拉起来有小尖勾的状态。

9.取三分之一蛋白霜与面糊搅拌均匀

10.剩余的面糊搅拌均匀

11.倒入6寸模具中,震出大气泡
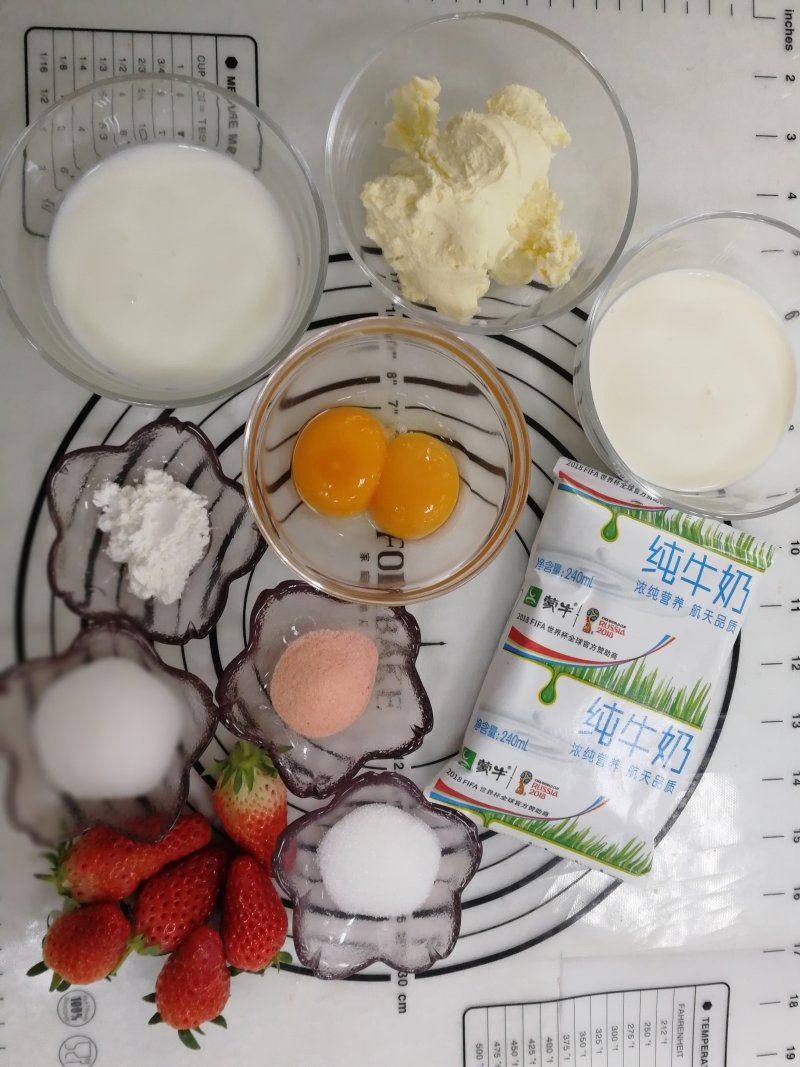
12.制作草莓奶盖的食材

13.先制作芝士酱,烧开一锅热水,将芝士隔热水加热软化
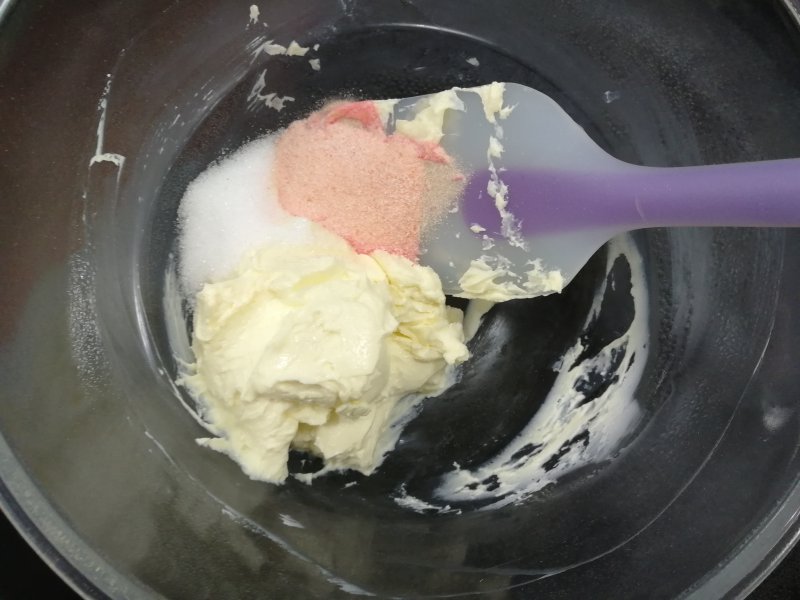
14.加入草莓粉和细砂糖,

15.用刮刀压拌至无颗粒顺滑状态

16.加入淡奶油,用手打蛋器搅打均匀后
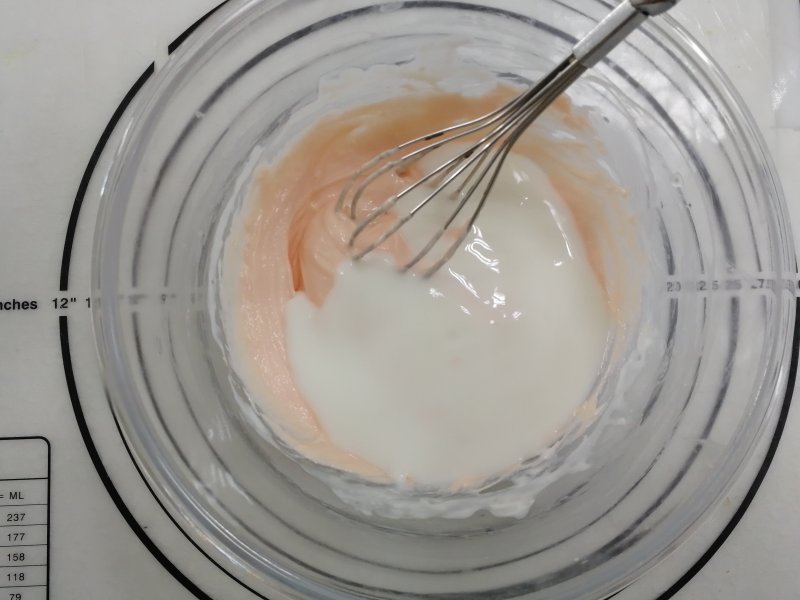
17.在加入原味酸奶,搅拌均匀
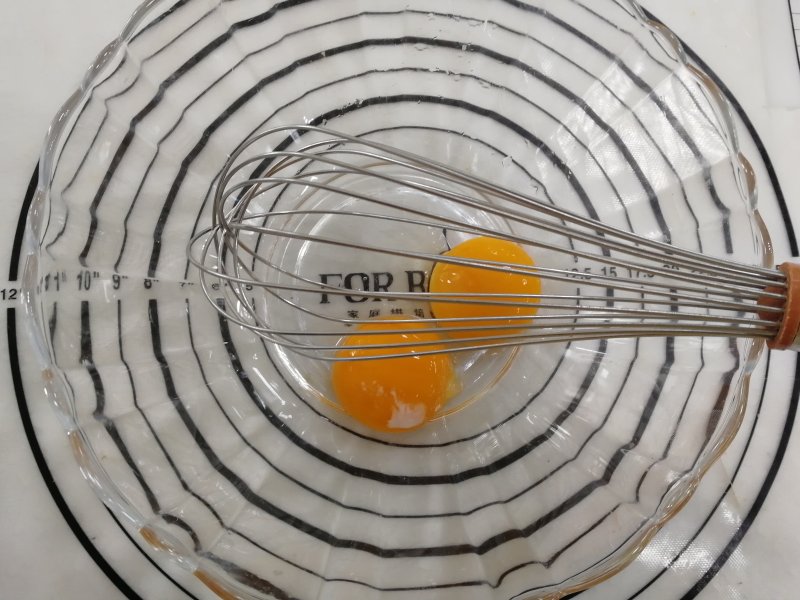
18.制作卡仕达酱,将2个蛋黄分离出来
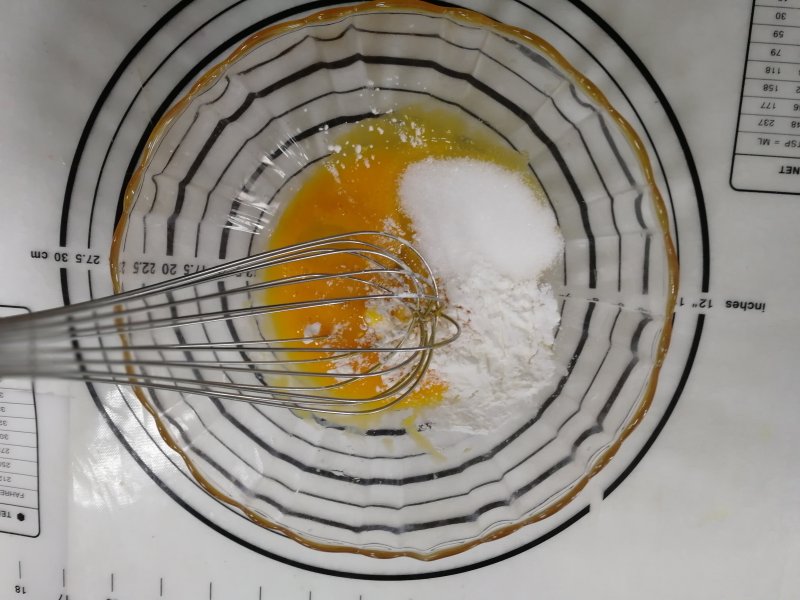
19.加入细砂糖搅打至融化,再加入玉米淀粉,搅拌均匀。

20.牛奶用大火煮至冒热气,马上离火。把牛奶倒入蛋黄糊中,用打蛋器搅拌均匀;

21.将搅拌的卡仕达浆糊过筛,口感更细腻光滑

22.将卡仕达酱倒回奶锅中,一边开小火加热,一边用手动打蛋器搅拌,稍微搅拌至成固体,比较稀的状态,即可离火;
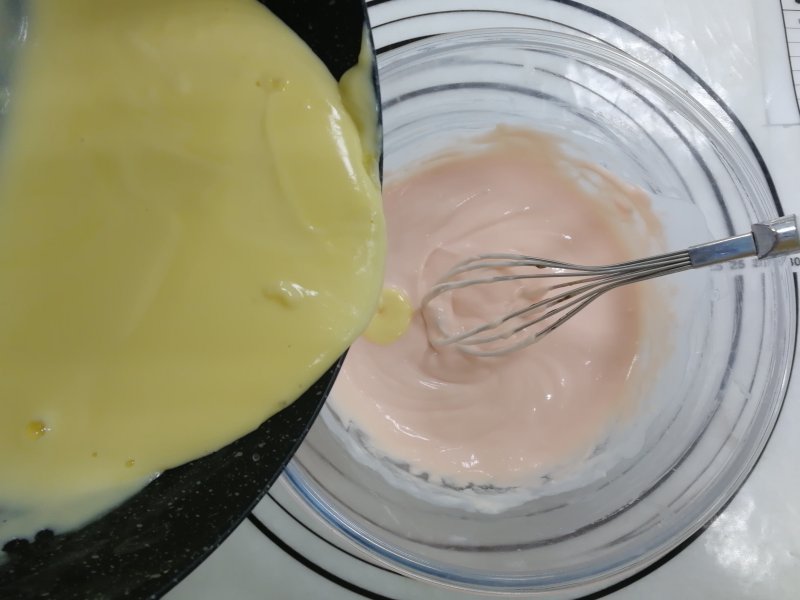
23.将卡仕达酱加入芝士酱中,

24.搅拌均匀,得到草莓奶盖。

25.装入带有裱花嘴的裱花带中
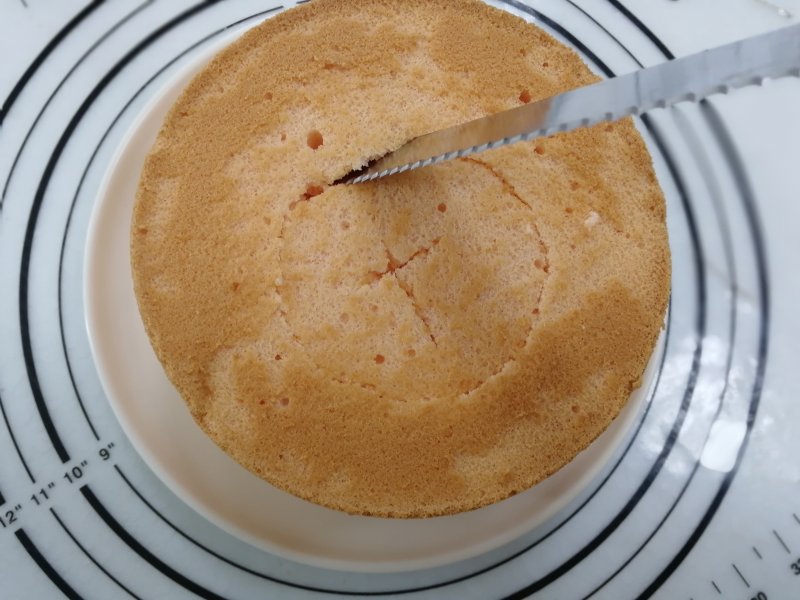
26.用小刀将蛋糕中心、四周撮几个小洞

27.将草莓奶盖挤入洞中,会看到蛋糕慢慢膨胀鼓起来,

28.把剩余的草莓奶盖挤在蛋糕表面,边缘多挤入些,
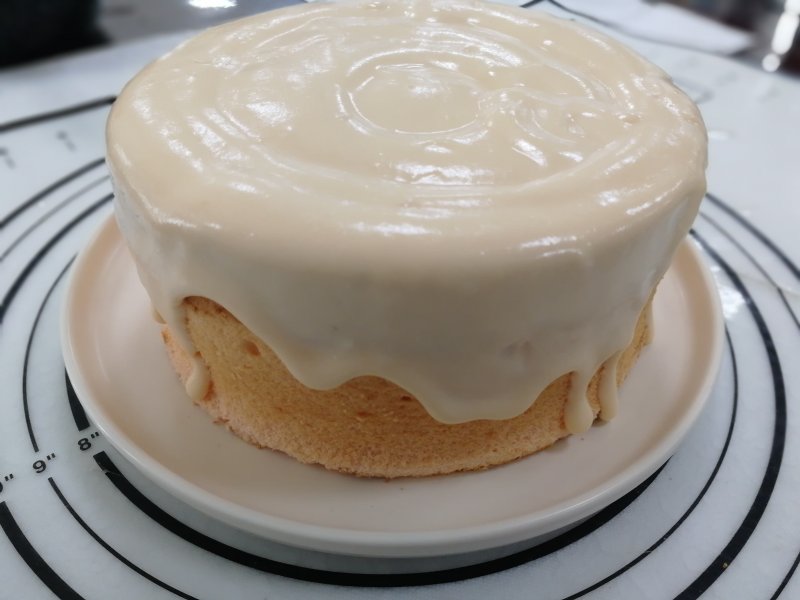
29.制造出流动滴落的感觉;

30.摆上草莓、等装饰,美味的爆浆草莓海盐奶盖蛋糕就做好啦!
TAGS:
烘焙 其他菜系 生日 蛋糕粉
免责声明:本站部分文章转载自网络,图文仅供行业学习交流使用,不做任何商业用途。文章仅代表原作者个人观点,其原创性及文章内容中图文的真实性、完整性等未经本站核实,仅供读者参考。
上一篇: 戚风蛋糕的做法,戚风蛋糕怎么做,戚风蛋糕的配方与制作,戚风蛋糕怎么做不塌陷不回缩,戚风蛋糕的做法教程,戚风蛋糕的配方与制作8寸
下一篇: 竹炭戚风的做法,竹炭戚风怎么做,竹炭戚风蛋糕,竹炭戚风蛋糕什么味道,竹炭卷的做法,戚风 下厨房
Deprecated: mysql_connect(): The mysql extension is deprecated and will be removed in the future: use mysqli or PDO instead in
/data/haozs.cc/xianguan.php on line
5
Deprecated: mysql_query(): The mysql extension is deprecated and will be removed in the future: use mysqli or PDO instead in
/data/haozs.cc/xianguan.php on line
7


