主料:
鸡蛋,
2个,
白醋,
几滴,
白糖,
40g,
低粉,
40g,
玉米油,
25g,
纯牛奶,
30g,
红丝绒液,
4滴
辅料:
奶油,
100g,
白糖,
少许,
可可粉,
少许装饰用抹茶棒,少许威化棒,少许奶油蛋糕的做法步骤
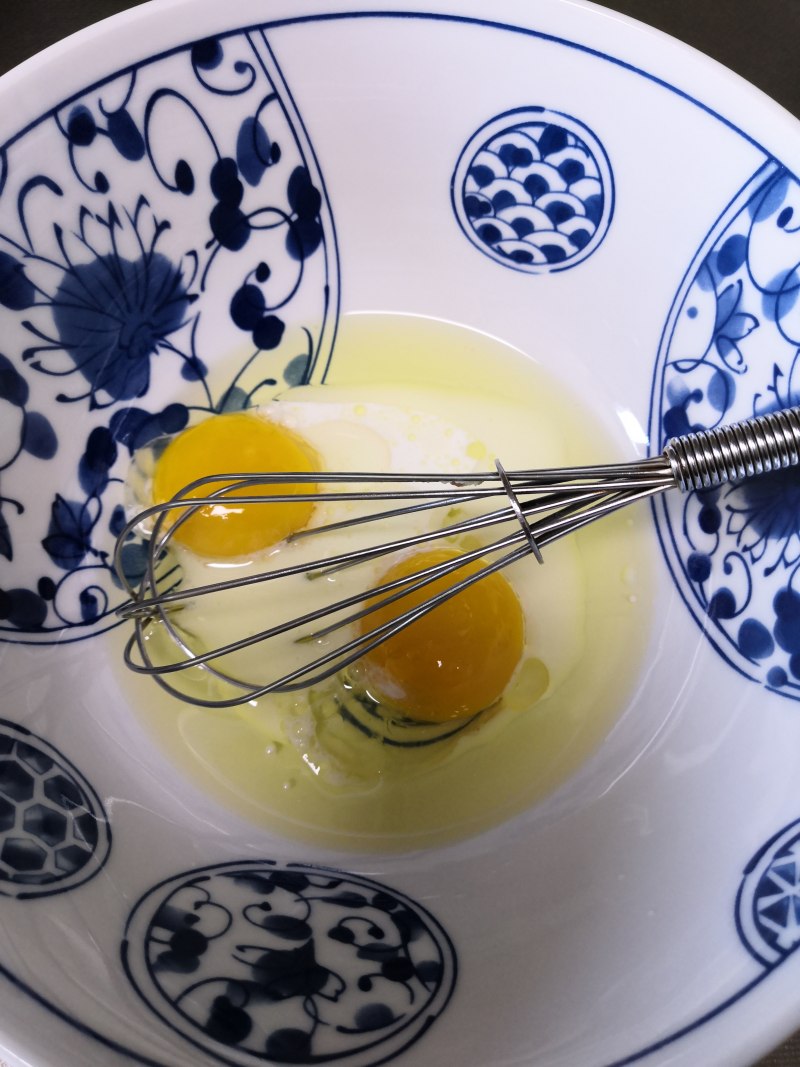
1.鸡蛋分离蛋白,蛋黄里加入牛奶和玉米油
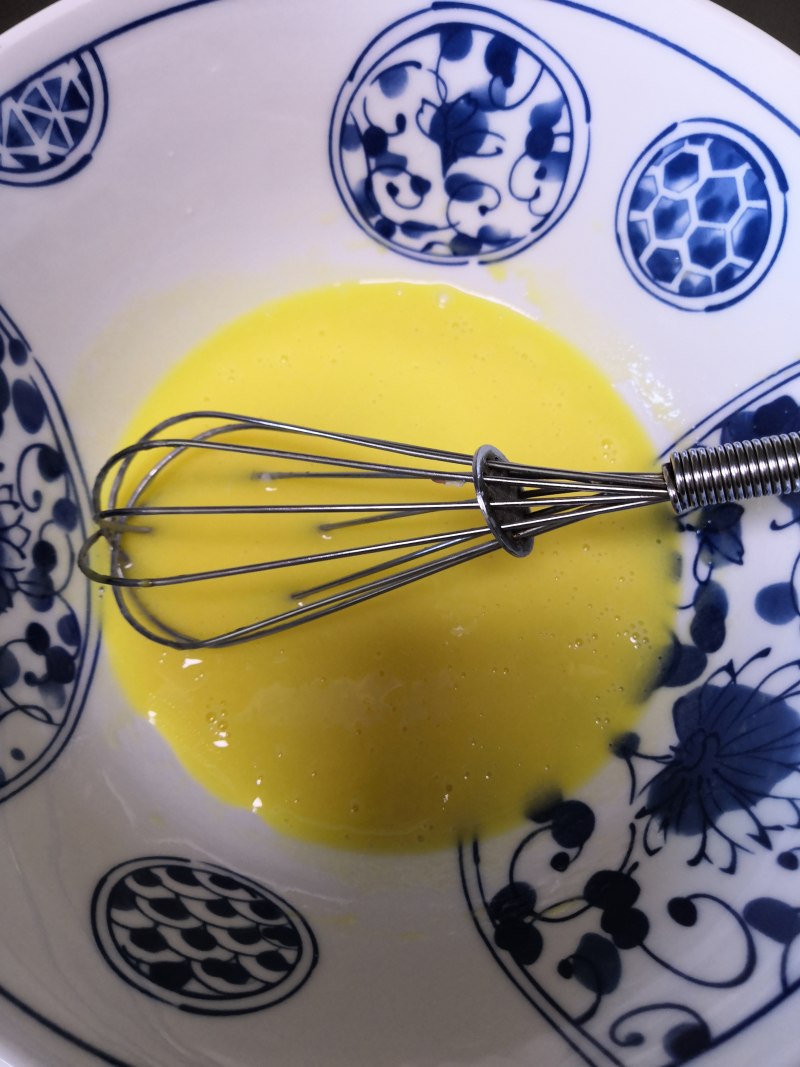
2.搅拌呈乳化状态
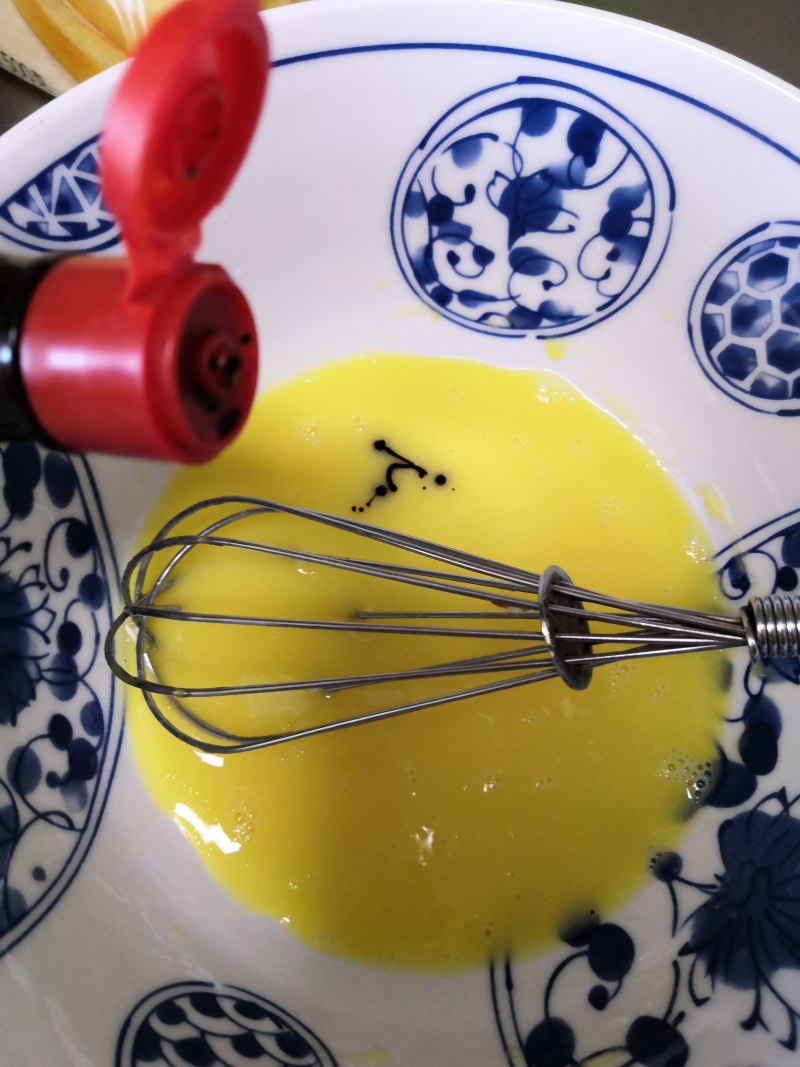
3.滴入红丝绒液
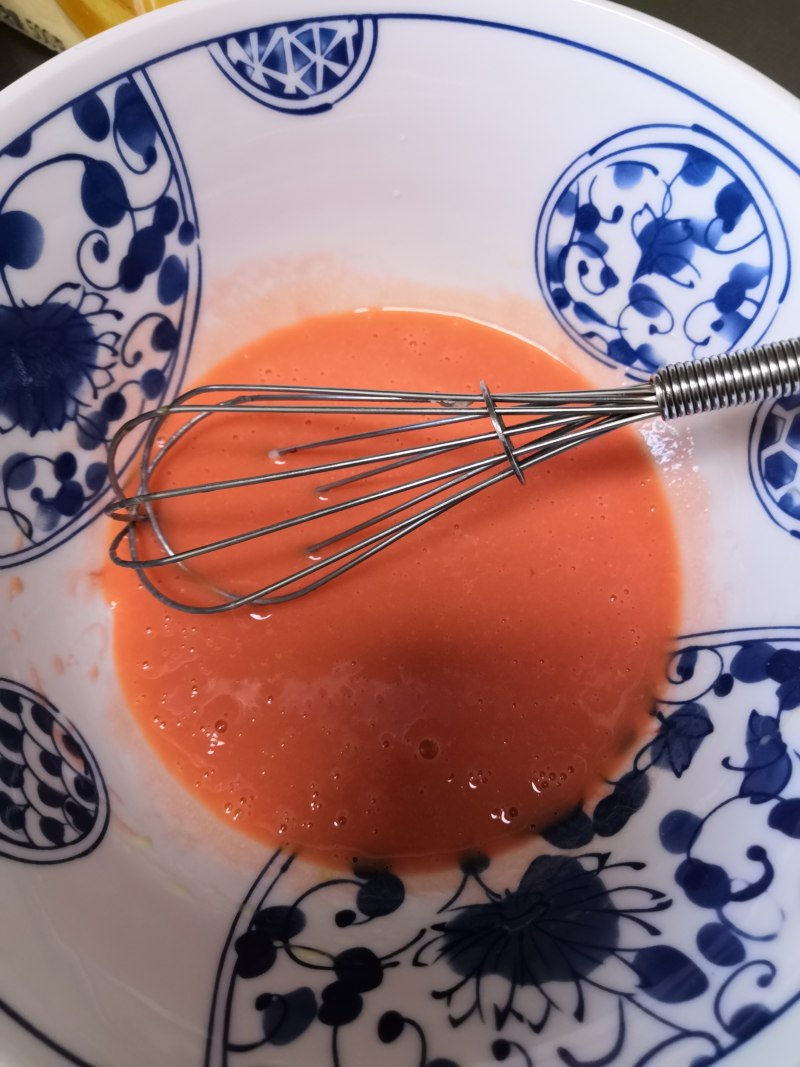
4.搅拌均匀
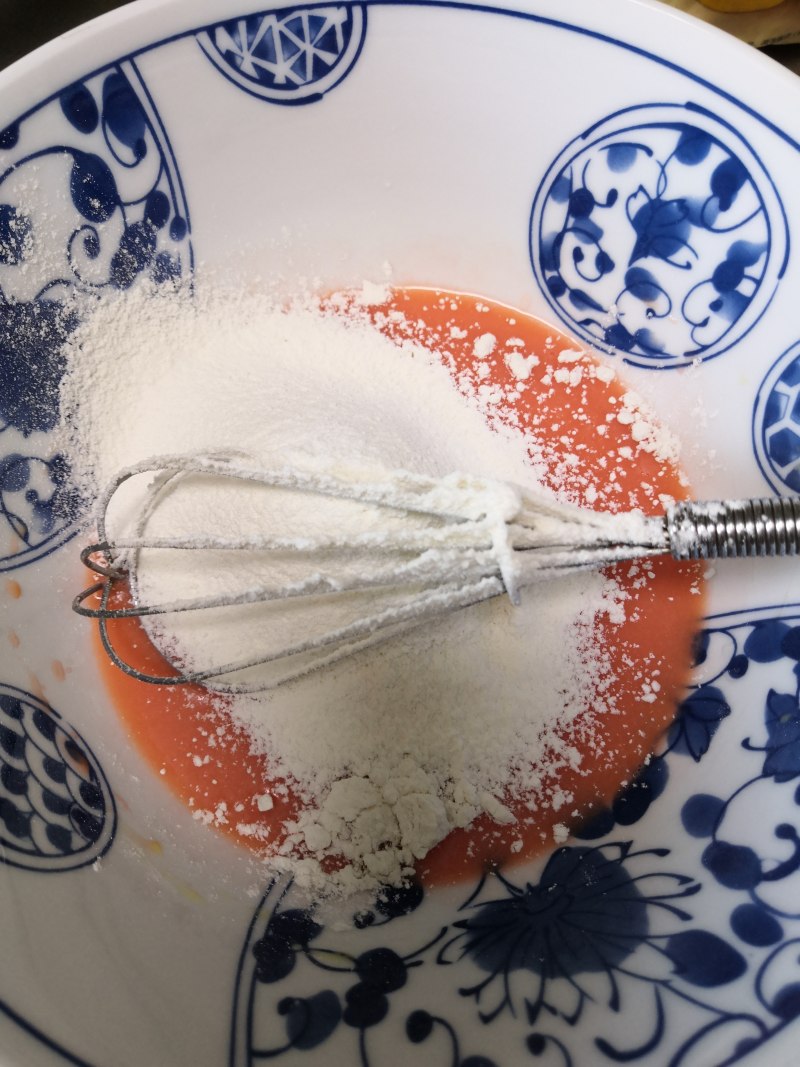
5.筛入低粉

6.z字型搅拌呈没有颗粒流动状即可,放一边备用
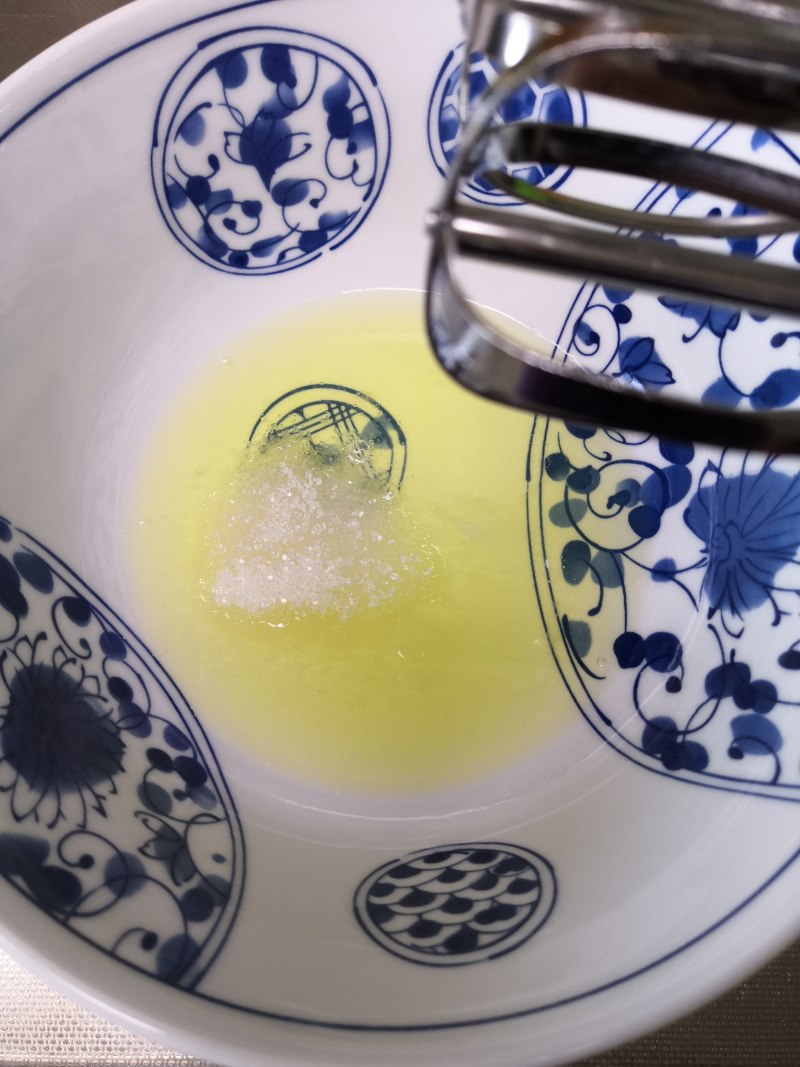
7.蛋白,加入白醋和三分之一白糖,开始打发蛋白
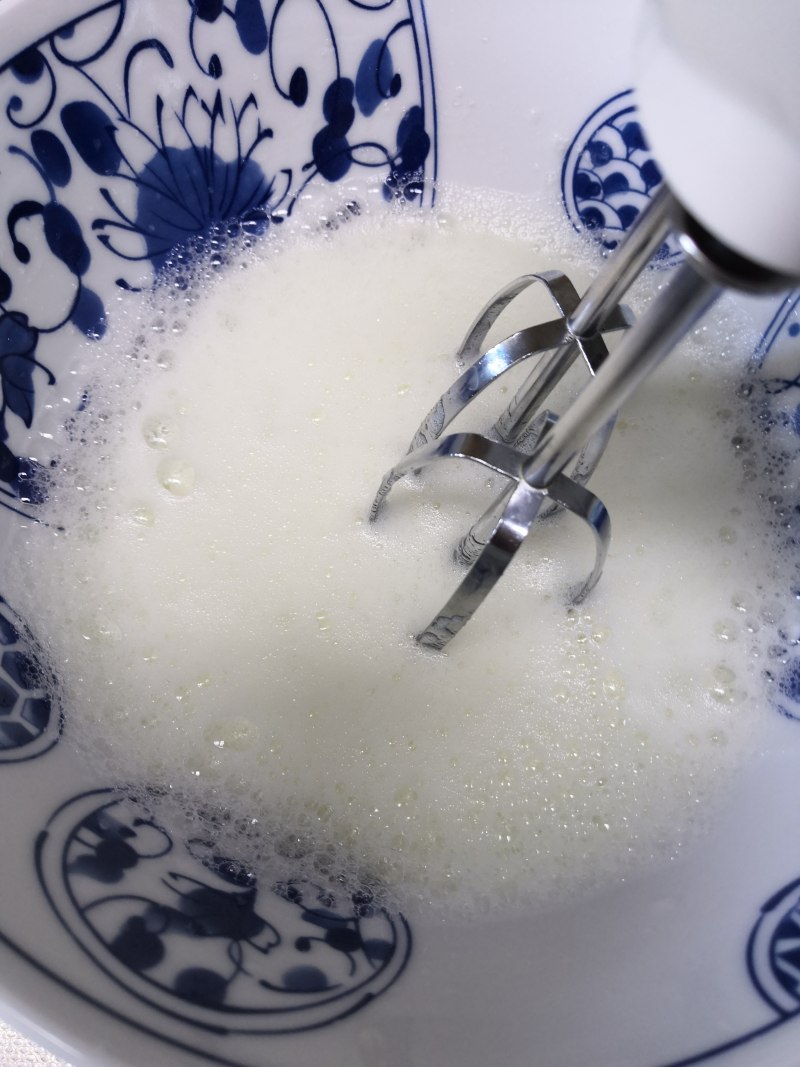
8.蛋白打到粗泡状加入第二份白糖

9.呈大泡状时加入最后三分之一白糖
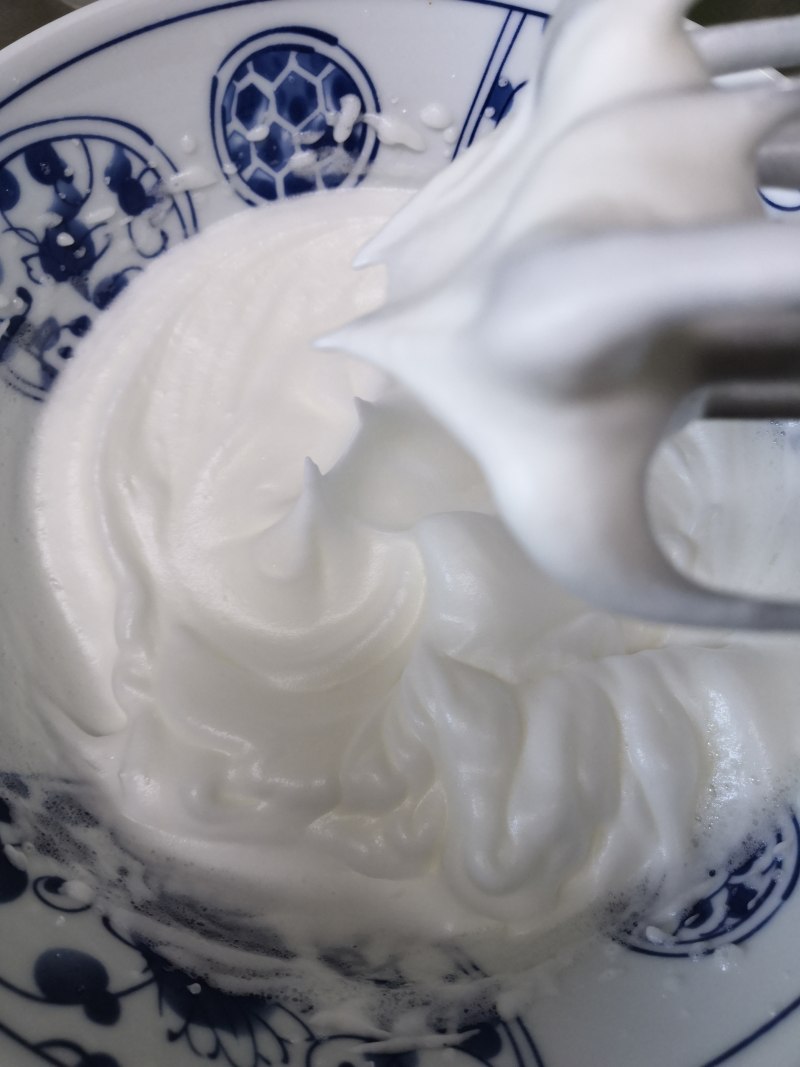
10.直到蛋白呈小直角状态即可
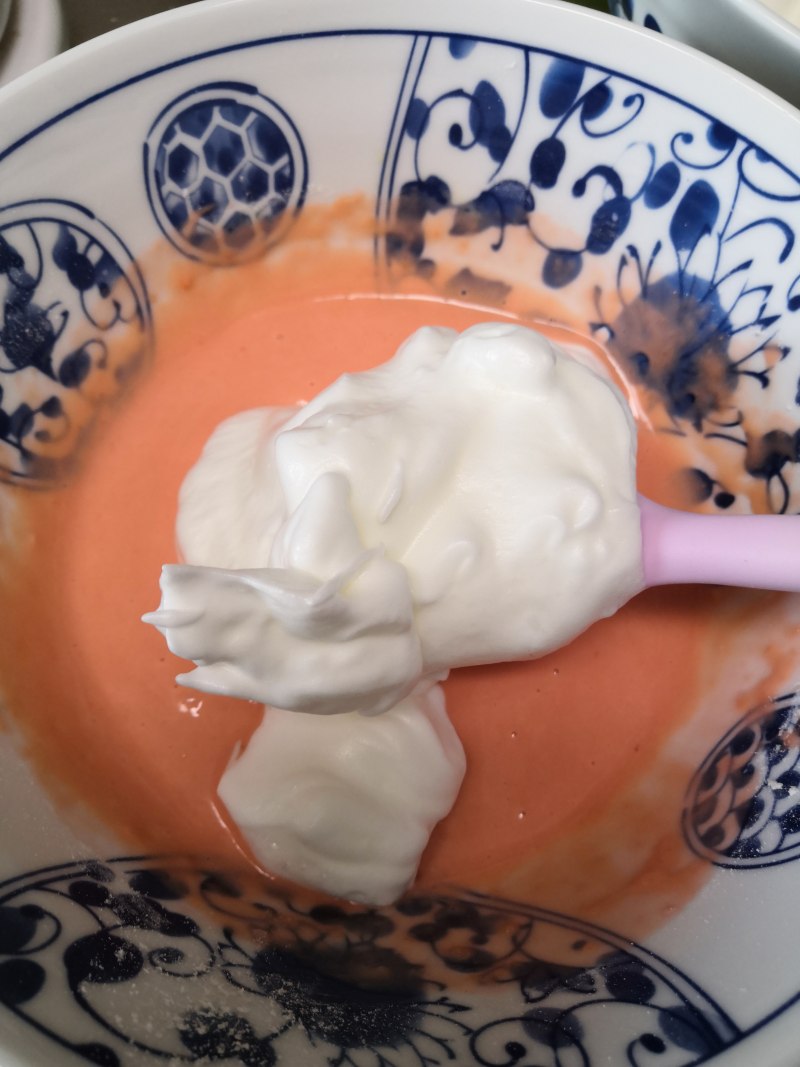
11.分一半蛋白加入蛋黄混合物中,翻拌的手法,轻盈而迅速
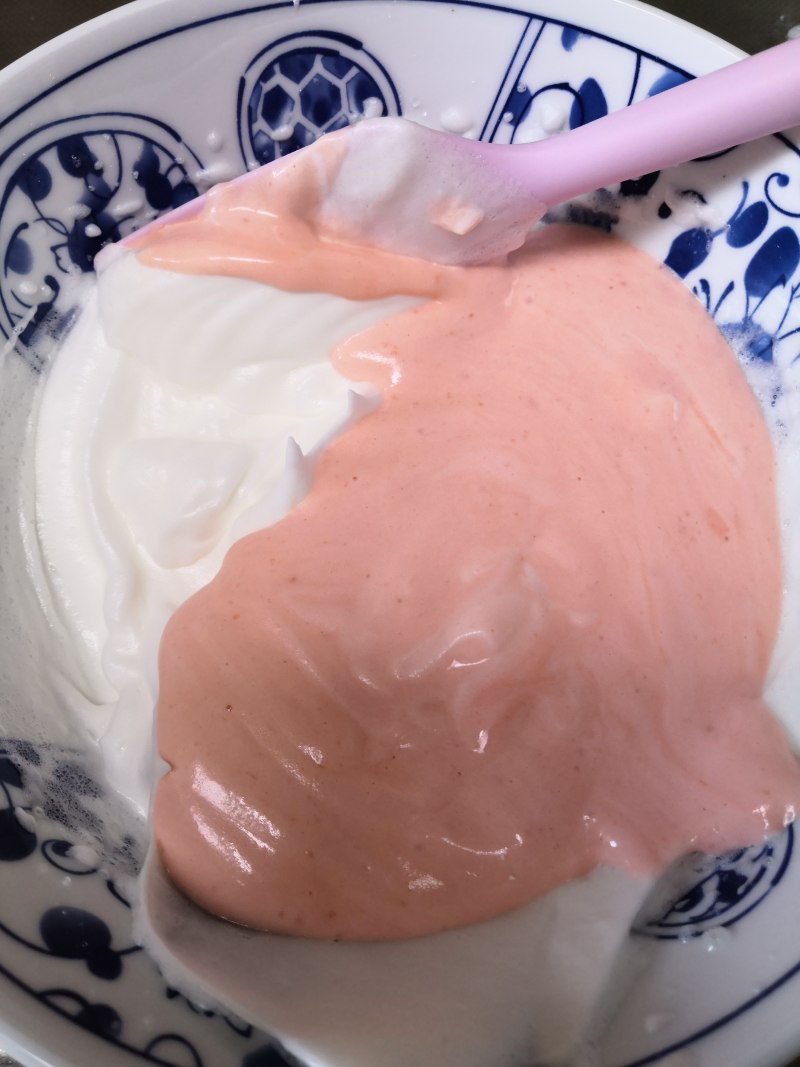
12.将上一步加入剩下的蛋白里,继续翻拌的手法,拌均匀
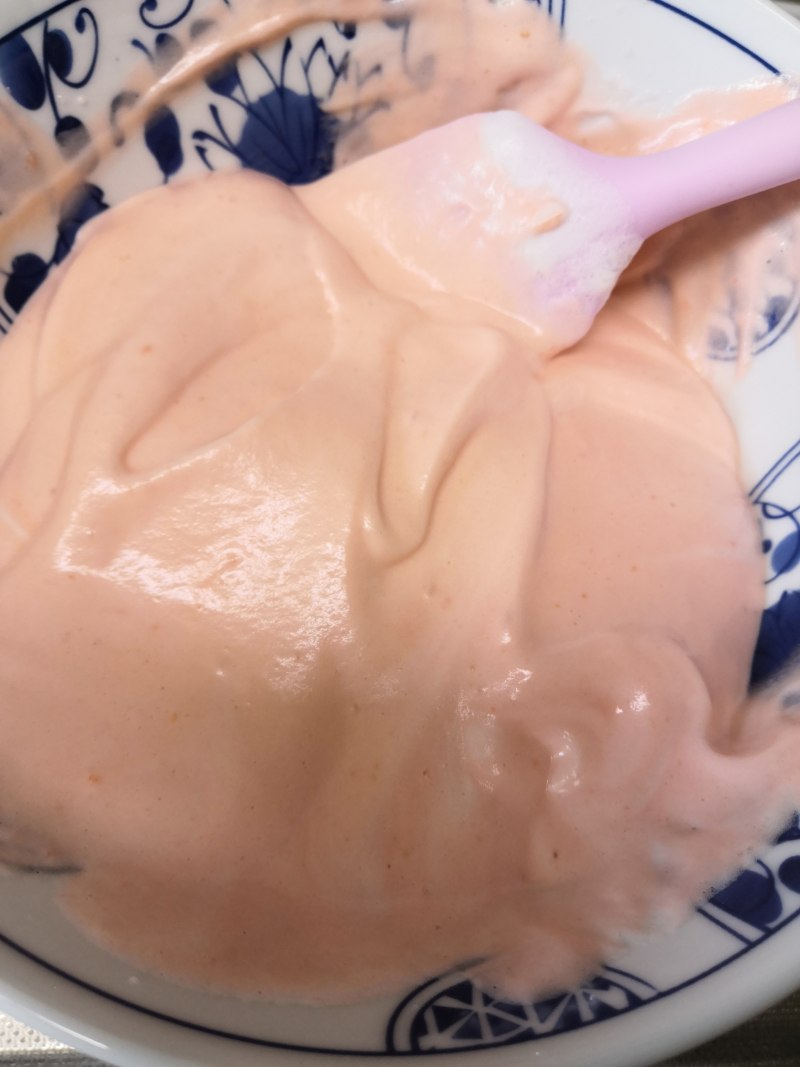
13.拌好的蛋糊呈细腻状且没有消泡
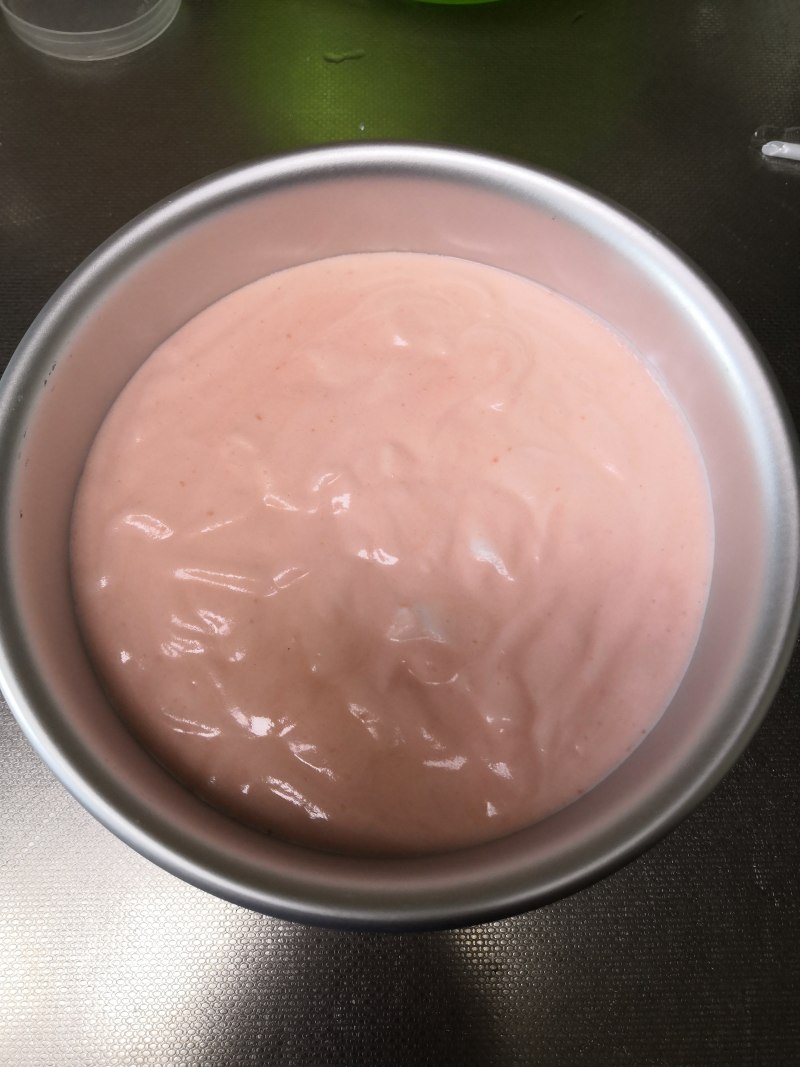
14.这时候烤箱预热150℃,把蛋糊倒入模具,轻震出气泡,放入烤箱150℃,中层40分钟
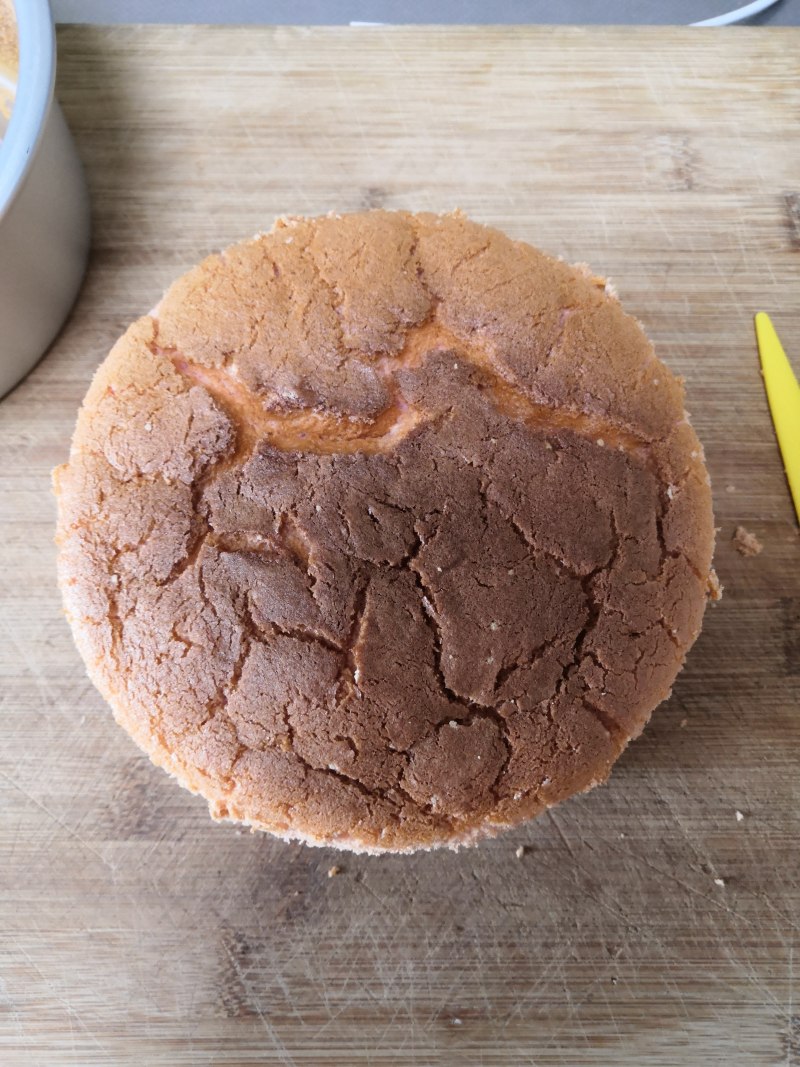
15.烤好后立即取出倒扣凉透,脱模
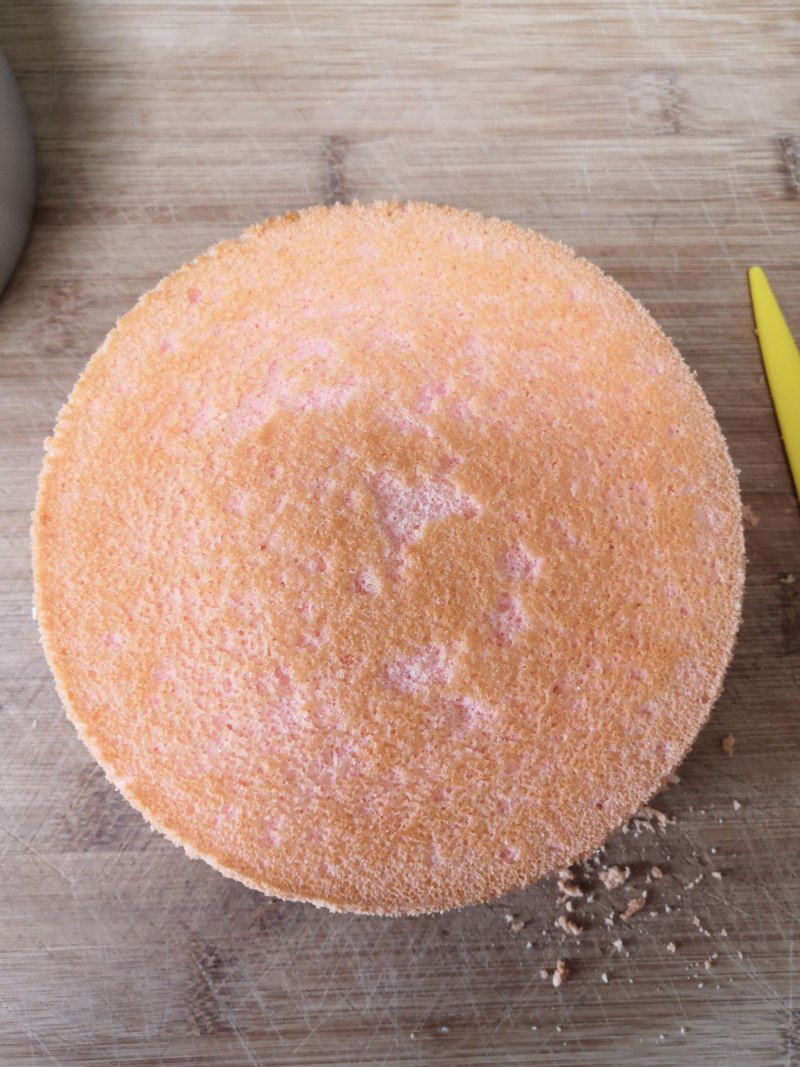
16.底部徒手脱模
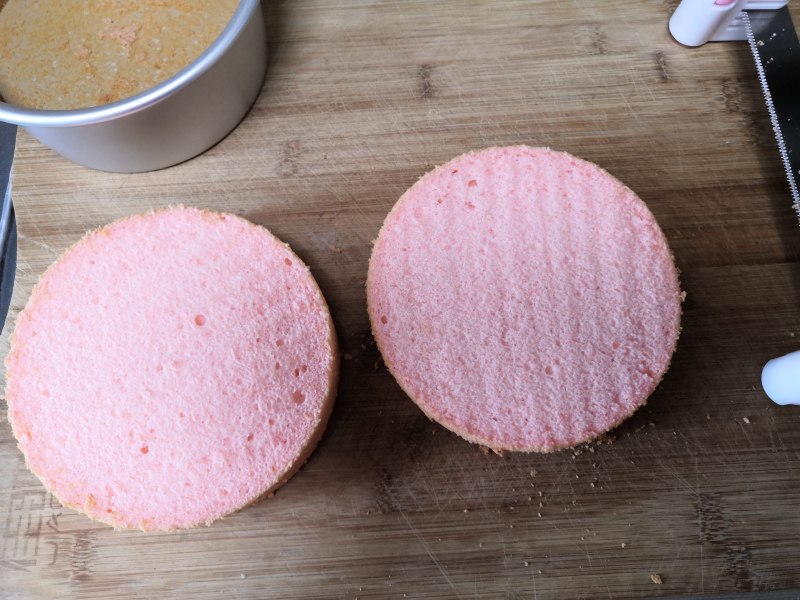
17.用分割刀分开蛋糕
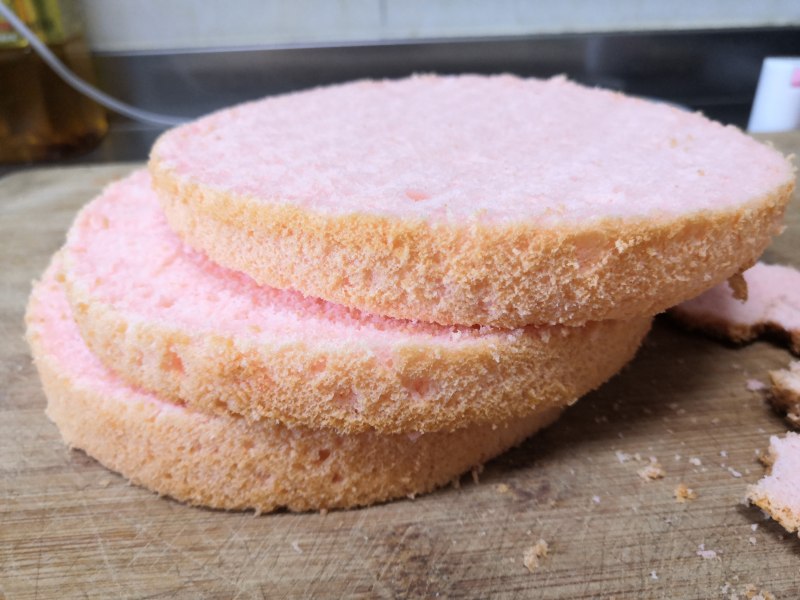
18.最终分成三片
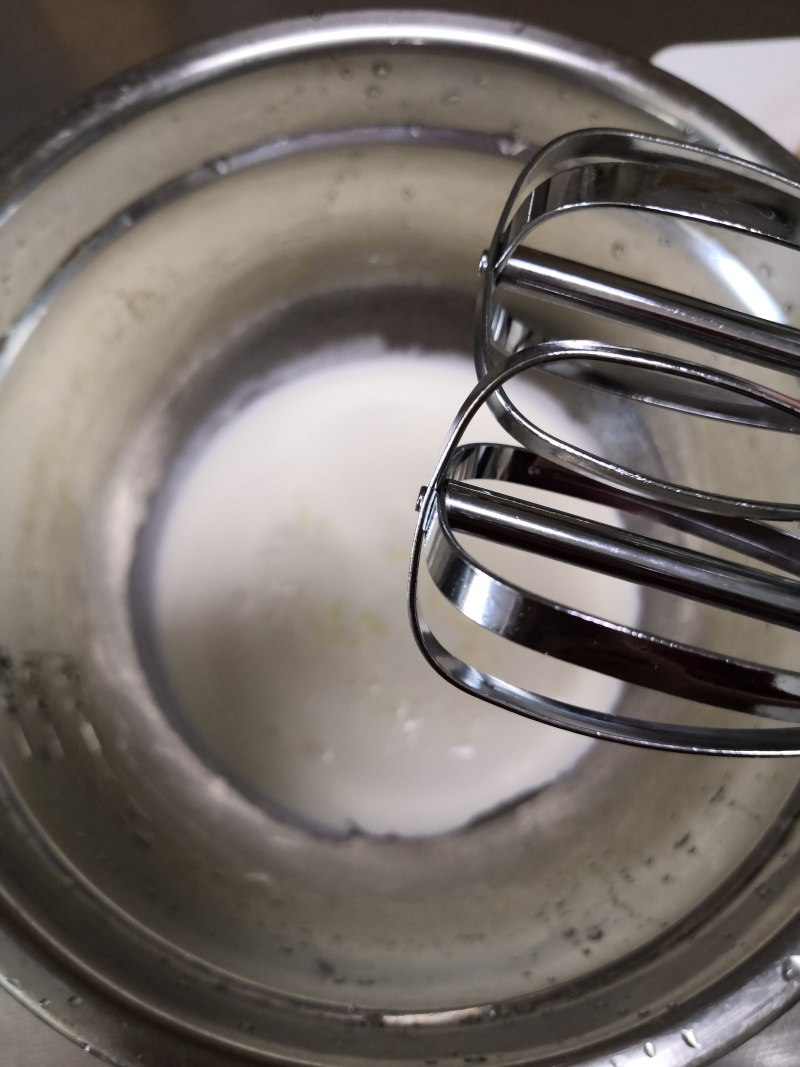
19.淡奶油加入少许白糖(这里白糖没有称量,看自己对奶油的口感了,喜欢甜多加喜欢淡少加)
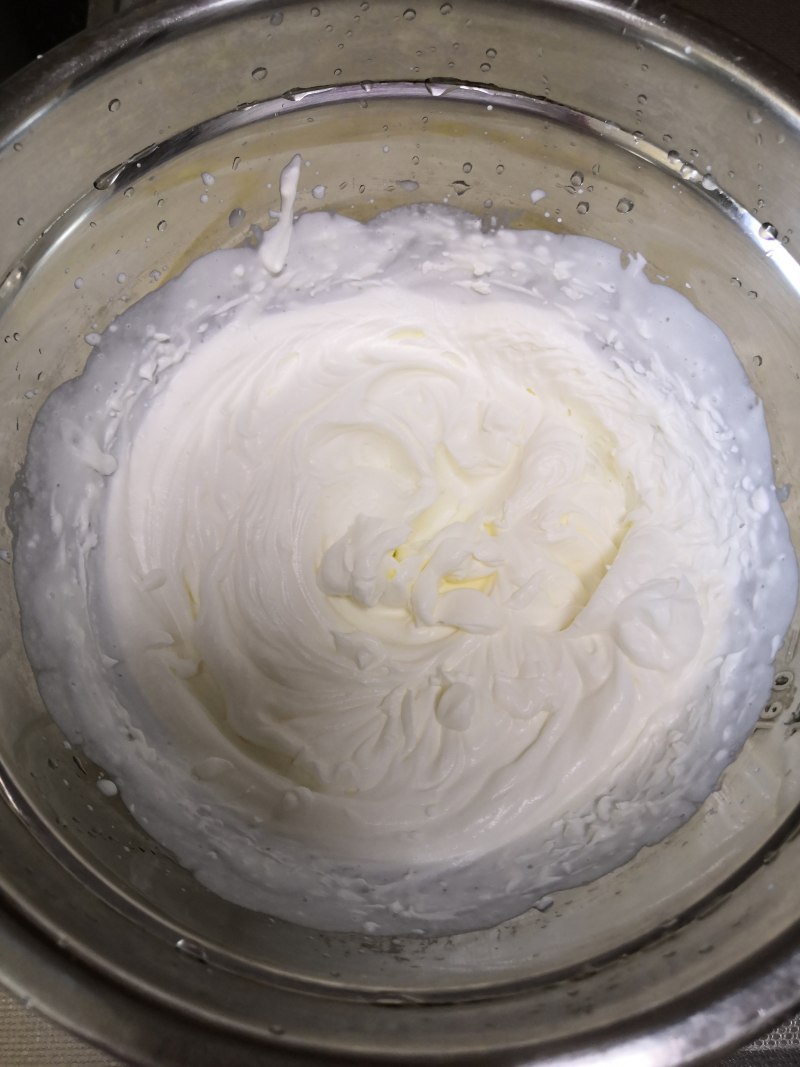
20.淡奶油打发到出现纹路即可

21.装入喜欢的裱花嘴,一片蛋糕垫底
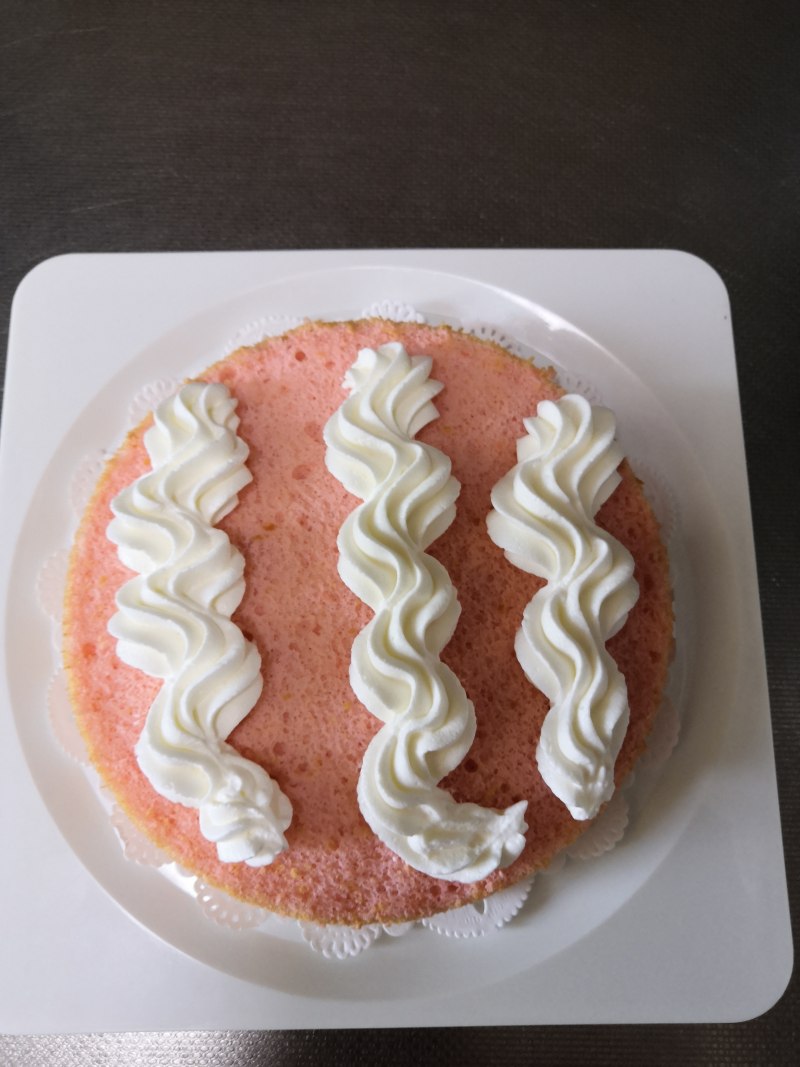
22.挤上喜欢的花纹,然后垫上第二片蛋糕,以此类推
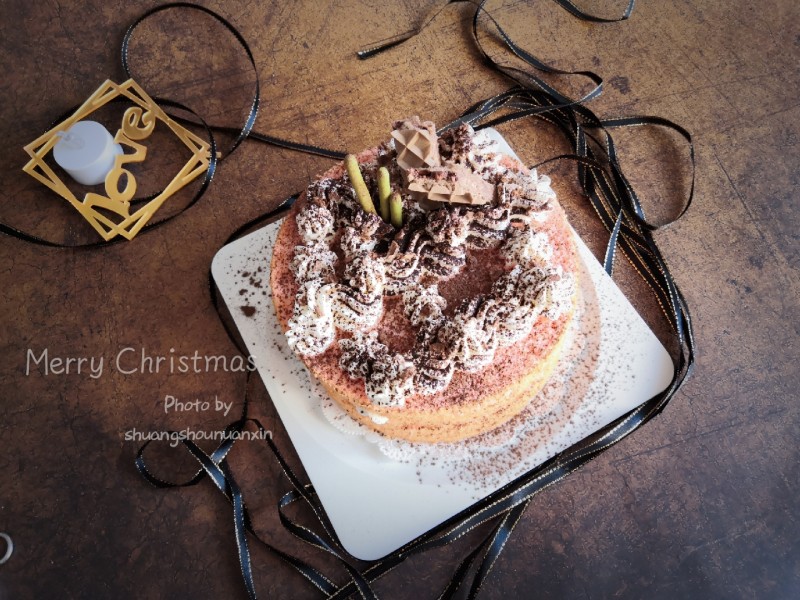
23.直到表面上也挤出喜欢的花纹,筛上可可粉,装饰威化饼和抹茶棒
小窍门&温馨提示
戚风蛋糕的制作是需要反复总结经验的,蛋白要打到位,烤箱温度也要根据自己家的调节。
表面装饰自己喜好了
TAGS:
烘焙 下午茶 其他菜系 鸡蛋
免责声明:本站部分文章转载自网络,图文仅供行业学习交流使用,不做任何商业用途。文章仅代表原作者个人观点,其原创性及文章内容中图文的真实性、完整性等未经本站核实,仅供读者参考。
上一篇: 荷包豆腐皮的做法,荷包豆腐皮怎么做,荷包豆腐皮做法,荷包蛋豆皮,荷包蛋 豆腐,荷叶包豆腐
下一篇: 生日蛋糕的做法,生日蛋糕怎么做,生日蛋糕图片大全,生日蛋糕订购送货上门,生日蛋糕哪家品牌最好吃,生日蛋糕品牌排行前十
Deprecated: mysql_connect(): The mysql extension is deprecated and will be removed in the future: use mysqli or PDO instead in
/data/haozs.cc/xianguan.php on line
5
Deprecated: mysql_query(): The mysql extension is deprecated and will be removed in the future: use mysqli or PDO instead in
/data/haozs.cc/xianguan.php on line
7


