主料:
鸡蛋,
4个,
牛奶,
60克,
低筋面粉,
60克红曲米粉,5克抹茶粉,
5克,
玉米油,
40克,
白糖,
50克
辅料:
淡奶油,
200克,
白糖,
20克,
抹茶粉,
少许,
蓝莓酱,
少许彩虹蛋糕的做法步骤
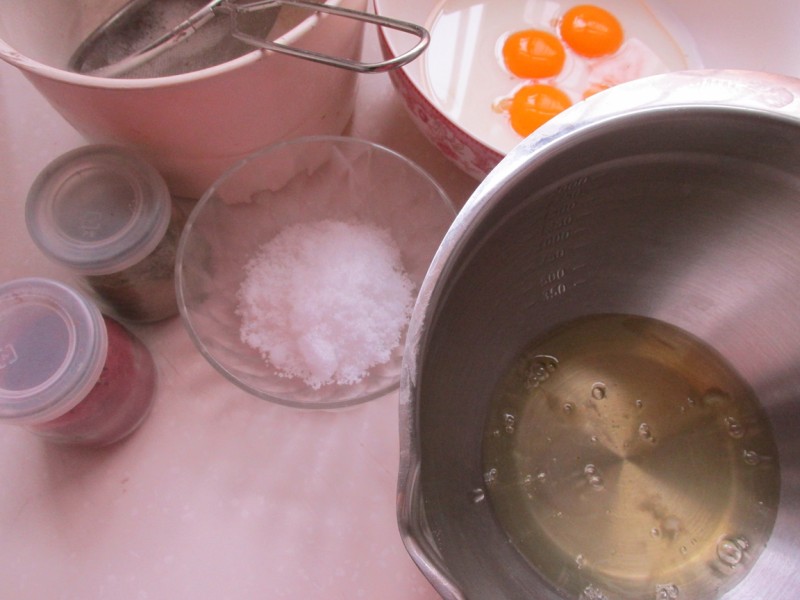
1.各种材料备用,把鸡蛋蛋清和蛋黄分开。
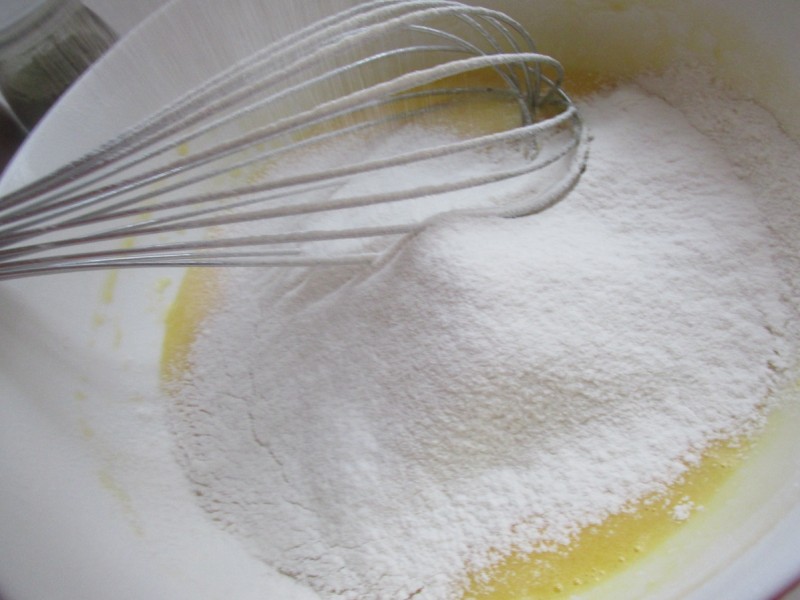
2.蛋黄和玉米油牛奶一起拌匀,筛入低筋面粉。
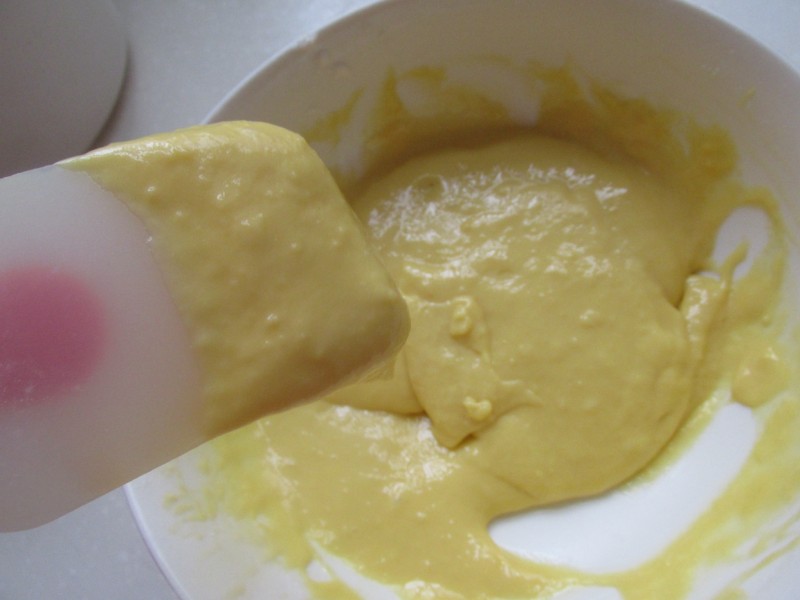
3.拌匀成蛋黄糊。

4.蛋清打发成蛋白霜,这个蛋白霜一定要打到十分发,拿出打蛋器呈直角。
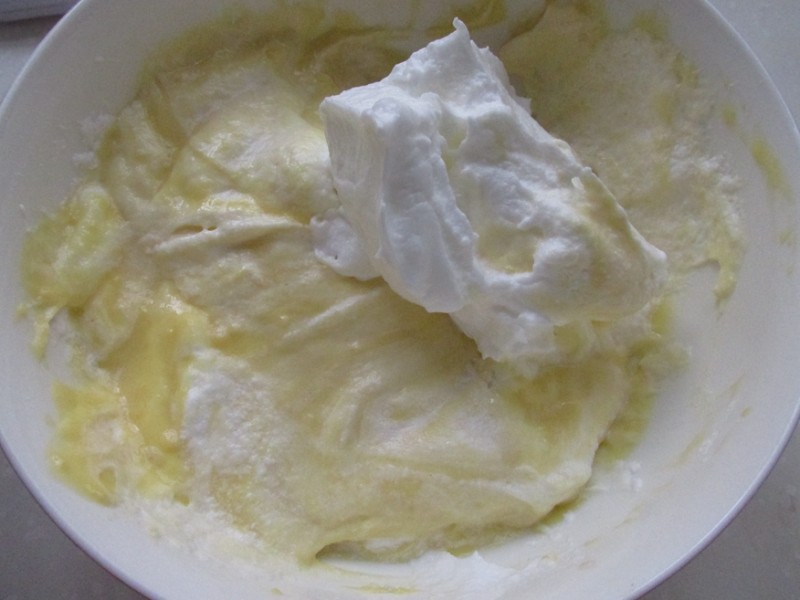
5.分次加入到蛋黄糊中翻拌均匀,一定要翻拌不可画圈拌会出筋性而影响涨发。
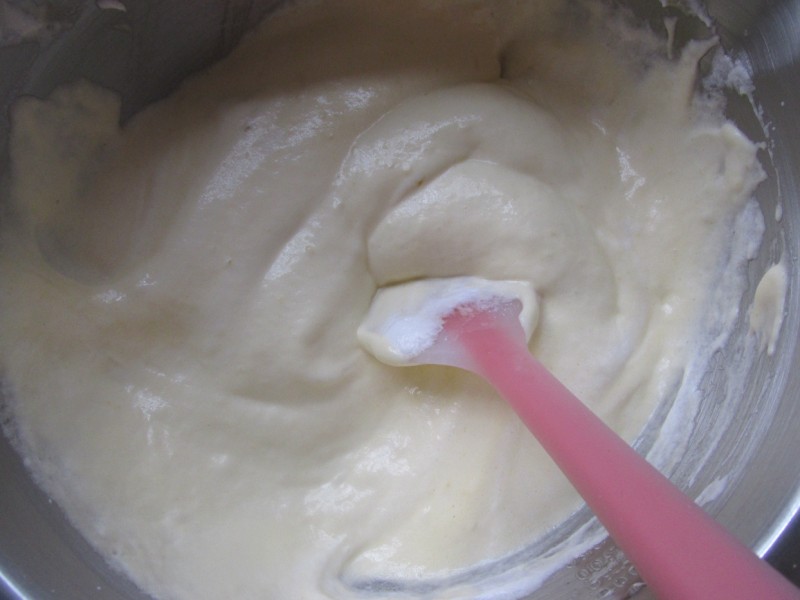
6.拌成细腻的蛋糕糊。
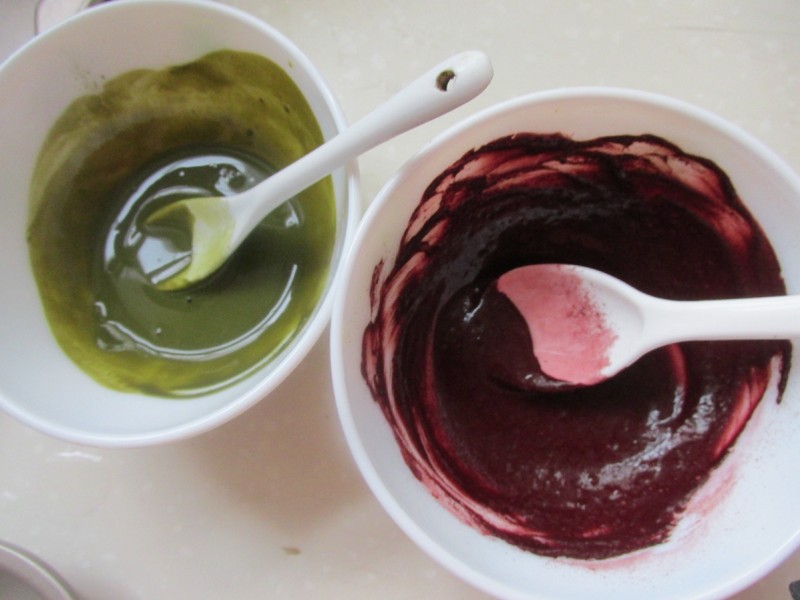
7.把抹茶粉和红曲粉分别加入一点水稀释。
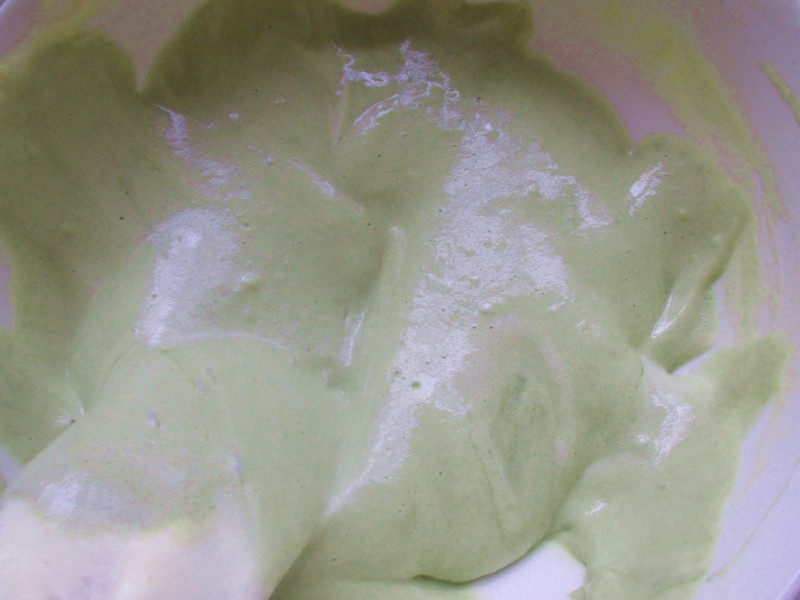
8.把面糊分开成三份,一些加入抹茶粉拌匀。
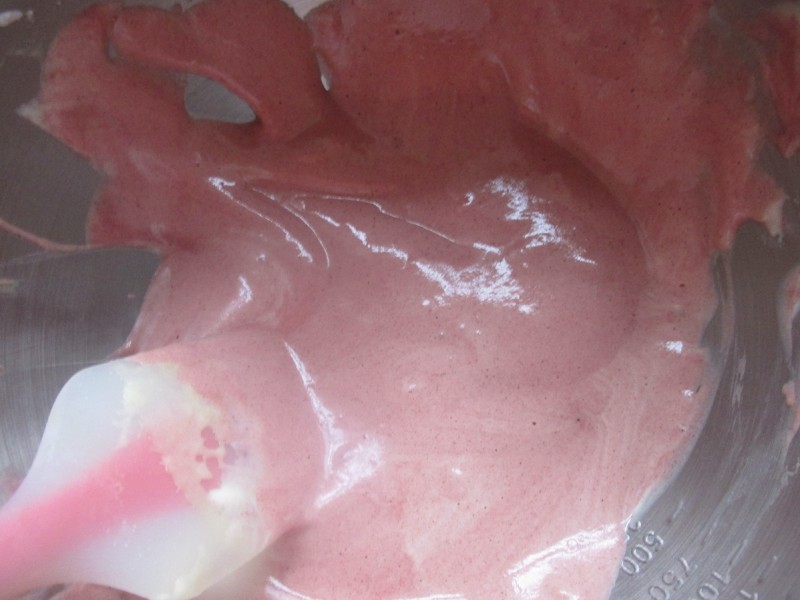
9.一些加入红曲粉拌匀。
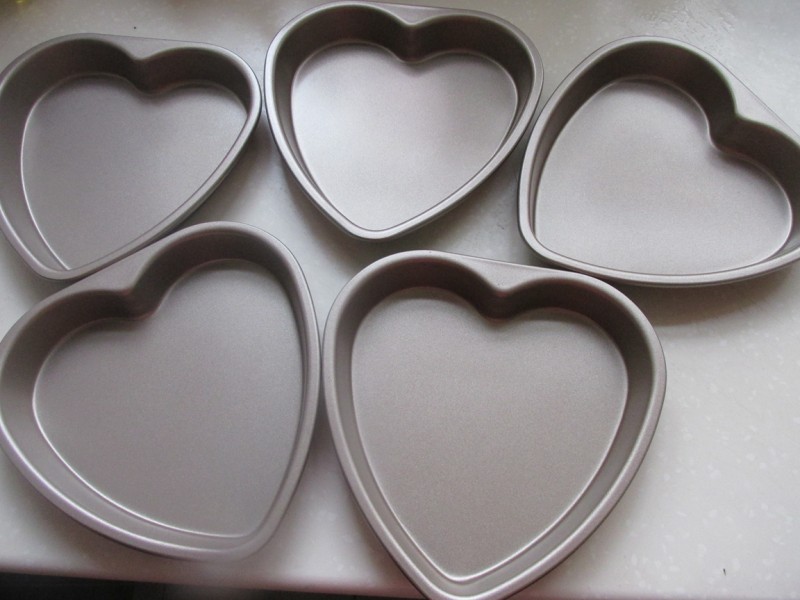
10.学厨心形烤盘洗净擦干,这个是一套五个,可以做成彩色的。
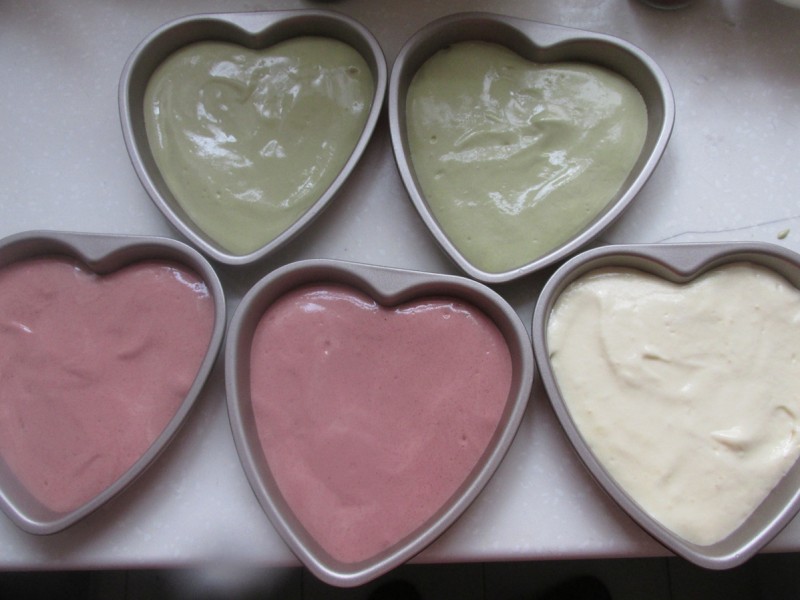
11.分别把办好的蛋糊倒入到模具中。
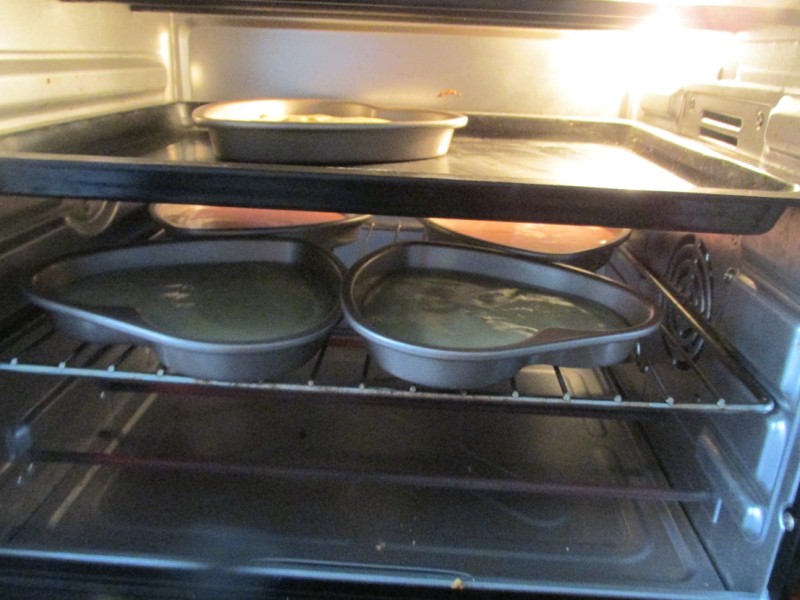
12.烤箱200度预热,把蛋糕放入改成170度烤10分钟即可。
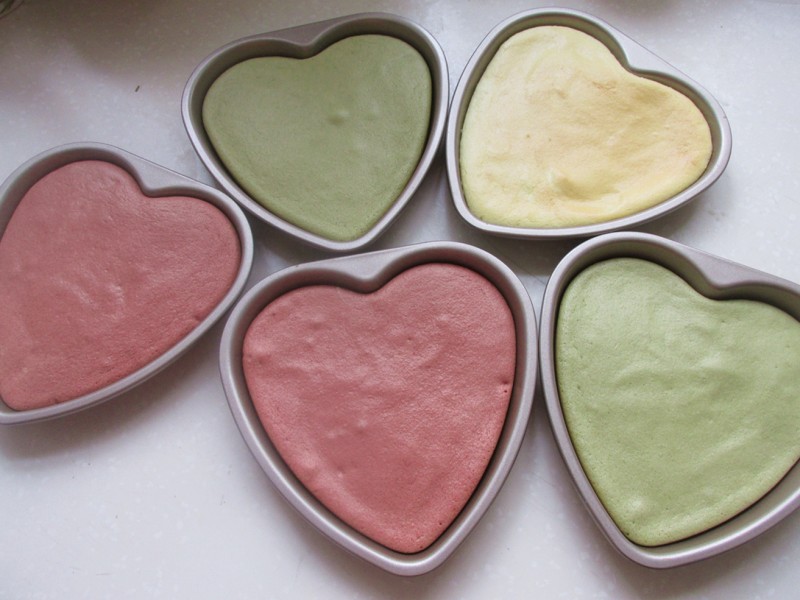
13.烤好拿出,看颜色还是很鲜艳的,不可时间太长上色就不好看了。
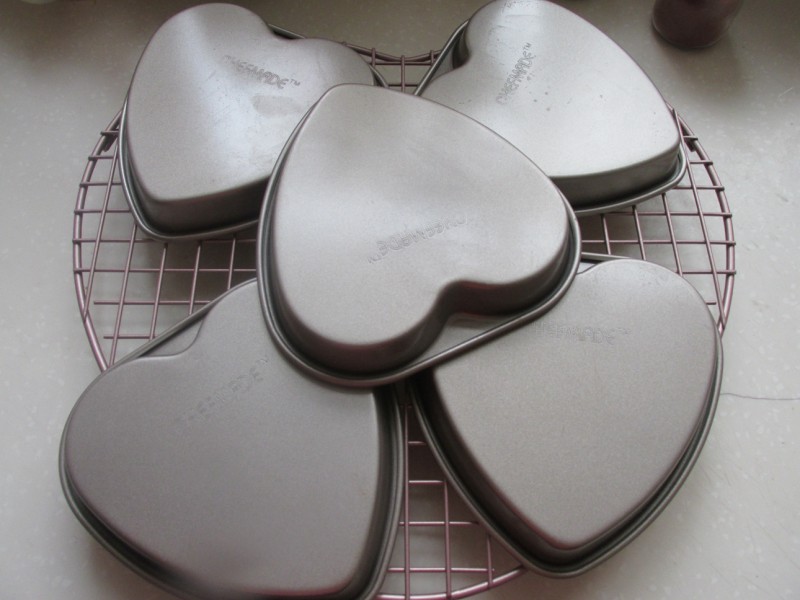
14.倒扣凉到手感温乎。
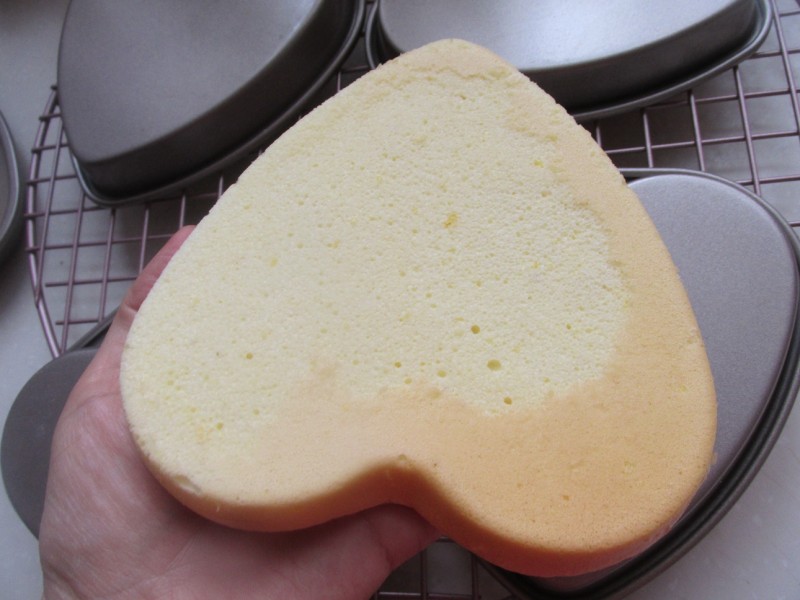
15.倒扣拿出蛋糕就好了。
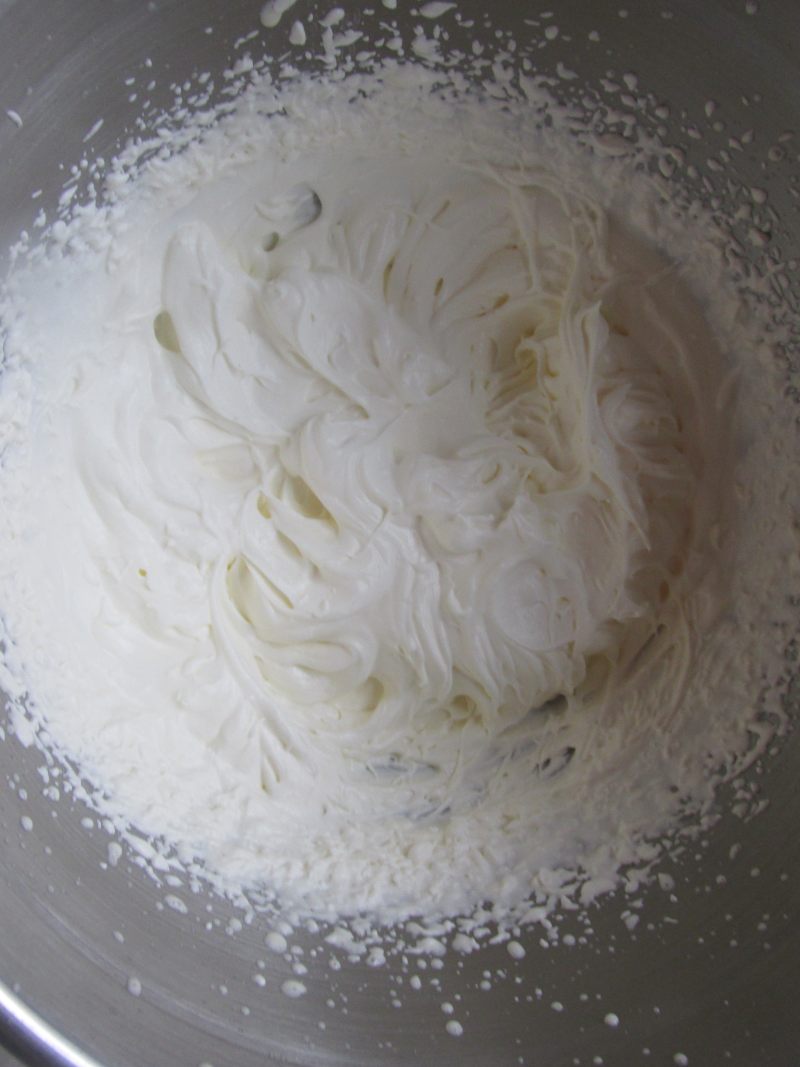
16.淡奶油加糖打发成比裱花略稀一点就可以了。
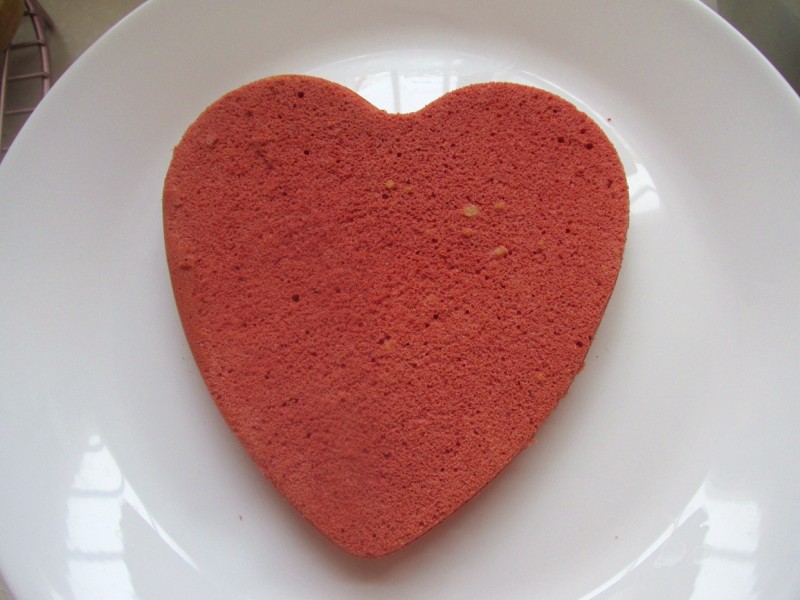
17.先拿一片红色蛋糕放到盘里。
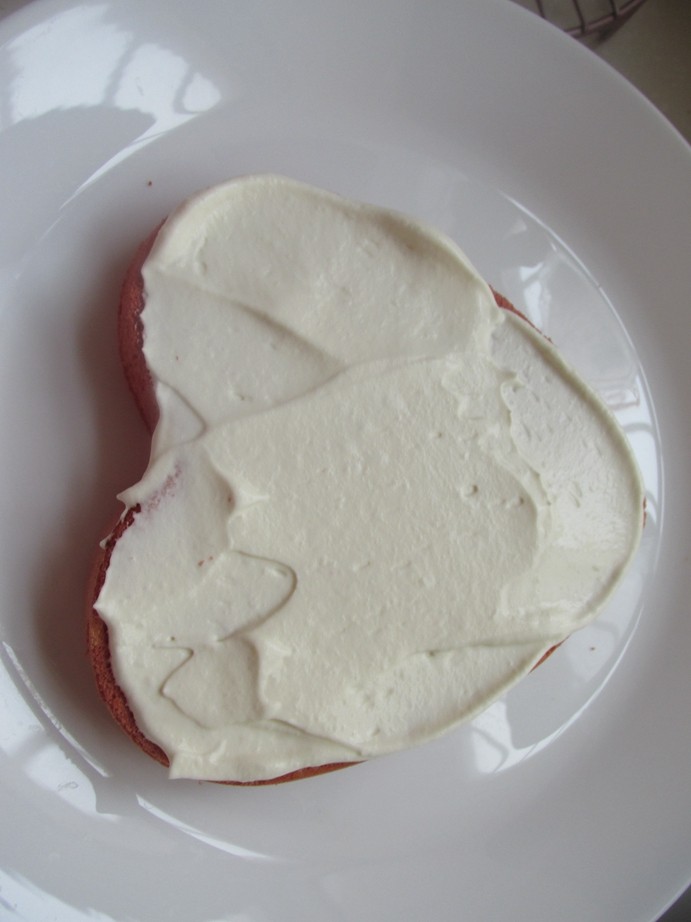
18.抹上奶油。
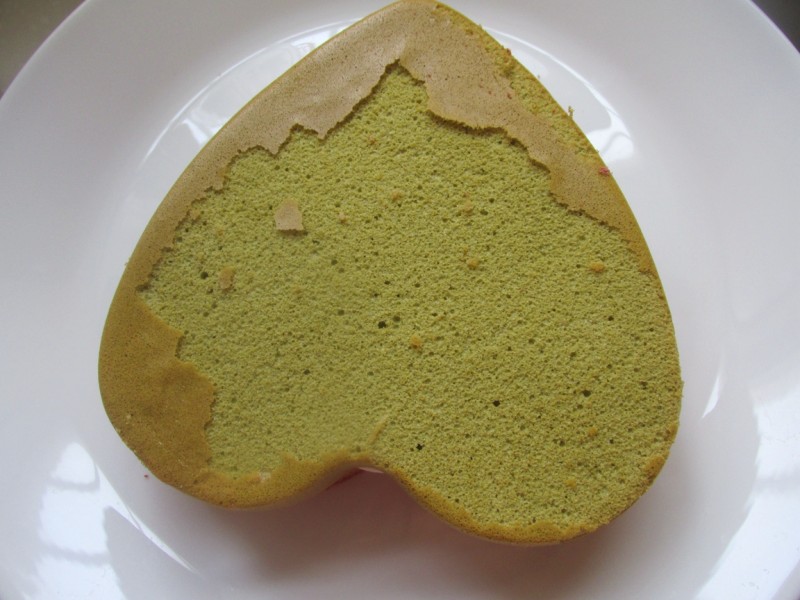
19.再盖上一片绿色的抹上奶油,如此重复做完。
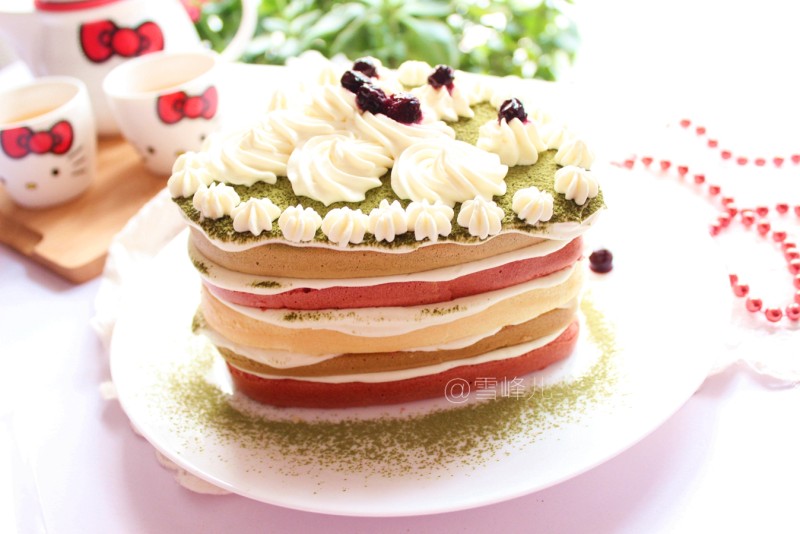
20.最上面抹上奶油,筛上抹茶粉,少加装饰即可。
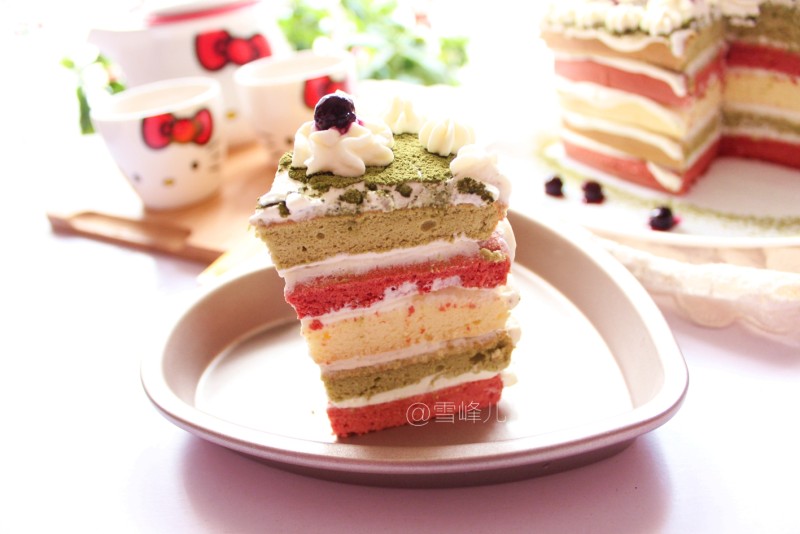
21.简简单单,不需要会裱花也是很不错的哦,裸蛋糕今年流行。
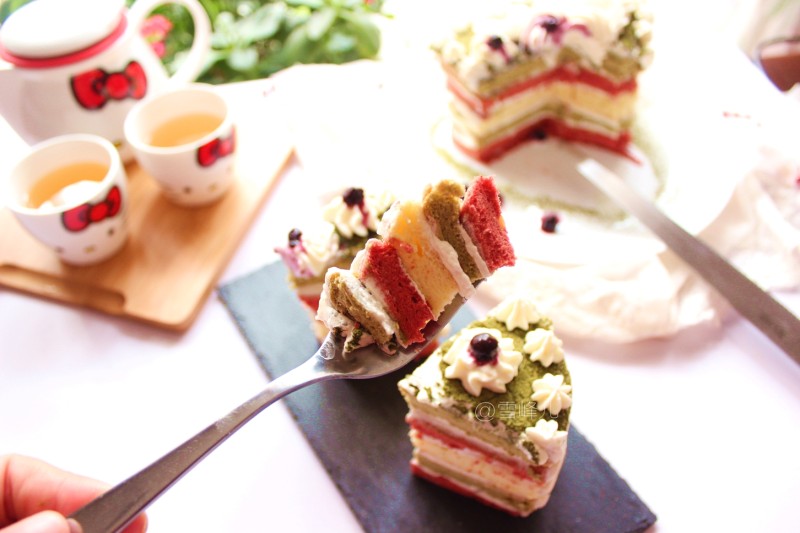
22.切开,开吃。
小窍门&温馨提示
1,蛋白霜一定要打到十分发,拿出打蛋器呈直角,这样蛋糕才会柔软。
2,蛋白霜分次加入到蛋黄糊中翻拌均匀,这个过程一定要翻拌不可画圈拌会出筋性而影响涨发。
只要注意这两点,做蛋糕那是分分钟的事,绝对不会失败。
TAGS:
烘焙 下午茶 其他菜系 鸡蛋
免责声明:本站部分文章转载自网络,图文仅供行业学习交流使用,不做任何商业用途。文章仅代表原作者个人观点,其原创性及文章内容中图文的真实性、完整性等未经本站核实,仅供读者参考。
上一篇: 蓝莓山药泥的做法,蓝莓山药泥怎么做,蓝莓山药泥的做法,蓝莓山药泥的功效与作用,蓝莓山药泥摆盘图片,蓝莓山药泥宝宝辅食
下一篇: 蓝莓山药泥的做法,蓝莓山药泥怎么做,蓝莓山药泥的做法,蓝莓山药泥的功效与作用,蓝莓山药泥摆盘图片,蓝莓山药泥宝宝辅食
Deprecated: mysql_connect(): The mysql extension is deprecated and will be removed in the future: use mysqli or PDO instead in
/data/haozs.cc/xianguan.php on line
5
Deprecated: mysql_query(): The mysql extension is deprecated and will be removed in the future: use mysqli or PDO instead in
/data/haozs.cc/xianguan.php on line
7


