主料:
中筋面粉,
150g,
低筋面粉,
90g,
红豆适量,
咸蛋黄,
8个
辅料:
猪油适量调料
糖适量,
食用油适量蛋黄豆沙酥的做法步骤
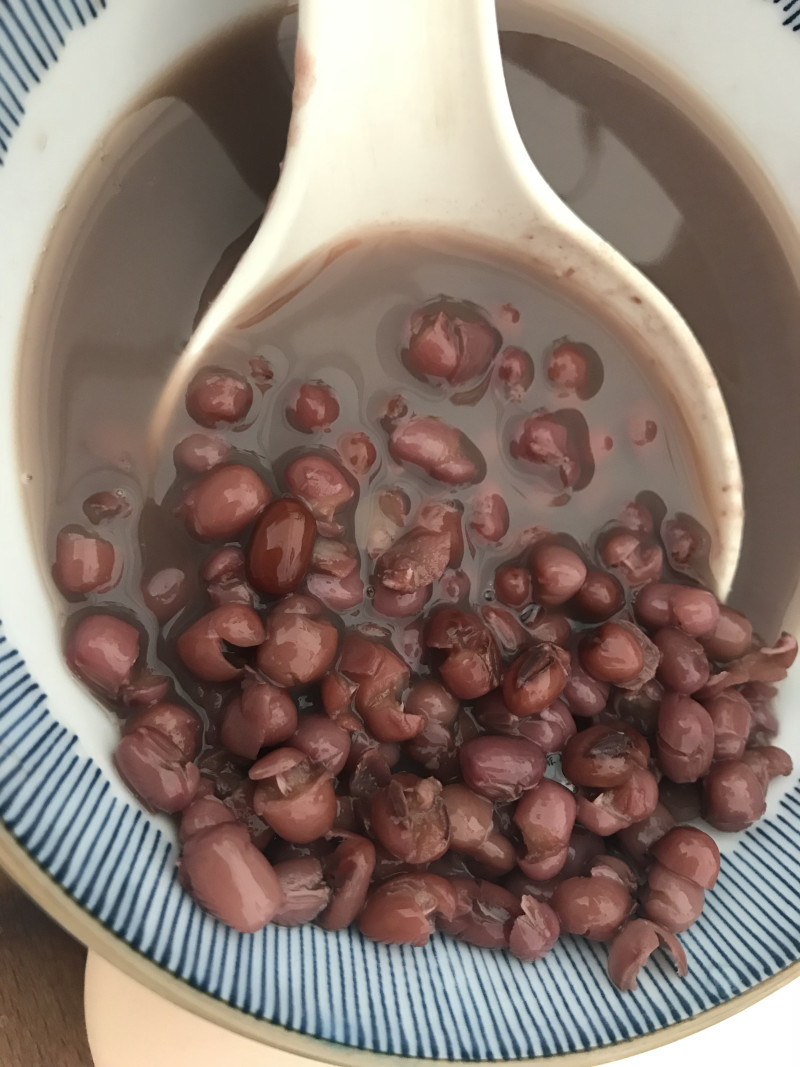
1.红豆提前一晚浸泡,放到电饭锅里面焖熟,煮至一捏就碎的状态就可以了,用辅食机搅打成糊状。
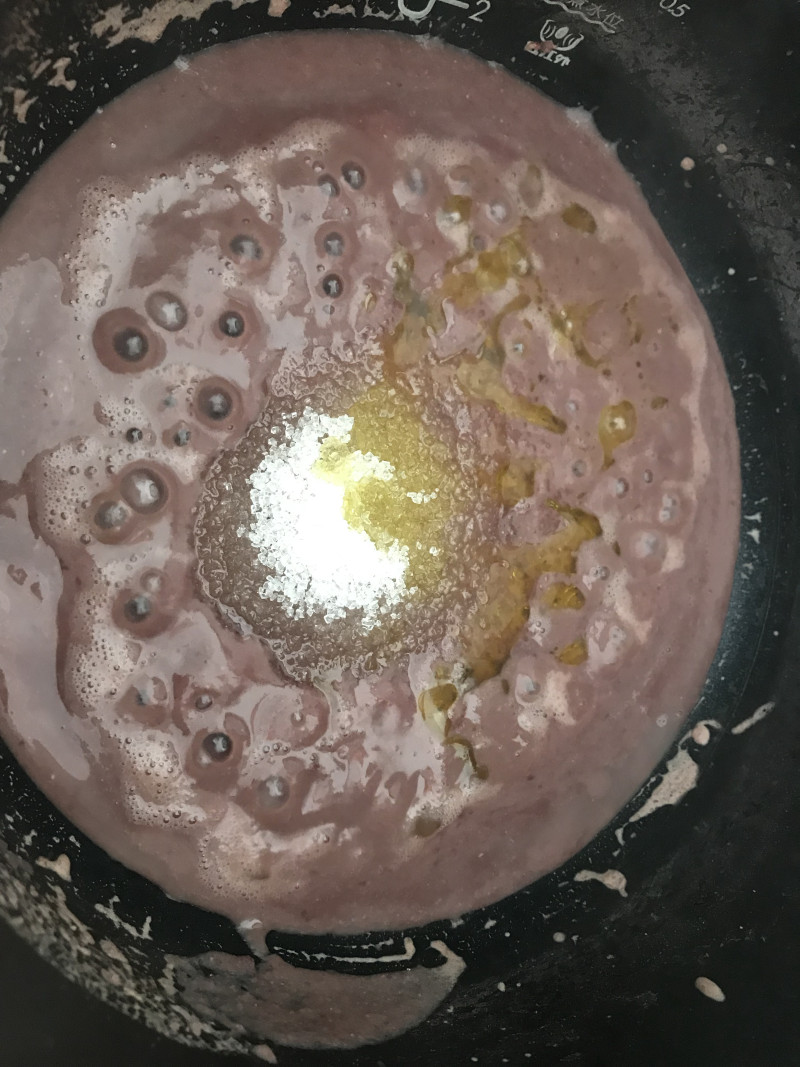
2.将红豆糊放入不粘锅,放糖,油后不停地搅拌。(红豆糊里面的水不可过多,以免加长煮的时间,油可以稍微放多点)
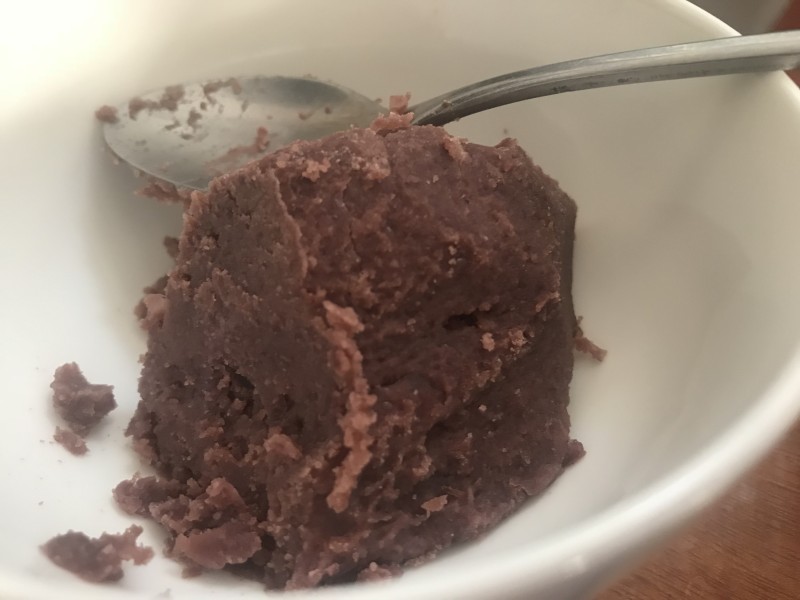
3.凉至温度可以用手揉时进行揉捏,摔打搓成团,放冰箱恒温保存。
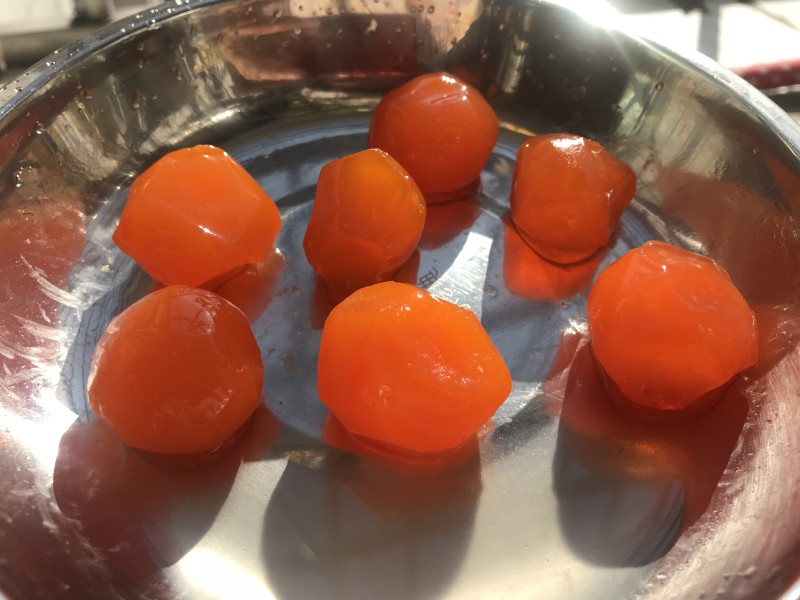
4.蛋黄清洗一遍,过白酒一次,放入空气炸锅180度5分钟。
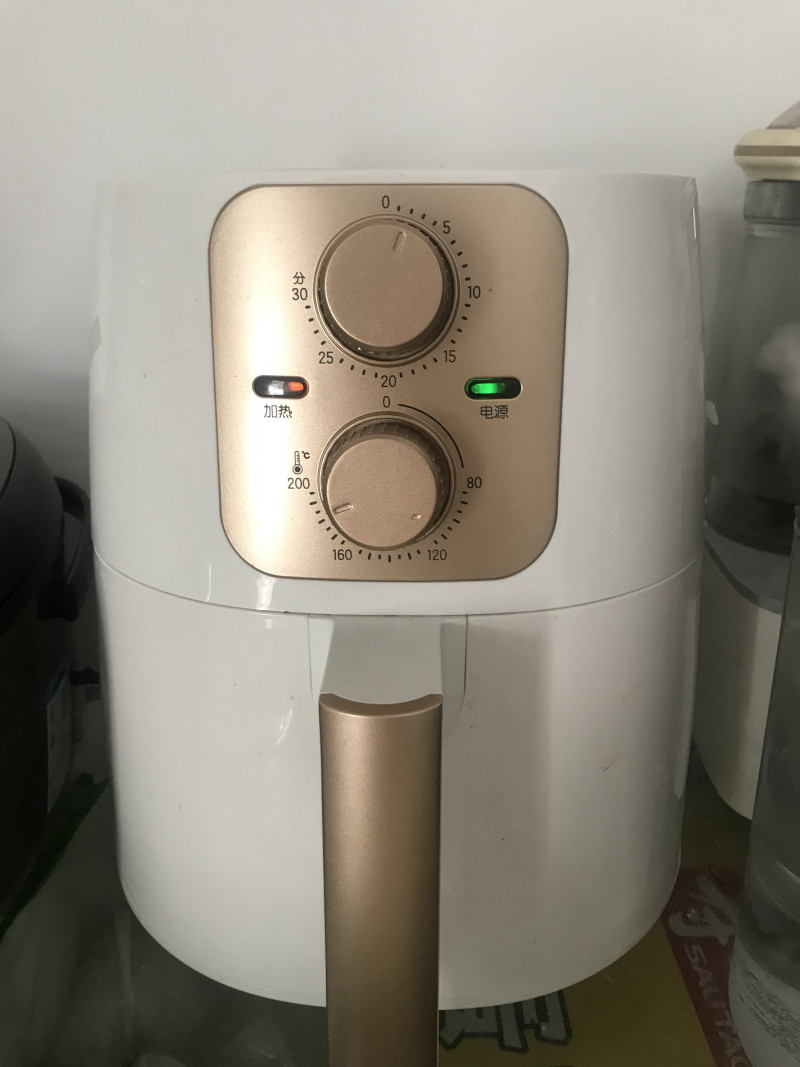
5.5分钟后不要立即拿出,先放凉。
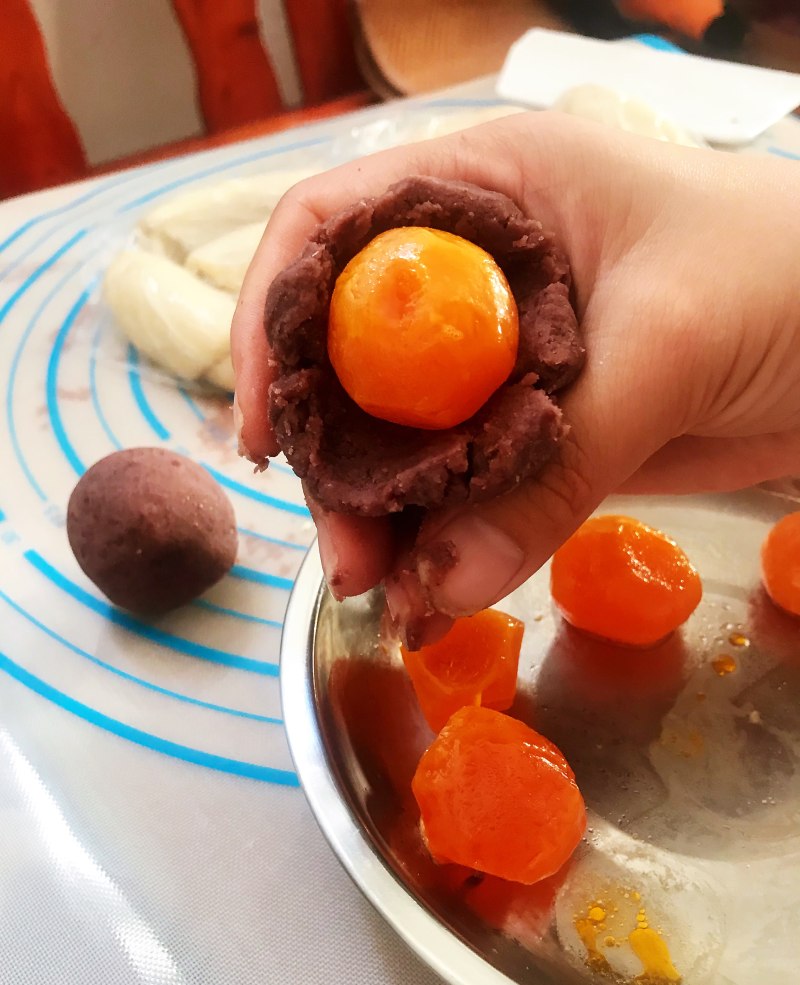
6.将蛋黄包入豆沙馅中,搓圆。
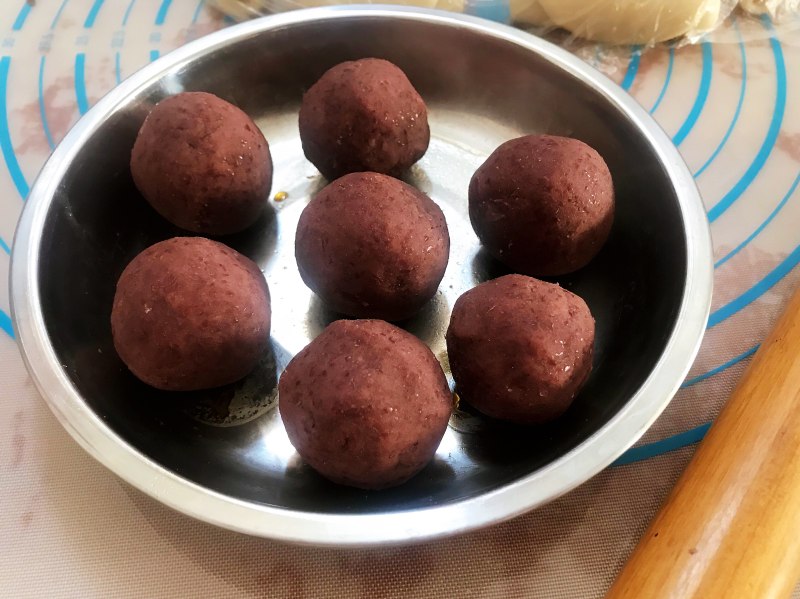
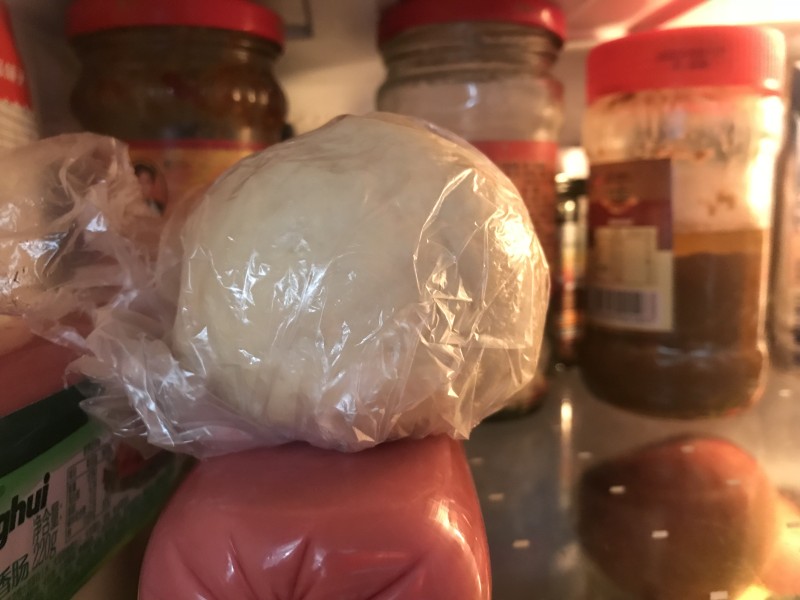
7.用保鲜膜包住,放冰箱恒温保存方便定型。
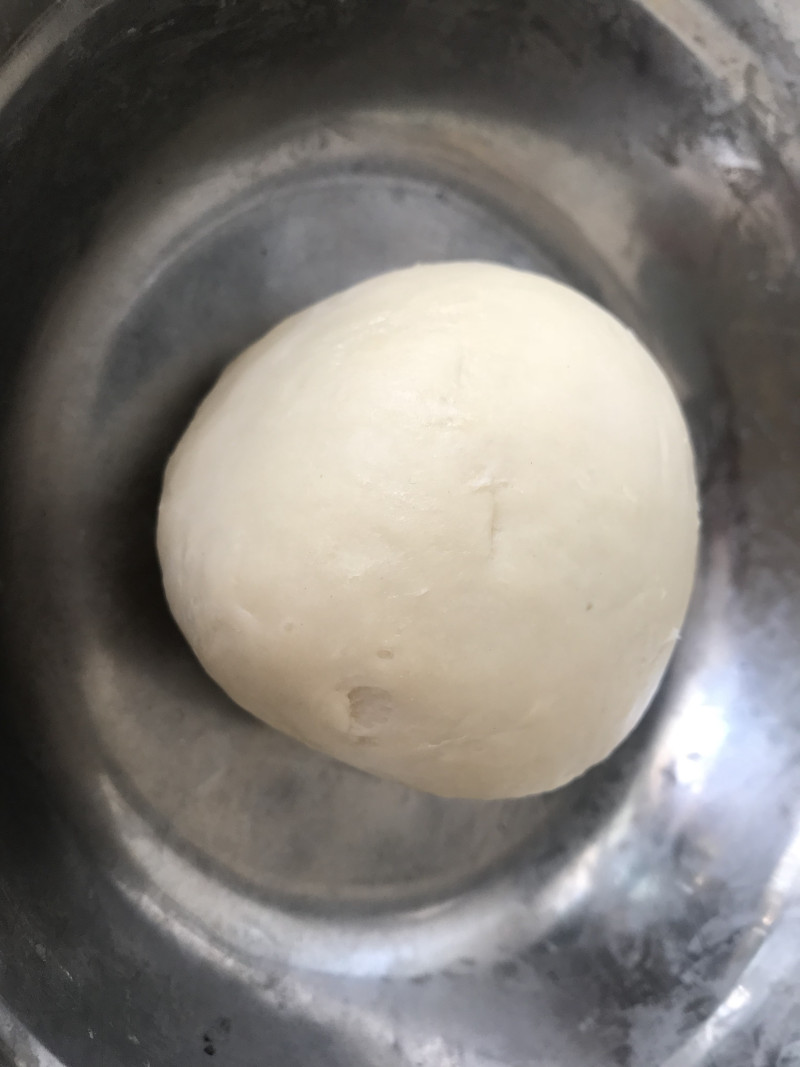
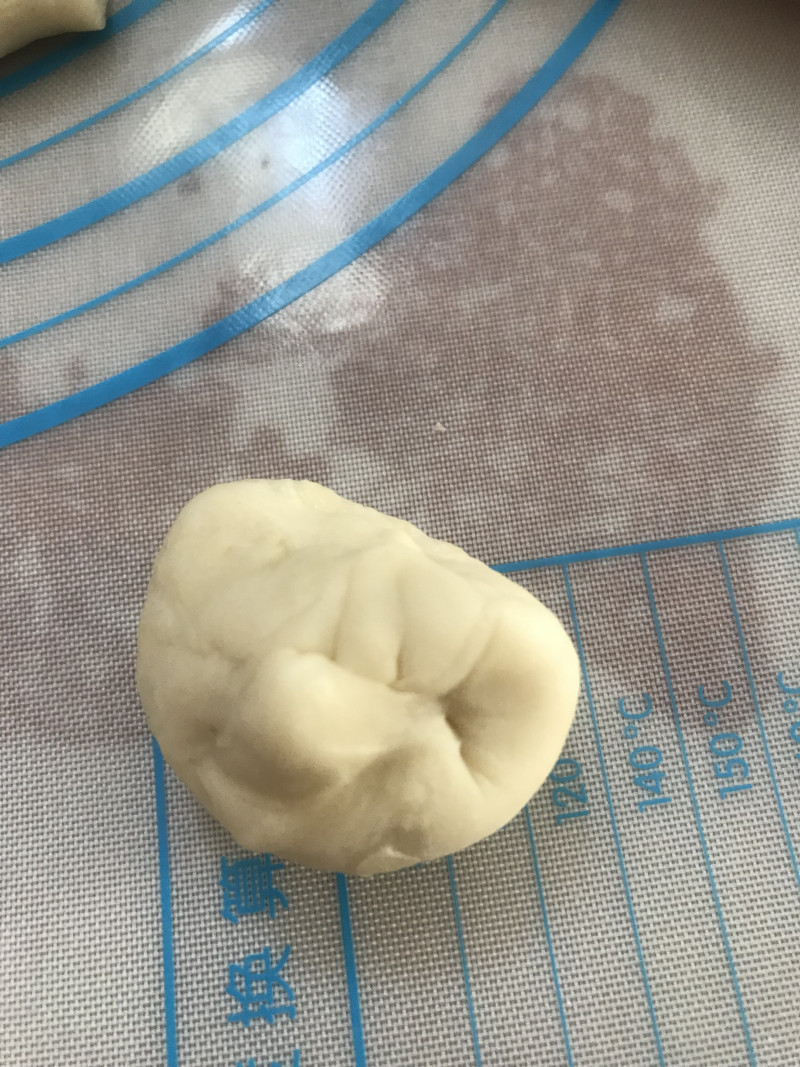
8.油皮:150g中筋粉,加入油,糖,适量清水揉至光滑面团(不可太干),放置冰箱恒温松弛30分钟。
9.油酥:90克低筋面粉,加入适量猪油揉至光滑面团(不可太干),放置冰箱恒温松弛30分钟。
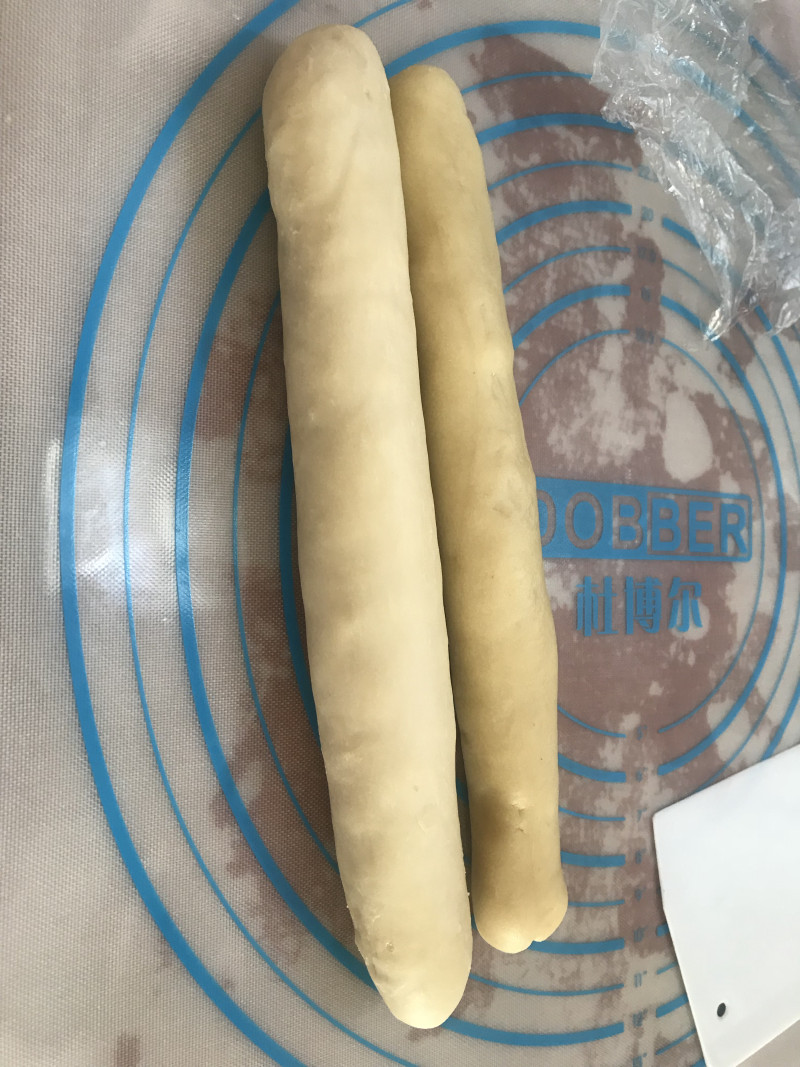
10.拿出并搓成同长度条状。
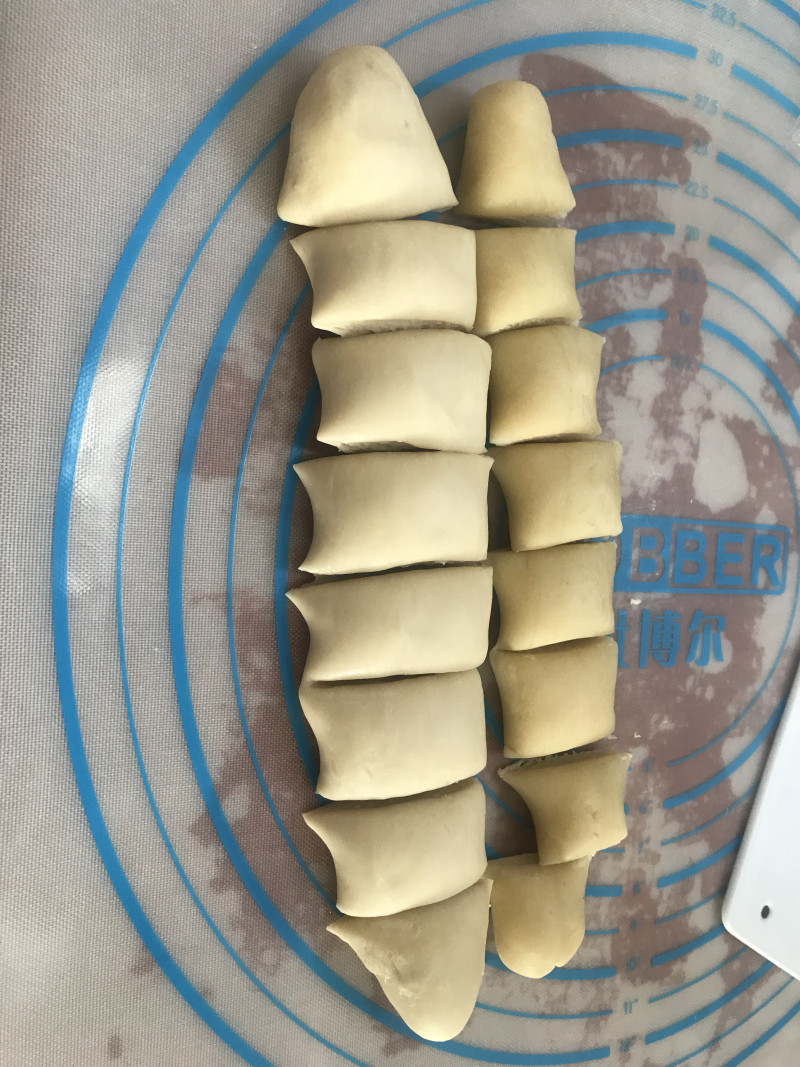
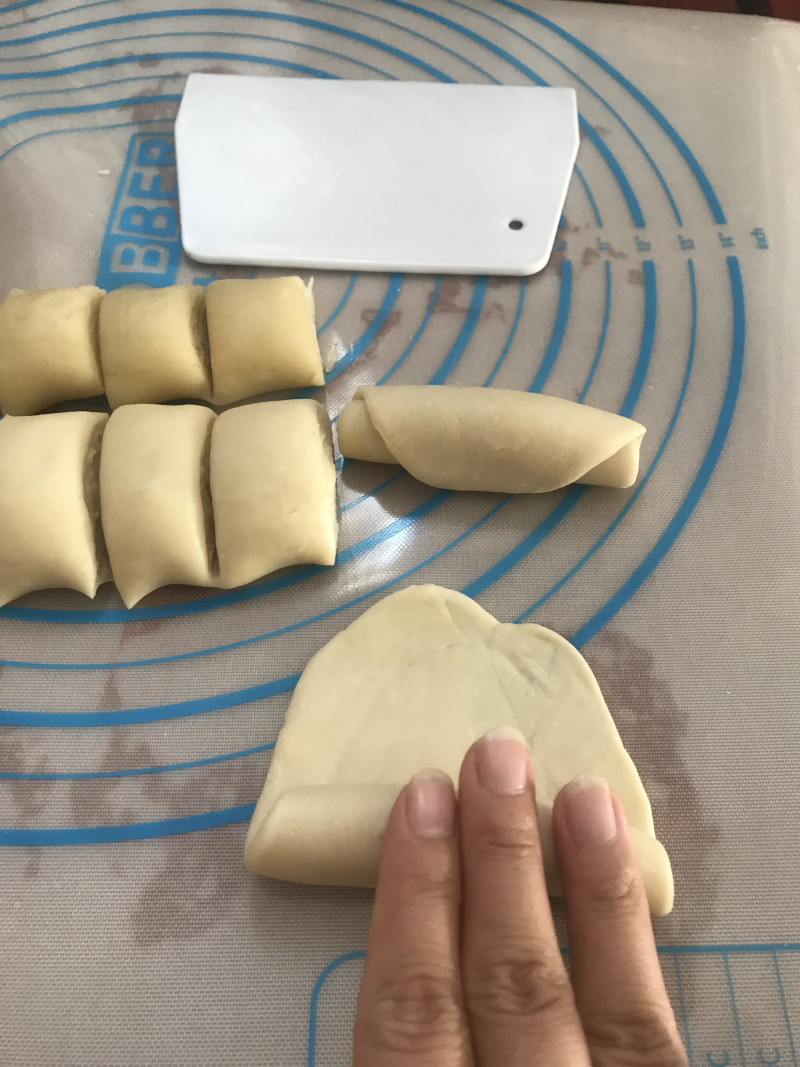
11.切分成同等长度剂子。
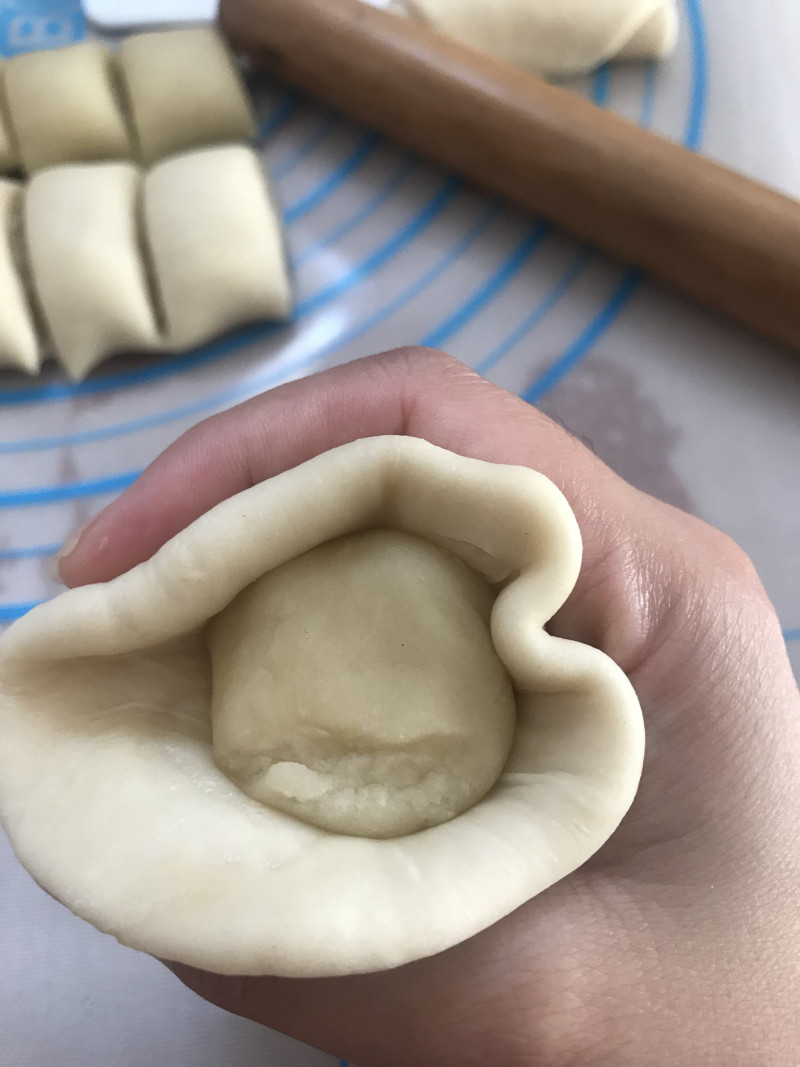
12.将一个个油皮擀平,将油酥包入,虎口收紧。
13.收口向上,擀平成牛舌状。
14.从下往上卷起,盖上保鲜膜松弛30分钟。
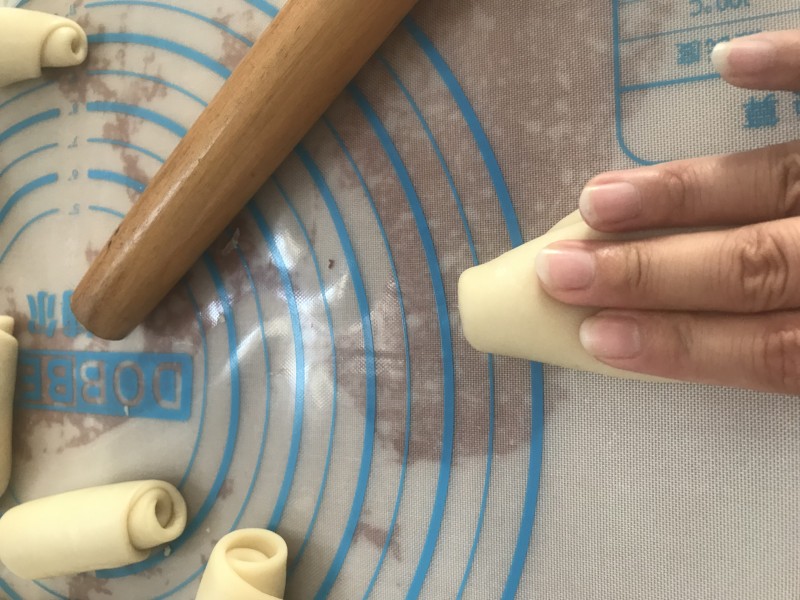
15.打竖,擀平至牛舌状,从下而上卷起,再次松弛30分钟。
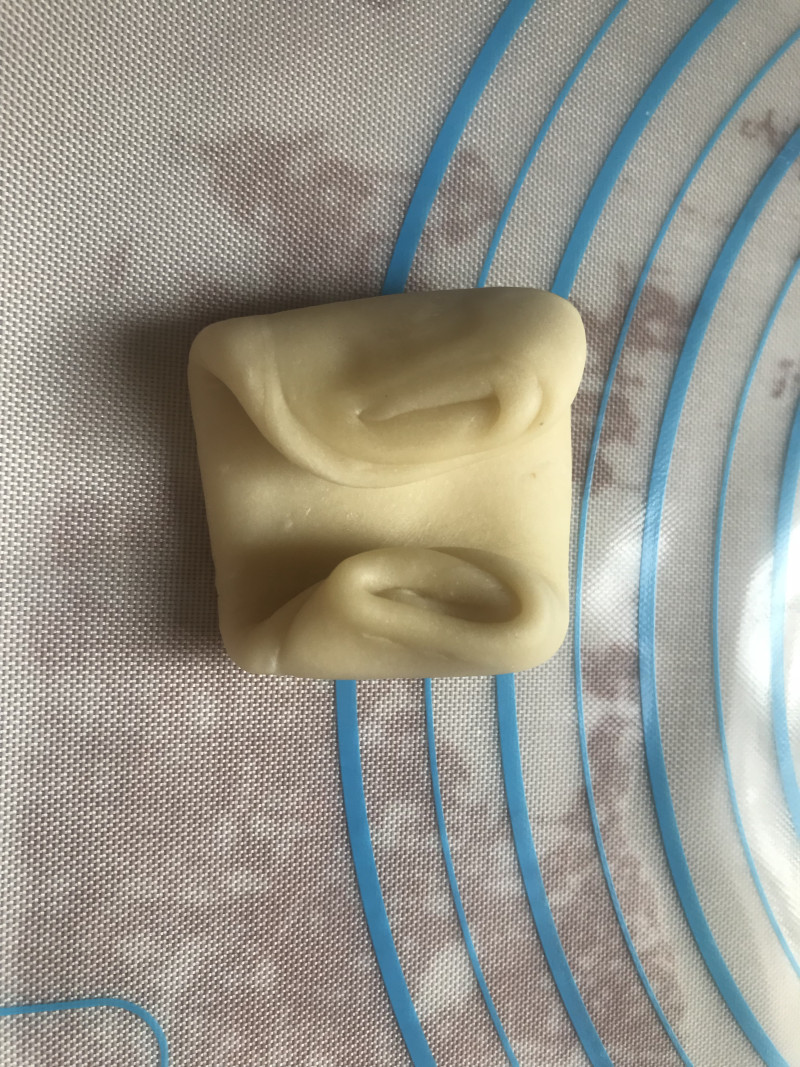
16.将2边折起,压紧,擀成面皮。
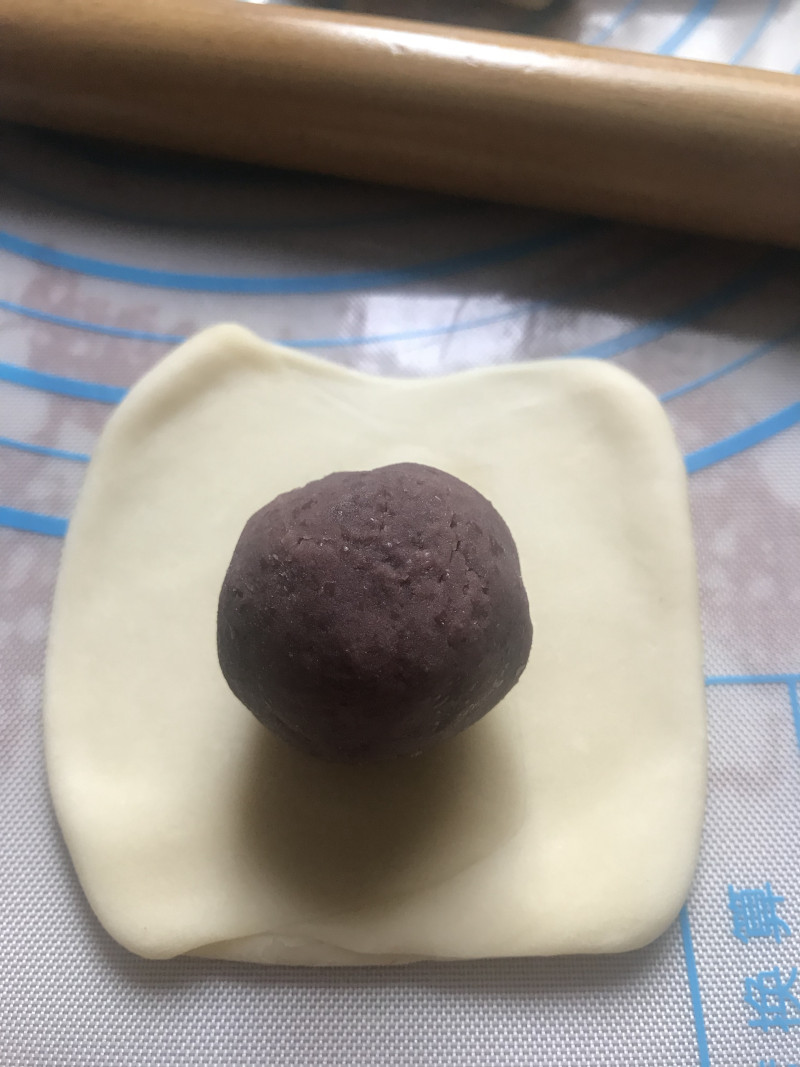
17.将豆沙蛋黄馅包入。

18.整理成型。
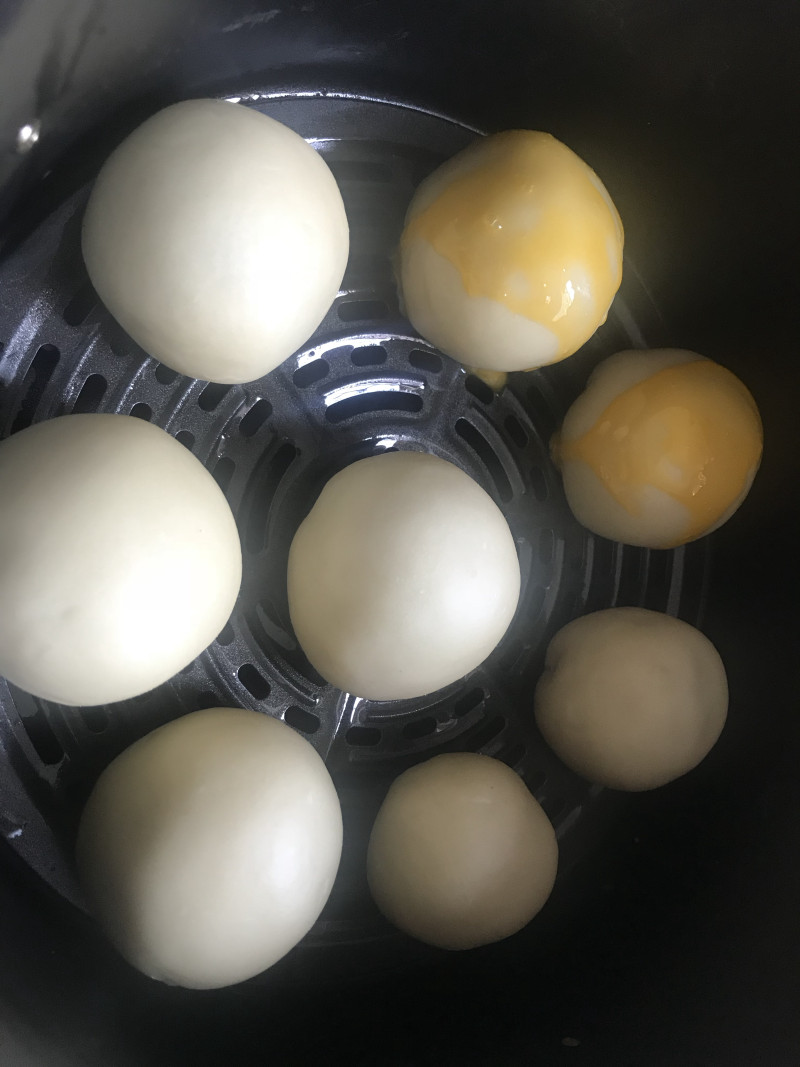
19.用刷子刷上蛋黄。
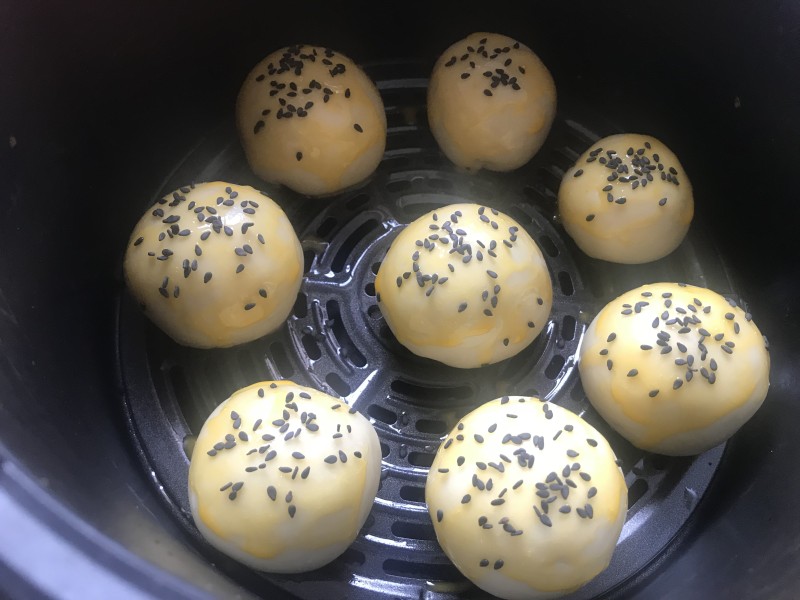
20.最后撒上适量的黑芝麻。
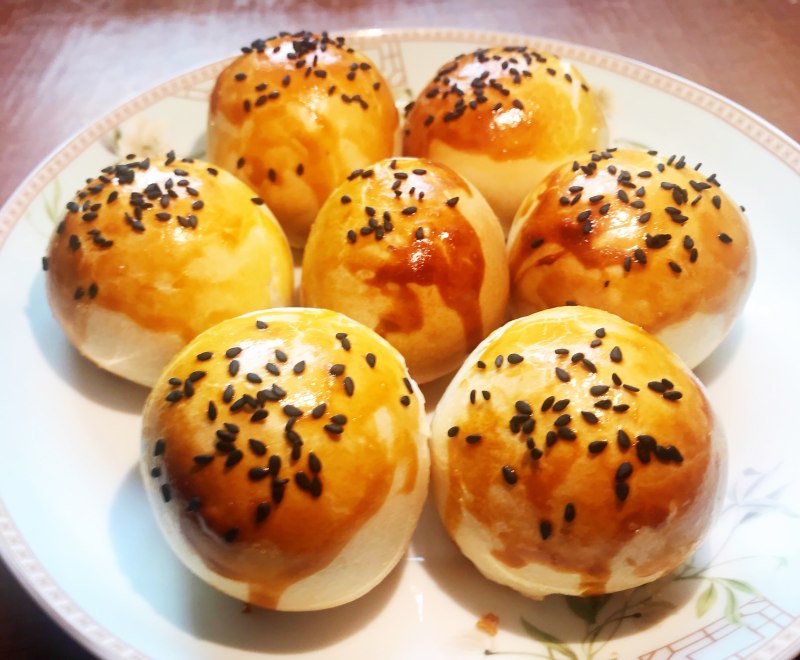
21.180度20分钟烘烤。
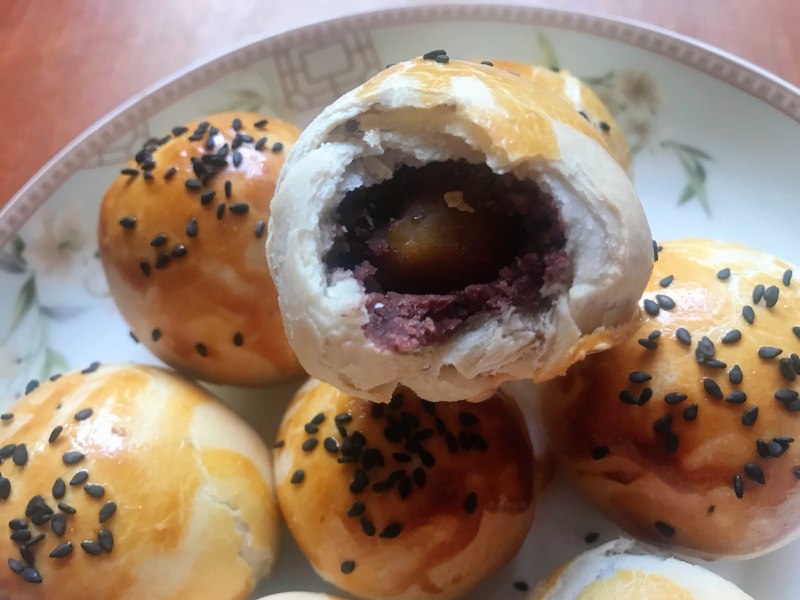
22.这样就做好啦!
TAGS:
烘焙 老人 下午茶 零食 其他菜系 学生 中筋面粉
免责声明:本站部分文章转载自网络,图文仅供行业学习交流使用,不做任何商业用途。文章仅代表原作者个人观点,其原创性及文章内容中图文的真实性、完整性等未经本站核实,仅供读者参考。
上一篇: 生啫排骨的做法,生啫排骨怎么做,生啫排骨正宗做法,生啫排骨图片,生啫排骨煲,生啫排骨广东做法
下一篇: 蒜香蒸鲈鱼的做法,蒜香蒸鲈鱼怎么做,蒜香清蒸鲈鱼,蒜香鲈鱼的做法,清蒸鲈鱼要蒜吗,蒜蒸鲈鱼的做法
Deprecated: mysql_connect(): The mysql extension is deprecated and will be removed in the future: use mysqli or PDO instead in
/data/haozs.cc/xianguan.php on line
5
Deprecated: mysql_query(): The mysql extension is deprecated and will be removed in the future: use mysqli or PDO instead in
/data/haozs.cc/xianguan.php on line
7
