主料:
面粉,
2杯,
鸡蛋,
3个,
原味酸奶,
1杯重奶油,1/2杯翻糖,300克食用色素适量
辅料:
泡打粉,
1茶匙,
盐,
1茶匙,
白糖,
1杯,
植物油,
1杯,
香草精,
3/2茶匙,
黄油适量翻糖蛋糕的做法步骤
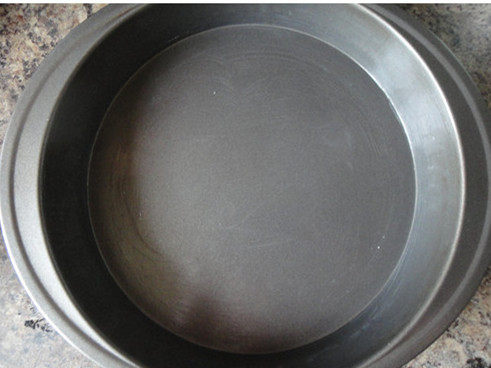
1.烤箱预热175摄氏度,将烤盘内抹上黄油。
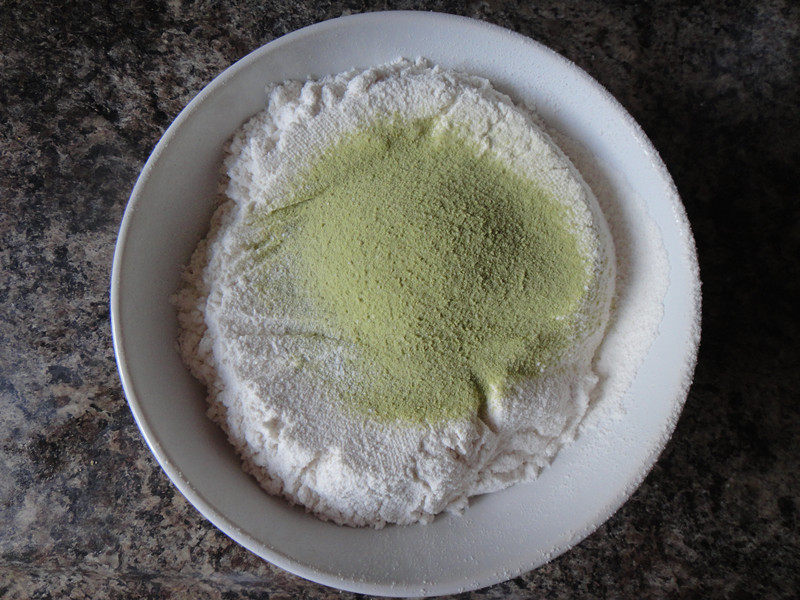
2.将面粉,泡打粉,盐混合均匀,过筛,放在一边备用。
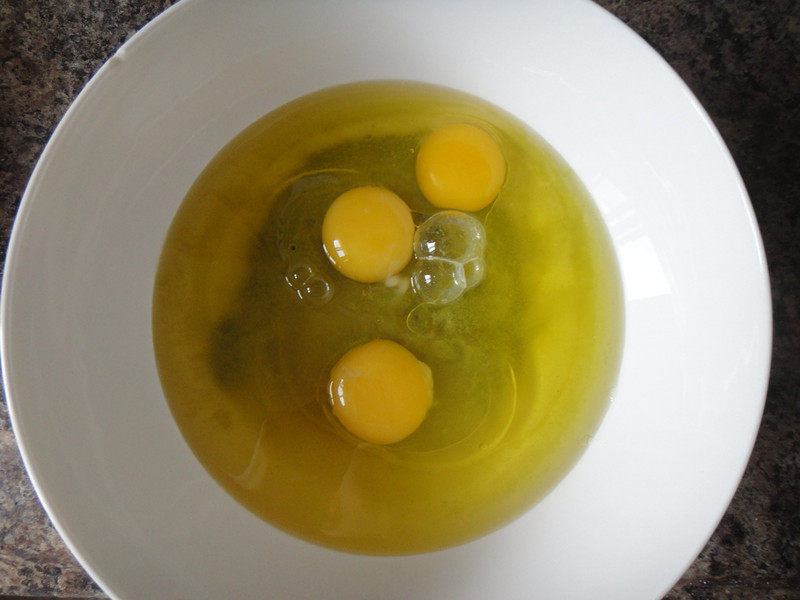
3.取一大碗,放入糖,植物油,鸡蛋,搅拌均匀。加入香草精,搅拌均匀。
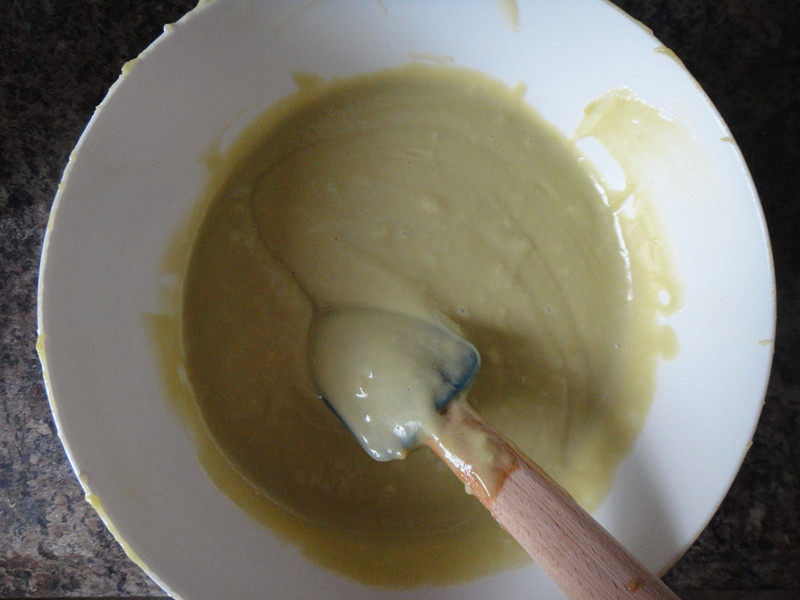
4.再倒入混合面粉和酸奶,搅拌均匀。
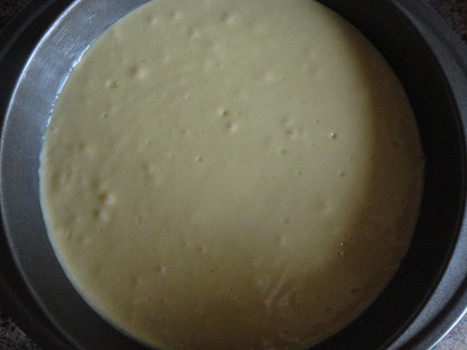
5.将搅拌均匀的蛋糕倒入烤盘中,轻拍烤盘,排出气泡。放入烤箱30分钟左右,插入牙签,拔出,如果没有面糊黏在上面说明烤好了,取出放凉。
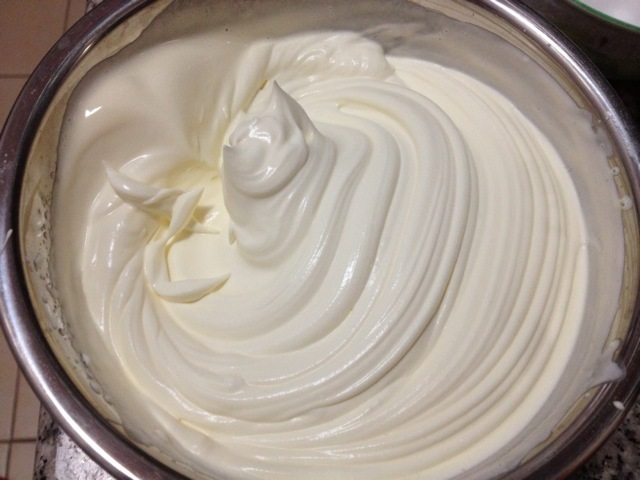
6.将奶油打发。
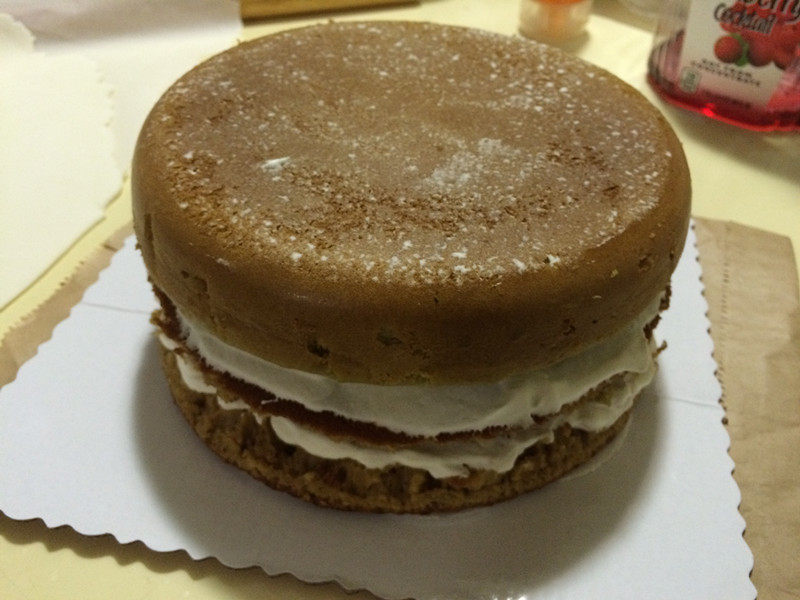
7.蛋糕胚切去凸起的部分,然后切成两层,中间抹上奶油。为了翻糖能铺平,我把不平的地方用切下来的蛋糕和奶油混合物补平。
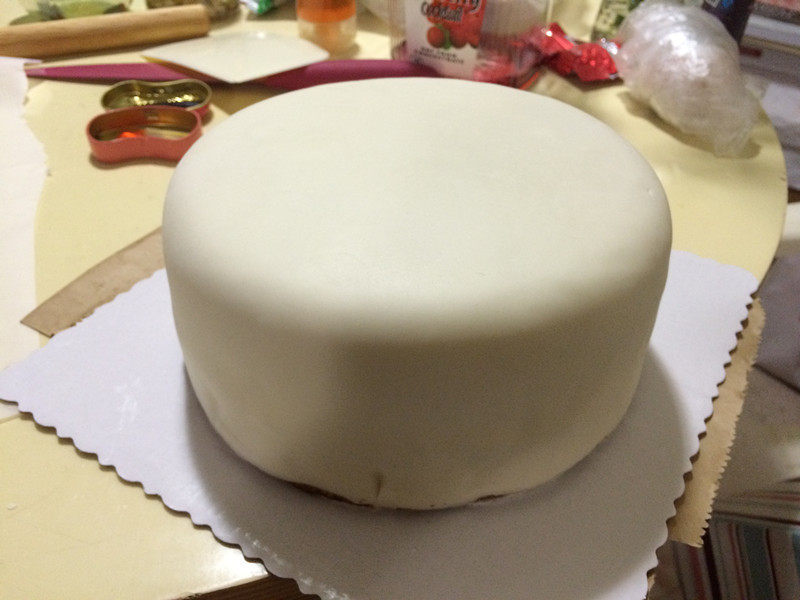
8.取一半的翻糖擀成一张厚度均匀的薄皮,铺在蛋糕胚上,抹平,切除边缘多余部分。
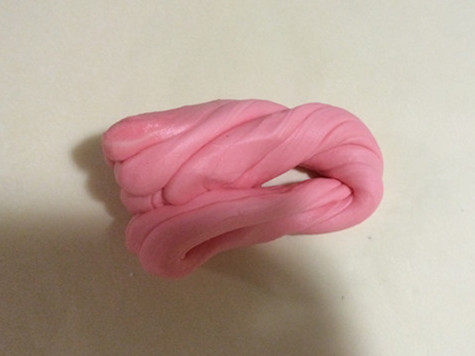
9.取剩下的1/3翻糖,掺入3滴红色素,用拉长,对折,卷起的方式揉搓均匀。
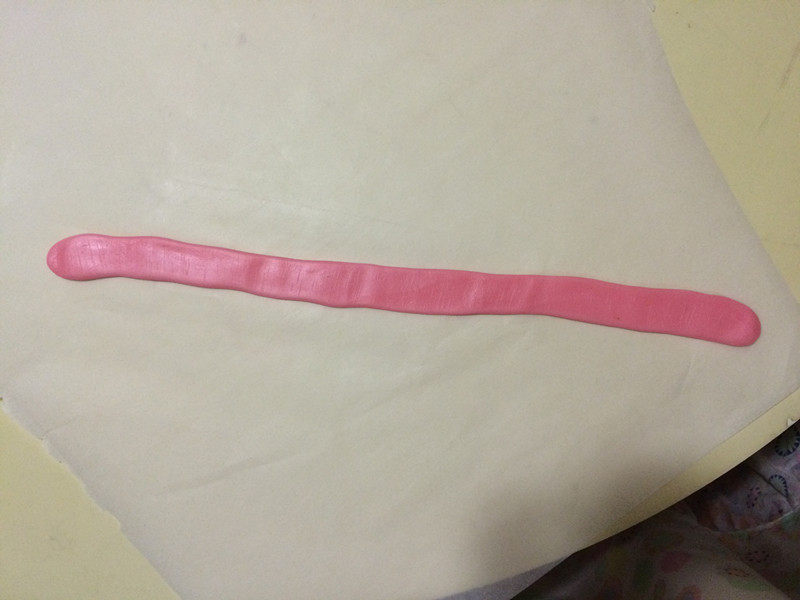
10.搓成细长条,压扁,擀成长条面皮。
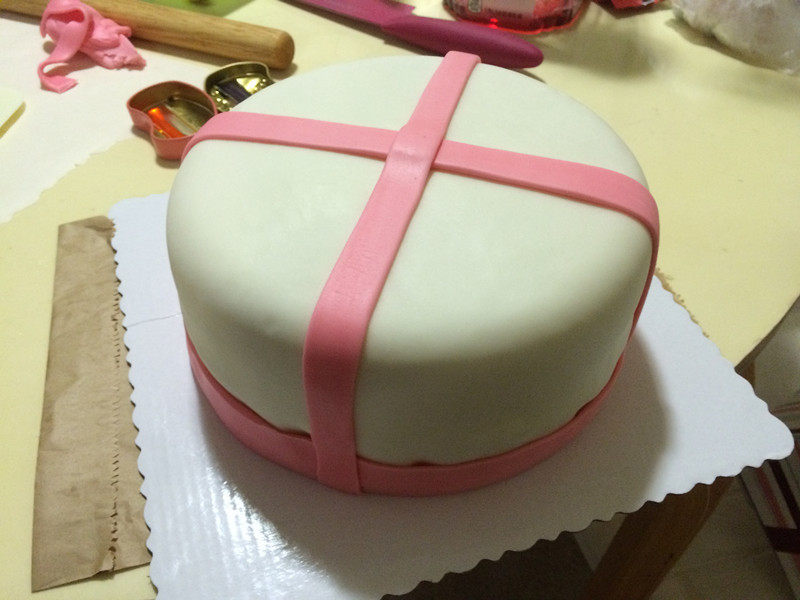
11.装饰在蛋糕上。
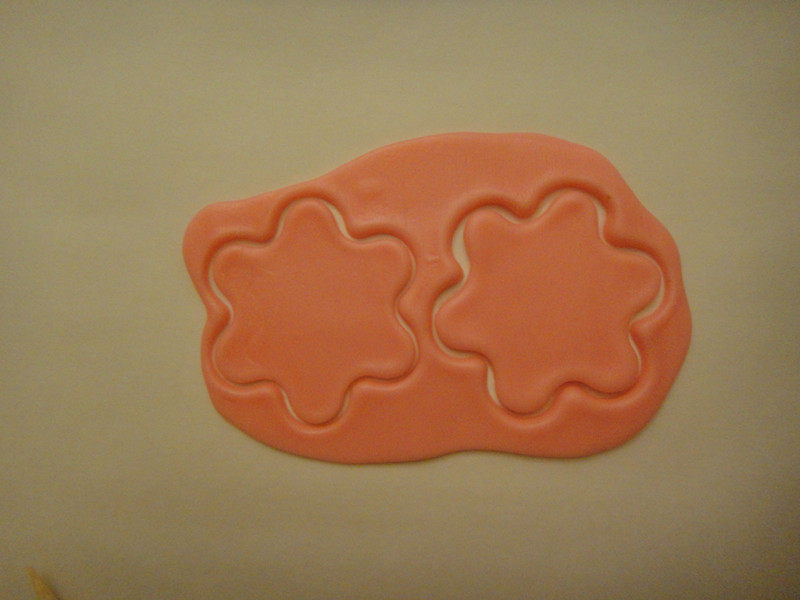
12.将剩下的粉色面团擀成薄皮,用花状模具刻出形状。
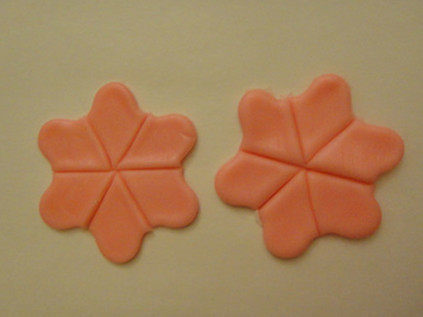
13.将花朵薄皮按花瓣数切成小片。
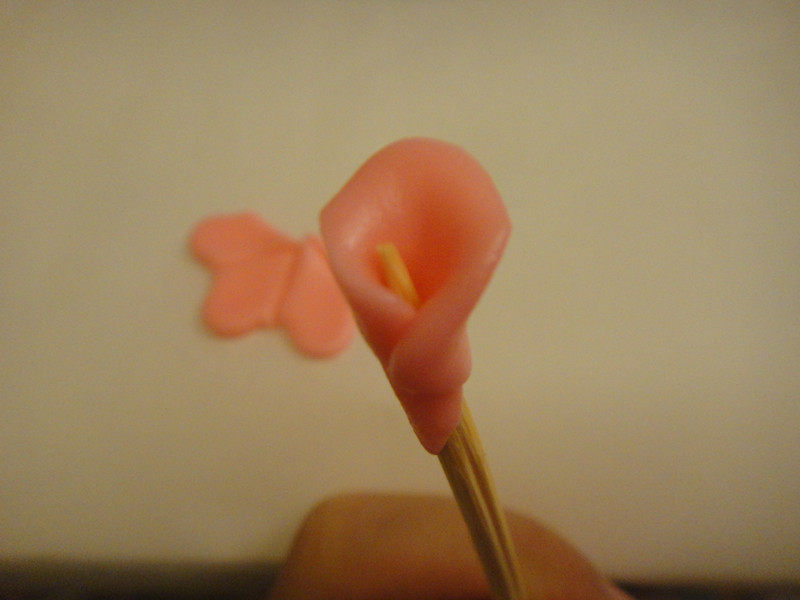
14.取一竹签,将一片黏在竹签上。
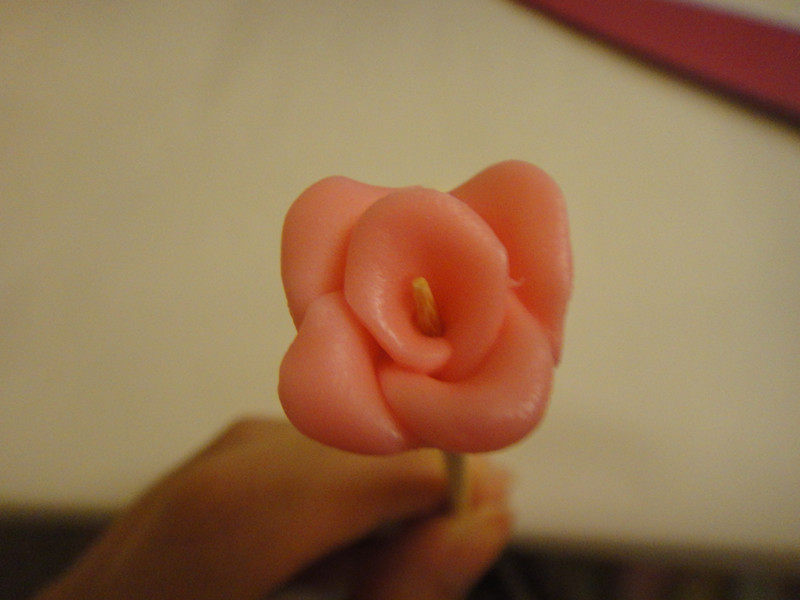
15.一片叠一片,做花朵状。
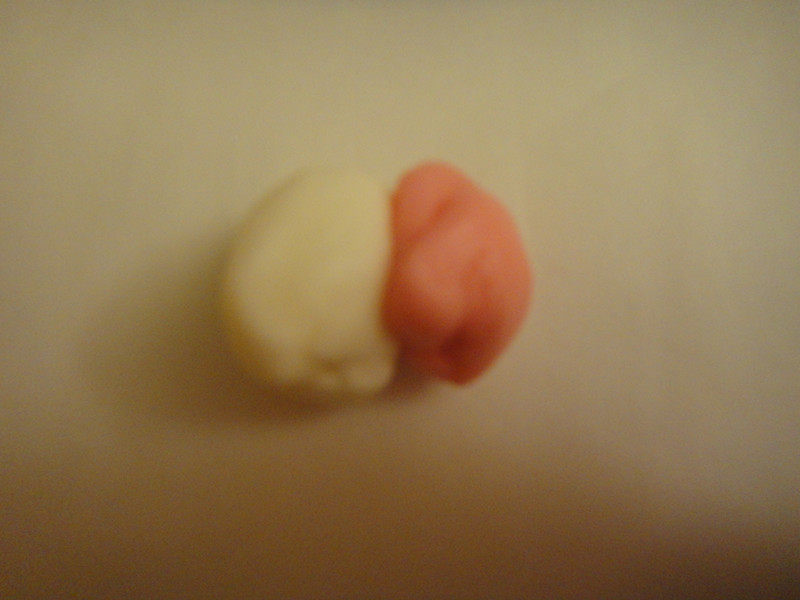
16.将剩下的红色翻糖混合白色翻糖,以拉长,对折,卷起的方式揉搓均匀。
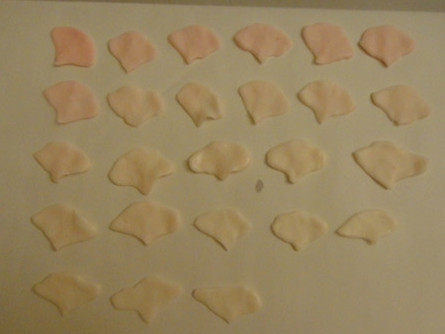
17.切出小花瓣,剩下的混合白翻糖,重复做出其余的花瓣,外层的可以用手捏扁一些。
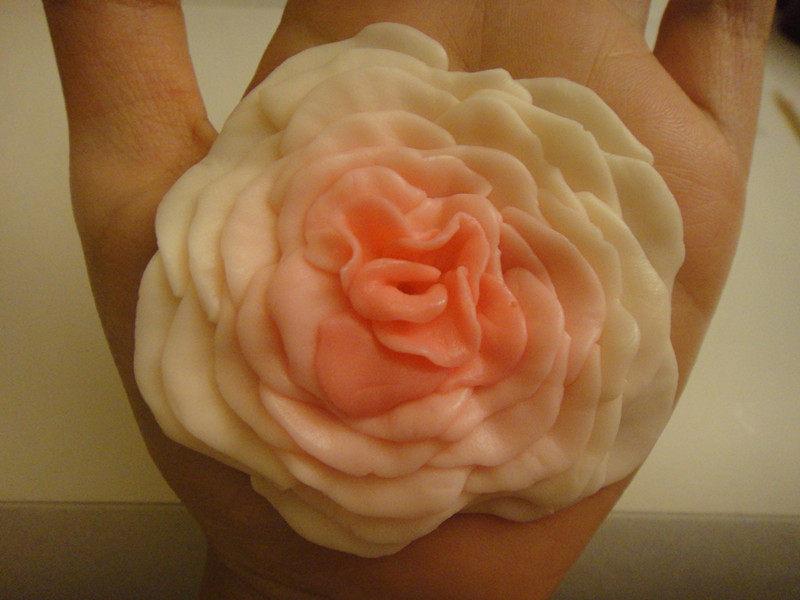
18.粘成花朵,从竹签上取下。
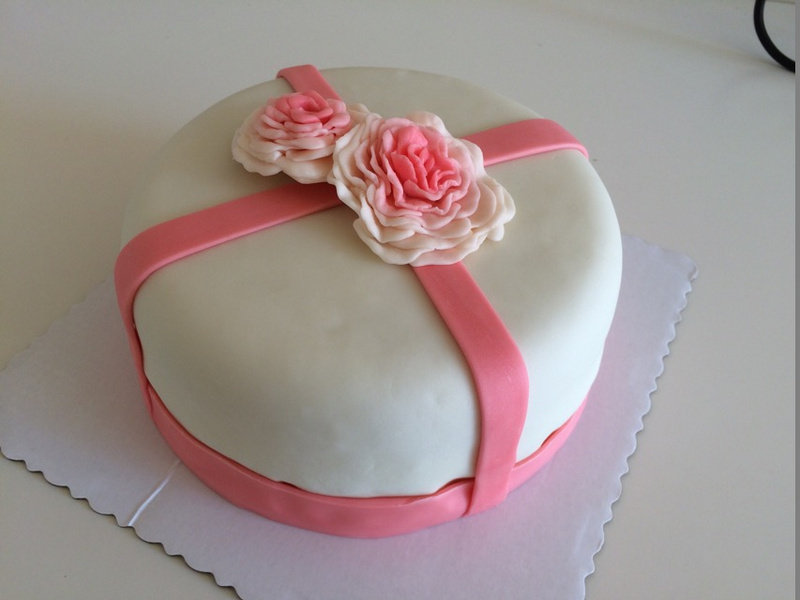
19.黏在蛋糕上即可。
TAGS:
烘焙 儿童 蛋糕 下午茶 翻糖 其他菜系 生日 面粉
免责声明:本站部分文章转载自网络,图文仅供行业学习交流使用,不做任何商业用途。文章仅代表原作者个人观点,其原创性及文章内容中图文的真实性、完整性等未经本站核实,仅供读者参考。
上一篇: 花团锦簇杯子蛋糕的做法,花团锦簇杯子蛋糕怎么做,花团锦簇蛋糕图片,花朵杯子蛋糕,繁花似锦蛋糕,一朵花蛋糕
下一篇: 巧克力曲奇饼干的做法,巧克力曲奇饼干怎么做,巧克力曲奇饼干的做法,巧克力曲奇饼干的配料和做法,巧克力曲奇饼干的做法 烤箱,巧克力曲奇饼干英文
Deprecated: mysql_connect(): The mysql extension is deprecated and will be removed in the future: use mysqli or PDO instead in
/data/haozs.cc/xianguan.php on line
5
Deprecated: mysql_query(): The mysql extension is deprecated and will be removed in the future: use mysqli or PDO instead in
/data/haozs.cc/xianguan.php on line
7


