主料:
豆渣,
20克,
面粉,
100克,
黄瓜,
40克
辅料:
鸡蛋,
1个
配料:
盐,
1茶匙豆渣黄瓜丝饼的做法步骤
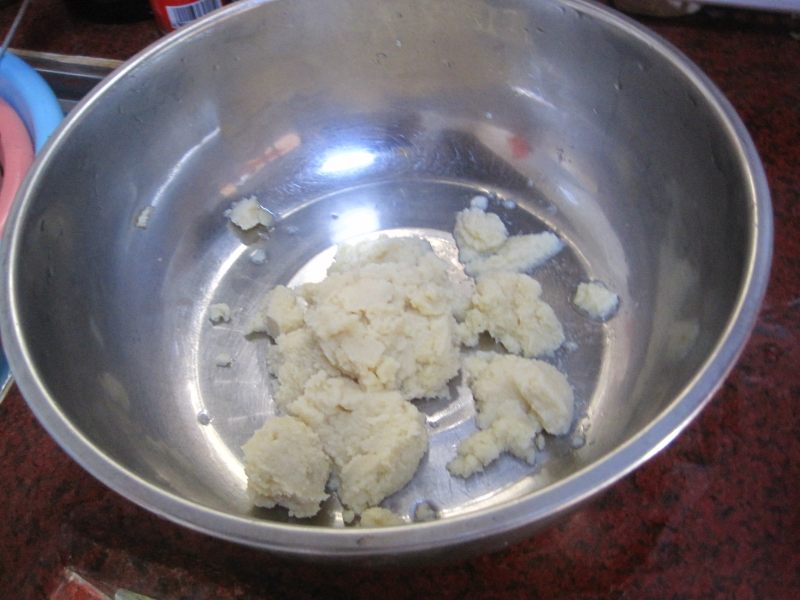
1.豆渣一块沥干后备用。
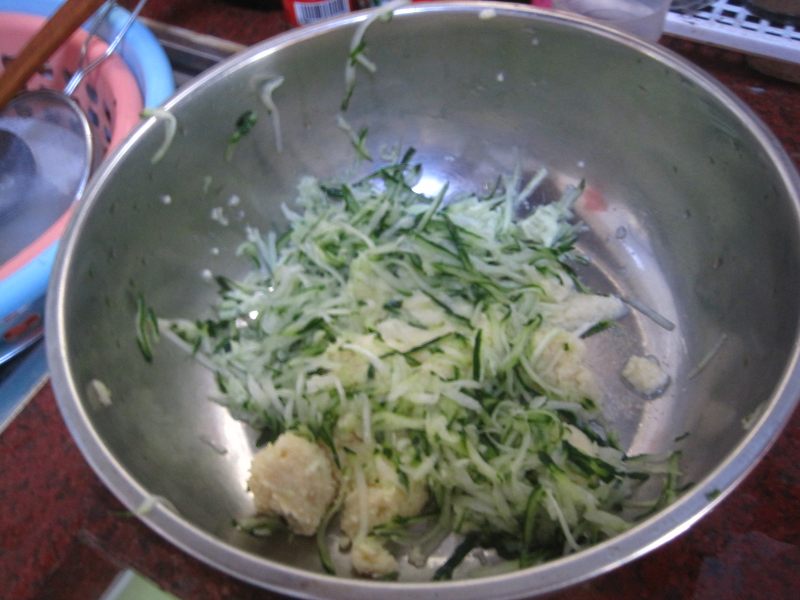
2.黄瓜一块擦丝。
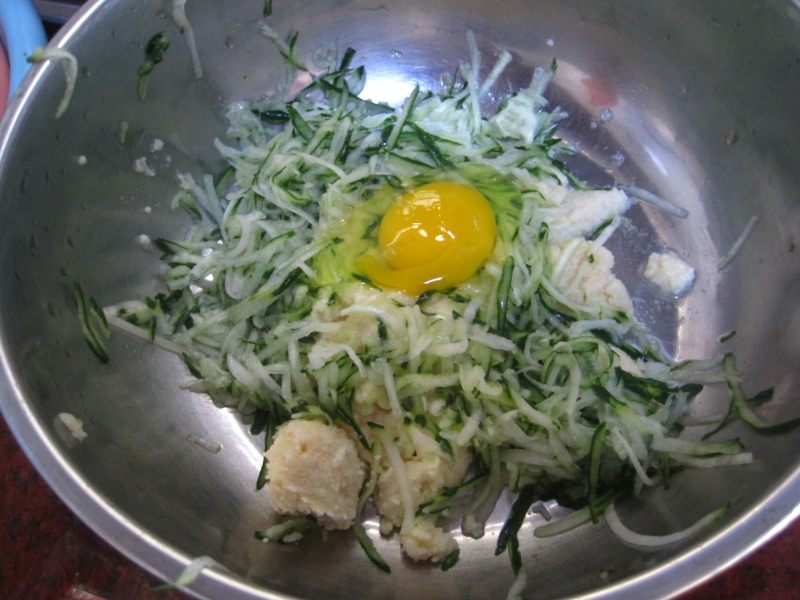
3.加入一个鸡蛋。
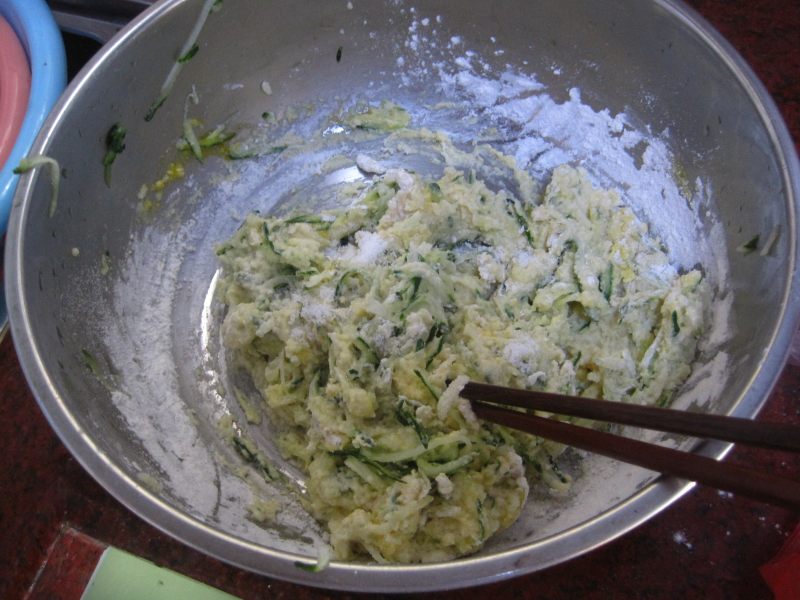
4.倒入适量面粉。
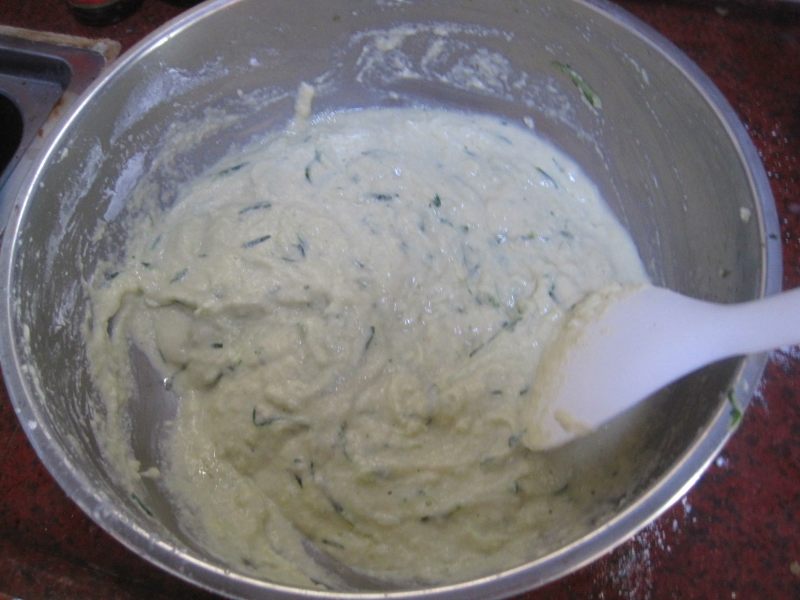
5.再加入一勺盐和适量水调成糊状备用。
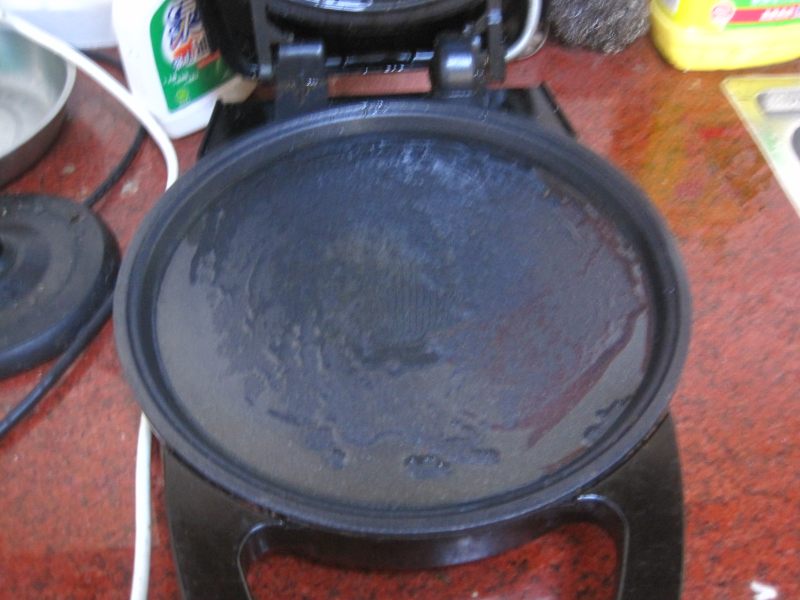
6.电饼铛擦一层油加热。
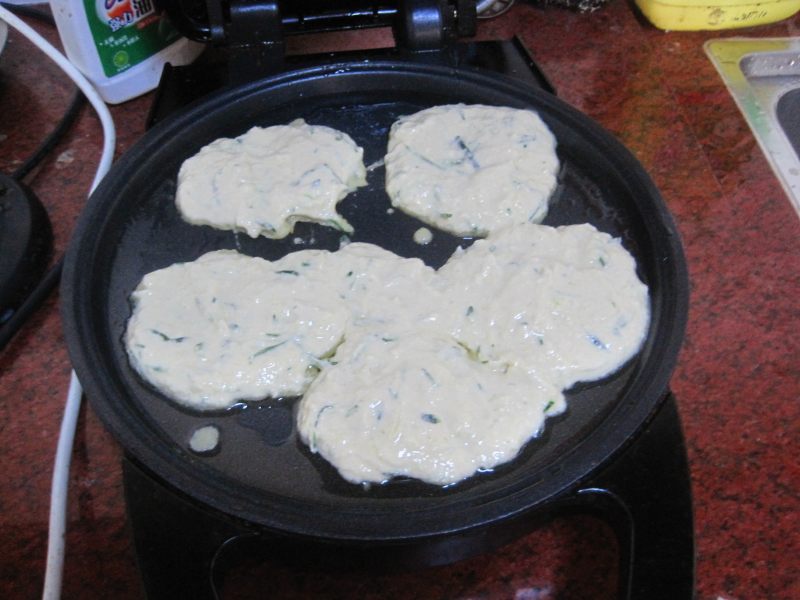
7.把之前活好的面糊舀到电饼铛内。
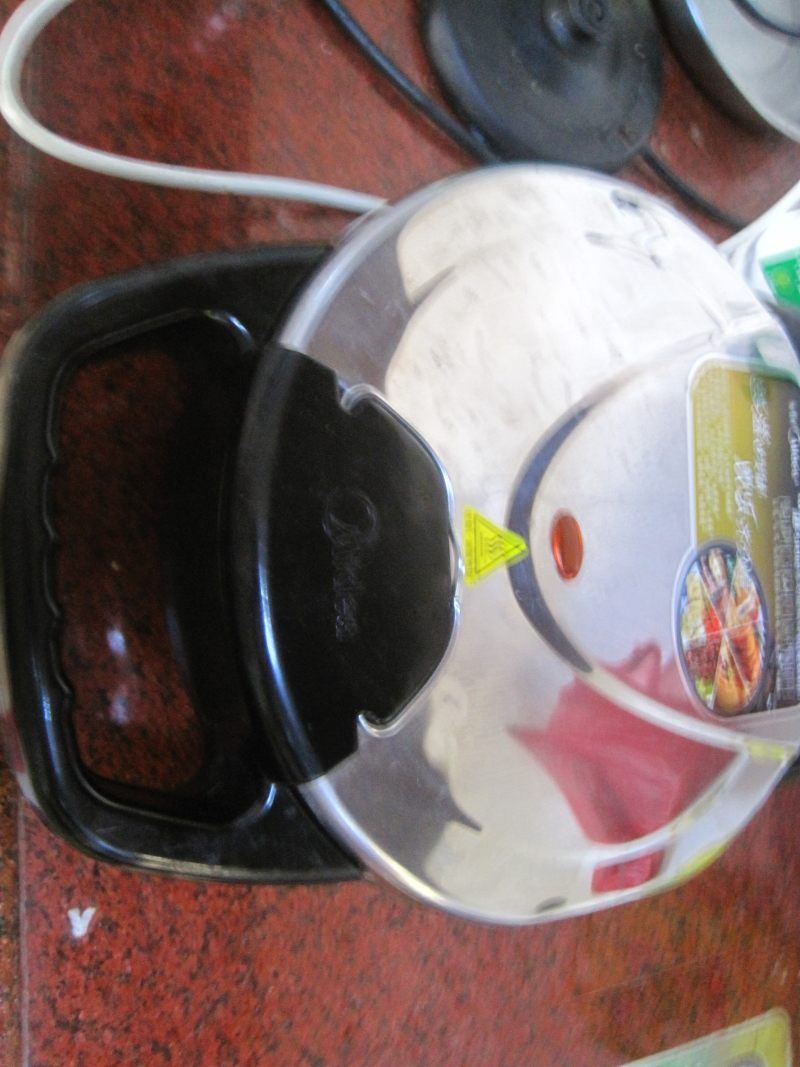
8.两面煎到发黄就好了。
小窍门&温馨提示
喜欢外表比较焦一点的就煎的时间稍微长一点,但是这种饼里面就是软软的,煎多久里面都湿湿的,不是不熟~
TAGS:
主食 家常菜 老人 早餐 夏季食谱 其他菜系 豆渣
免责声明:本站部分文章转载自网络,图文仅供行业学习交流使用,不做任何商业用途。文章仅代表原作者个人观点,其原创性及文章内容中图文的真实性、完整性等未经本站核实,仅供读者参考。
上一篇: 鸡蛋豆腐蒸肉末的做法,鸡蛋豆腐蒸肉末怎么做,鸡蛋豆腐蒸肉末的做法,鸡蛋豆腐蒸肉末鸡蛋做法视频,鸡蛋豆腐蒸肉末怎么做,鸡蛋豆腐蒸肉末蒸多久
下一篇: 皮蛋豆腐的做法,皮蛋豆腐怎么做,皮蛋豆腐凉拌的做法,皮蛋豆腐的汁怎么调,皮蛋豆腐怎么做好吃,皮蛋豆腐的豆腐是啥豆腐
Deprecated: mysql_connect(): The mysql extension is deprecated and will be removed in the future: use mysqli or PDO instead in
/data/haozs.cc/xianguan.php on line
5
Deprecated: mysql_query(): The mysql extension is deprecated and will be removed in the future: use mysqli or PDO instead in
/data/haozs.cc/xianguan.php on line
7


