主料:
平菇适量,
韭菜适量,
粉条适量,
柴鸡蛋,
5个,
姜末适量
辅料:
花生油适量,
生抽,
一点,
蚝油适量,
老抽适量,
香油适量,
花椒粉适量,
盐适量平菇韭菜粉条鸡蛋饺的做法步骤
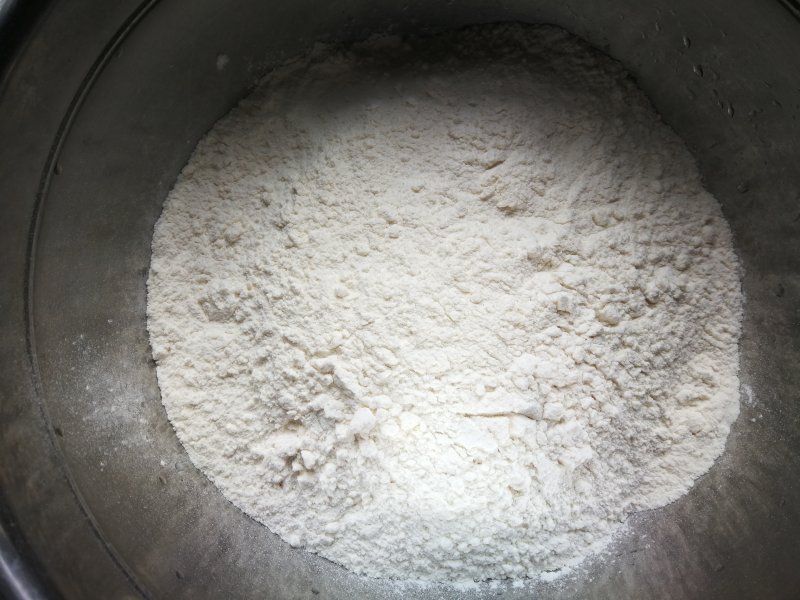
1.适量面粉。
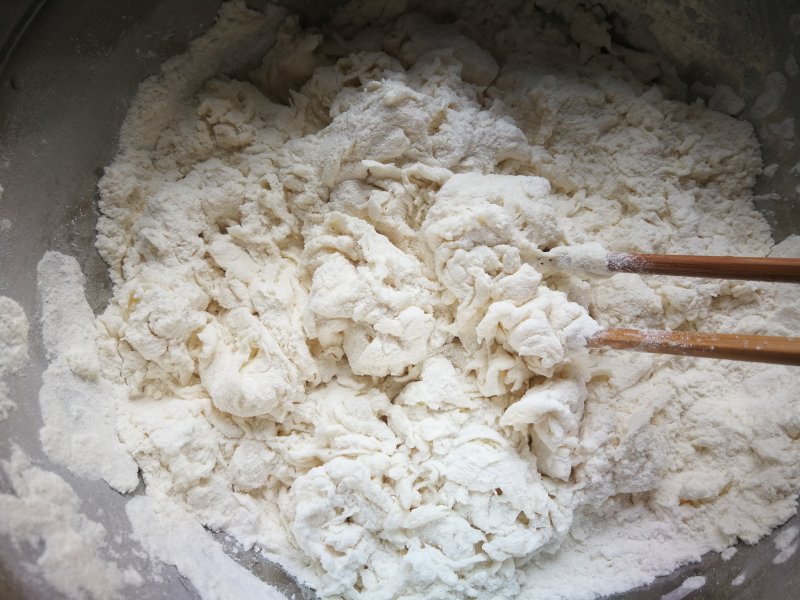
2.倒入适量水搅成絮状。
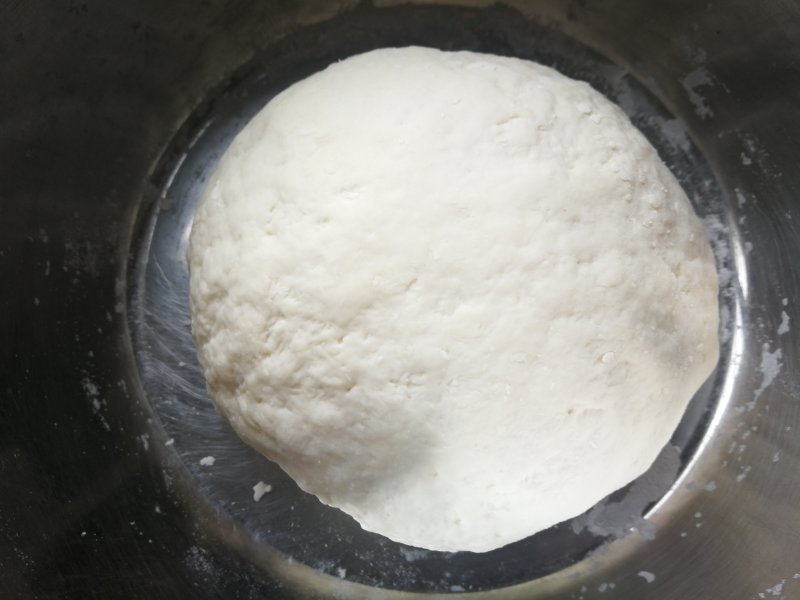
3.揉成光滑面团。醒一会儿。
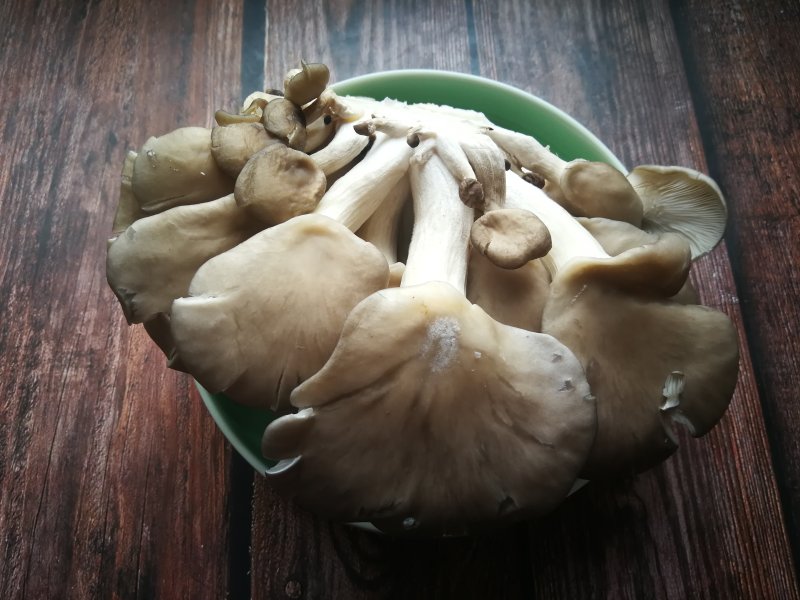
4.平菇适量。
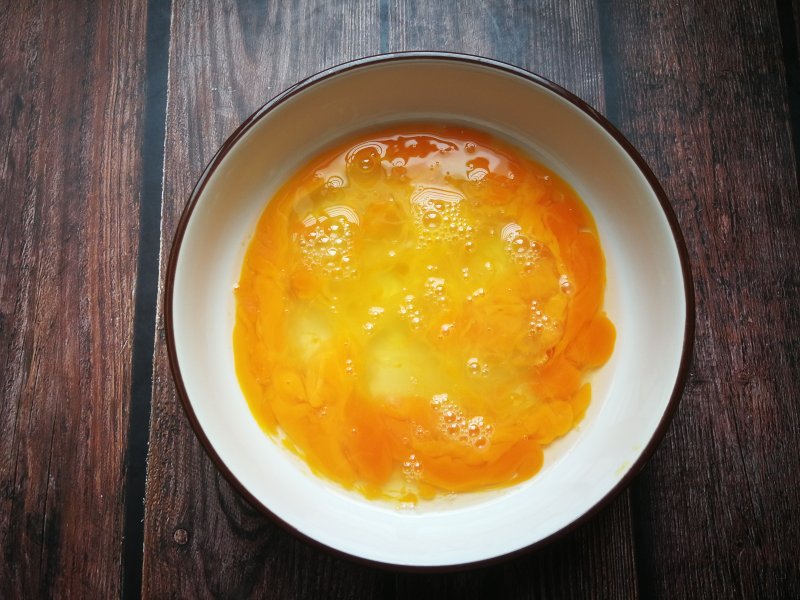
5.柴鸡蛋5个打散。
6.锅内油适量多些,凉油倒入蛋液。
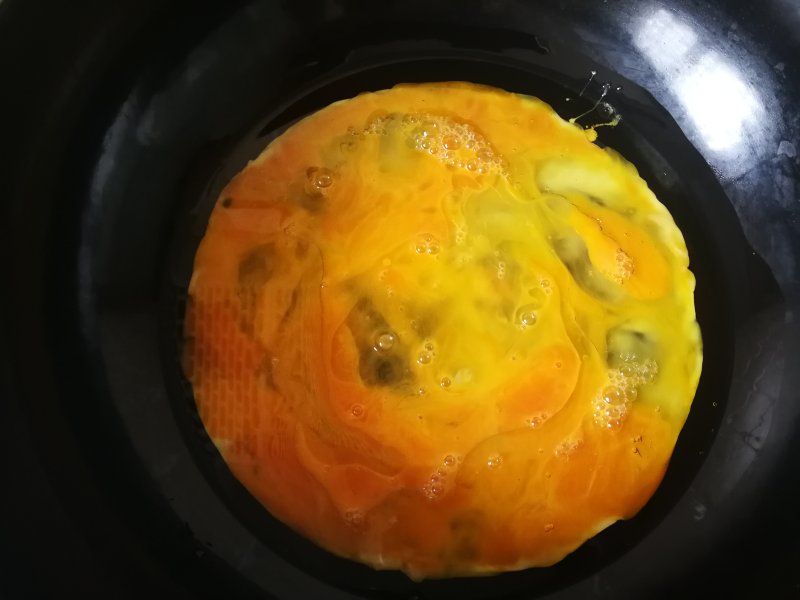
7.小火,用筷子快速滑至蛋液微凝关火。利用余温让蛋液全部凝固。这样,鸡蛋碎很嫩。
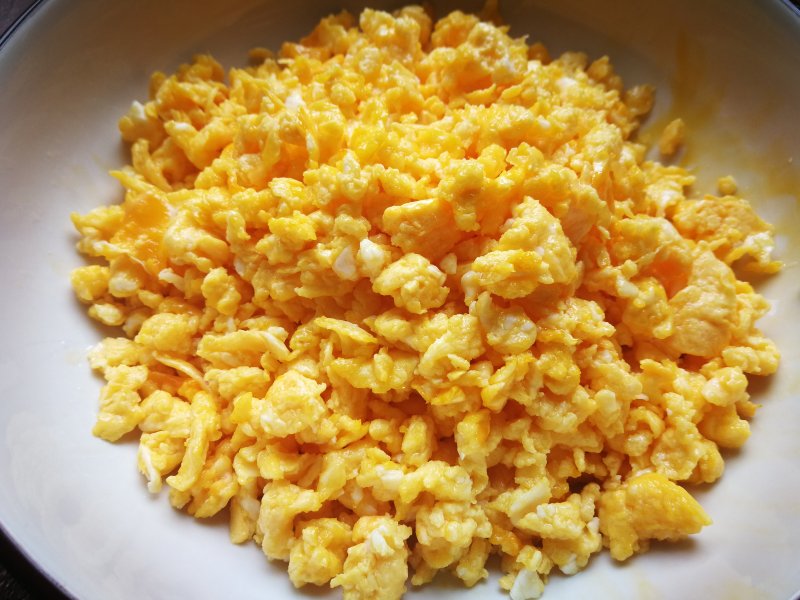
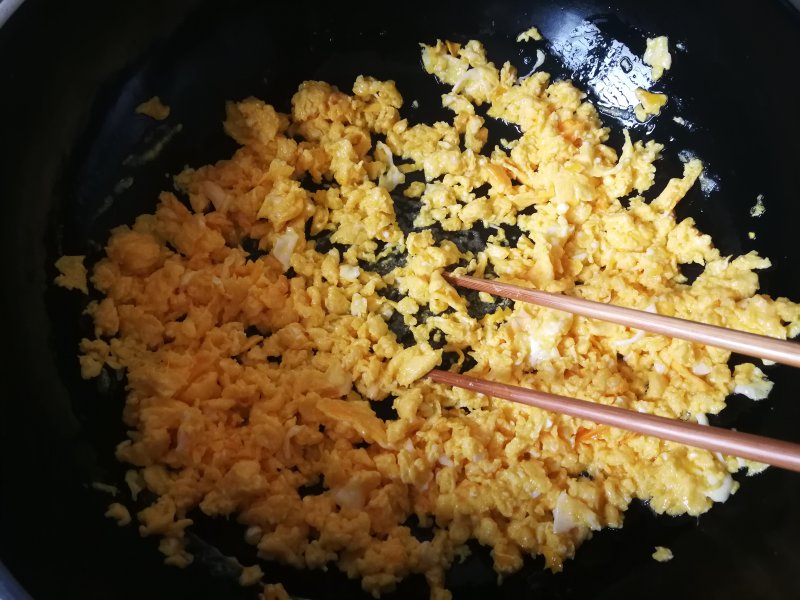
8.晾凉备用。炒好的鸡蛋碎金黄诱人??
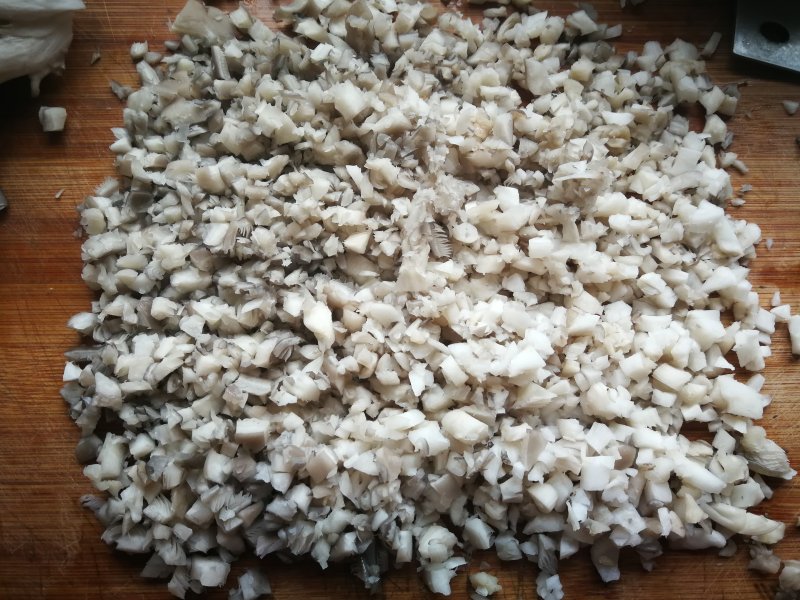
9.平菇洗净切小粒。
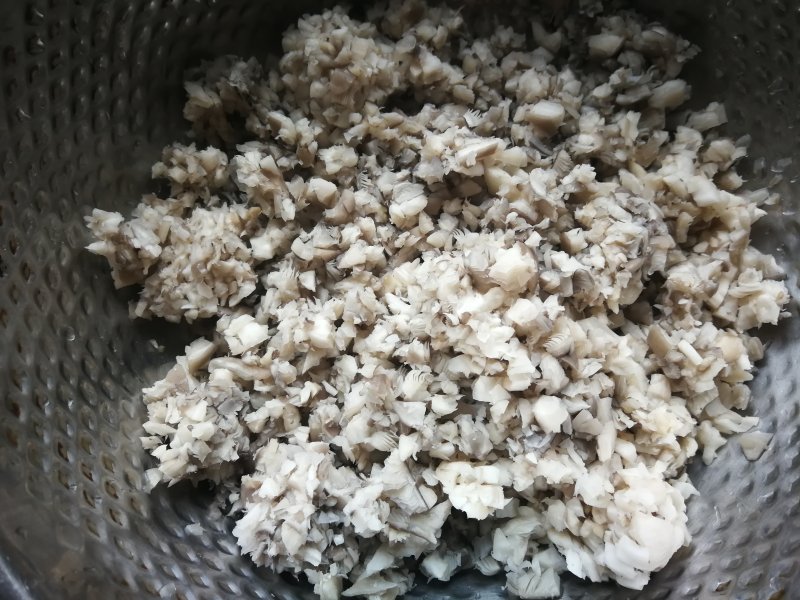
10.用手攥出水份。
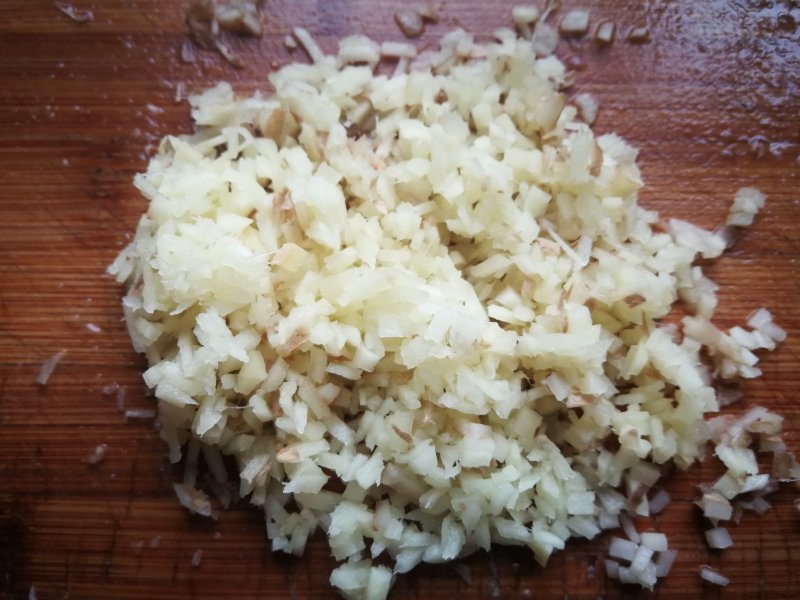
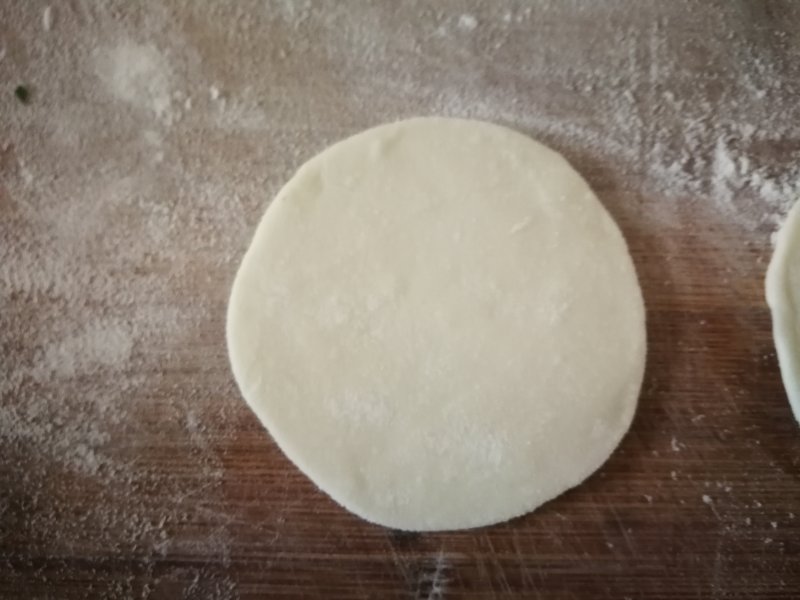
11.姜切碎末。
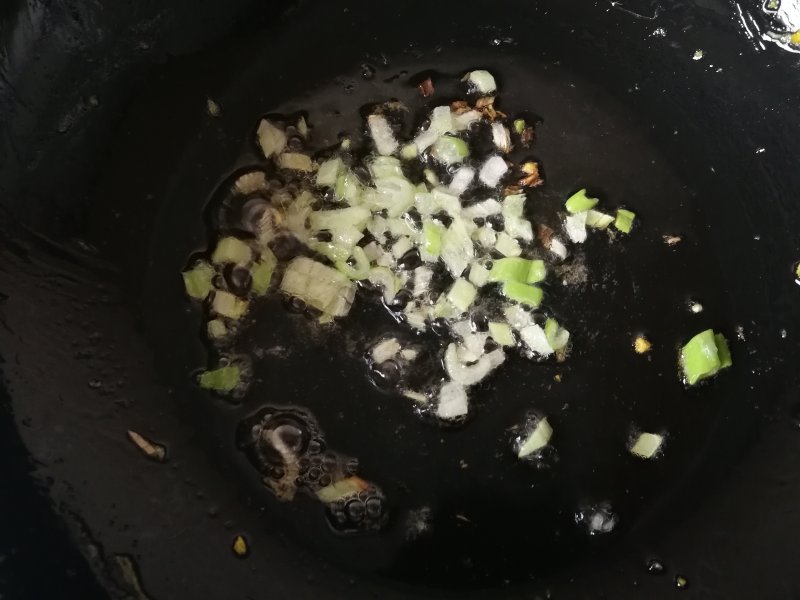
12.锅内适量油烧热,姜葱炒出香味儿。

13.攥过水的平菇碎放入翻炒几下。
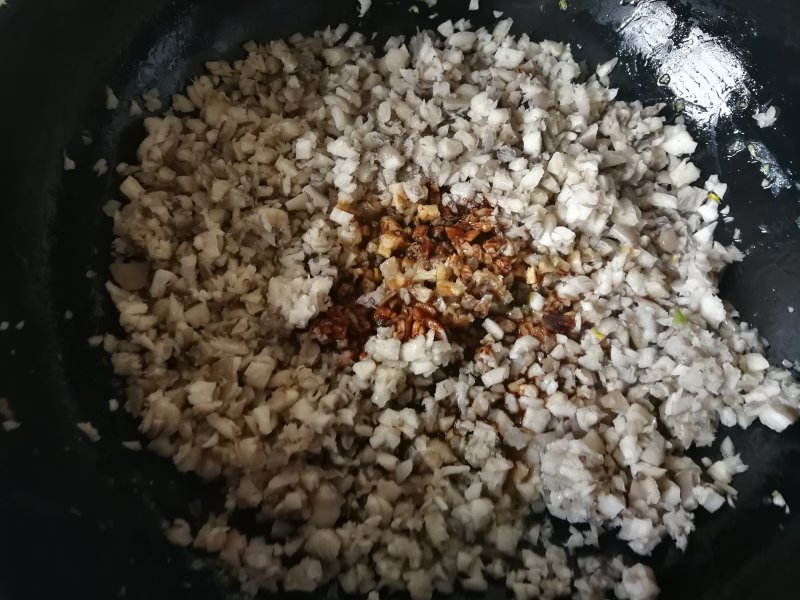
14.先放一点点盐,生抽,适量老抽。
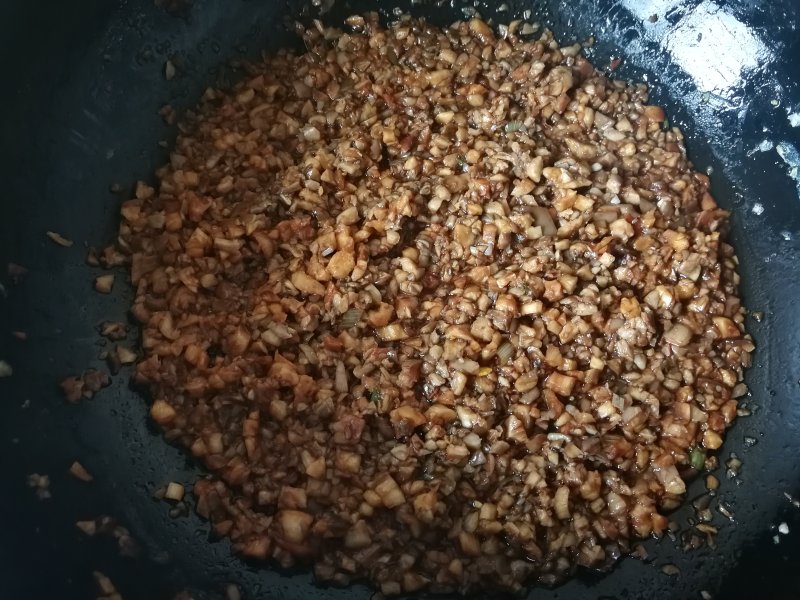
15.翻炒均匀关火晾凉备用。
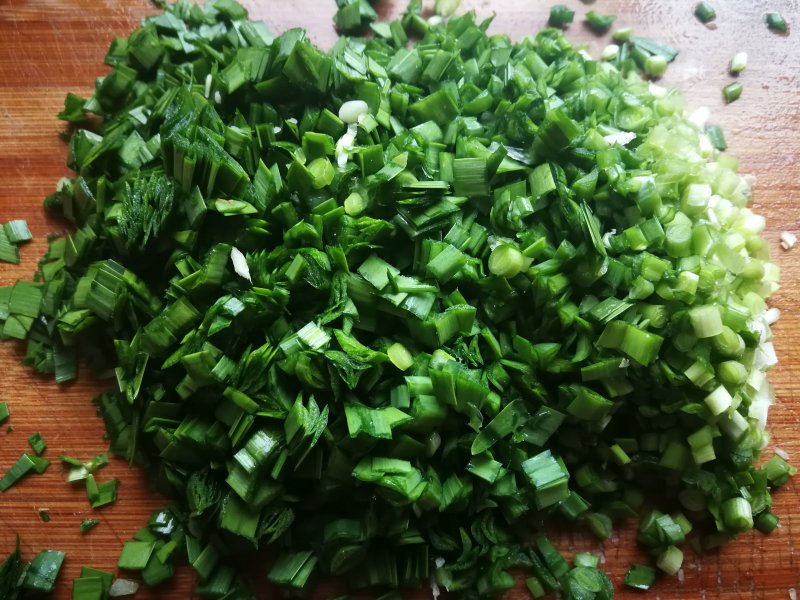
16.韭菜切小粒。
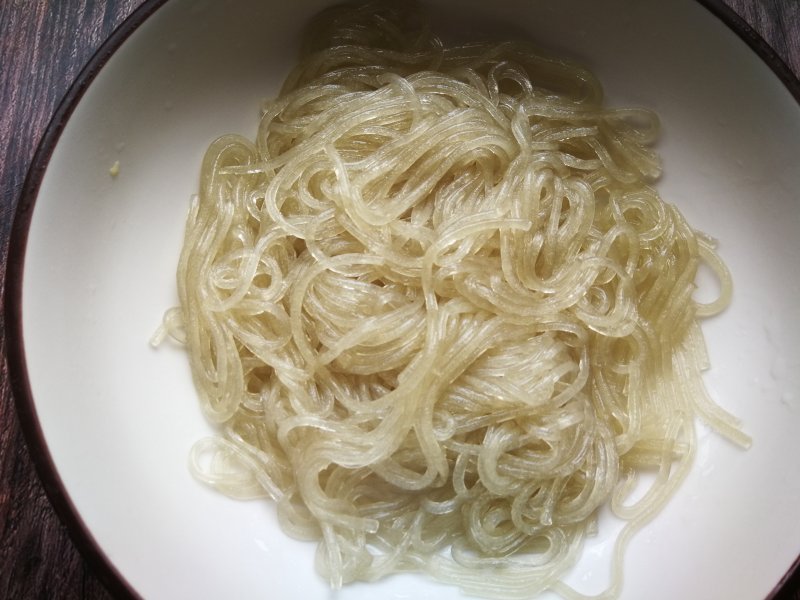
17.粉条焯软。
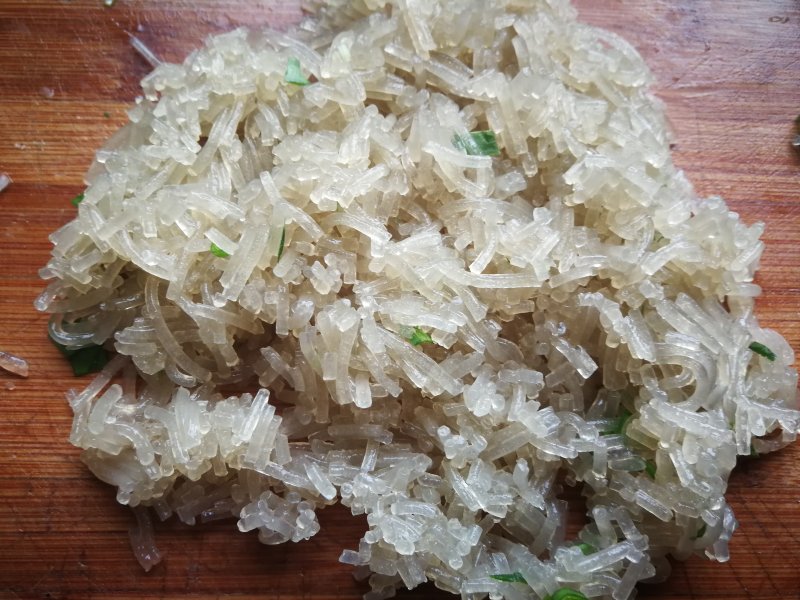
18.剁碎。
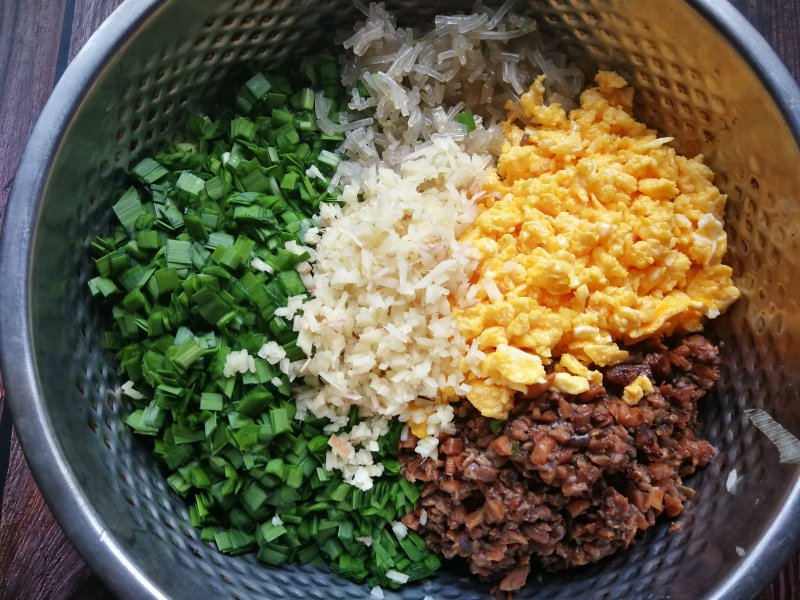
19.韭菜,平菇,鸡蛋。粉条,姜末放盆内。
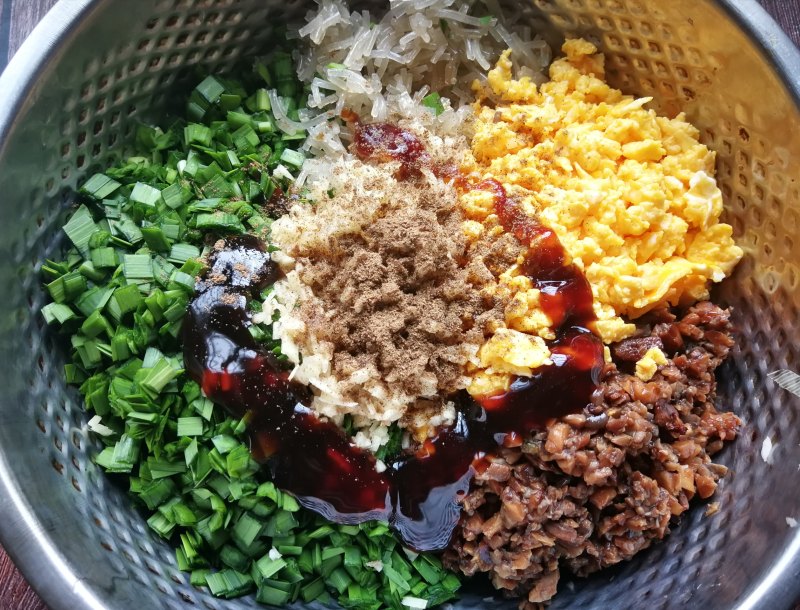
20.适量香油,蚝油,花椒粉。
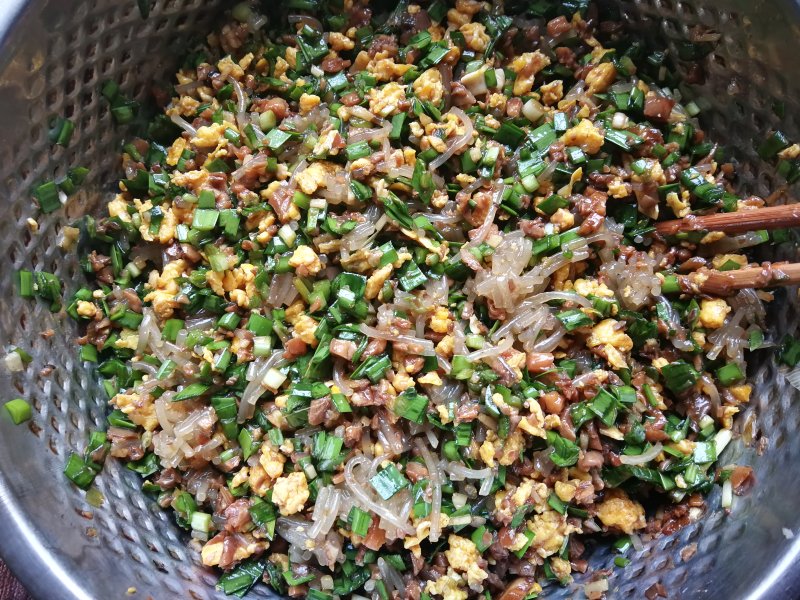
21.拌匀,待包时放盐调味。这样馅料一点水也不出。
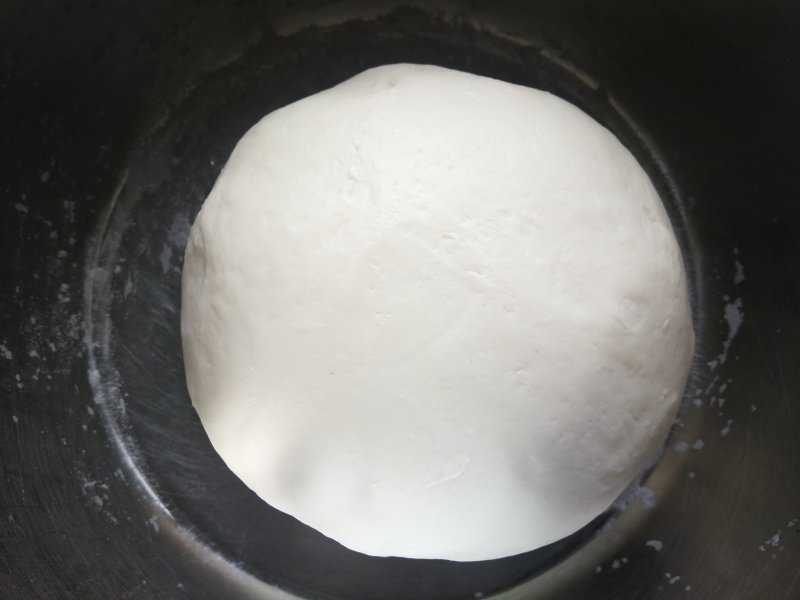
22.醒好的面团,光滑又细腻。
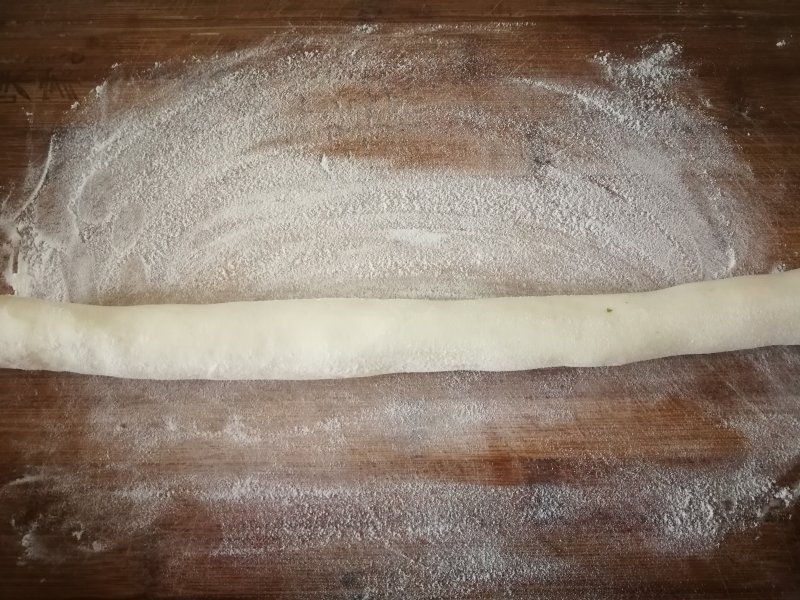
23.取适量面团揉成粗细均匀的长条。
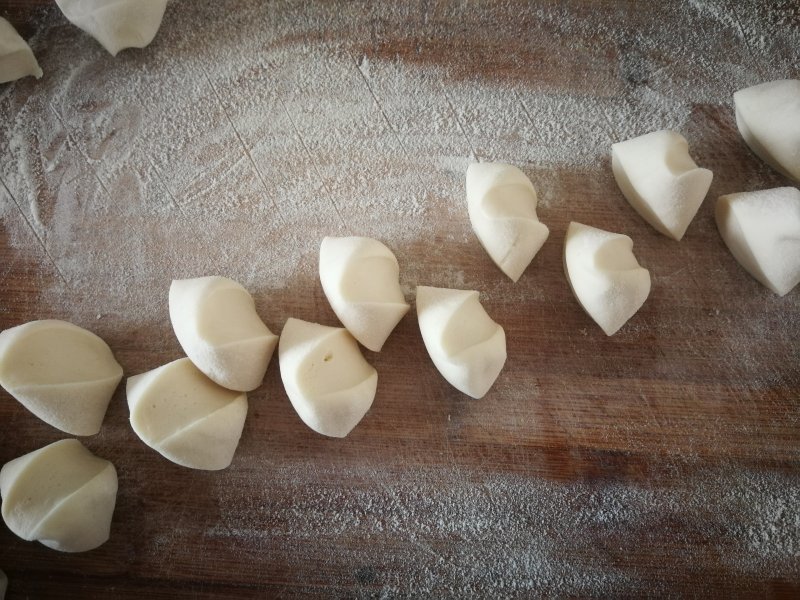
24.切成滚刀剂子。
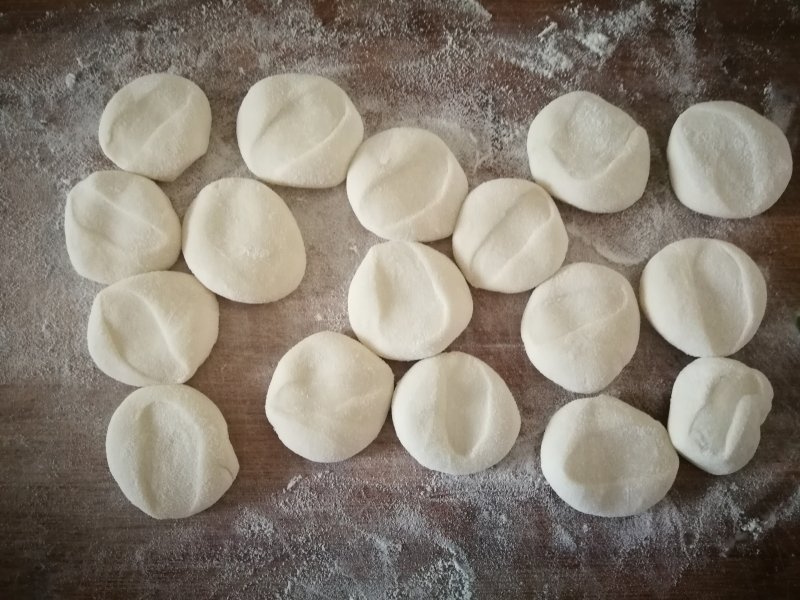
25.用掌心按扁。
26.擀成饺子皮。
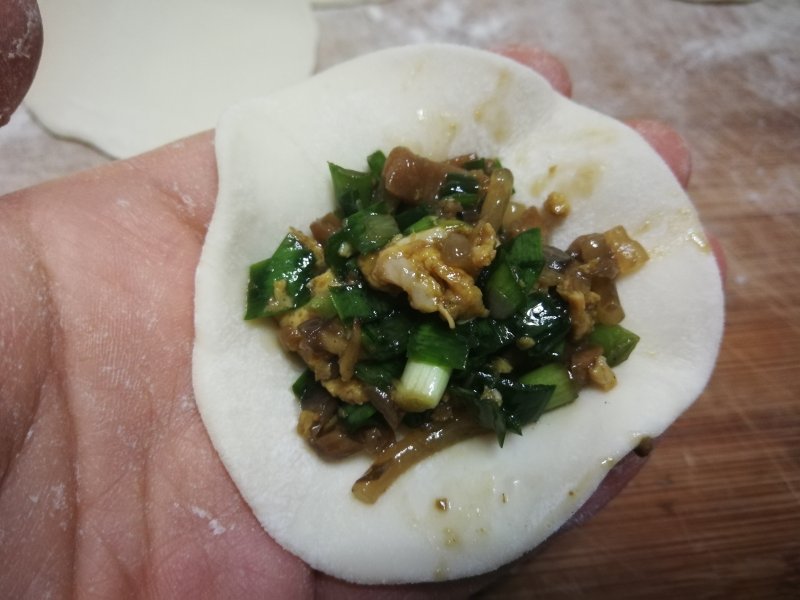
27.取一张饺子皮,放入适量馅儿。
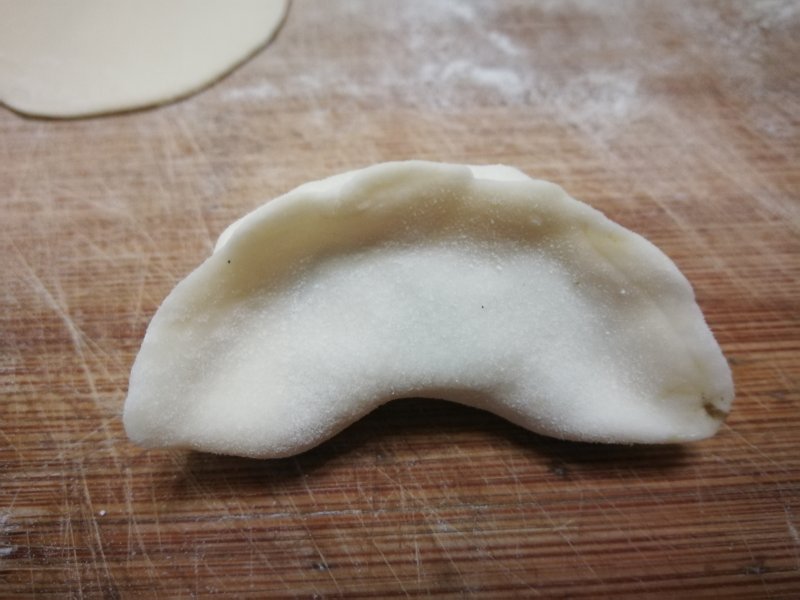
28.捏成饺子。
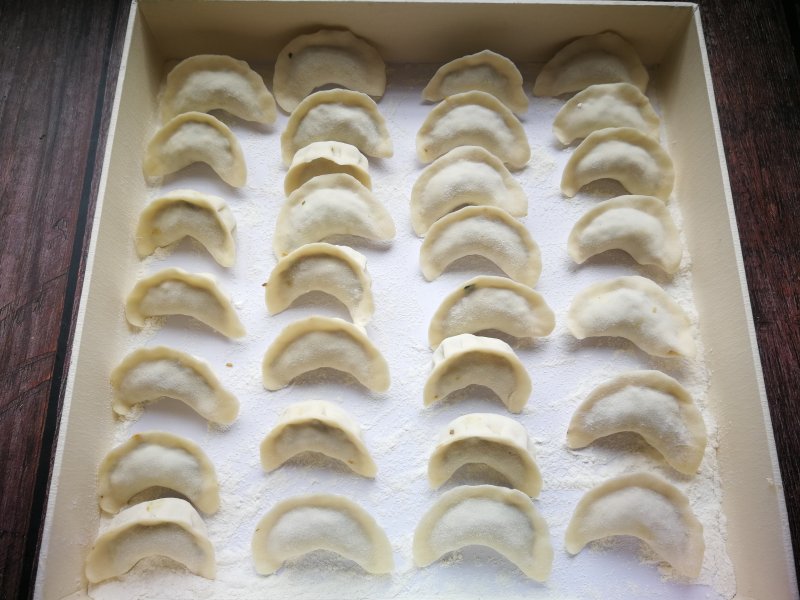
29.包好的饺子。
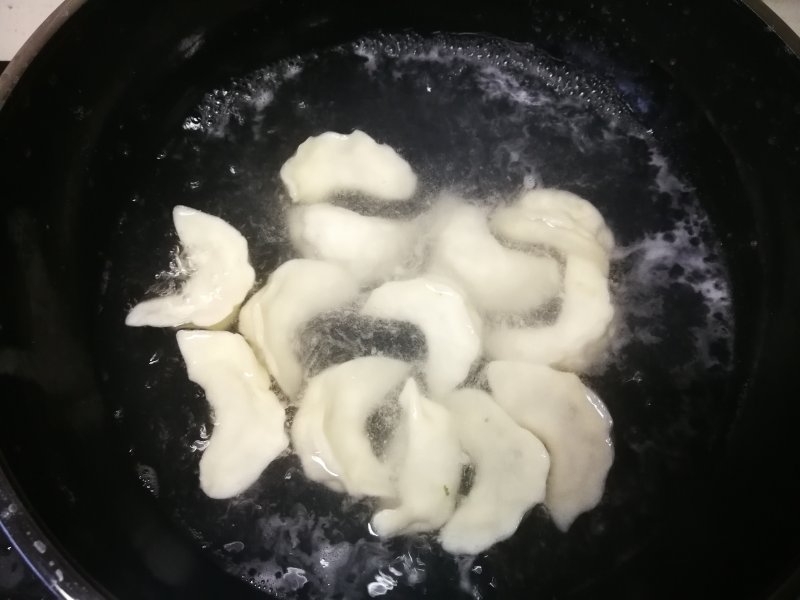
30.锅中适量水烧开,饺子放入,用锅铲轻轻推功底部,防止粘锅。
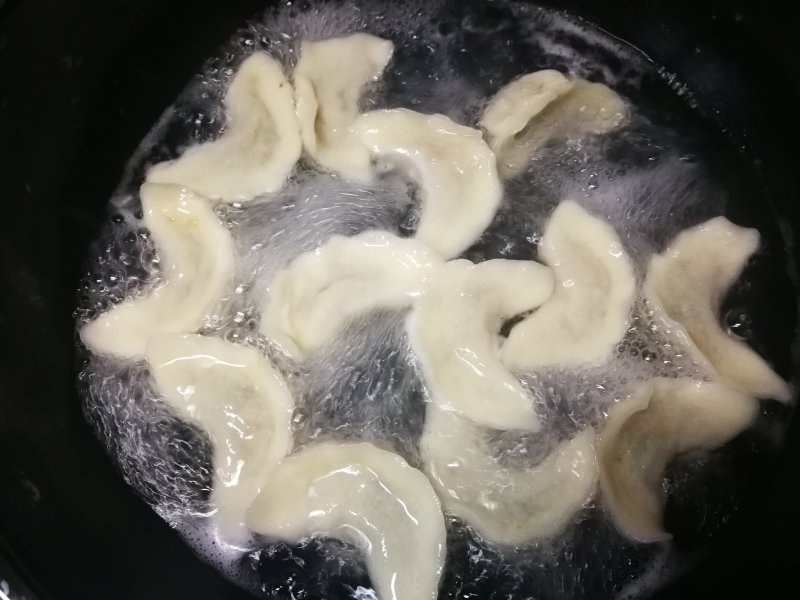
31.待饺子浮起,煮两滚儿,关火盛盘。
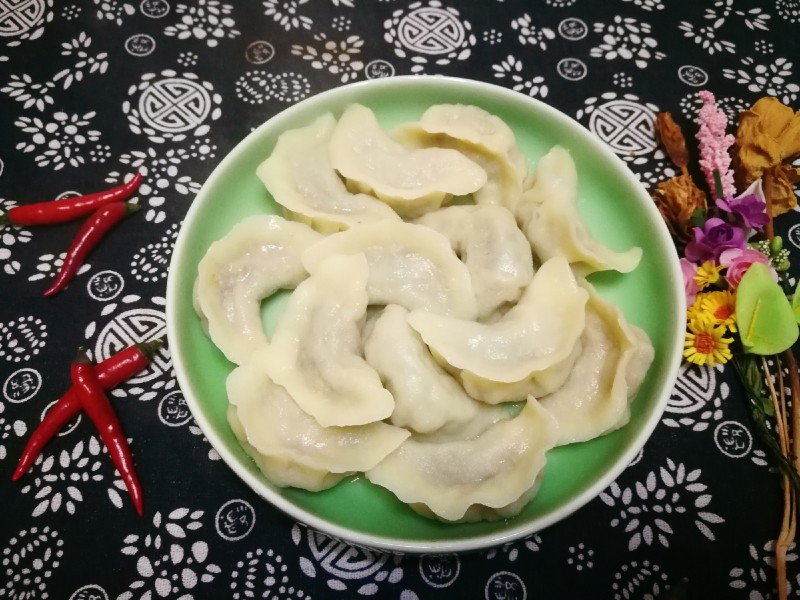
32.成品。
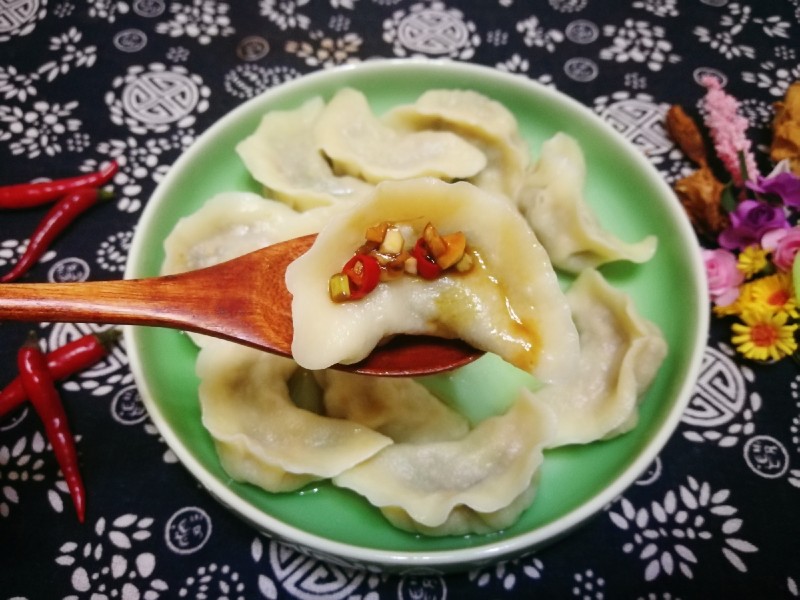
33.成品。
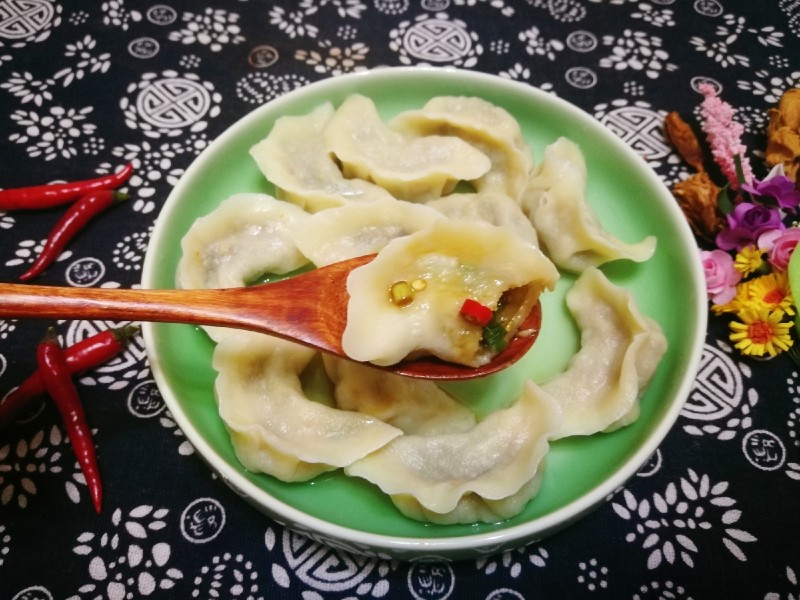
34.成品。
TAGS:
主食 家常菜 午餐 晚餐 平菇
免责声明:本站部分文章转载自网络,图文仅供行业学习交流使用,不做任何商业用途。文章仅代表原作者个人观点,其原创性及文章内容中图文的真实性、完整性等未经本站核实,仅供读者参考。
上一篇: 苹果银耳羹的做法,苹果银耳羹怎么做,苹果银耳羹的做法和功效与作用,苹果银耳羹有什么功效,苹果银耳羹的做法,红枣苹果银耳羹
下一篇: 鲜嫩汽锅鸡的做法,鲜嫩汽锅鸡怎么做,正宗汽锅鸡,原味汽锅鸡,汽锅鸡的图片,什么叫汽锅鸡
Deprecated: mysql_connect(): The mysql extension is deprecated and will be removed in the future: use mysqli or PDO instead in
/data/haozs.cc/xianguan.php on line
5
Deprecated: mysql_query(): The mysql extension is deprecated and will be removed in the future: use mysqli or PDO instead in
/data/haozs.cc/xianguan.php on line
7
