主料:
鸡蛋,
4个,
食盐,
1克,
清水,
35克,
白砂糖,
80克,
蛋糕粉,
95克,
葵花籽油,
35克
辅料:
蔓越莓,
40克蔓越莓肉松夹心蛋糕的做法步骤
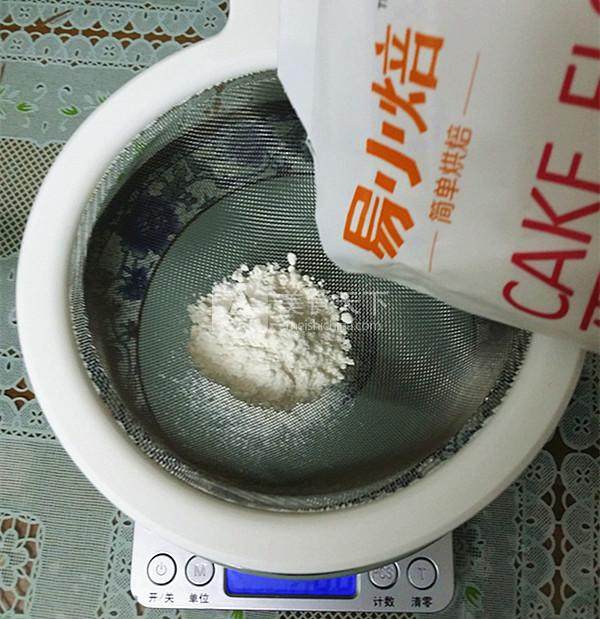
1.蛋糕粉秤重过筛备用
2.蔓越莓切小粒后撒少许蛋糕粉拌匀备用
3.盆中倒入清水和葵花籽油

4.用蛋抽搅拌至完全乳化备用
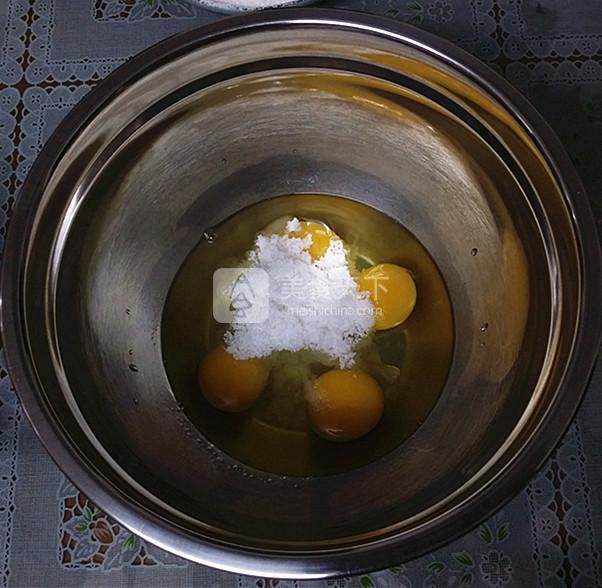
5.全蛋盆中倒入食盐和白砂糖
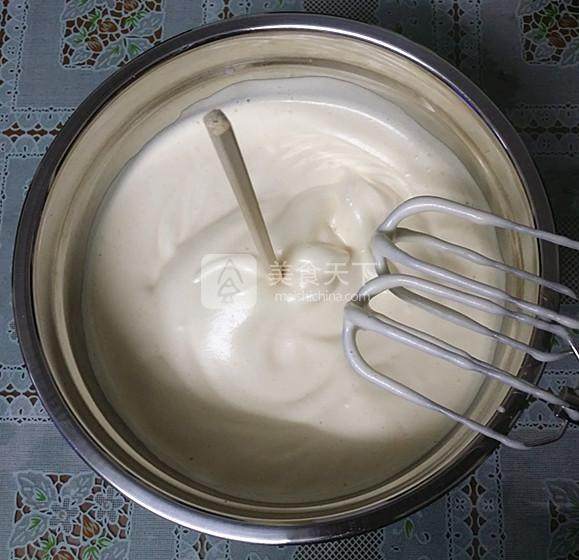
6.用打蛋器打至可立筷子不倒或写8字不很快消失即可
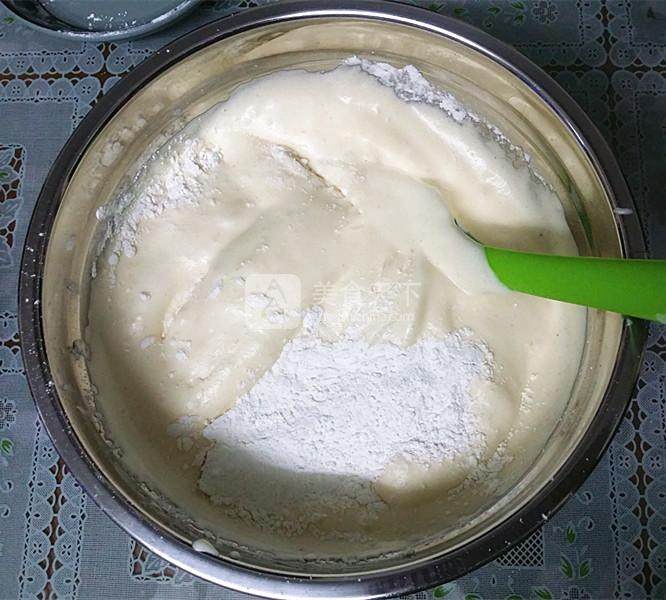
7.分二次倒入蛋糕粉上下翻拌均匀

8.取1/3蛋糕糊至水油盆中翻拌均匀
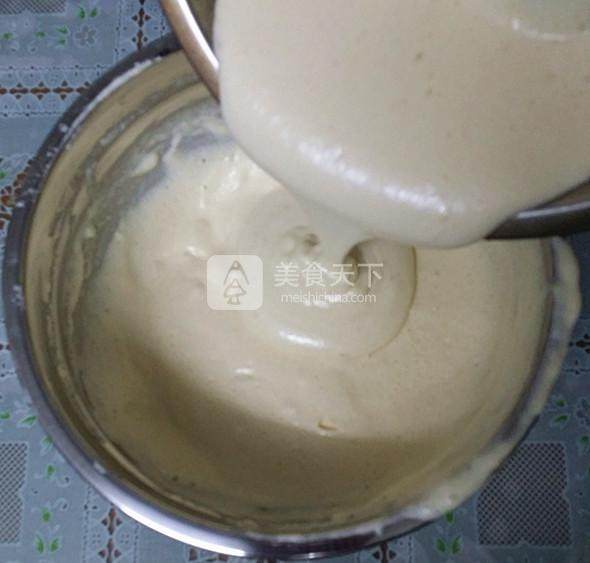
9.再回倒至蛋糕糊中
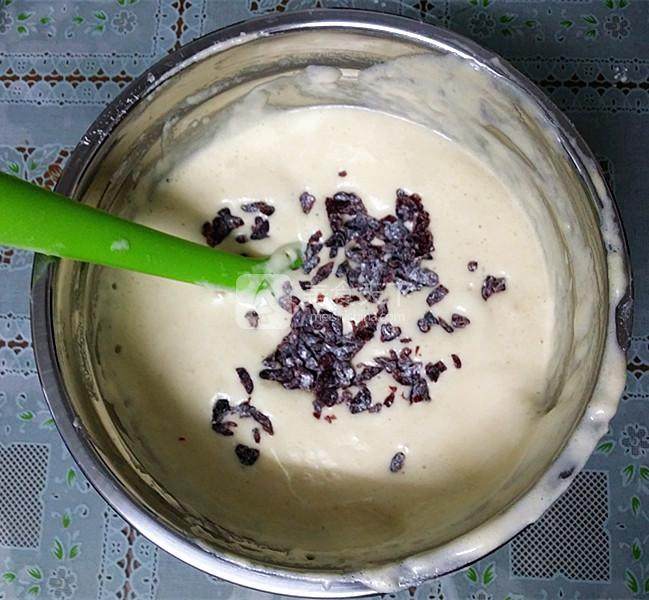
10.撒入蔓越莓粒同样翻拌均匀
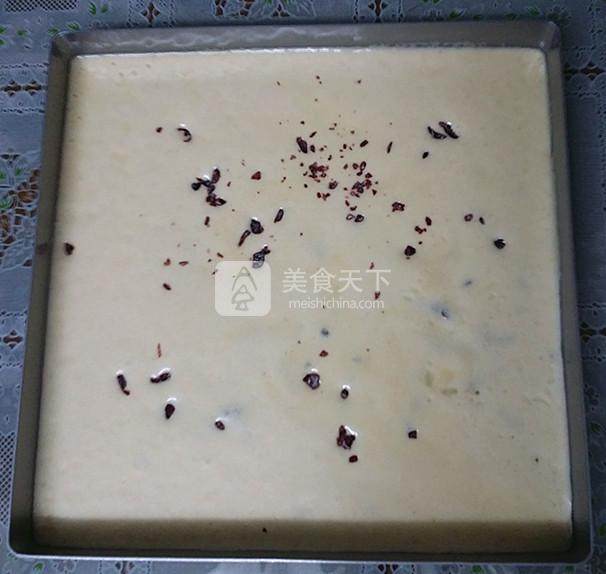
11.先将另一6连模倒满后,再将剩余的蛋糕糊倒入方盘中

12.送入预热好的烤箱中层:上下火170度
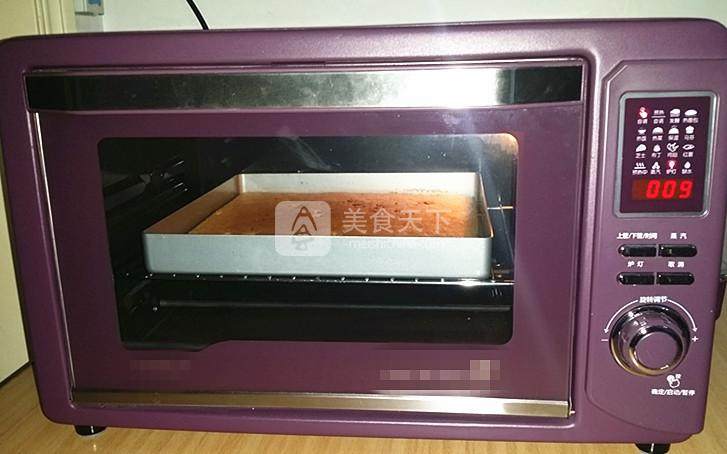
13.约烤17分钟左右
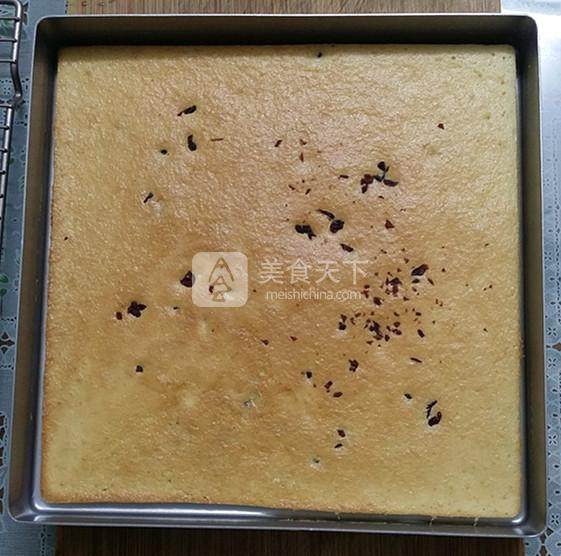
14.取出烤盘
15.迅速脱模移至烤架上晾凉
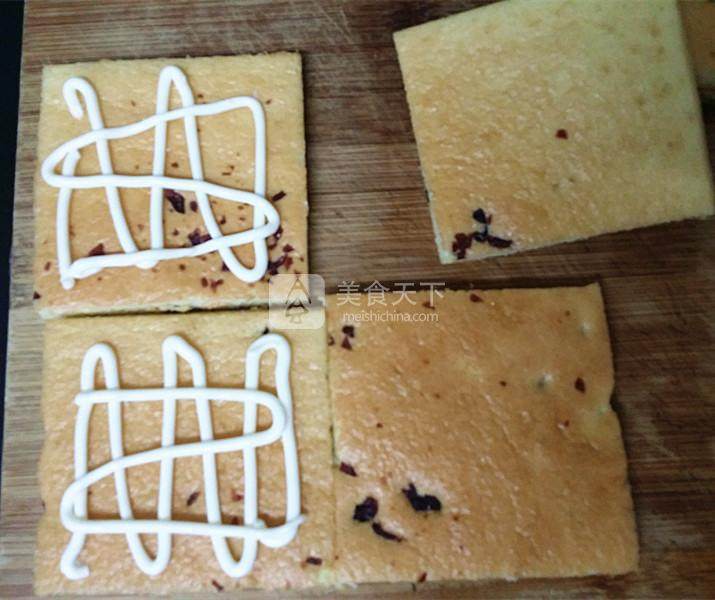
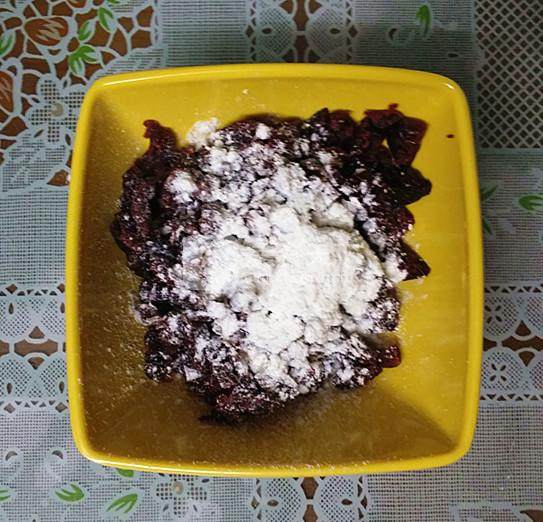
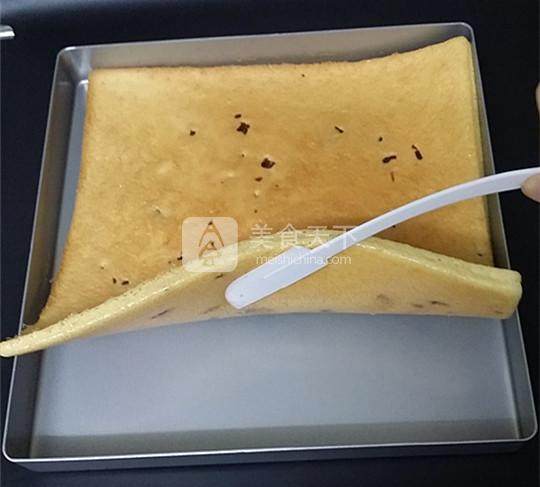
16.后平均切成9小块,将6小块挤上沙拉酱
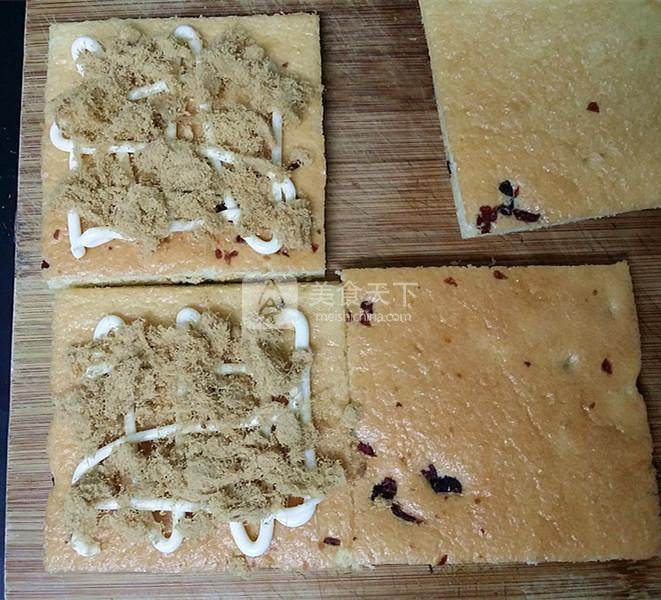
17.撒上适量肉松

18.以3块 / 组合并即可
小窍门&温馨提示
1、此配方可以做2盘6连模的量,而我是做了一盘6连模和一个28*28方盘蛋糕饼,请喜欢的亲们,根据自家的模具酌情增减,如有不妥的地方请题解
2、做海棉蛋糕对蛋液温度要求相对比戚风要高些,夏天时可以向我今天一样直接打发蛋液,而天冷时则需要将蛋液温度保持在40度左右,即隔水加热法,是最易打发成功的
3、同样海棉蛋糕的拌糊手法非常重要,需翻拌不可搅拌,否则很容易消泡
TAGS:
烘焙 儿童 下午茶 其他菜系 生日 鸡蛋
免责声明:本站部分文章转载自网络,图文仅供行业学习交流使用,不做任何商业用途。文章仅代表原作者个人观点,其原创性及文章内容中图文的真实性、完整性等未经本站核实,仅供读者参考。
上一篇: 微波炉披萨的做法,微波炉披萨怎么做,微波炉披萨烤几分钟,微波炉披萨的做法,微波炉披萨加热多长时间,微波炉烤披萨
下一篇: 卤藕
Deprecated: mysql_connect(): The mysql extension is deprecated and will be removed in the future: use mysqli or PDO instead in
/data/haozs.cc/xianguan.php on line
5
Deprecated: mysql_query(): The mysql extension is deprecated and will be removed in the future: use mysqli or PDO instead in
/data/haozs.cc/xianguan.php on line
7
