主料:
虾,
15只
辅料:
蛋黄酱适量,
芝士碎适量,
黑胡椒碎适量,
盐适量,
柠檬,
半颗,
欧芹,
适量点缀蛋黄芝士焗虾的做法步骤
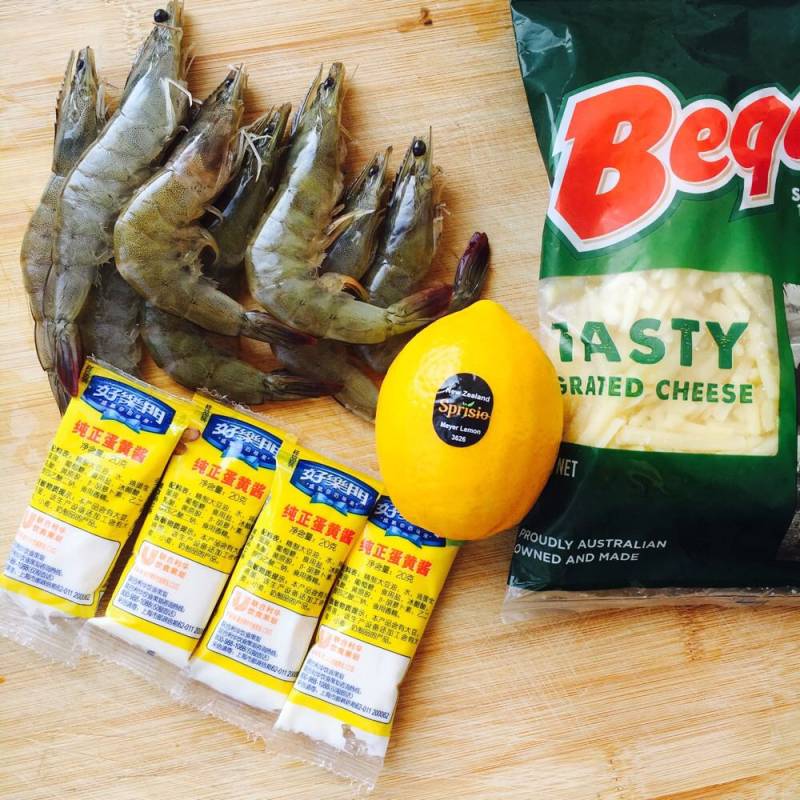
1.准备好原料,蛋黄酱和芝士碎的品牌选择自己常用的即可
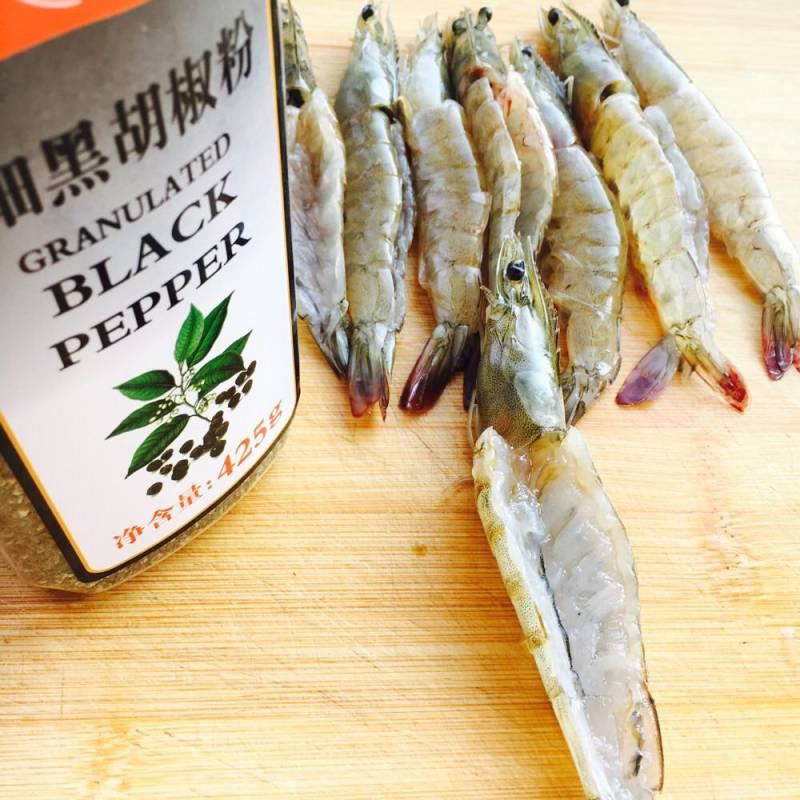
2.首先给虾开背,抽出虾线
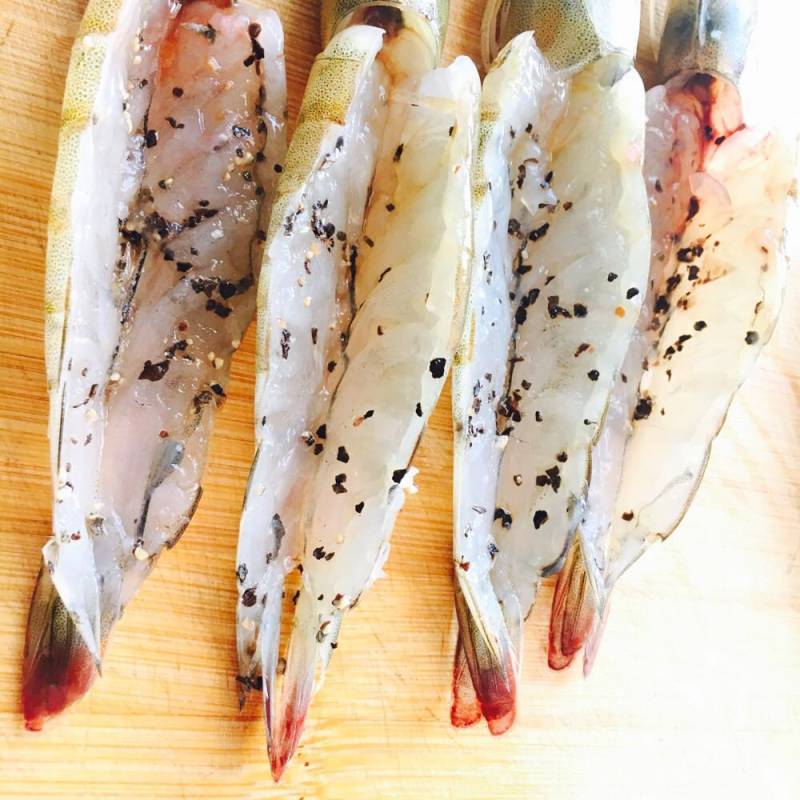
3.在开完背的虾肉上撒适量黑胡椒碎
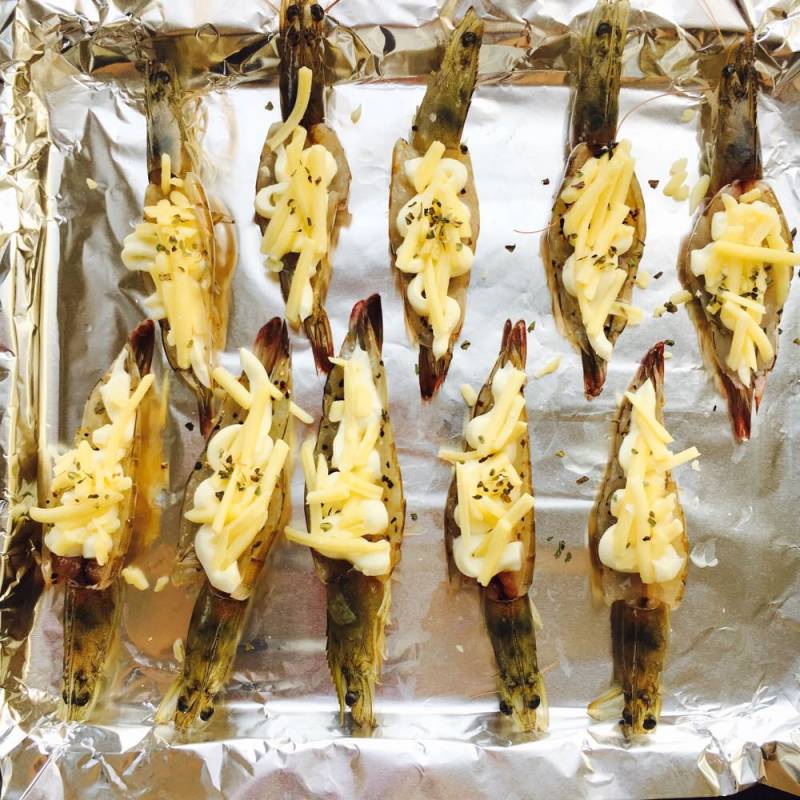
4.将虾整齐地放在烤盘的锡纸上,在虾上放入适量蛋黄酱,码上芝士碎
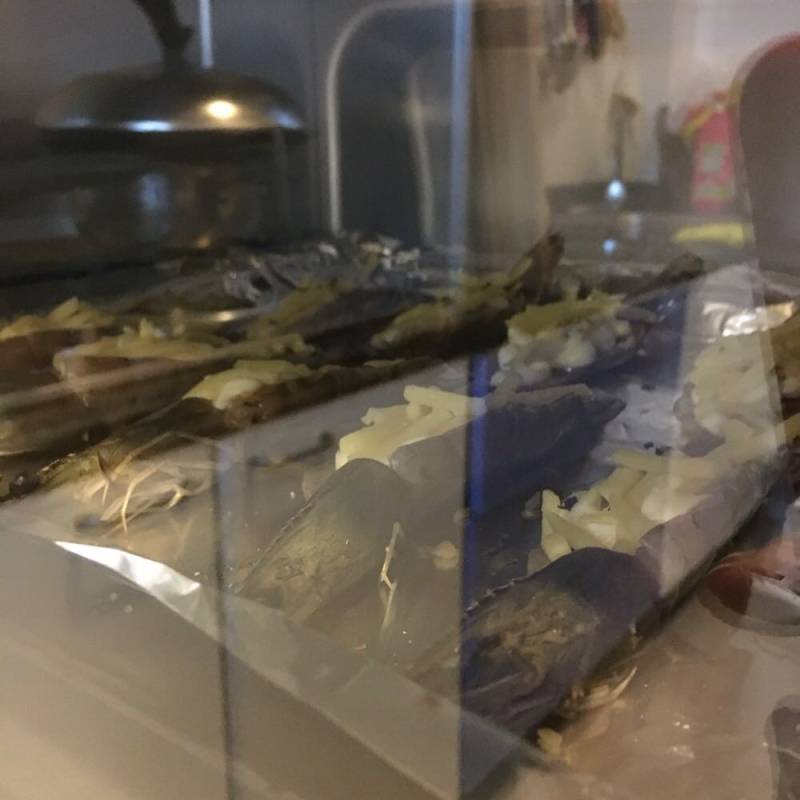
5.先预热烤箱170度十分钟,放入虾,调整到180度10分钟,随时观察虾的颜色和芝士的颜色变化
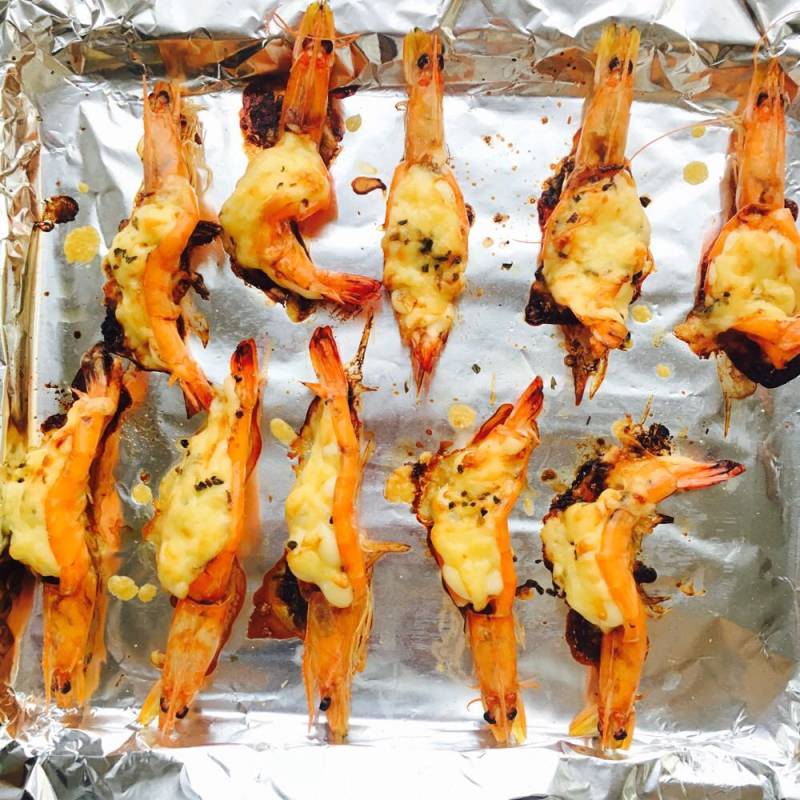
6.芝士稍微焦黄,取出虾,烤制步骤完成
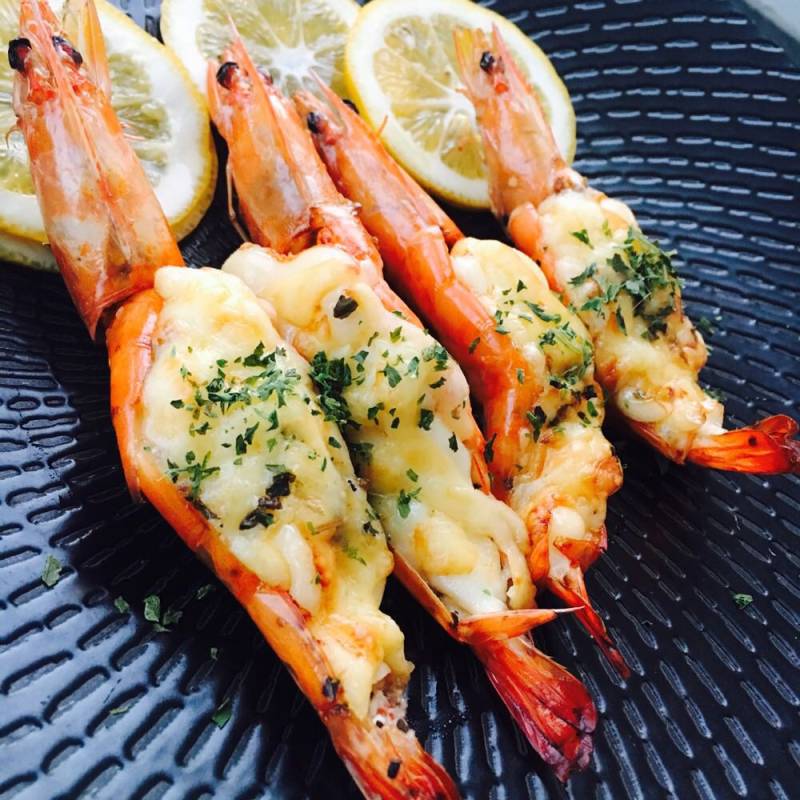
7.取出虾 挤点柠檬汁到虾背上,装盘,撒适量欧芹碎做装饰
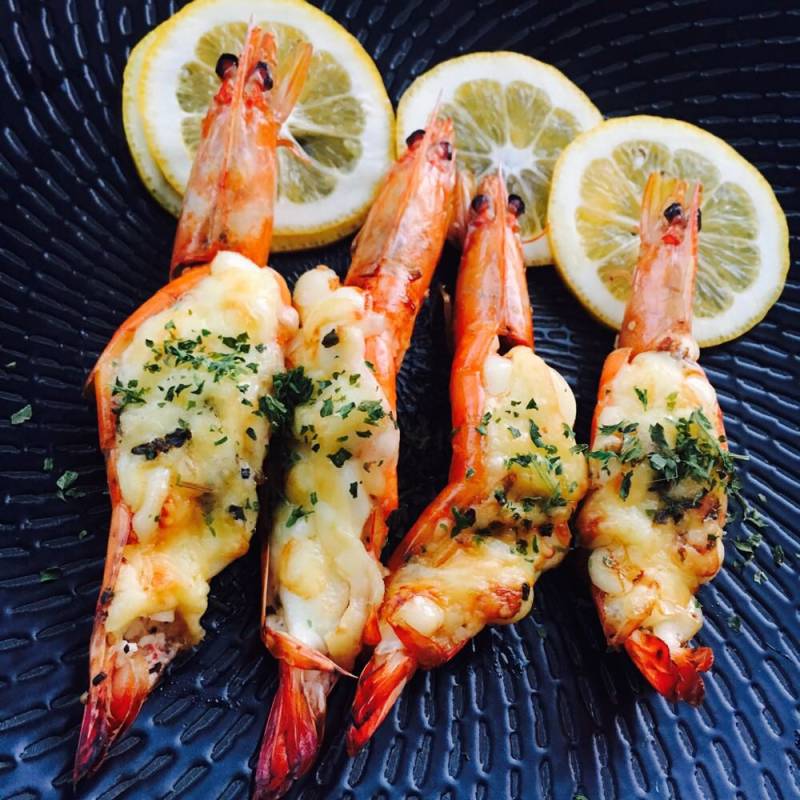
8.拍照,上菜!
小窍门&温馨提示
1.蛋黄使用量和芝士使用量可以根据个人喜好调整,建议放上满满的芝士,味道更佳浓郁
2.烤箱烤制过程中随时观察颜色变化 不用的品牌烤箱时间不一样
3.欧芹碎仅为点缀,可以随意搭配
TAGS:
热菜 烤箱菜 西餐 午餐 学生 虾
免责声明:本站部分文章转载自网络,图文仅供行业学习交流使用,不做任何商业用途。文章仅代表原作者个人观点,其原创性及文章内容中图文的真实性、完整性等未经本站核实,仅供读者参考。
上一篇: 牛肉大葱水饺
下一篇: 青橙一夏的做法,青橙一夏怎么做,橙夏夏吖有没有,夏橙是青色的吗,为什么夏橙是青的,夏橙是什么
Deprecated: mysql_connect(): The mysql extension is deprecated and will be removed in the future: use mysqli or PDO instead in
/data/haozs.cc/xianguan.php on line
5
Deprecated: mysql_query(): The mysql extension is deprecated and will be removed in the future: use mysqli or PDO instead in
/data/haozs.cc/xianguan.php on line
7


