主料:
黄油,
100克,
糖粉,
50克,
全蛋,
40克,
蛋黄,
1个,
低粉,
145克,
杏仁粉,
40克紫薯馅,250克表面装饰
蛋液适量,
黑芝麻适量紫薯一口酥的做法步骤
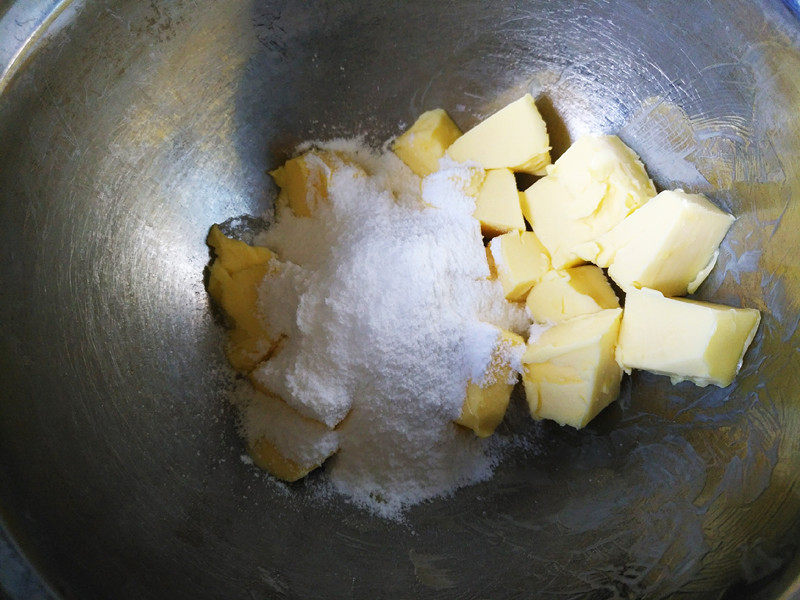
1.软化的黄油加糖粉。
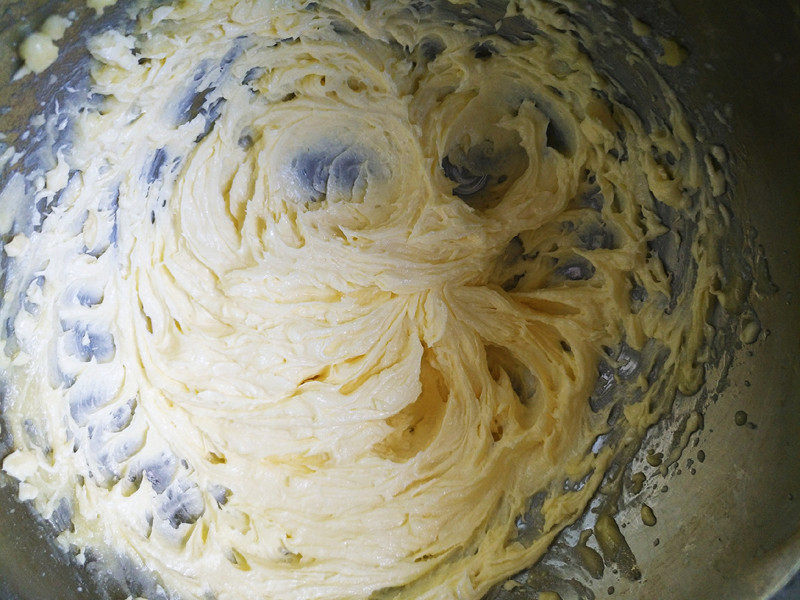
2.用电动打蛋器打发至发白。
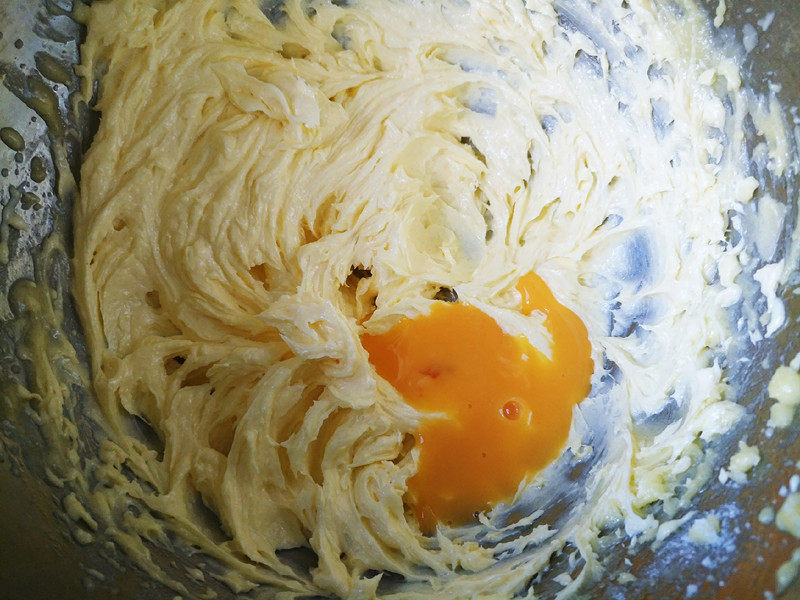
3.分两次加入全蛋和蛋黄混合液。
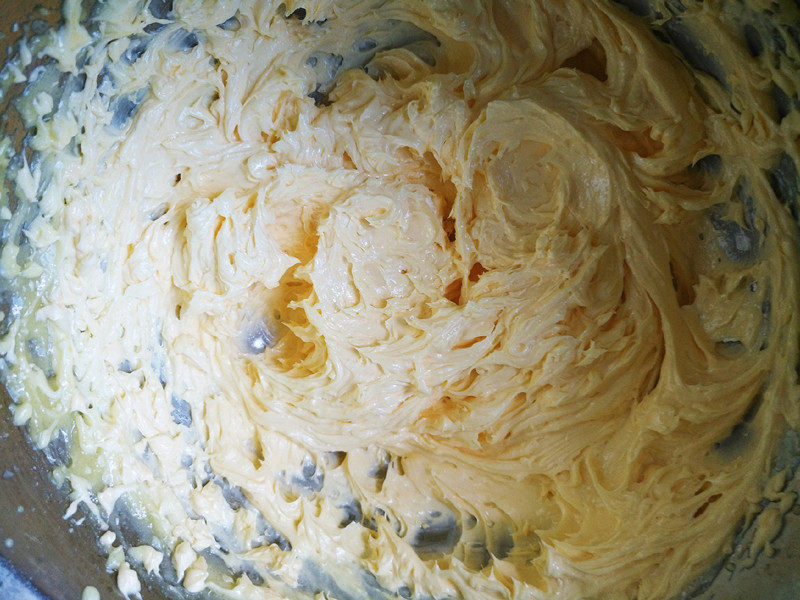
4.搅拌成光滑细腻。
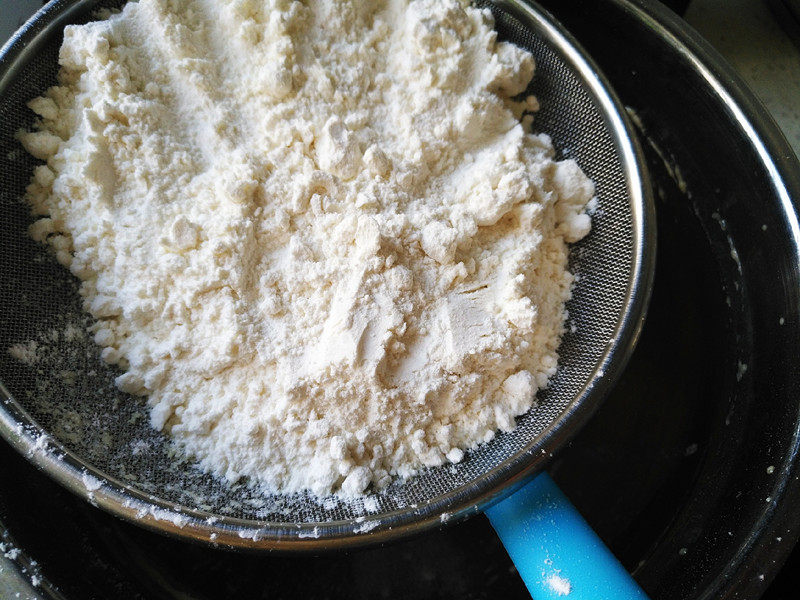
5.筛入杏仁粉和低粉。
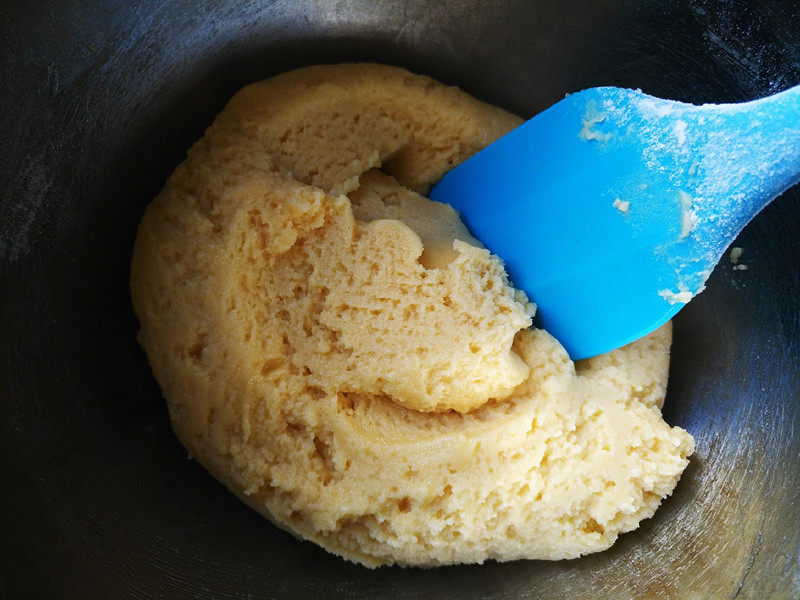
6.搅拌均匀。
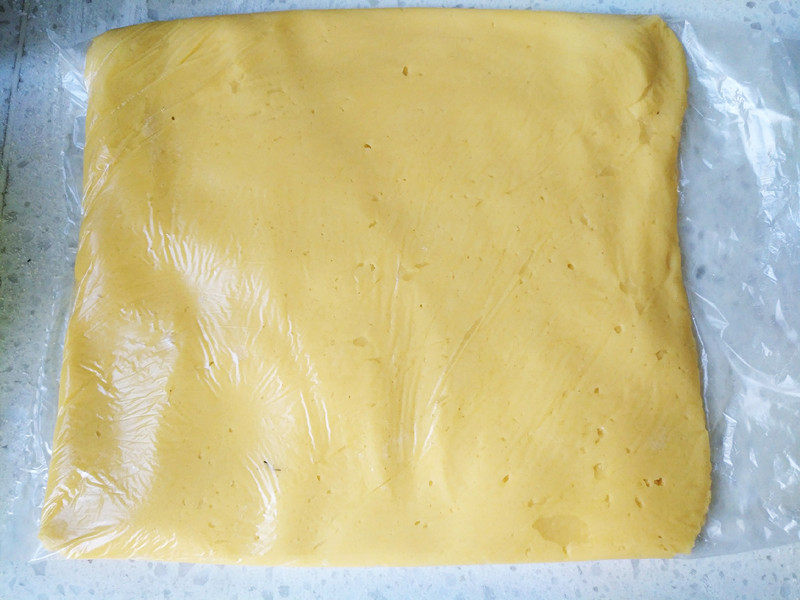
7.将面团装入保鲜袋,按扁,更容易凝固,放冰箱冷藏一个小时。
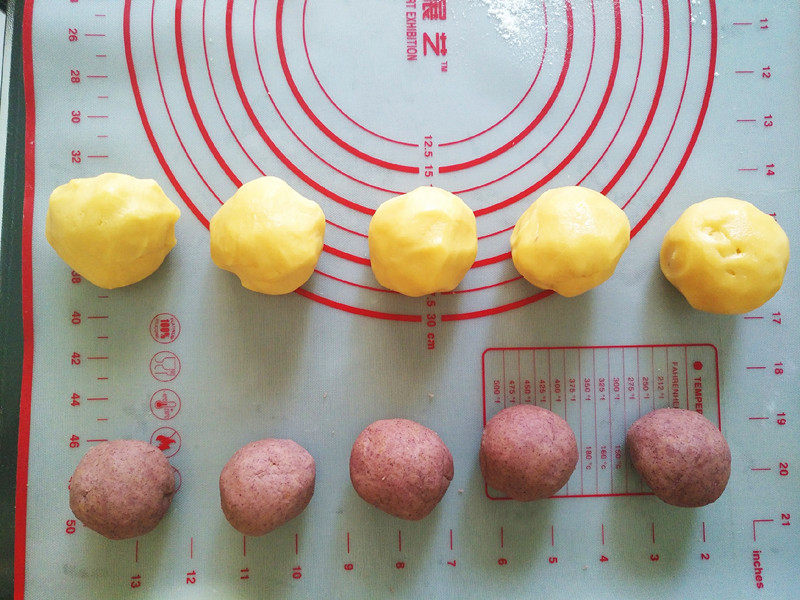
8.将面团和紫薯馅各分成5份,滚圆。
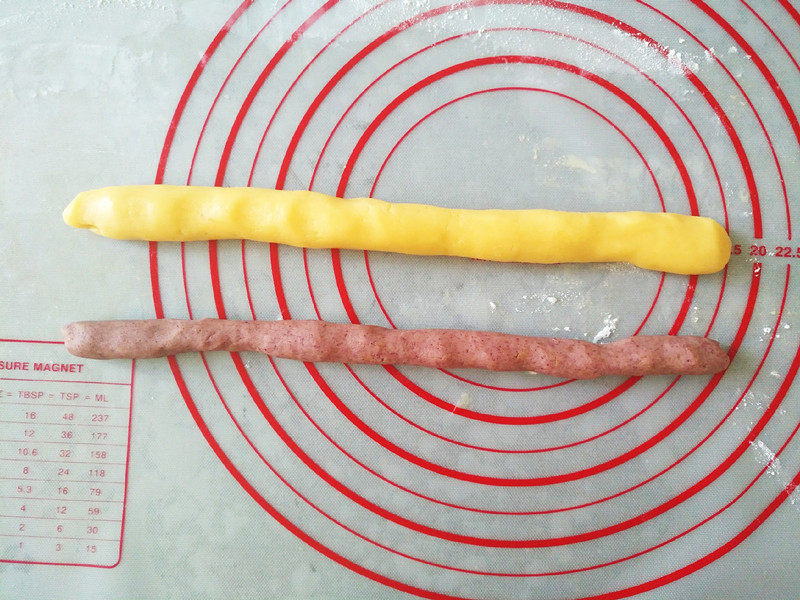
9.将每份皮和馅分别搓成长条。
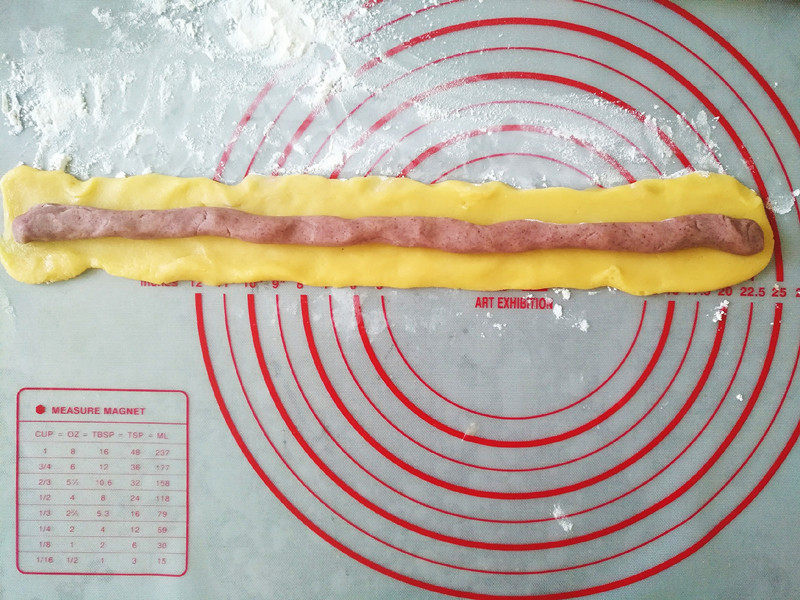
10.将皮擀开,放上紫薯馅。
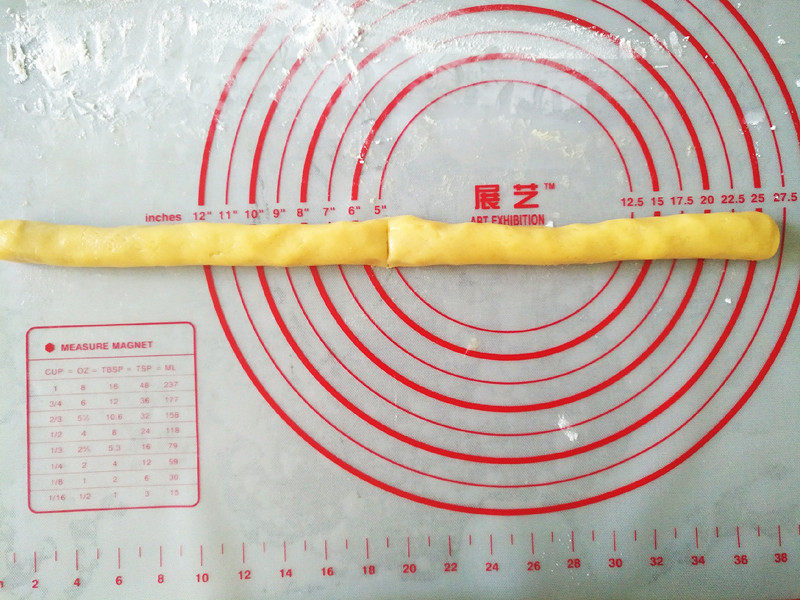
11.包紧,搓实。
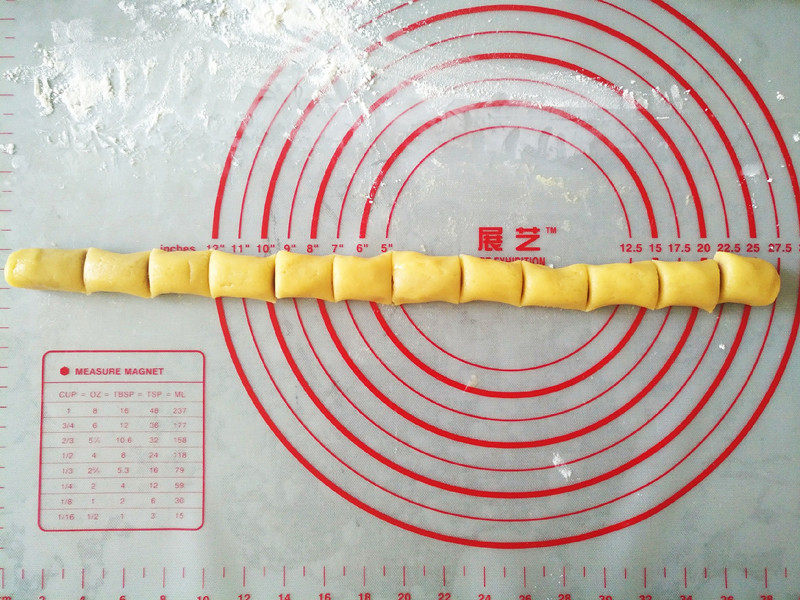
12.每条平均分成12份。
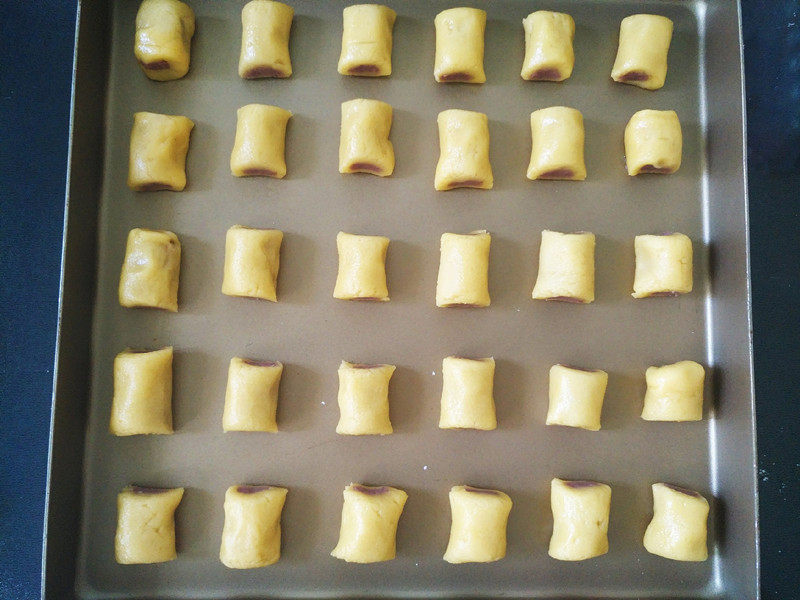
13.摆入烤盘。
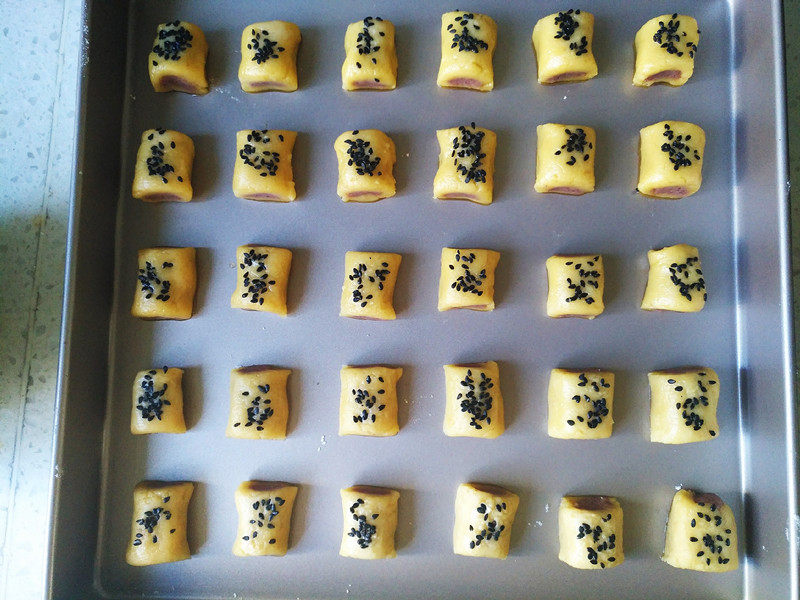
14.表面抹蛋液,沾黑芝麻。
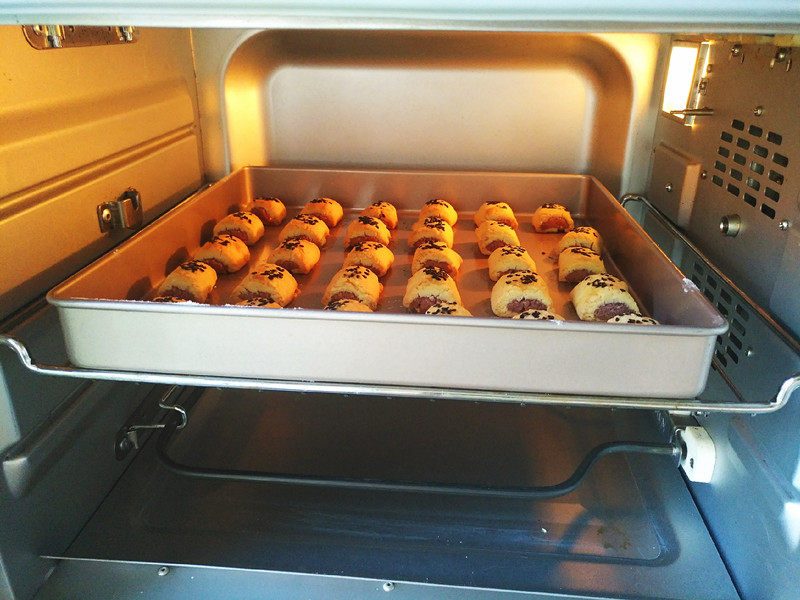
15.放入预热好的烤箱中层上下火180度20分钟。
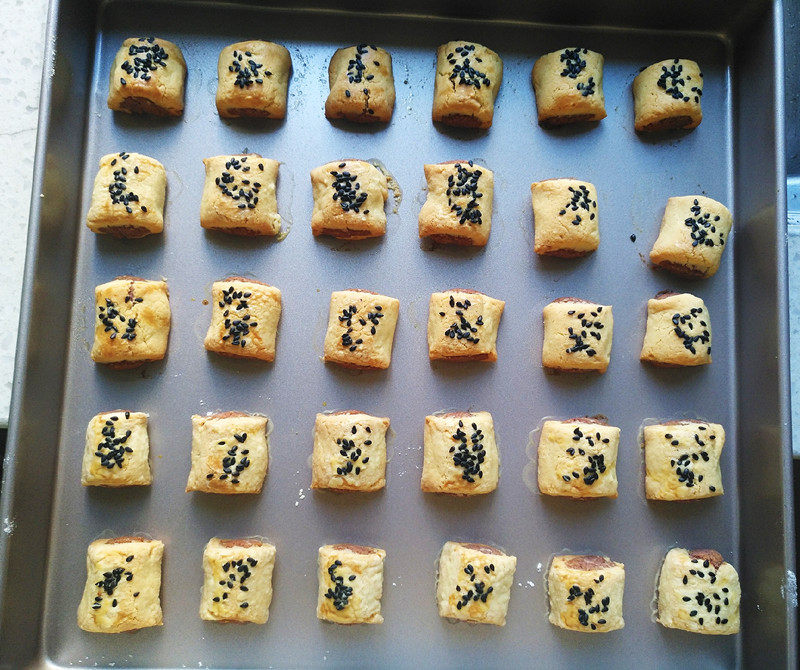
16.表面上色均匀后即可出炉冷却。
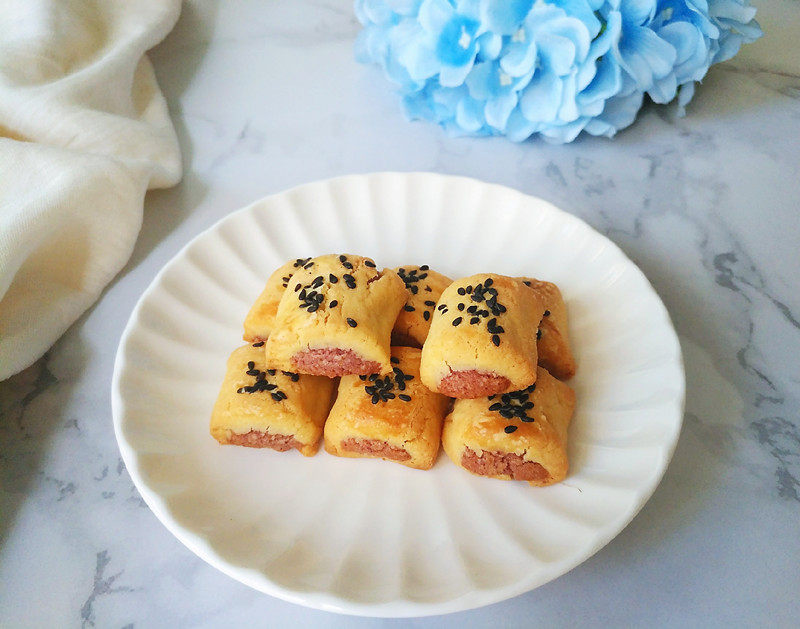
17.成品图。
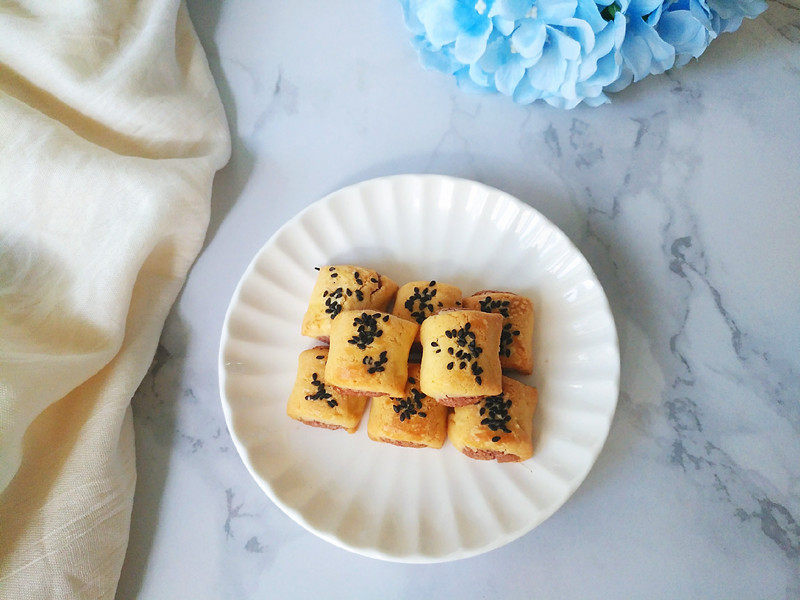
18.成品图。
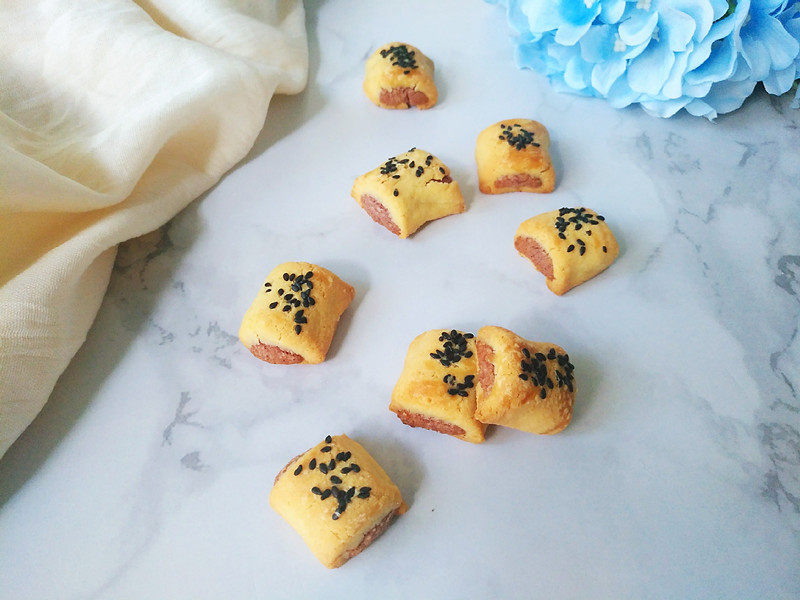
19.成品图。
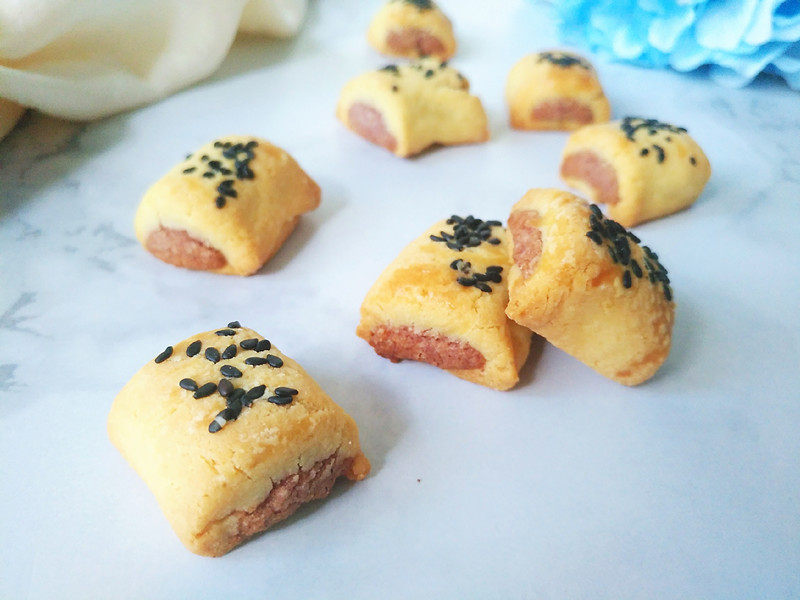
20.成品图。
小窍门&温馨提示
1.室温高时可将面皮放冷藏,逐个取出整形。
2.根据各人喜好调整内陷食材。
3.根据各人烤箱属性调整烘烤温度。
4.此方可做2盘(28x28厘米烤盘),共60个。
TAGS:
烘焙 下午茶 零食 其他菜系 黄油
免责声明:本站部分文章转载自网络,图文仅供行业学习交流使用,不做任何商业用途。文章仅代表原作者个人观点,其原创性及文章内容中图文的真实性、完整性等未经本站核实,仅供读者参考。
上一篇: 藜麦蝴蝶面汤
下一篇: 莲子绿豆汤的做法,莲子绿豆汤怎么做,莲子绿豆汤的功效,莲子绿豆汤的功效与作用禁忌,百合莲子绿豆汤,莲子绿豆汤的做法
Deprecated: mysql_connect(): The mysql extension is deprecated and will be removed in the future: use mysqli or PDO instead in
/data/haozs.cc/xianguan.php on line
5
Deprecated: mysql_query(): The mysql extension is deprecated and will be removed in the future: use mysqli or PDO instead in
/data/haozs.cc/xianguan.php on line
7


