主料:
芋艿适量,
韭苔适量
辅料:
油适量,
盐适量韭苔芋艿的做法步骤
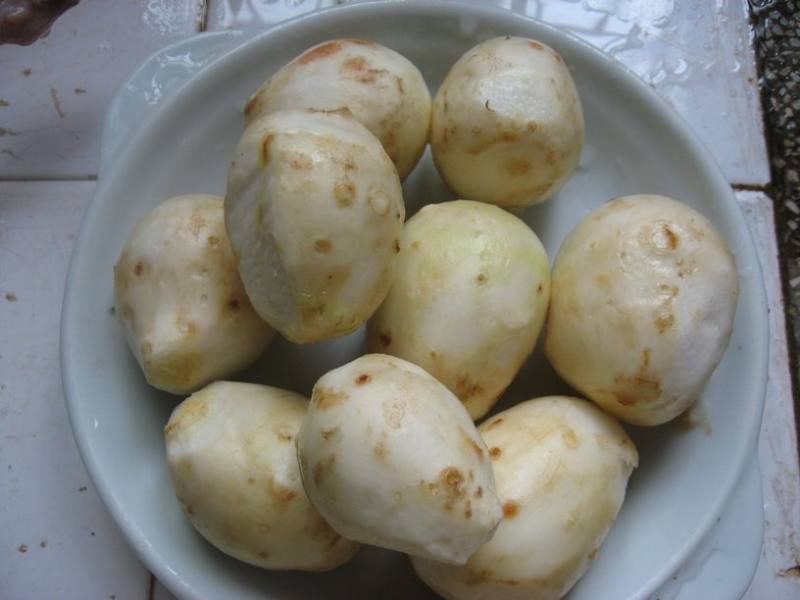
1.芋艿去皮,洗净。
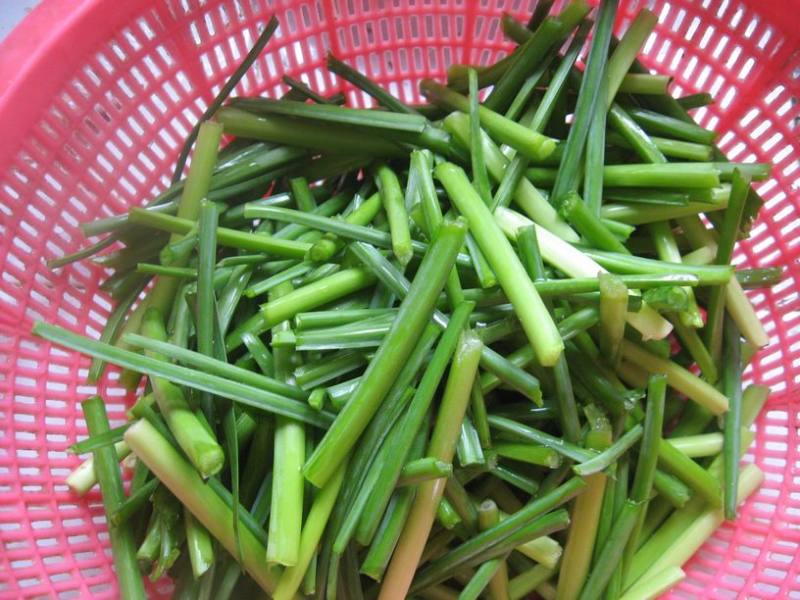
2.韭菜洗净,切短。
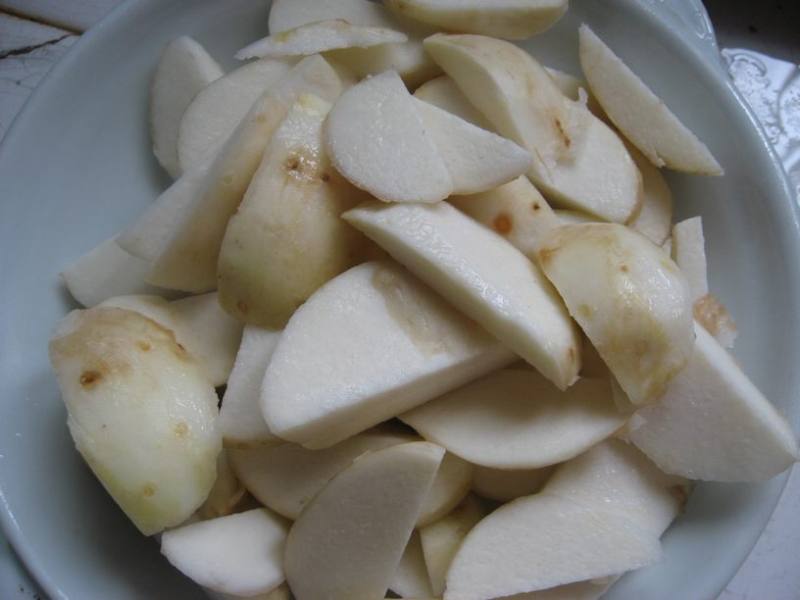
3.洗净的芋艿,切开。
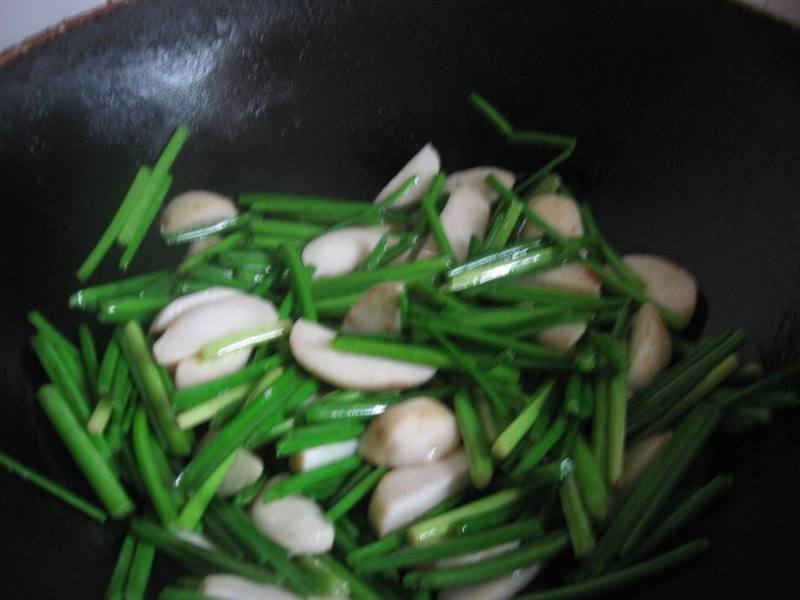
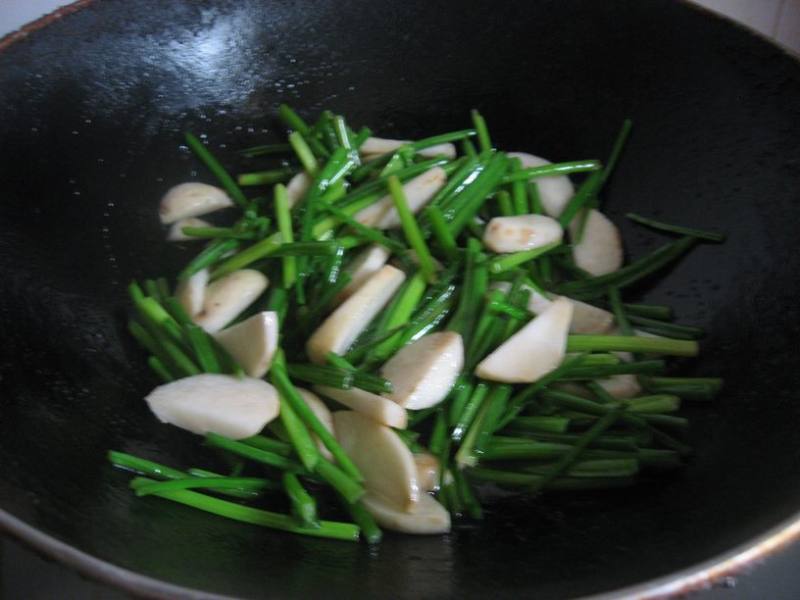
4.锅中放油,炒芋艿和韭菜。

5.加点盐,继续炒。
6.加点熟,继续炒熟。
TAGS:
热菜 家常菜 午餐 晚餐 芋艿
免责声明:本站部分文章转载自网络,图文仅供行业学习交流使用,不做任何商业用途。文章仅代表原作者个人观点,其原创性及文章内容中图文的真实性、完整性等未经本站核实,仅供读者参考。
上一篇: 韭苔炒鸡蛋的做法,韭苔炒鸡蛋怎么做,韭苔炒鸡蛋的家常做法,韭苔炒鸡蛋的功效,韭苔炒鸡蛋图片,韭苔炒鸡蛋的热量
下一篇: 自制披萨酱的做法,自制披萨酱怎么做,自制披萨酱的简单做法,自制披萨酱可以保存多久,自制披萨酱怎么保存,自制披萨酱冷冻保存
Deprecated: mysql_connect(): The mysql extension is deprecated and will be removed in the future: use mysqli or PDO instead in
/data/haozs.cc/xianguan.php on line
5
Deprecated: mysql_query(): The mysql extension is deprecated and will be removed in the future: use mysqli or PDO instead in
/data/haozs.cc/xianguan.php on line
7
