主料:
鸡蛋,
4个,
低筋面粉,
80克鲜橙汁,75克白糖,
蛋黄10克、蛋白40克,
橙子,
5片
辅料:
玉米油,
40克,
白糖,
(煮橙子片用)40克,
纯净水,
(煮橙子片用)200克香橙蛋糕卷的做法步骤
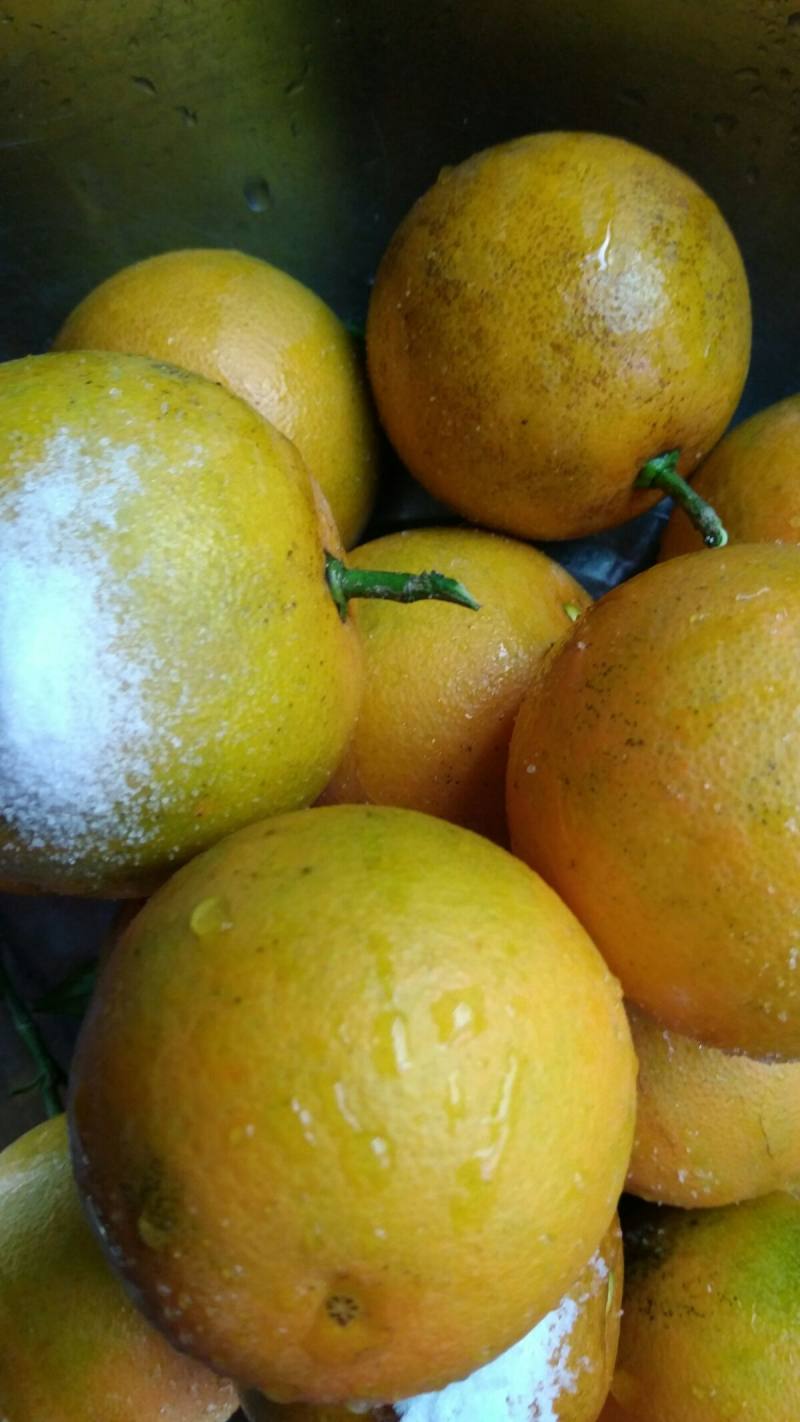
1.用食盐搓橙皮用流动水冲洗干净,沥干表面水份
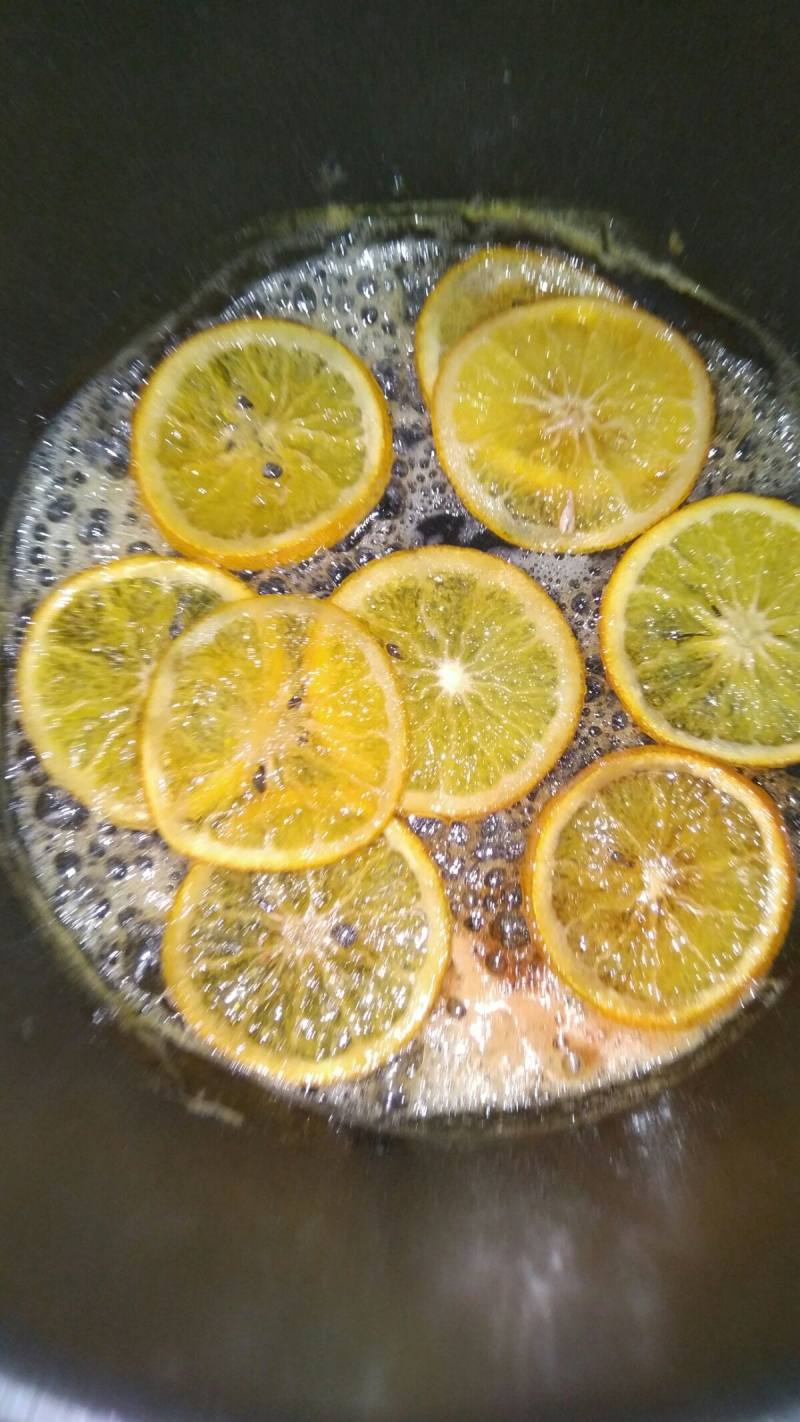
2.切薄片(越薄越好),放入200克纯净水溶化了40克白糖的糖水里(忙着做蛋糕,用电压力锅不盖锅盖,定个时就不用守着煮)煮到白色的透明(一不小心煮到收糖汁了)
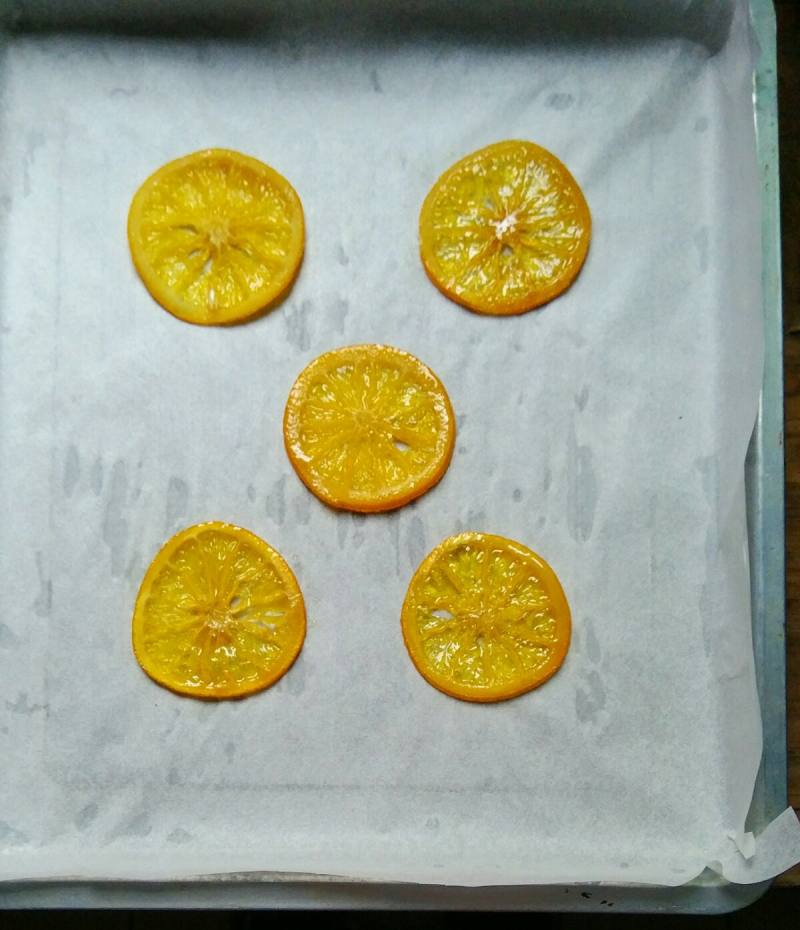
3.把橙子片铺在垫有油纸的模具
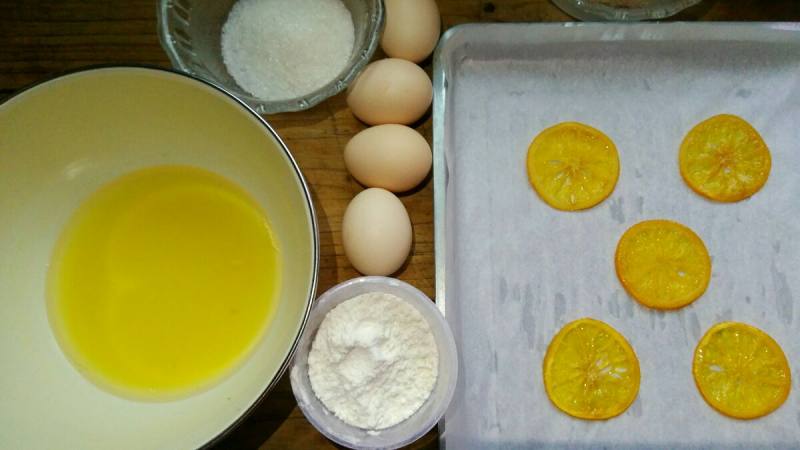
4.准备好食材,160度预热烤箱
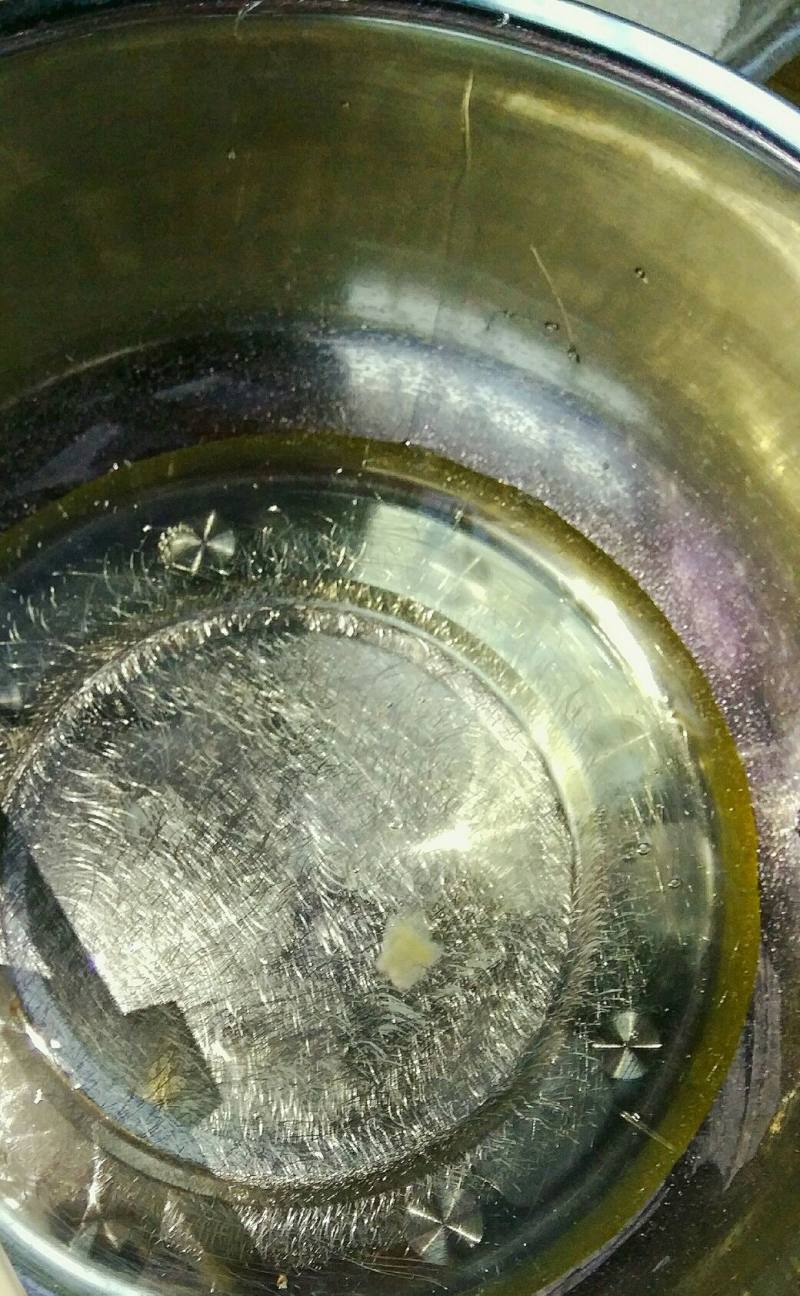
5.把4个蛋清装入无油无水的碗里
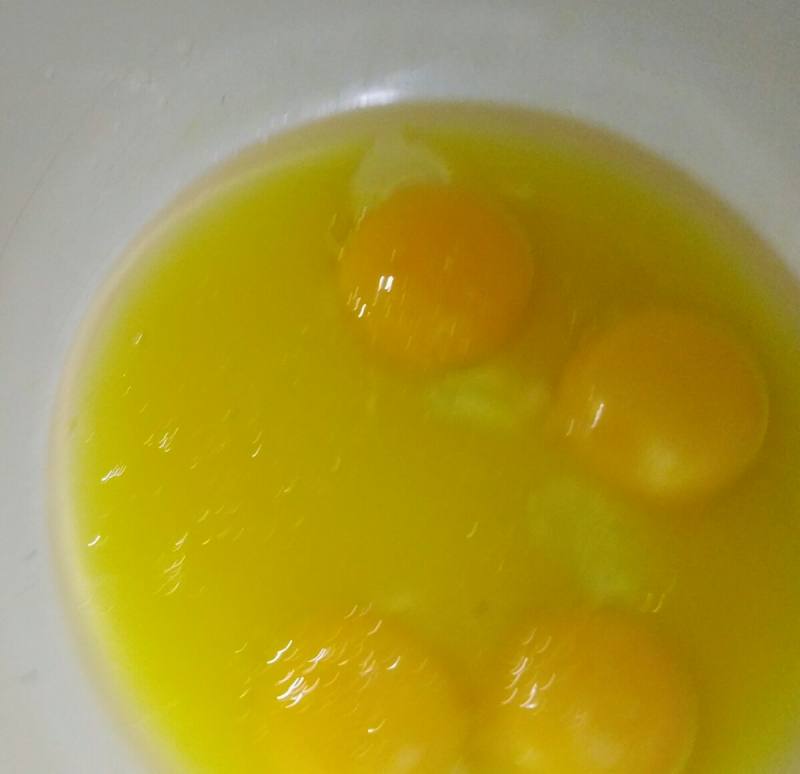
6.4个蛋黄放入装有75克橙汁、40克玉米油、10白糖的碗里
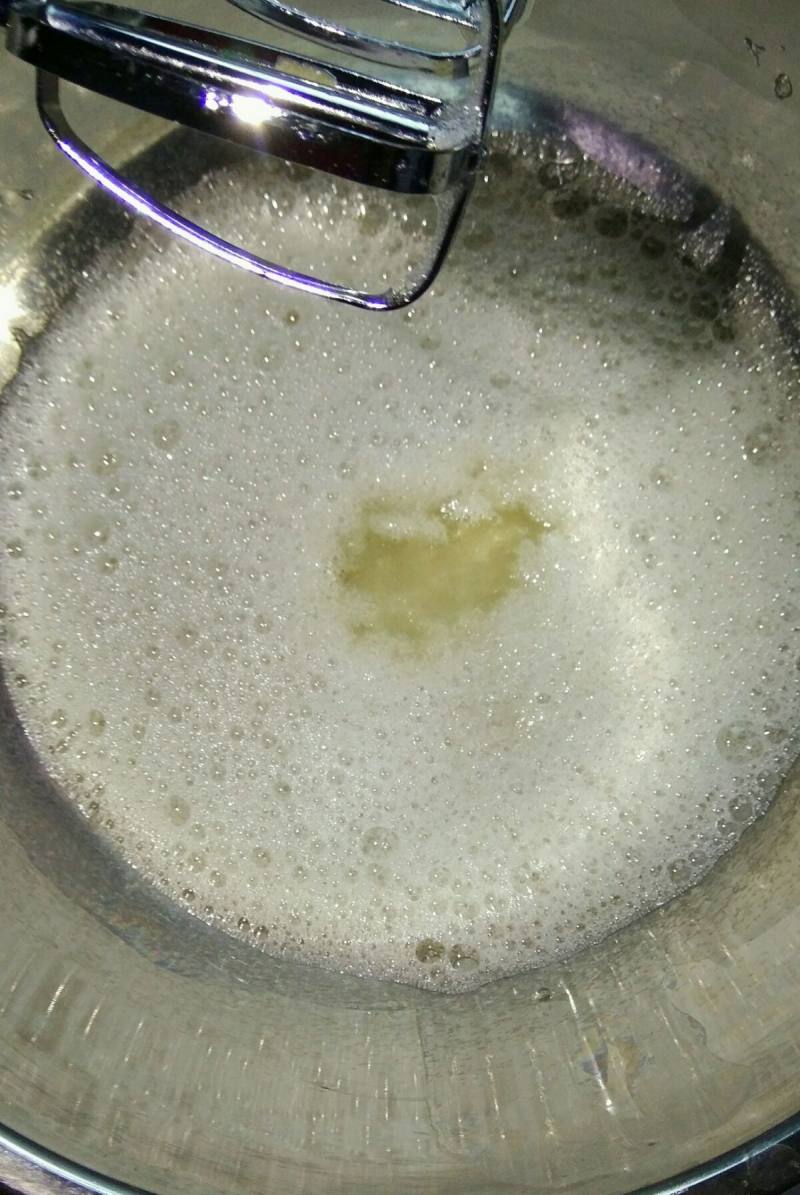
7.先打发蛋白,用电动打蛋器,低速打出粗泡,放入40克里的三分之一白糖
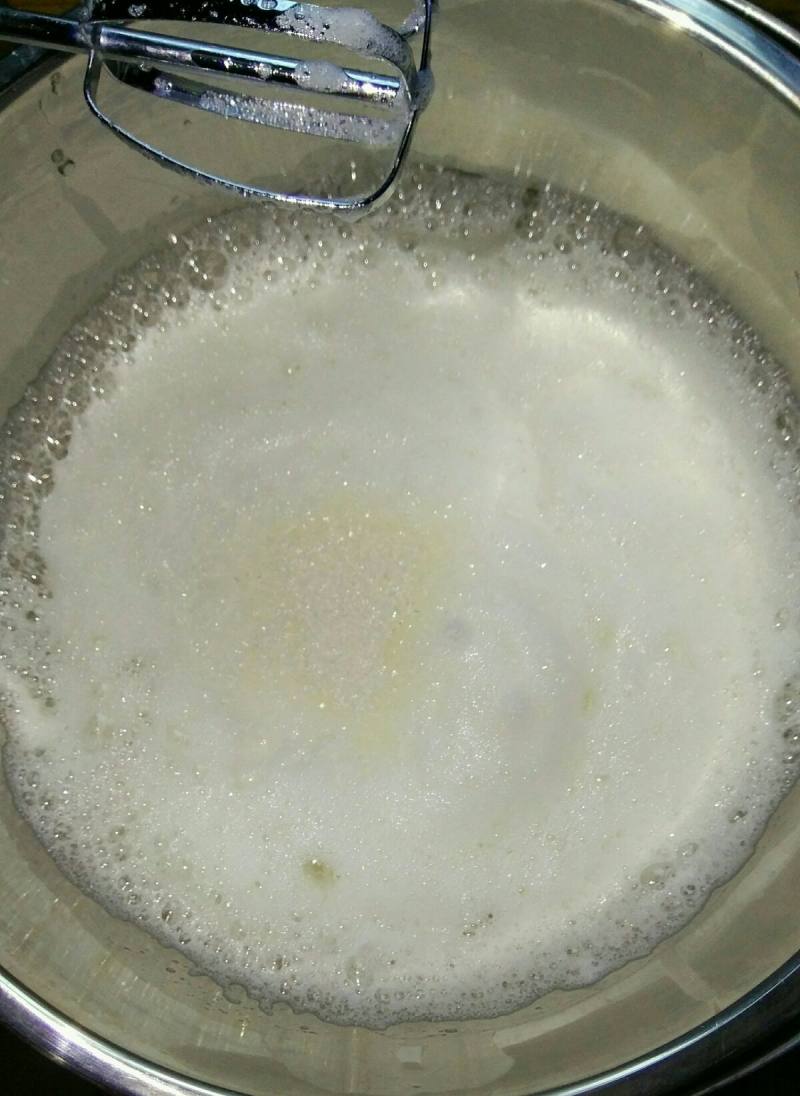
8.用高速打至细腻,倒入三分之一的白糖
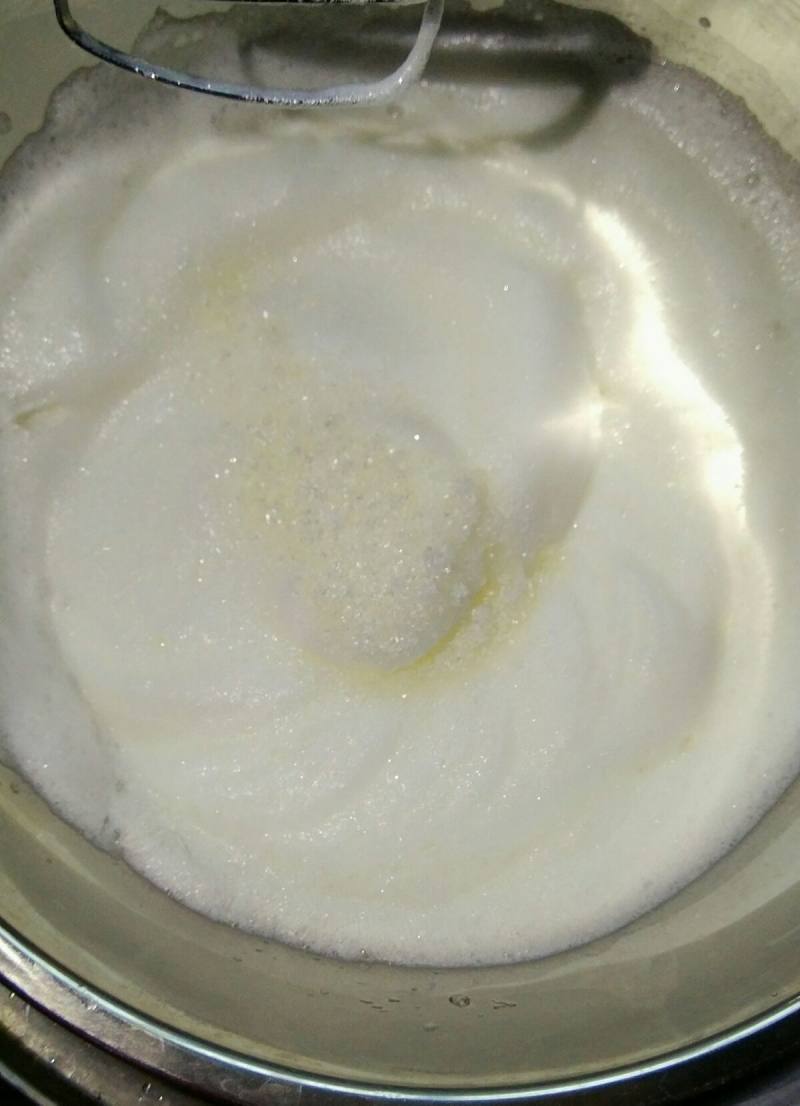
9.用高速打至有纹路倒入最后三分之一的白糖
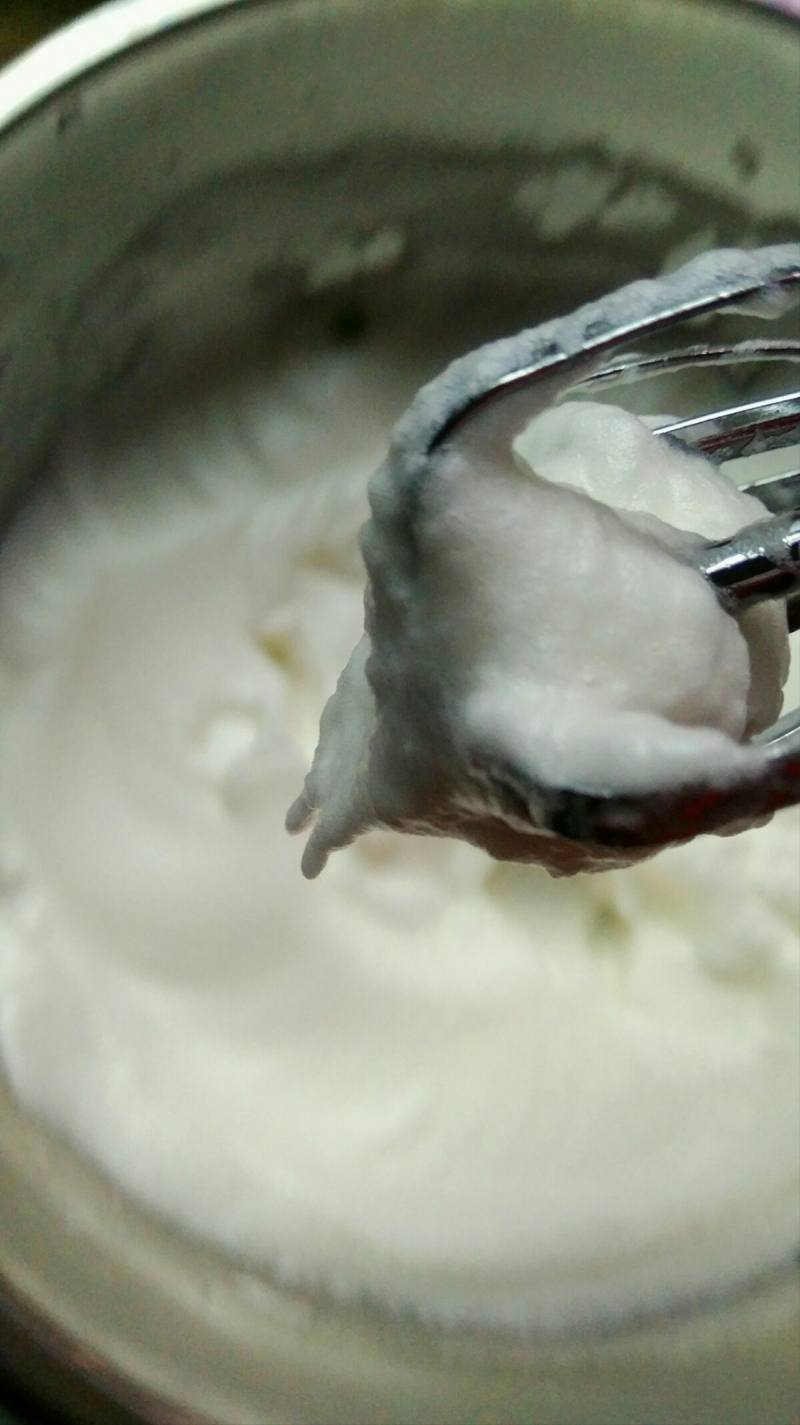
10.用低速打至提起打蛋器出现小尖角
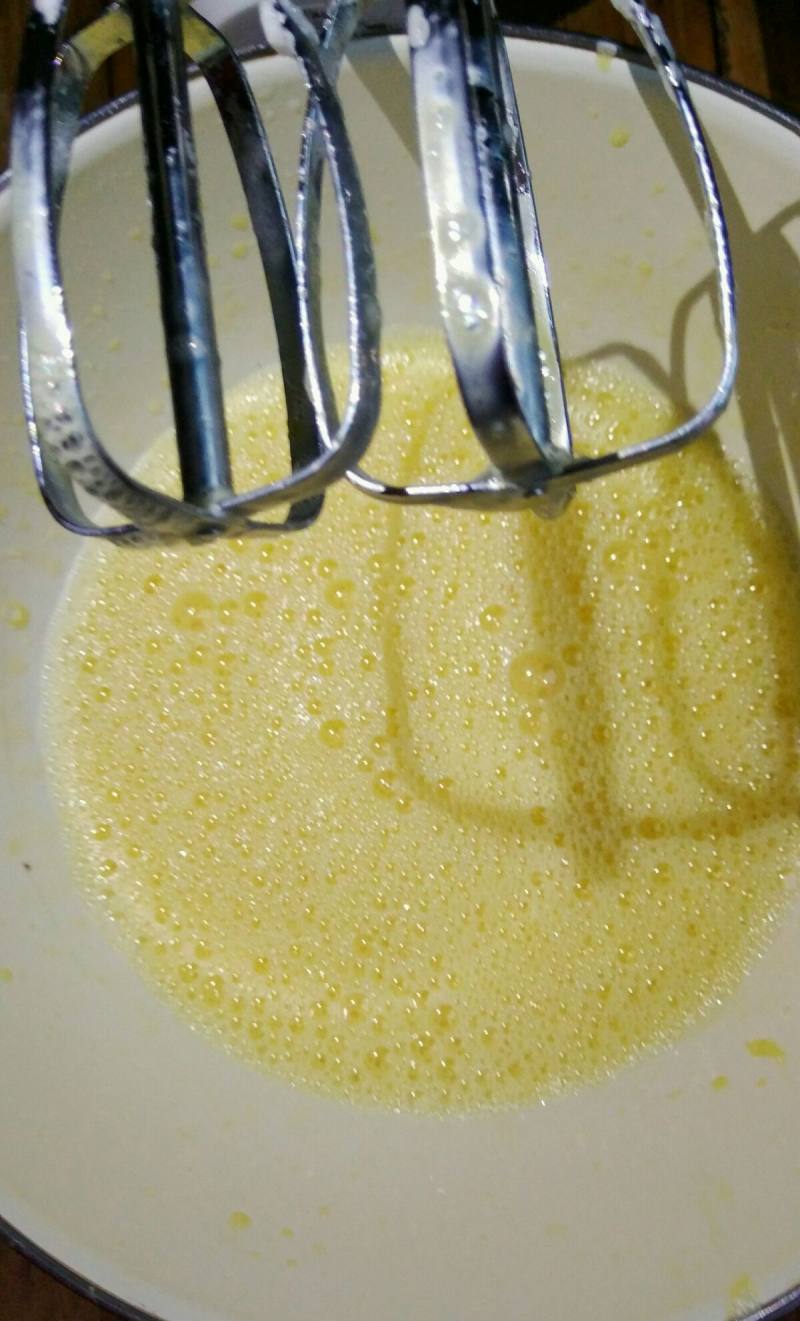
11.用电动打蛋器低速把蛋黄液打至浅黄
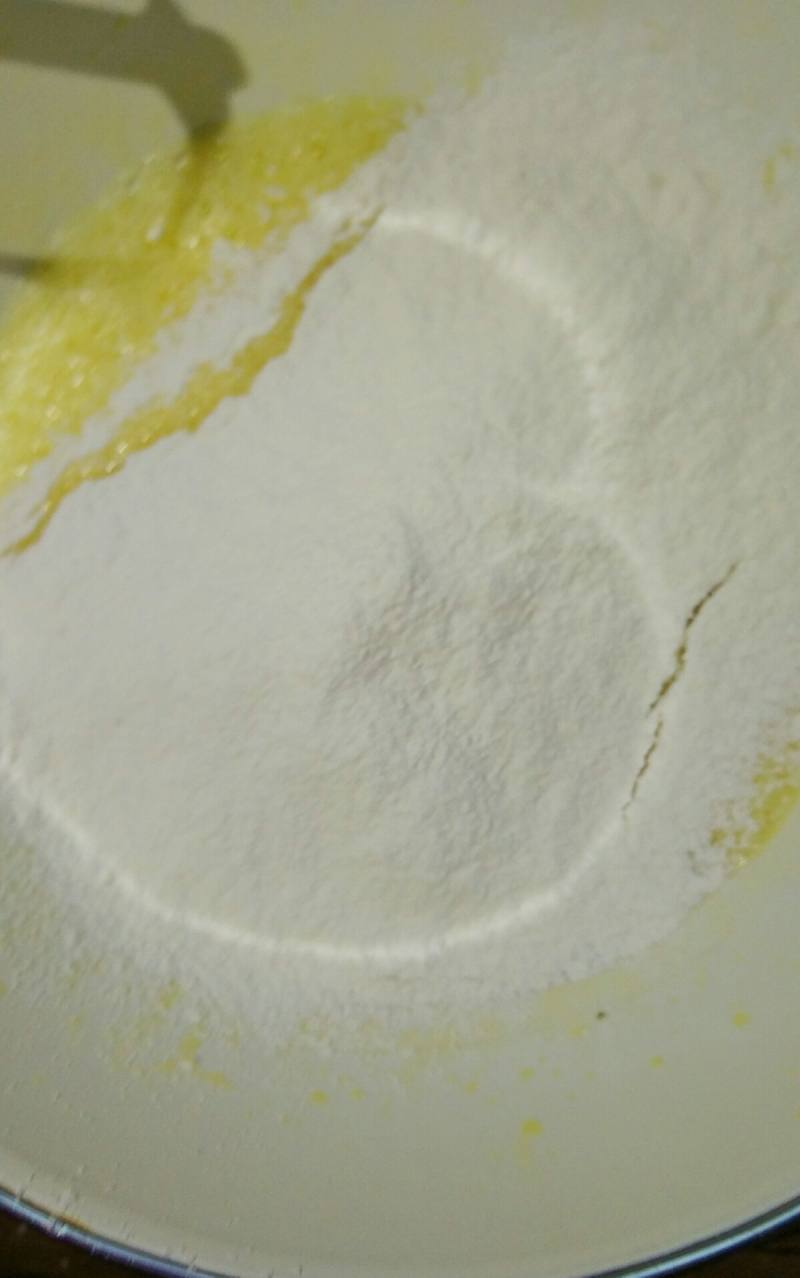
12.筛入低筋面粉
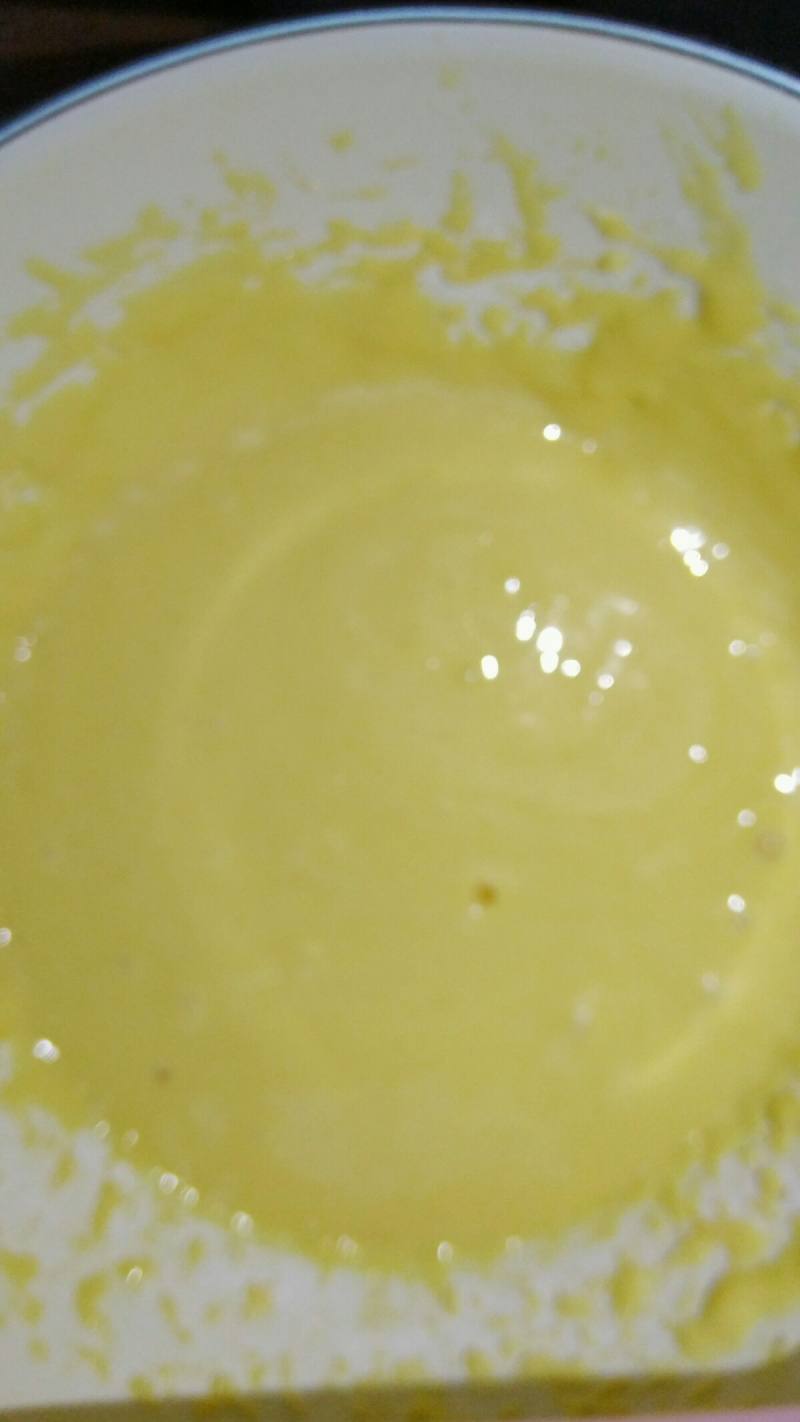
13.用电动打蛋器低速打几秒钟至无粉粒
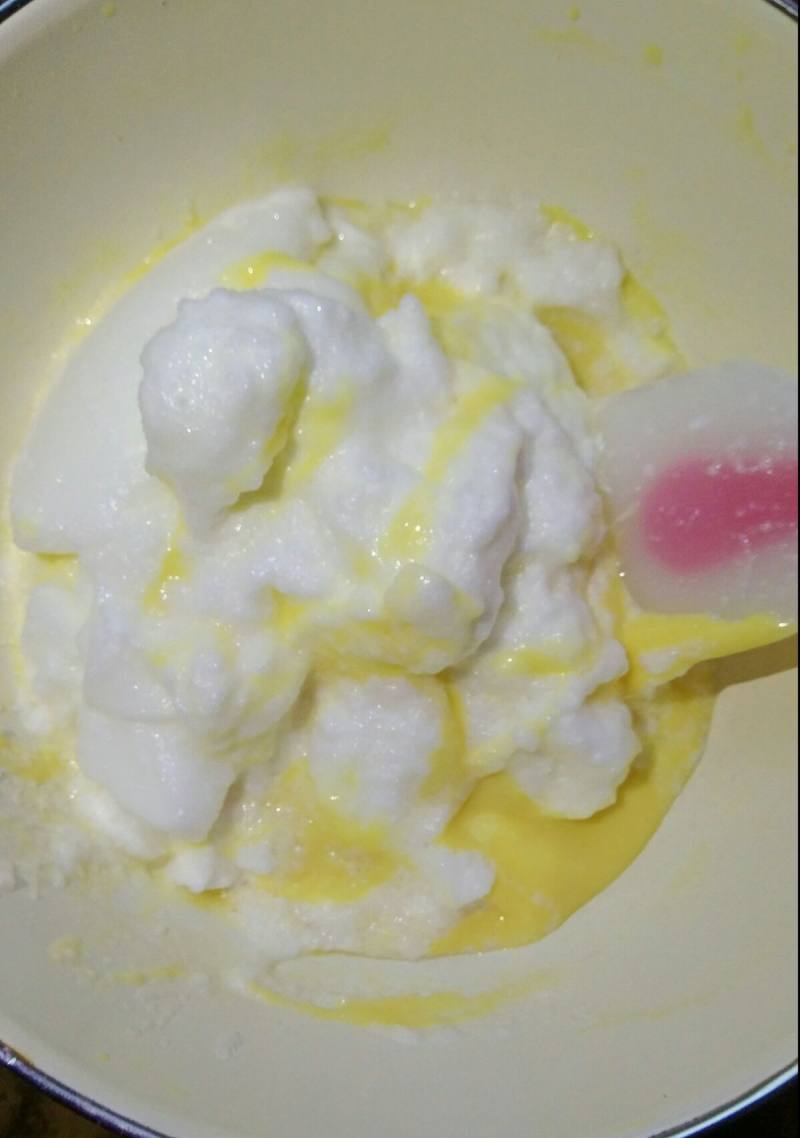
14.挖三分之一的蛋白霜加入蛋黄糊里切拌匀
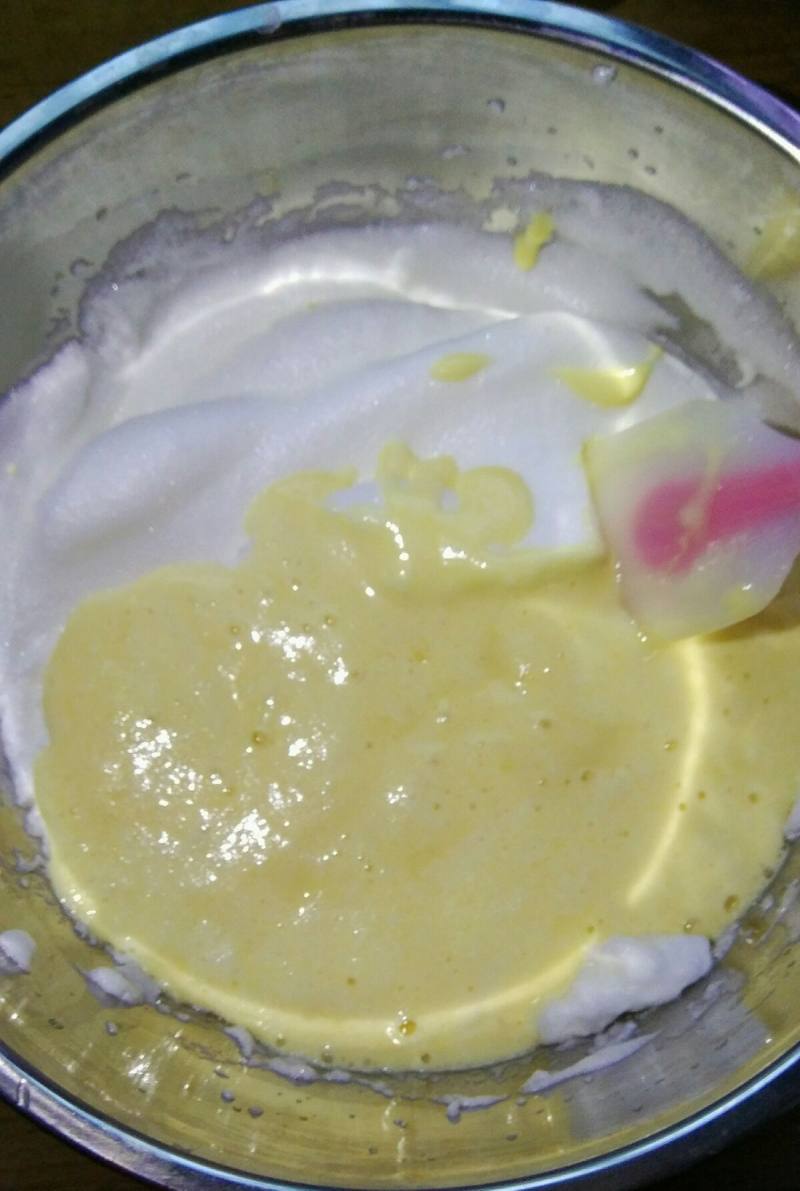
15.拌匀的蛋黄糊倒回蛋白霜里,切拌匀
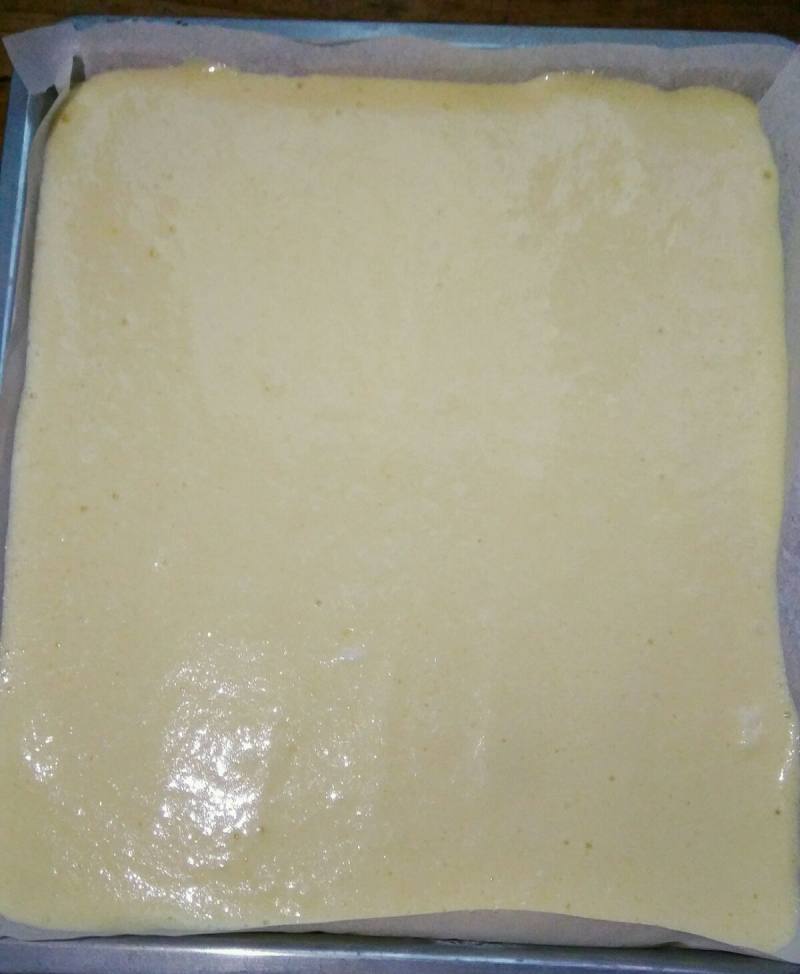
16.倒入模具里,抹平,放入事先预热好的烤箱中层,160度烤20分钟。
17.烤好后,即时取出,放在晾架上面盖张油纸,晾凉后,用油纸卷起(我就徒手卷的),用保鲜袋包紧,放入冰箱冷藏定型30分钟以上
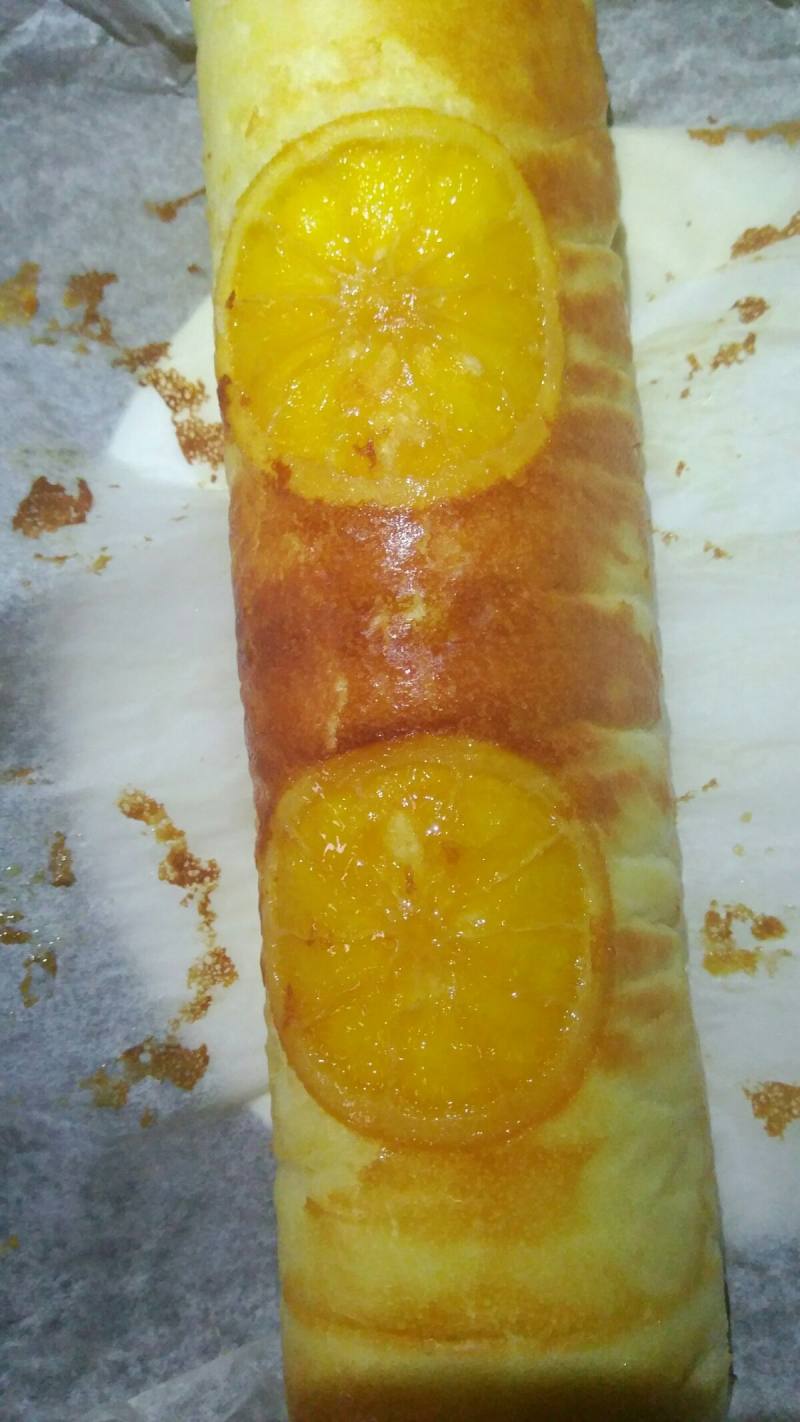
18.定型后切成段即可
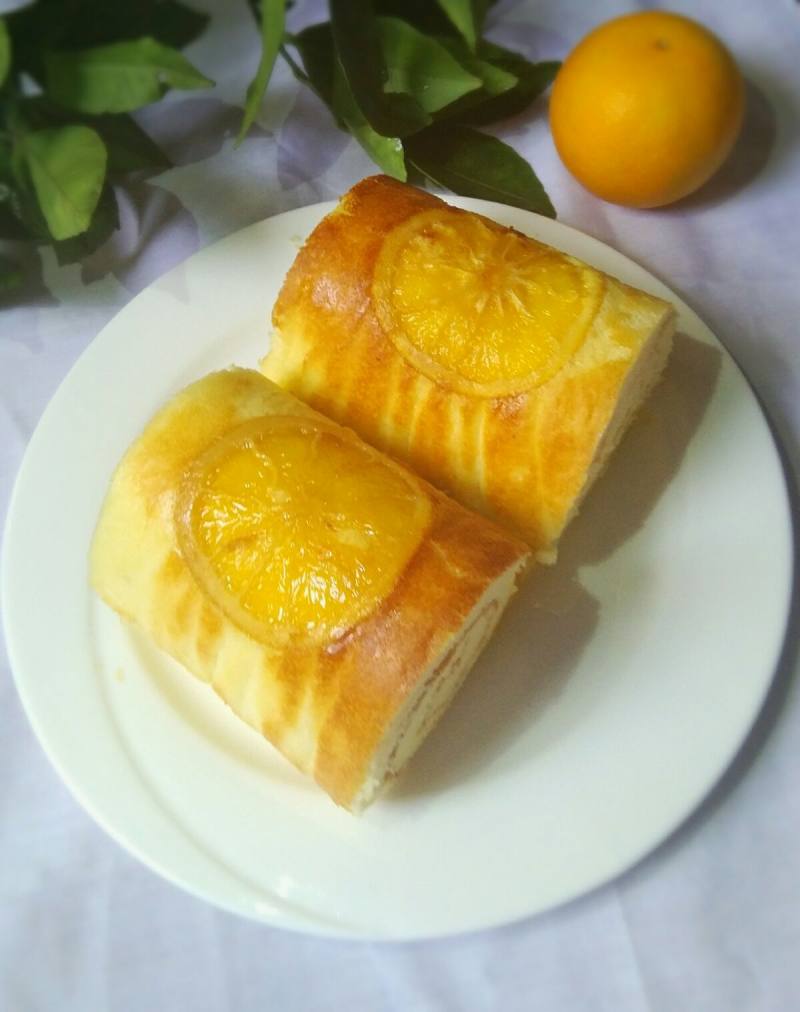
19.成品
小窍门&温馨提示
1.橙子片摆放决定切的成品,第一次做,下次做可以多放几片橙子片可能会更好看,口感会更丰富些。
2.误打误撞,橙子片糖浆的更好吃。
TAGS:
烘焙 早餐 下午茶 其他菜系 鸡蛋
免责声明:本站部分文章转载自网络,图文仅供行业学习交流使用,不做任何商业用途。文章仅代表原作者个人观点,其原创性及文章内容中图文的真实性、完整性等未经本站核实,仅供读者参考。
上一篇: 消食解腻汤的做法,消食解腻汤怎么做,消食解油腻的汤,消食化气汤,开胃解腻汤,消积食的汤
下一篇: 金桔酱的做法,金桔酱怎么做,金桔酱的做法,金桔酱的作用与功效,金桔酱怎么熬可以治咳嗽,金桔酱的正宗做法视频
Deprecated: mysql_connect(): The mysql extension is deprecated and will be removed in the future: use mysqli or PDO instead in
/data/haozs.cc/xianguan.php on line
5
Deprecated: mysql_query(): The mysql extension is deprecated and will be removed in the future: use mysqli or PDO instead in
/data/haozs.cc/xianguan.php on line
7


