主料:
蛋清,
165g(5个),
蛋黄,
75g(5个)法罗拉棉花糖,50g纯牛奶,
75g,
食用油,
65g,
低筋面粉,
70g,
红曲粉,
5g,
可可粉,
3g,
蜜豆适量
辅料:
淡奶油,
200ml法罗拉棉花糖,10g蜜豆适量红丝绒蜜豆奶油蛋糕的做法步骤
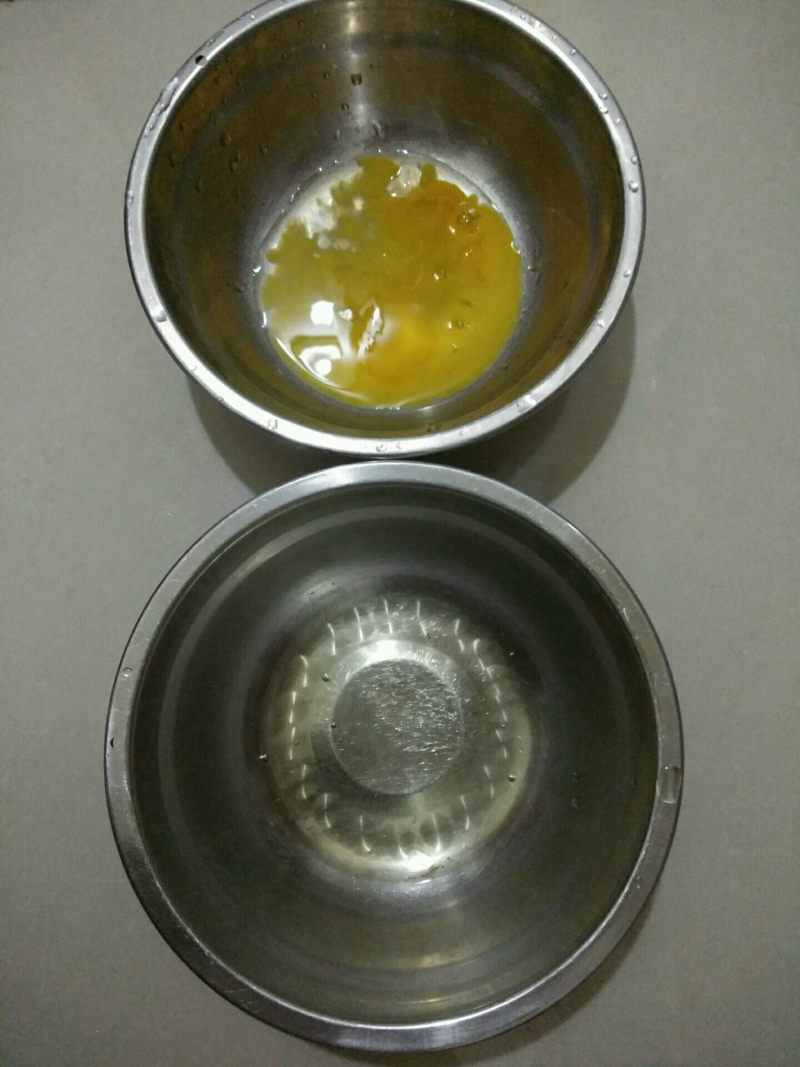
1.将蛋黄、蛋白分离,蛋白要放在无油无水的干净容器里。
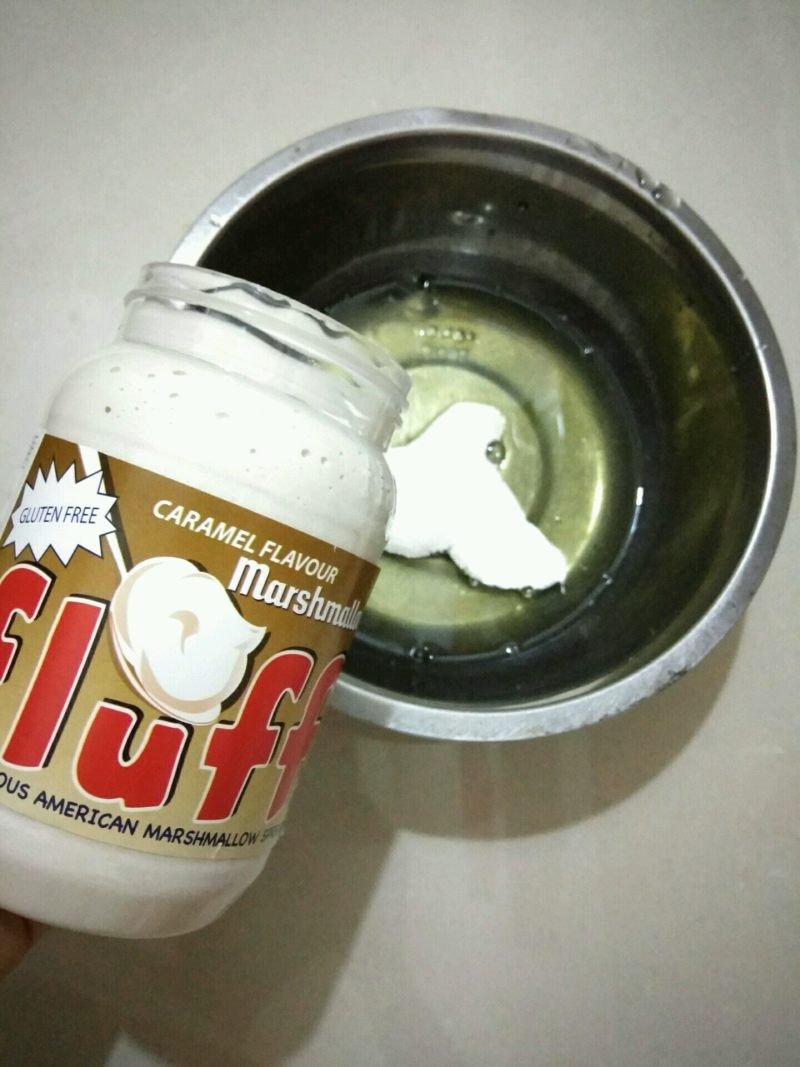
2.蛋白里加入fluff棉花糖。
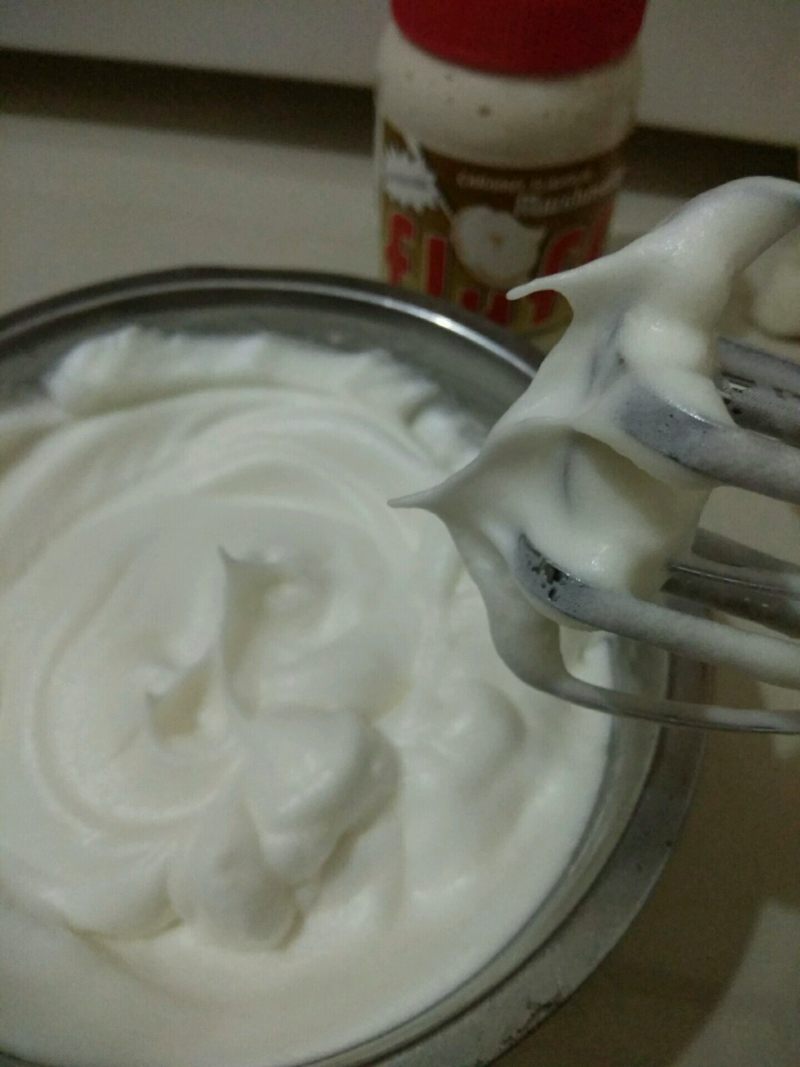
3.低速打发至中性发泡,提起打蛋器,蛋白呈直立尖角,如图所示。
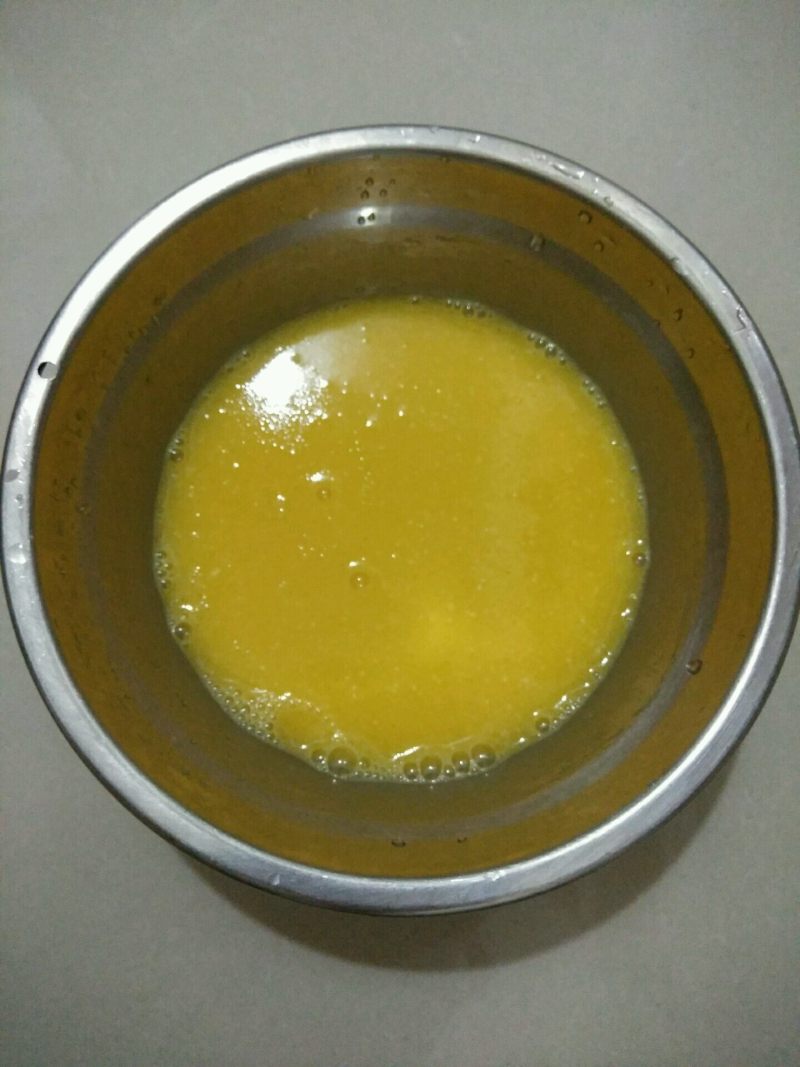
4.预热烤箱,上下火140度。蛋黄中加入水和食用油,搅拌均匀。
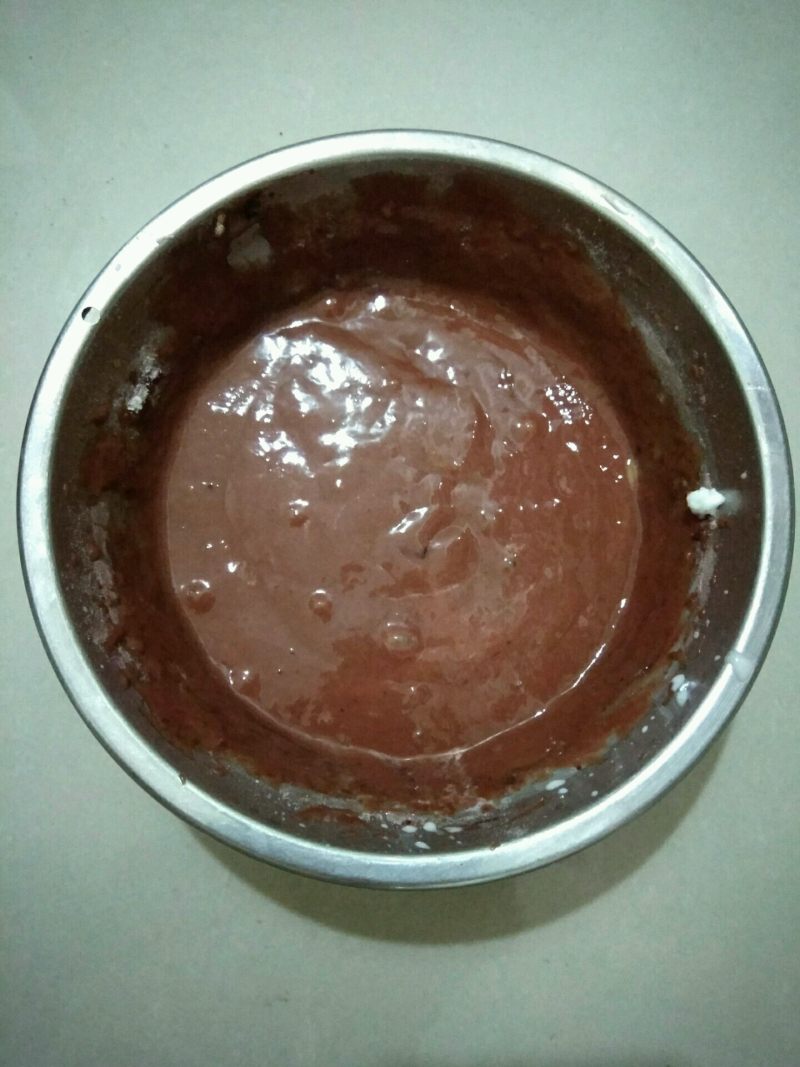
5.将水和油倒入蛋黄中,搅拌均匀,面粉、红曲粉和可可粉过筛到蛋黄里,搅拌均匀,搅拌好的蛋黄糊是细腻的,有粘性,无颗粒,这样蛋黄糊就做好了。
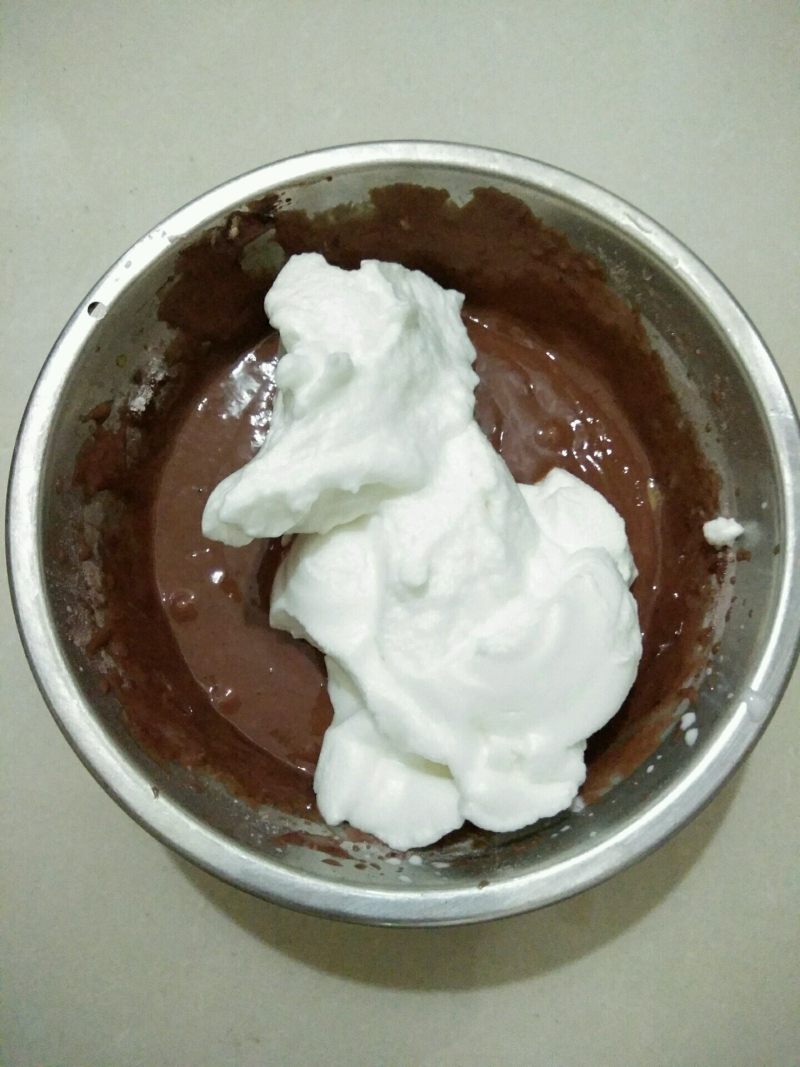
6.将1/3蛋白霜倒入蛋黄糊中,自碗底从下到上翻拌均匀。
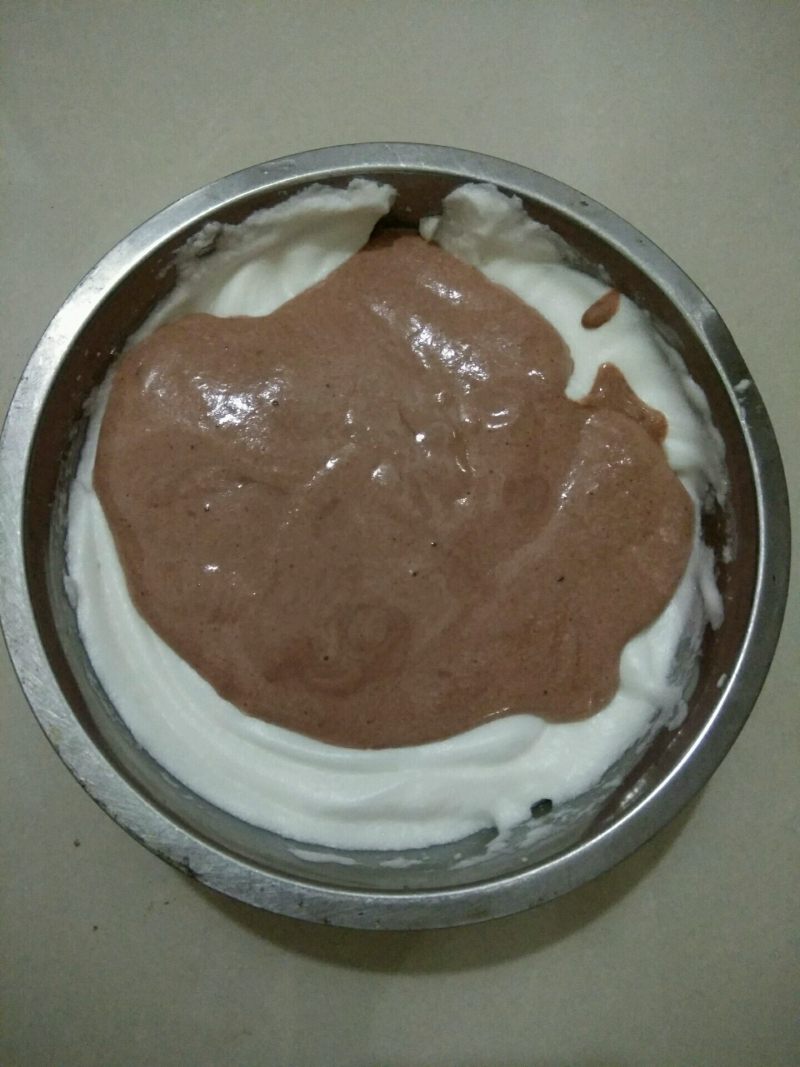
7.将步骤5的面糊全部倒入剩下的蛋白霜里,自碗底从下到上翻拌均匀,加入蜜豆,翻拌均匀。
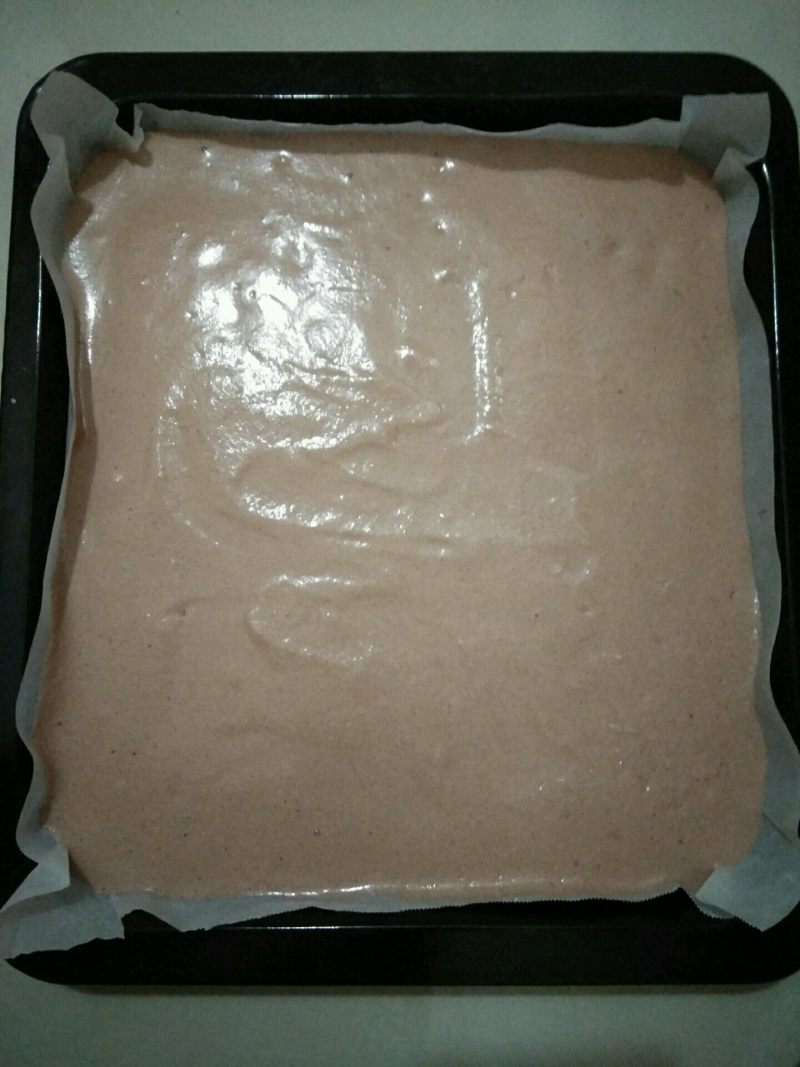
8.将拌匀的蛋糕糊倒入铺了油纸的烤盘里,送入预热好的烤箱,上下火140度,中层,15分钟。即使同品牌同型号也会有温差,时间只是一个参考,时间上下浮动10分钟都是可以的。(可以插根牙签进去,牙签上没有面糊就表示烤好了)
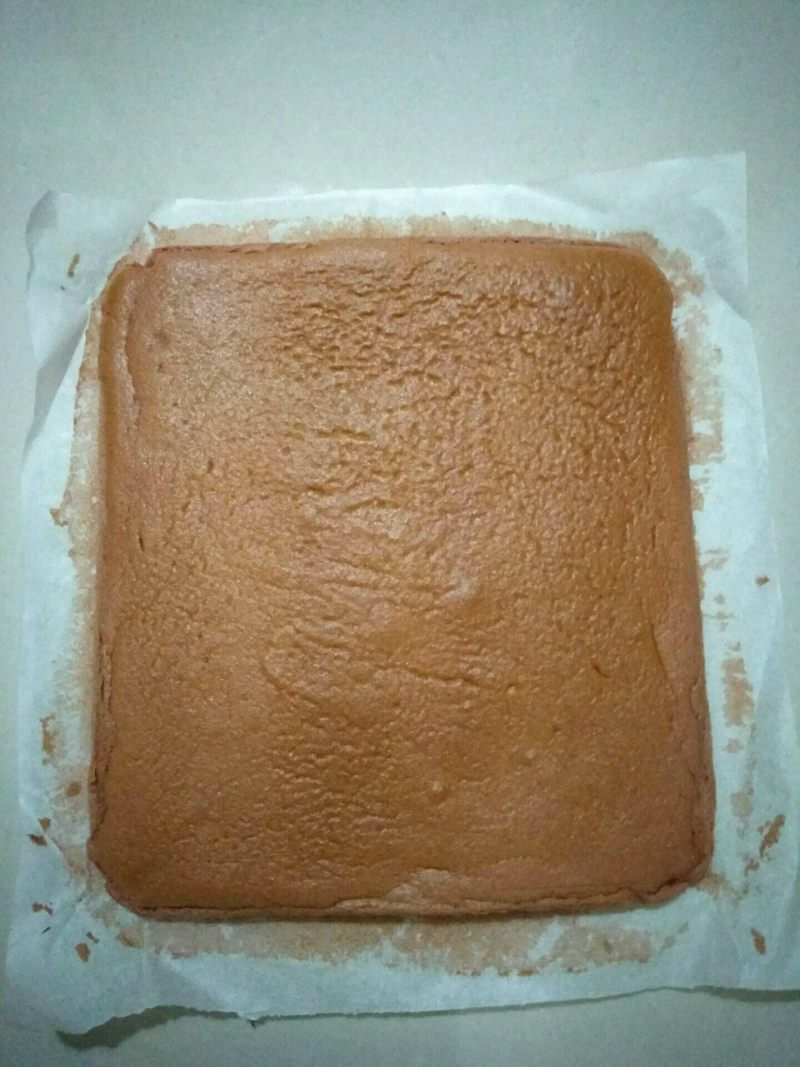
9.烤好的蛋糕轻震两下,撕掉四边的油纸,然后放到烤网上,静置放凉直到表面不再感觉有热气散出,撕去底部油纸。
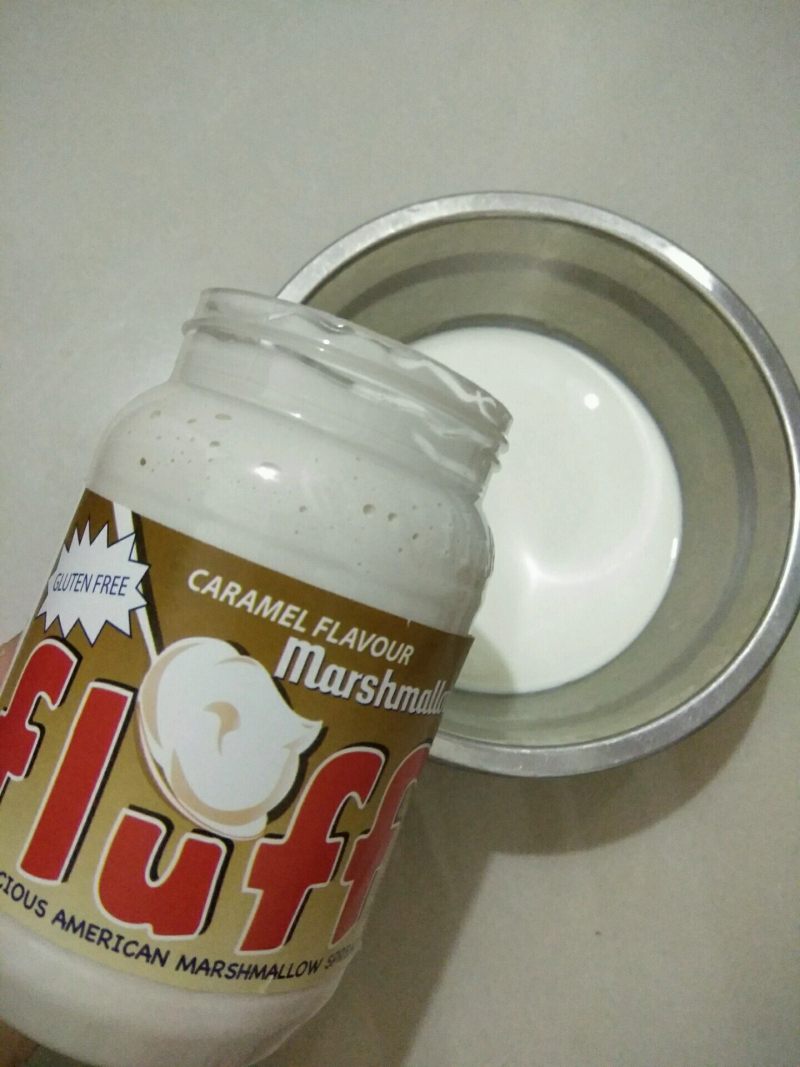
10.蛋糕晾凉的时候,我们准备奶油夹馅。fluff棉花糖加入淡奶油中。
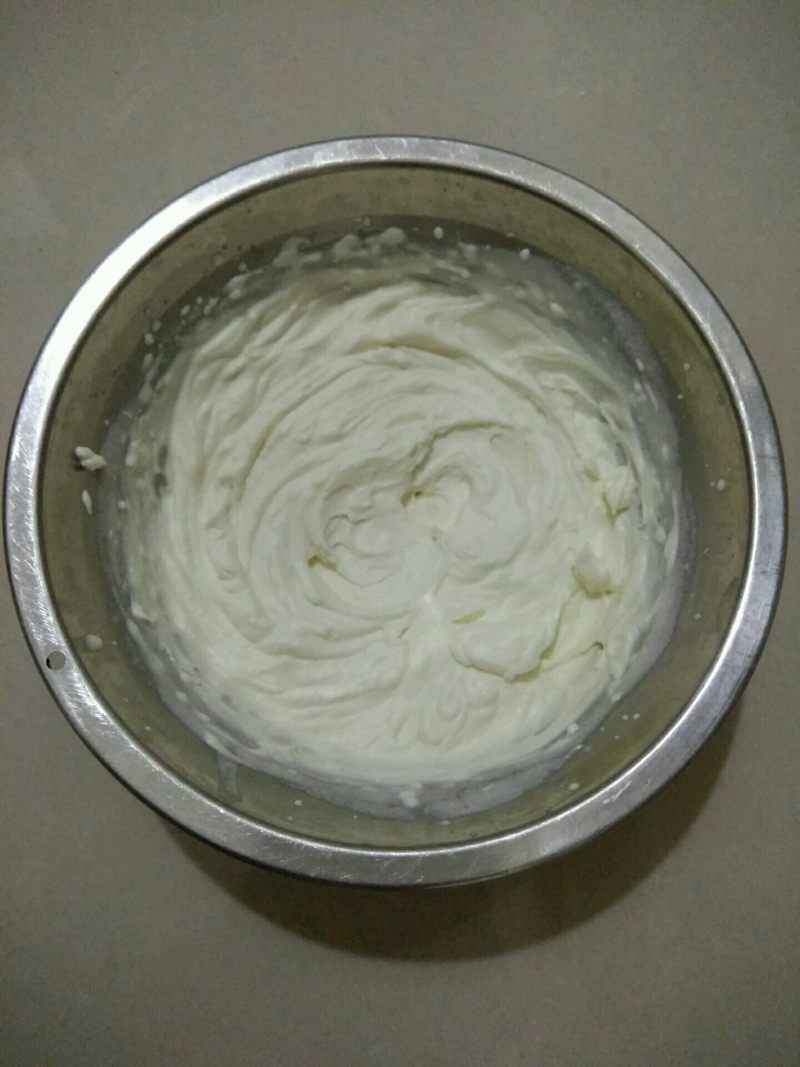
11.隔冰水打发至可以裱花的8、9分发状态,如图示。
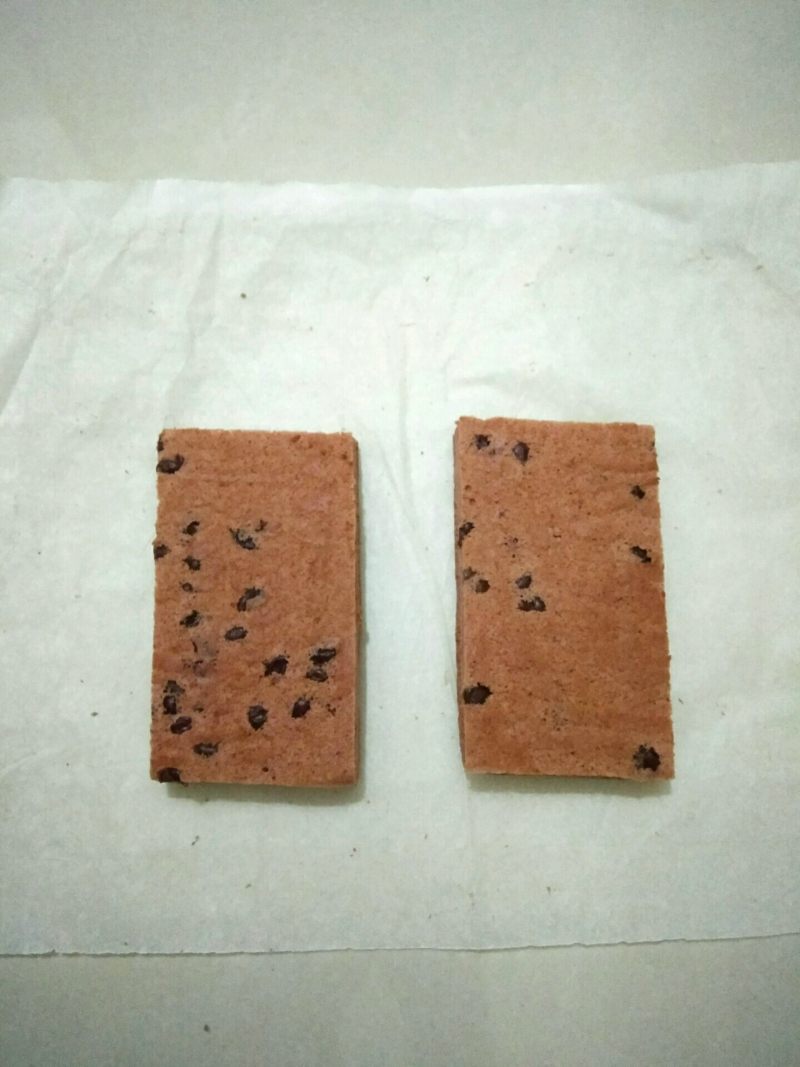
12.用刀切去蛋糕的四边,平均切成2份,如图示。
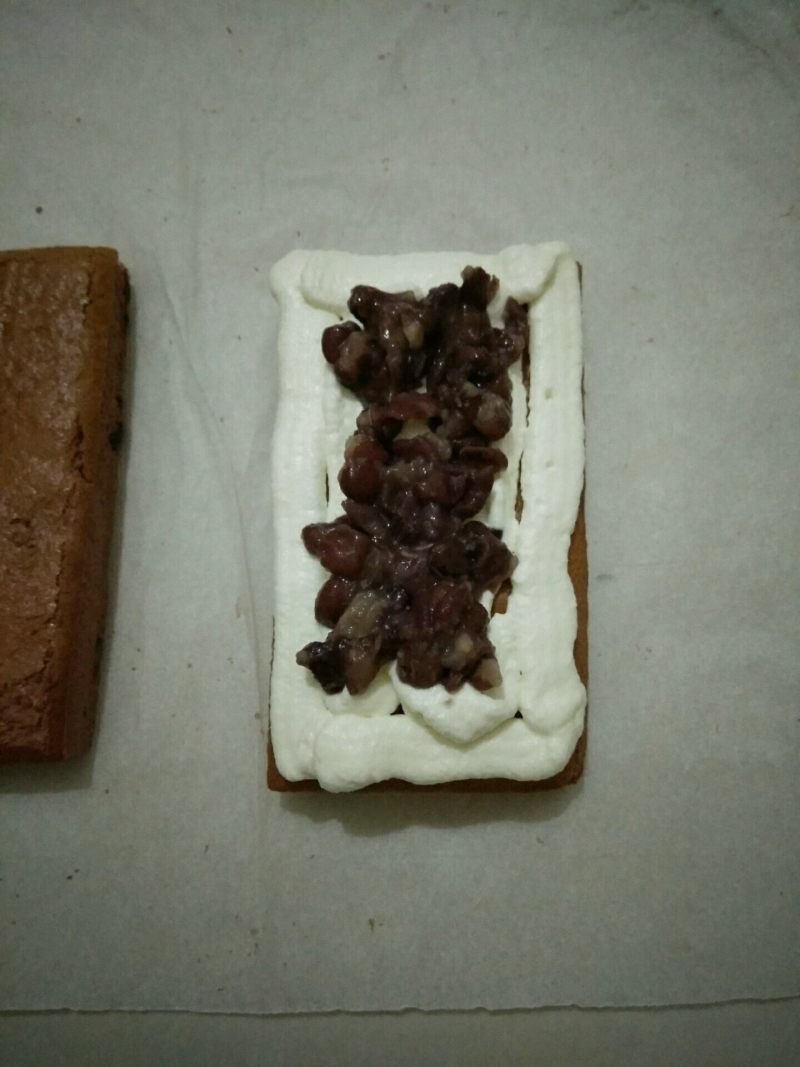
13.取其中一条,挤上奶油,放上蜜豆,然后再挤上奶油。
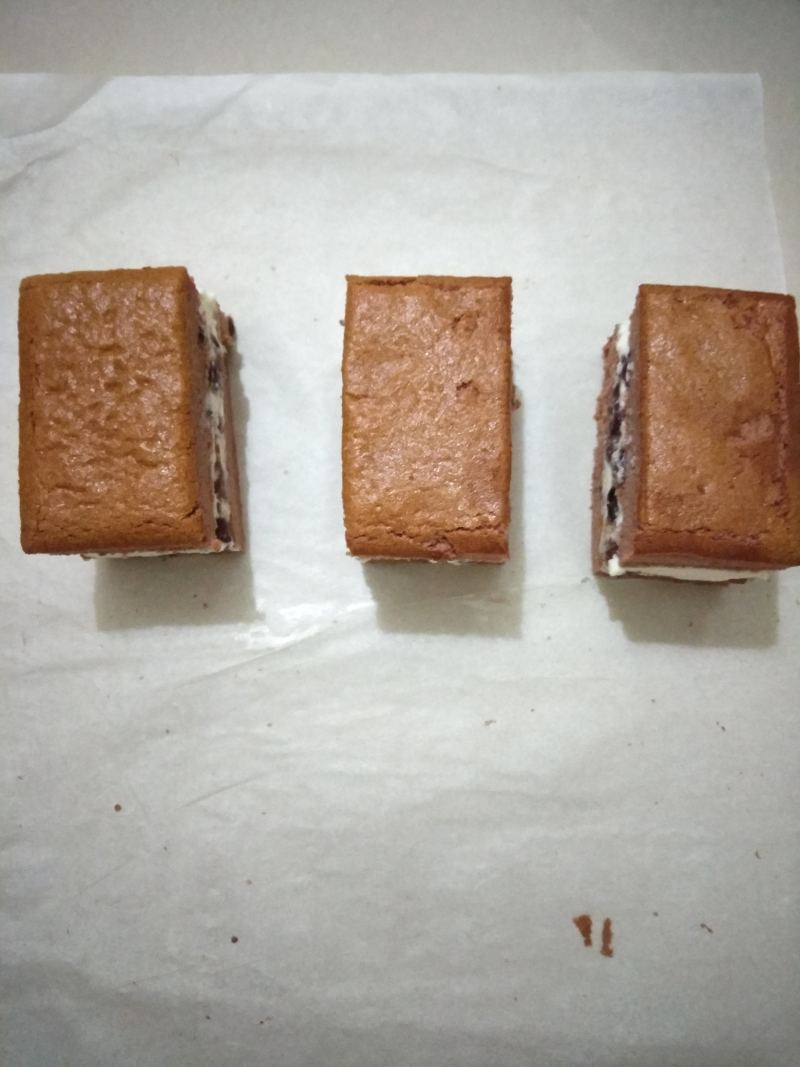
14.将另一片蛋糕片放上去,切成小块。
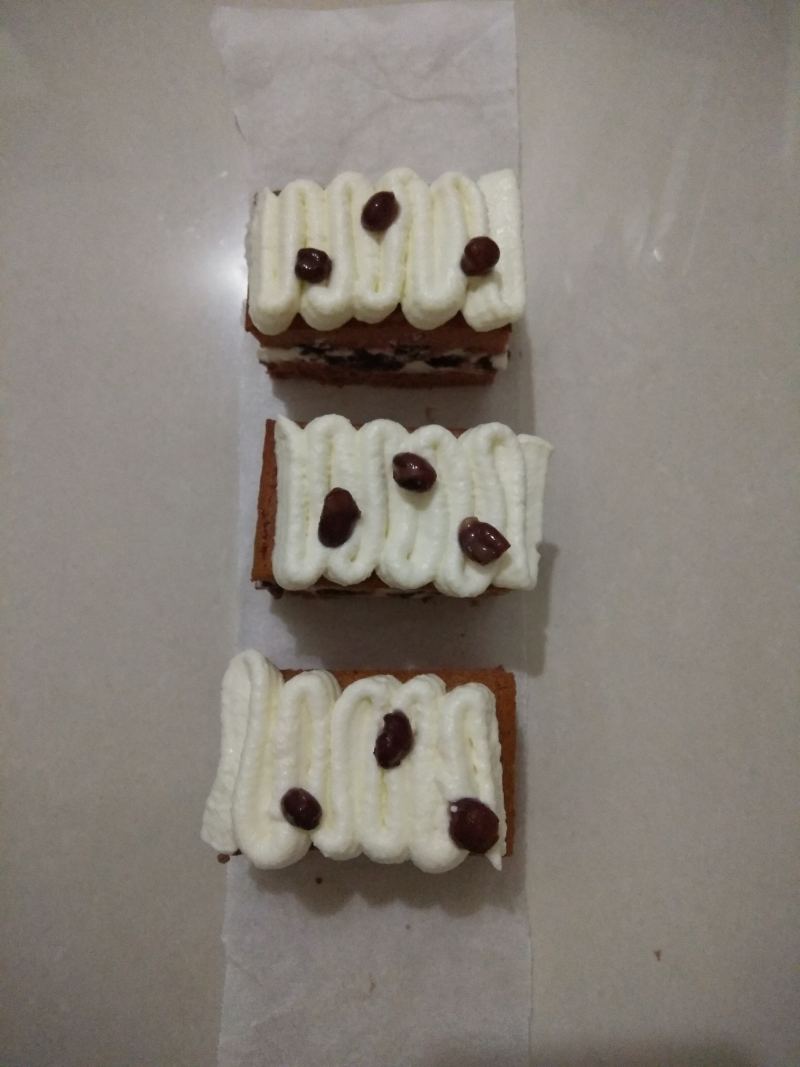
15.将奶油装入裱花袋,用扁平的裱花嘴挤出花纹,放上蜜豆装饰即可。
TAGS:
烘焙 下午茶 其他菜系 蛋清
免责声明:本站部分文章转载自网络,图文仅供行业学习交流使用,不做任何商业用途。文章仅代表原作者个人观点,其原创性及文章内容中图文的真实性、完整性等未经本站核实,仅供读者参考。
上一篇: 香蕉蜜豆毛毛虫的做法,香蕉蜜豆毛毛虫怎么做,香蕉蜜豆毛毛虫能吃吗,香蕉蜜豆毛毛虫怎么吃,香蕉里的毛毛虫是脆的,香蕉蜜毛片
下一篇: 五花肉煲腐竹的做法,五花肉煲腐竹怎么做,五花肉煲腐竹的做法,五花肉煲腐竹的做法窍门,五花肉煲腐竹 压力锅,五花肉煲腐竹汤的做法
Deprecated: mysql_connect(): The mysql extension is deprecated and will be removed in the future: use mysqli or PDO instead in
/data/haozs.cc/xianguan.php on line
5
Deprecated: mysql_query(): The mysql extension is deprecated and will be removed in the future: use mysqli or PDO instead in
/data/haozs.cc/xianguan.php on line
7


