挞皮
蛋黄,
5克,
黄油,
55克,
水,
10克,
细砂糖,
5克,
盐,
1小撮,
低粉,
90克,
杏仁粉,
25克芝士馅
奶油奶酪,
80克,
细砂糖,
32克,
淡奶油,
30克,
玉米淀粉,
6克,
全蛋液,
10克,
蓝莓适量迷你蓝莓芝士挞的做法步骤
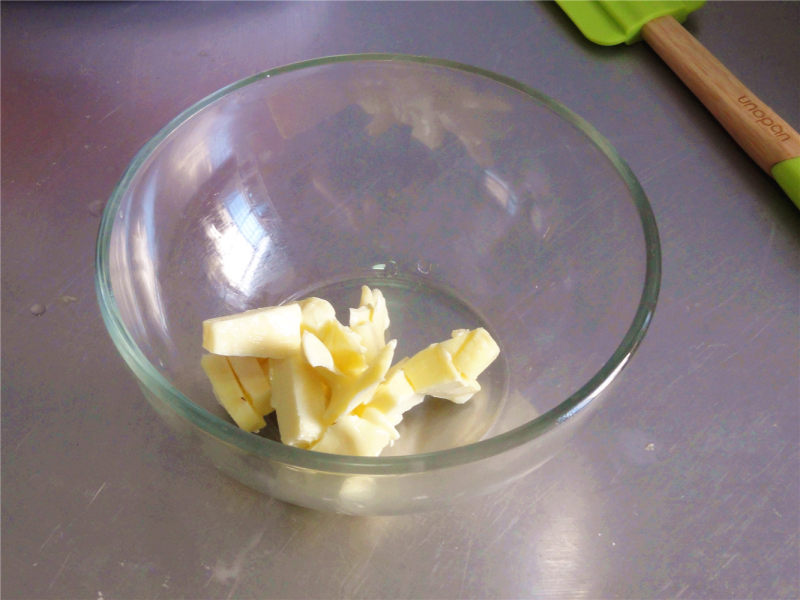
1..冷藏的黄油切小块放入容器

2.筛入低粉,加入杏仁粉,加入盐和糖
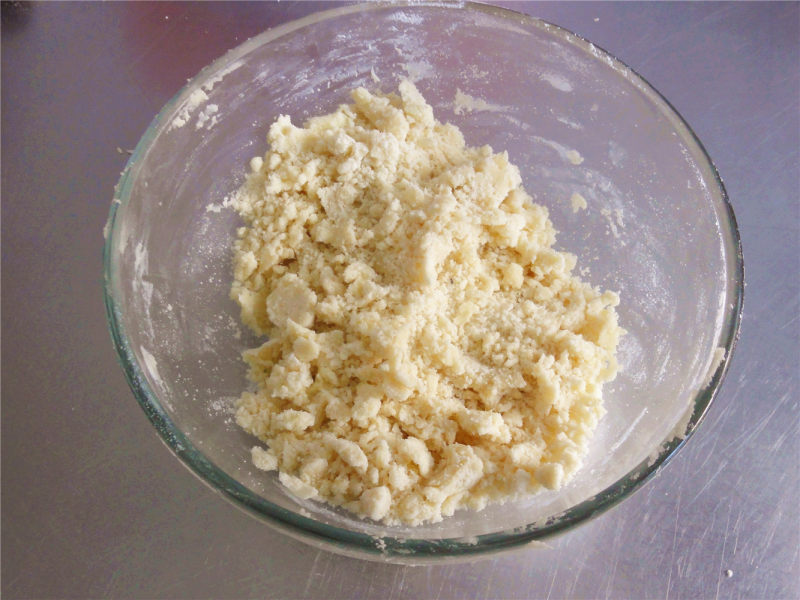
3.戴手套快速搓成酥粒状
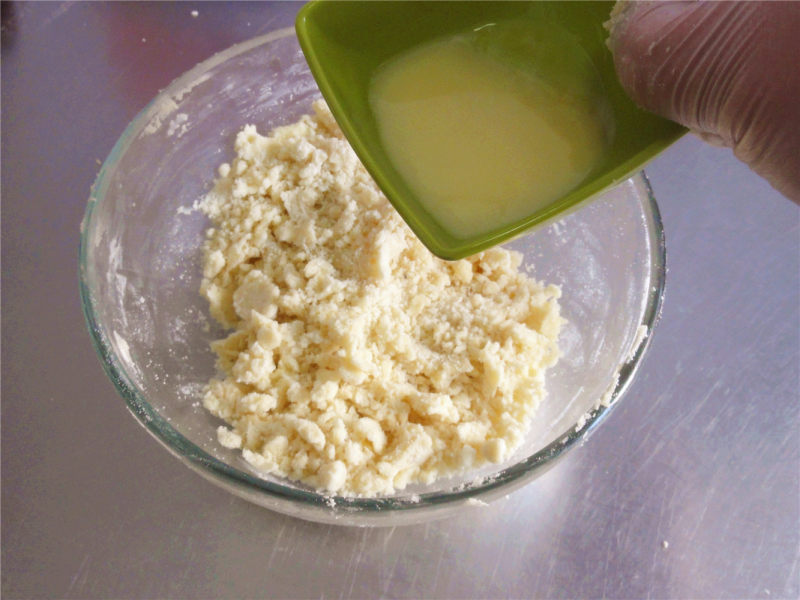
4.倒入蛋黄和水的混合液
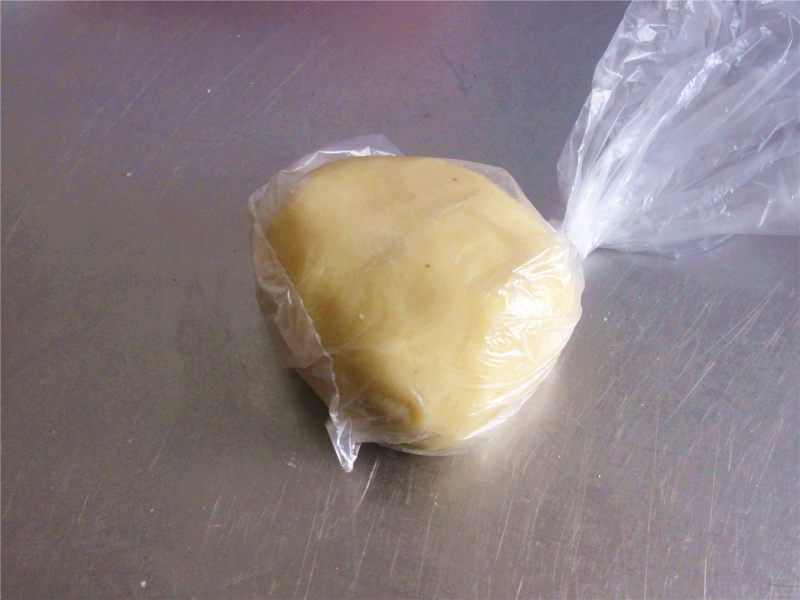
5.快速揉成面团,包保鲜膜放入冰箱冷藏松弛一个小时以上
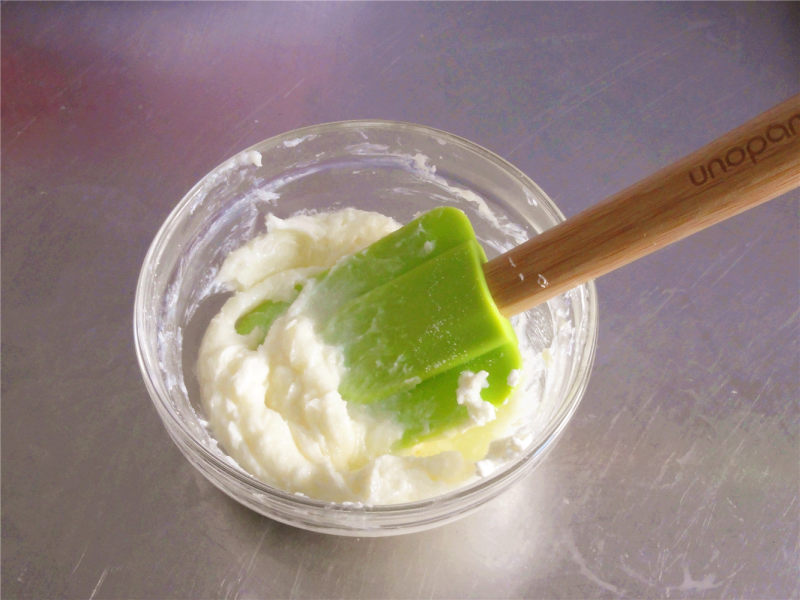
6.奶油奶酪软化后加入细砂糖
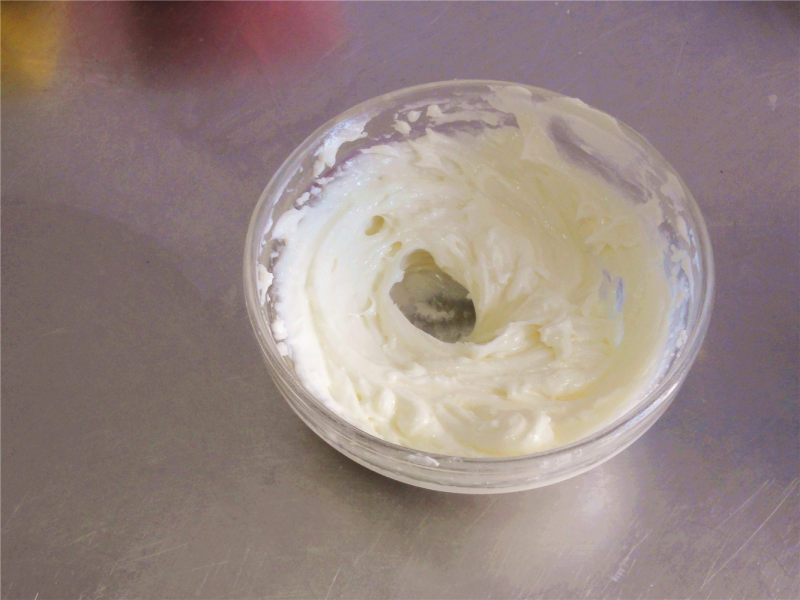
7..用刮刀压拌均匀,用打蛋器搅打顺滑
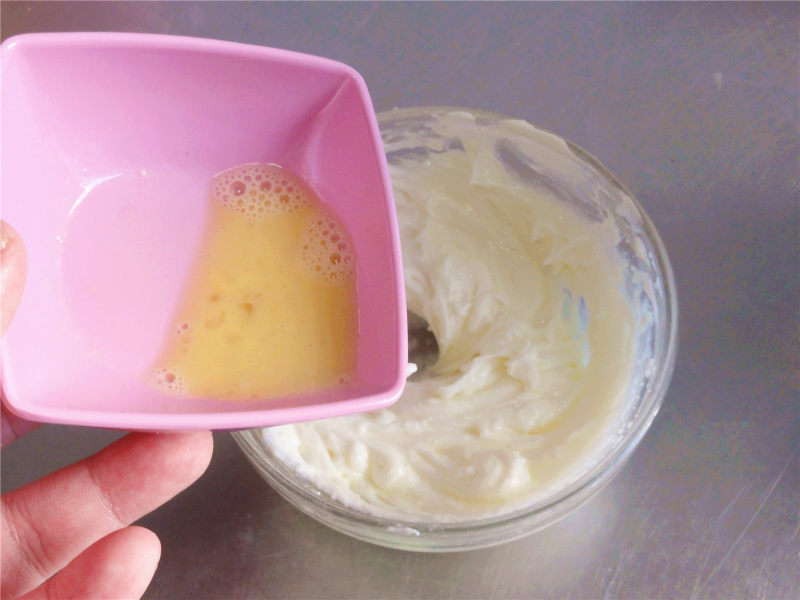
8.倒入10克全蛋液,搅打顺滑
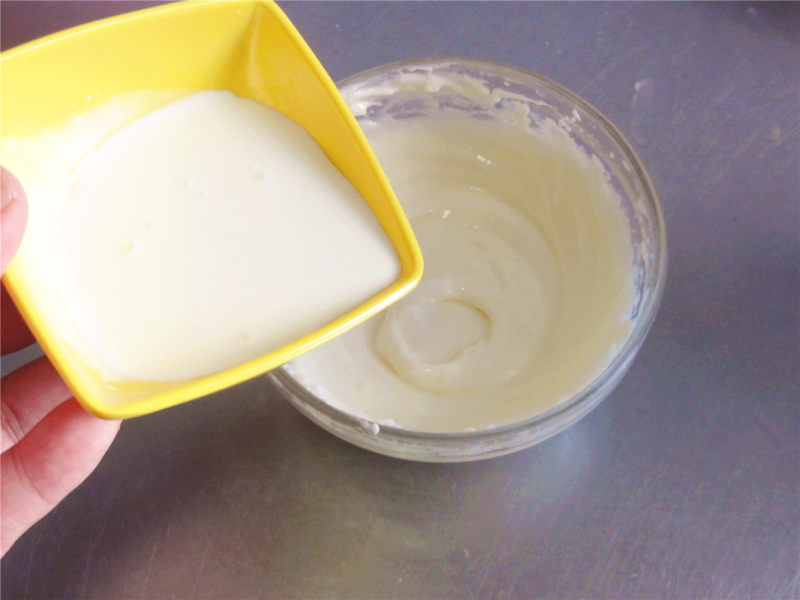
9.分两次加入淡奶油,搅打均匀
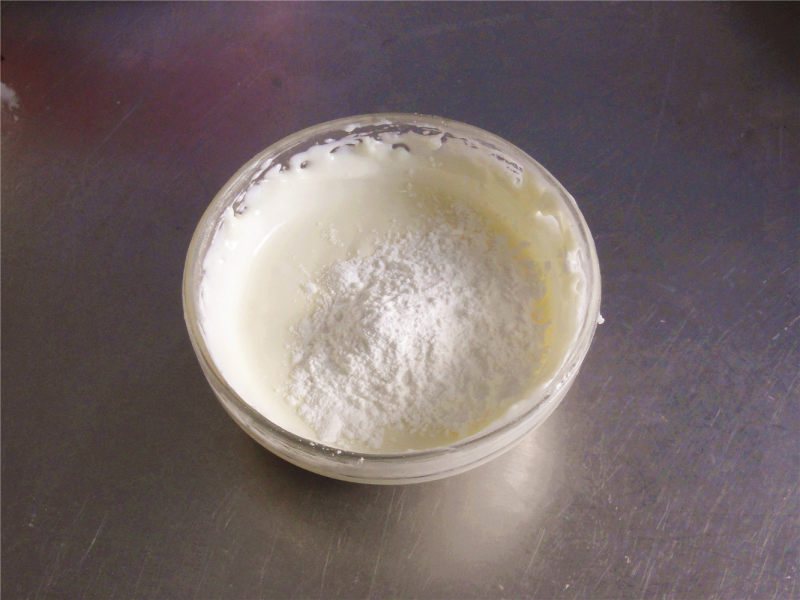
10.筛入玉米淀粉,
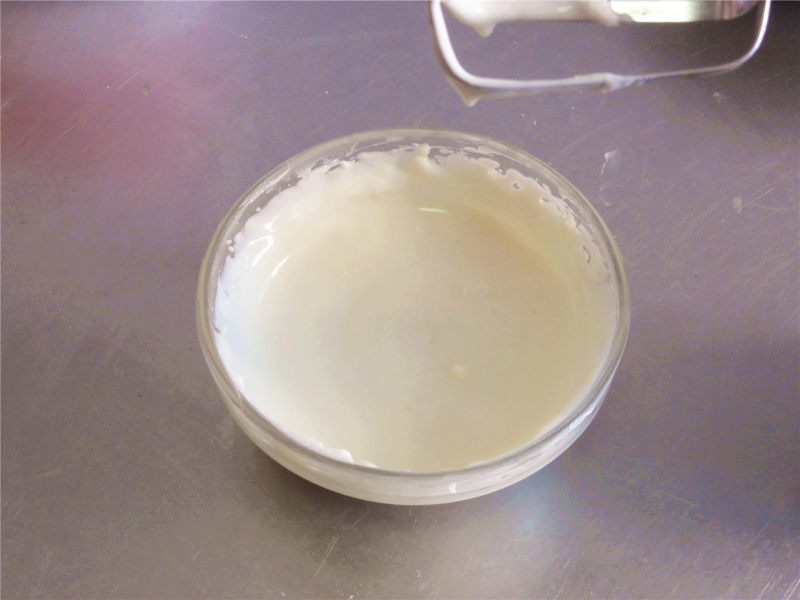
11.搅拌均匀
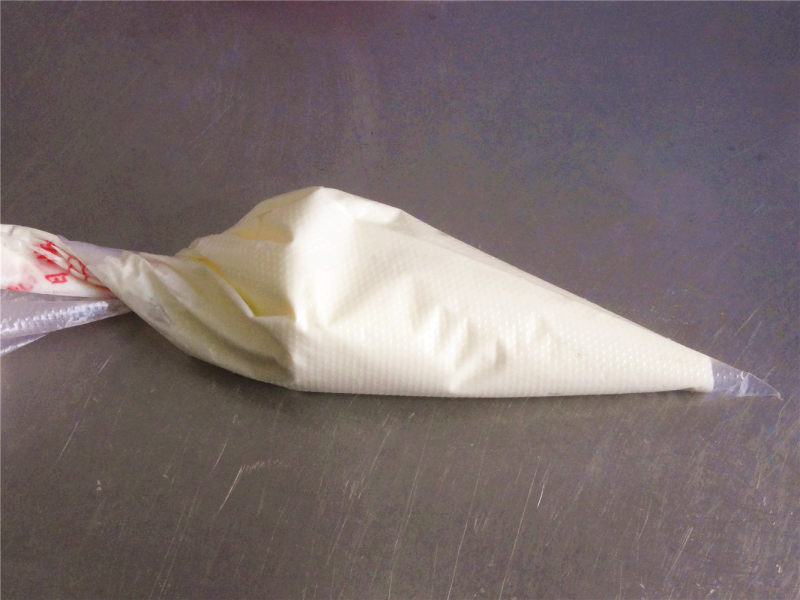
12.装入裱花袋备用
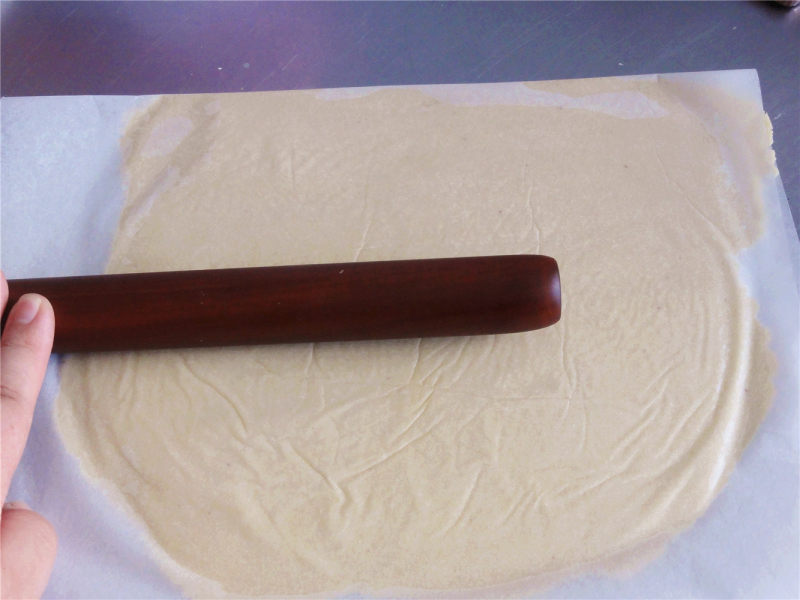
13.冷藏好的面团取出,用两层油纸包裹,擀面杖擀开
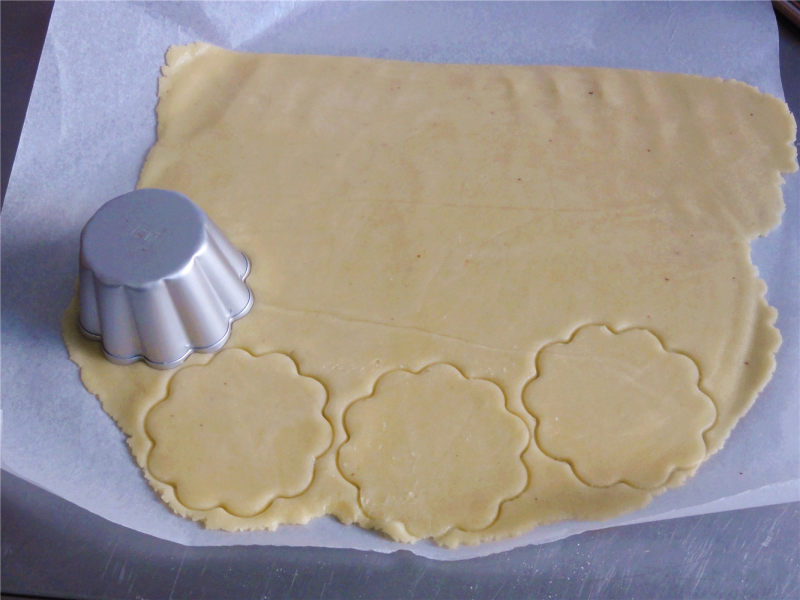
14.用花边的切模切出小挞皮
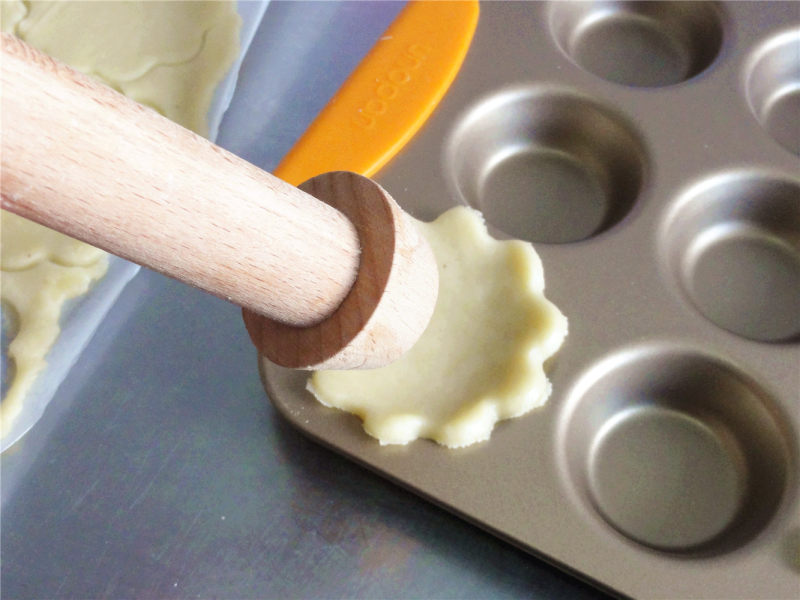
15.把分好的挞皮放入模具贴合,
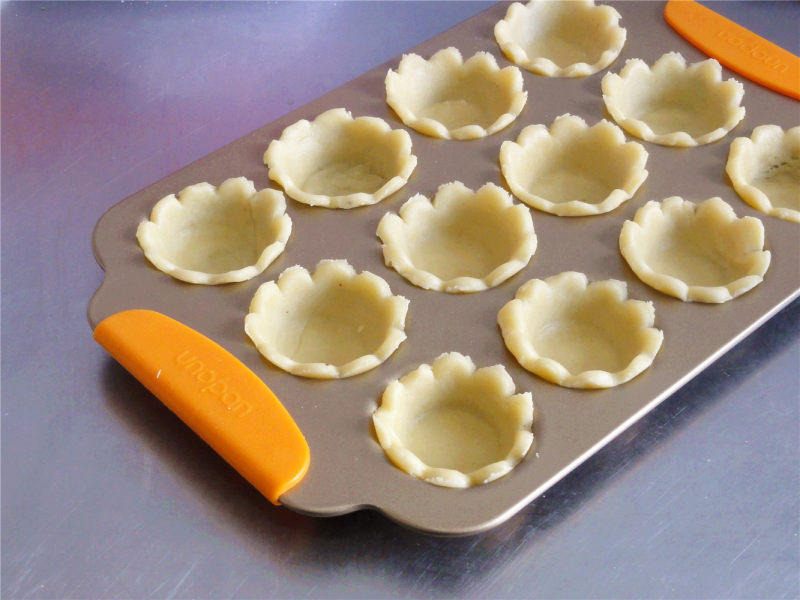
16.依次做好用叉子在底部叉几个小洞
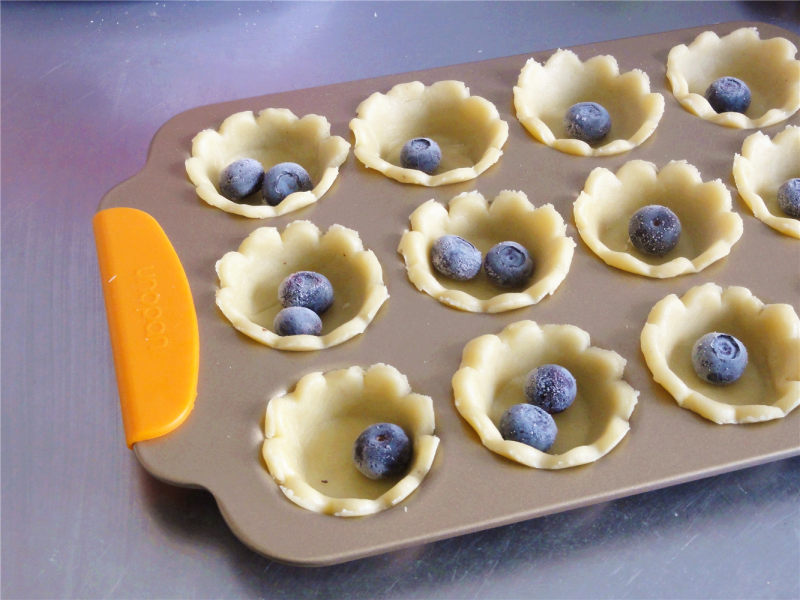
17.每个挞皮放1-2颗蓝莓,

18.挤入奶酪糊,
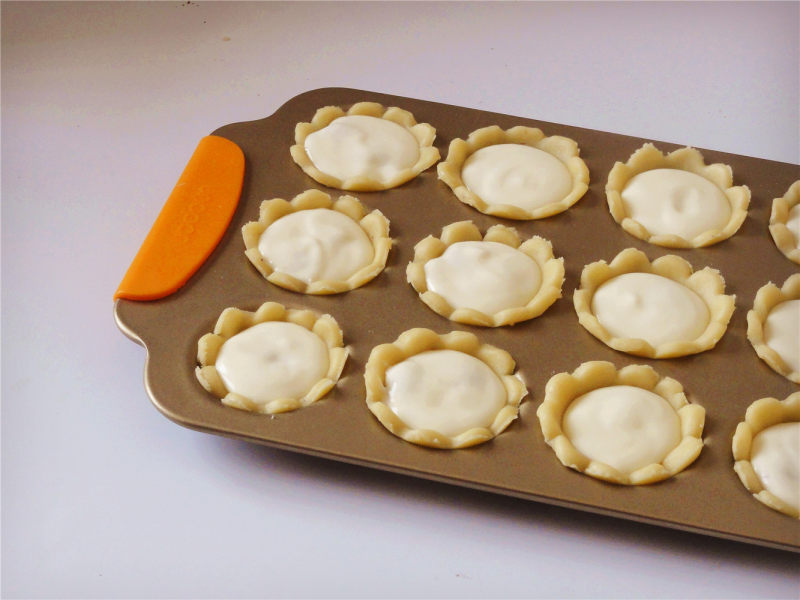
19.轻轻震一下模具
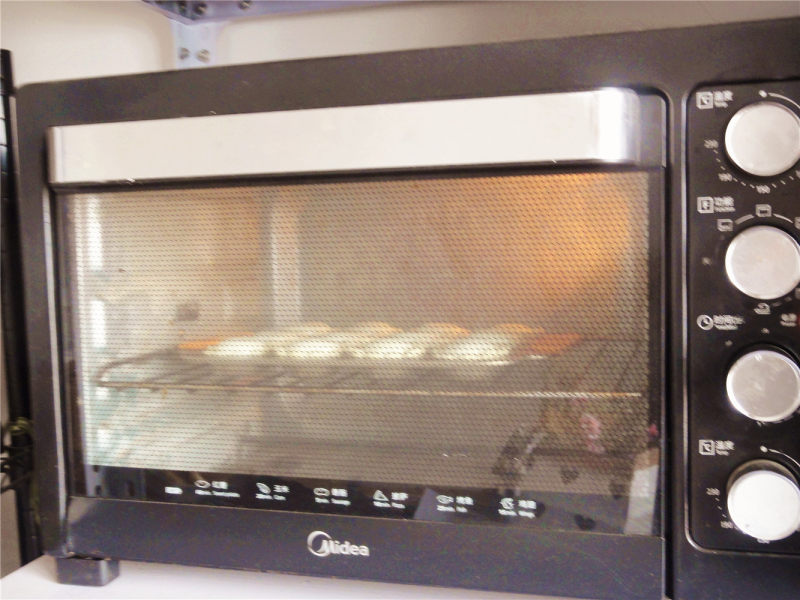
20.放入预热好的烤箱内,170°中层烤25分钟
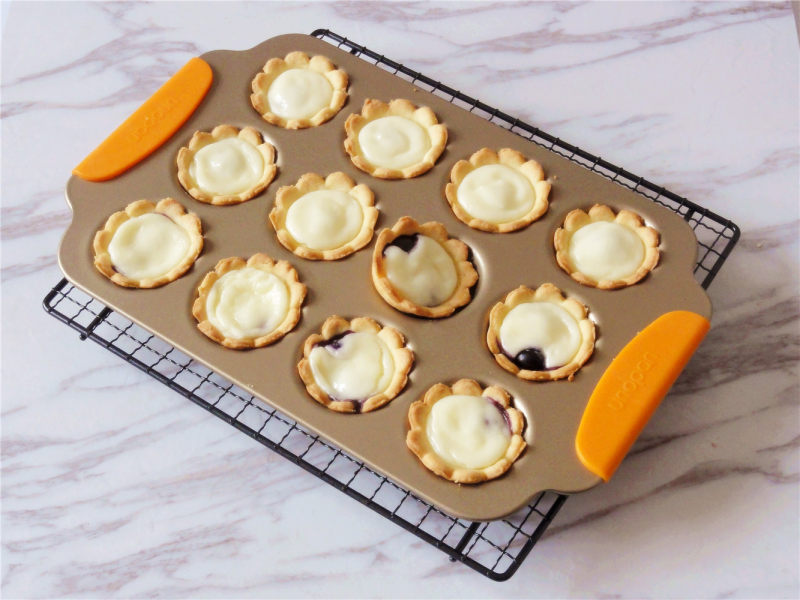
21.出炉
小窍门&温馨提示
1、挞皮中的杏仁粉可以用等量低粉代替。发酵型黄油没有的话也可以用普通的无盐黄油
2、奶酪馅挤入的时候不需要太满,烘烤的时候受热会略膨胀
3、烤温烤位请根据自己烤箱灵活调整
4、挞皮会多余少许边角料,擀薄切块或者条入烤箱烤焙就是非常美味的酥饼/酥条
TAGS:
烘焙 高颜值 其他菜系 蛋黄
免责声明:本站部分文章转载自网络,图文仅供行业学习交流使用,不做任何商业用途。文章仅代表原作者个人观点,其原创性及文章内容中图文的真实性、完整性等未经本站核实,仅供读者参考。
上一篇: 烫面饼的做法,烫面饼怎么做,烫面饼怎么做又软又香,烫面饼的家常做法,烫面饼怎么做又软又香的葱花饼,烫面饼好消化吗
下一篇: 韭菜鸡蛋饼的做法,韭菜鸡蛋饼怎么做,韭菜鸡蛋饼怎么做好吃,韭菜鸡蛋饼的制作方法,韭菜鸡蛋饼怎么弄,韭菜鸡蛋饼做法视频
Deprecated: mysql_connect(): The mysql extension is deprecated and will be removed in the future: use mysqli or PDO instead in
/data/haozs.cc/xianguan.php on line
5
Deprecated: mysql_query(): The mysql extension is deprecated and will be removed in the future: use mysqli or PDO instead in
/data/haozs.cc/xianguan.php on line
7
