水油面
面粉,
280g,
玉米淀粉,
20g,
白糖,
25g,
清水,
100g,
色拉油,
100g油酥
面粉,
180g,
玉米淀粉,
50g,
色拉油,
100g馅料
自制豆沙,360g抹茶粉适量,
红曲粉适量,
可可粉适量豆沙螺旋酥的做法步骤
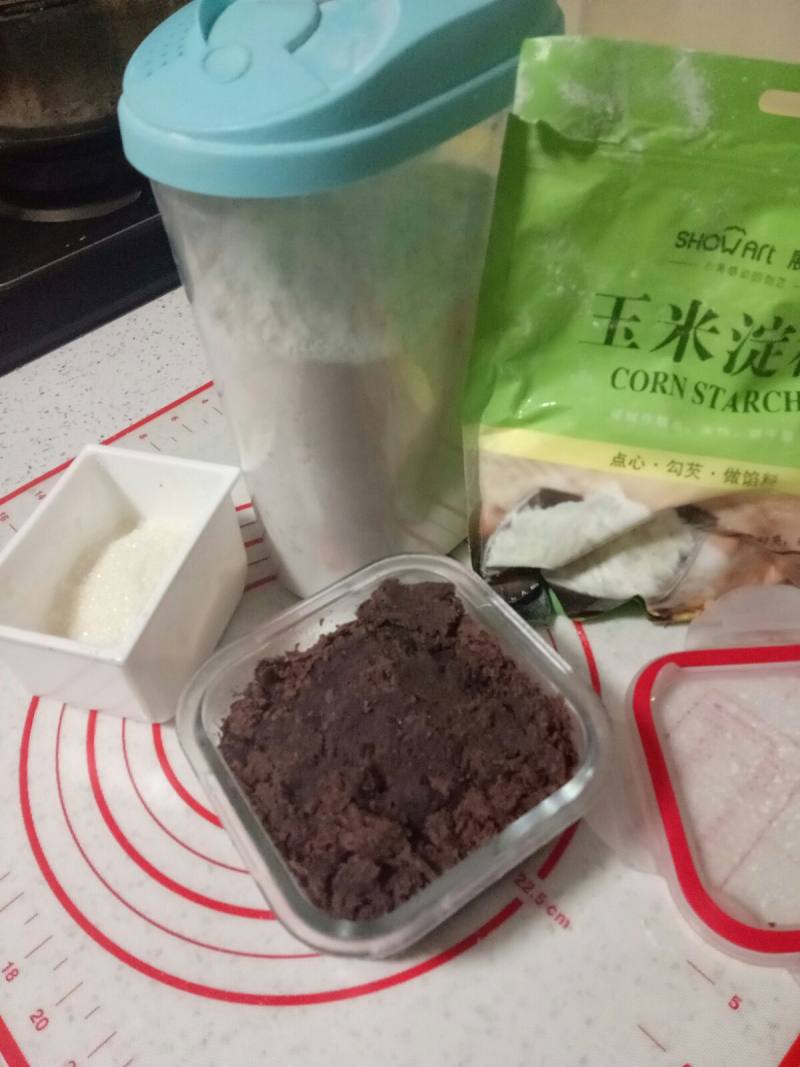
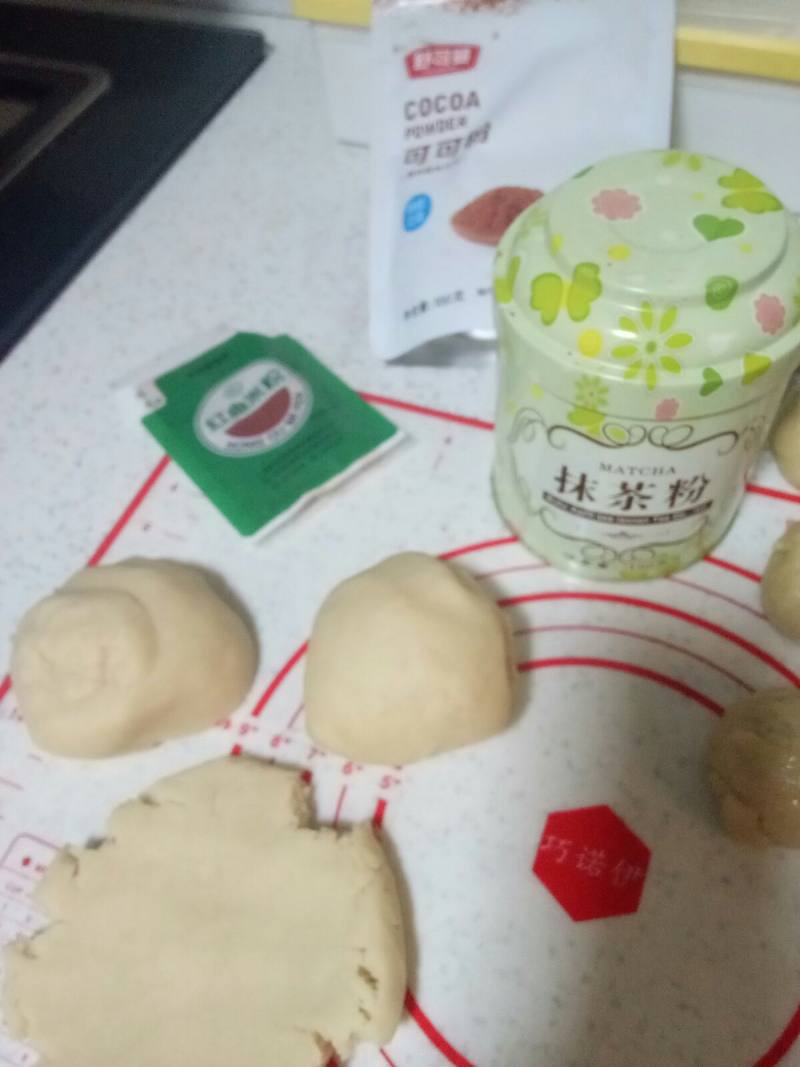
1.准备所需食材
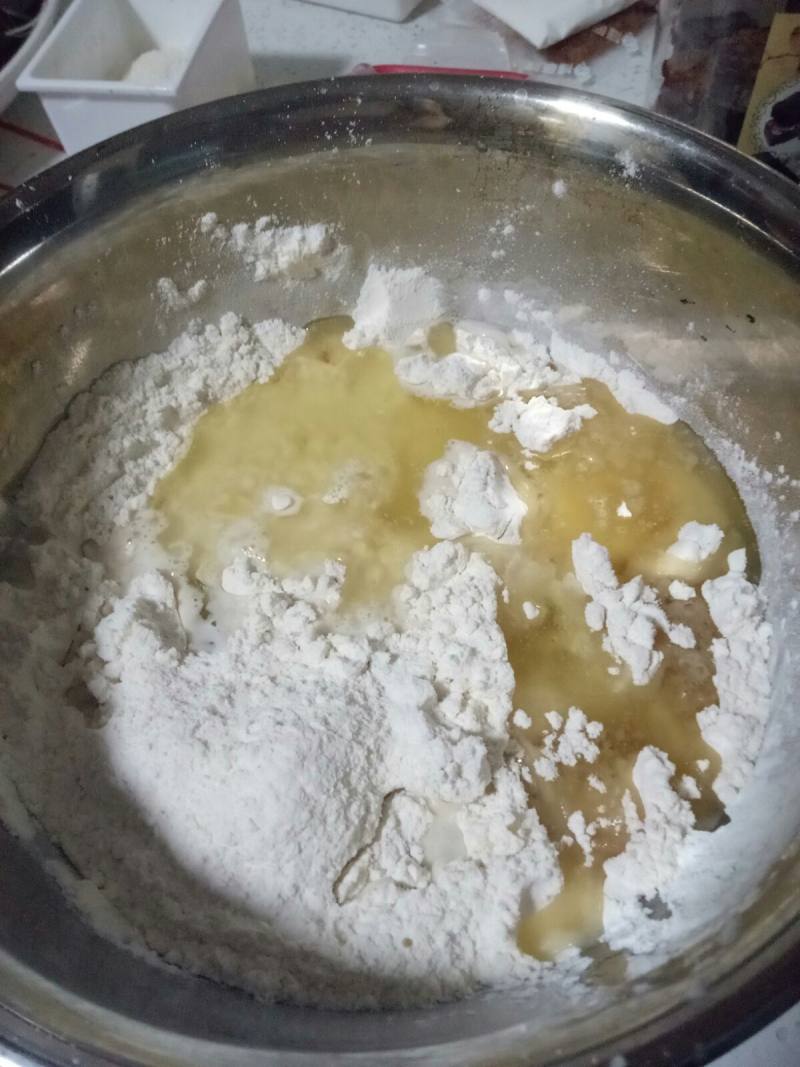
2.水油面团所需食材放入盆里,揉至光滑
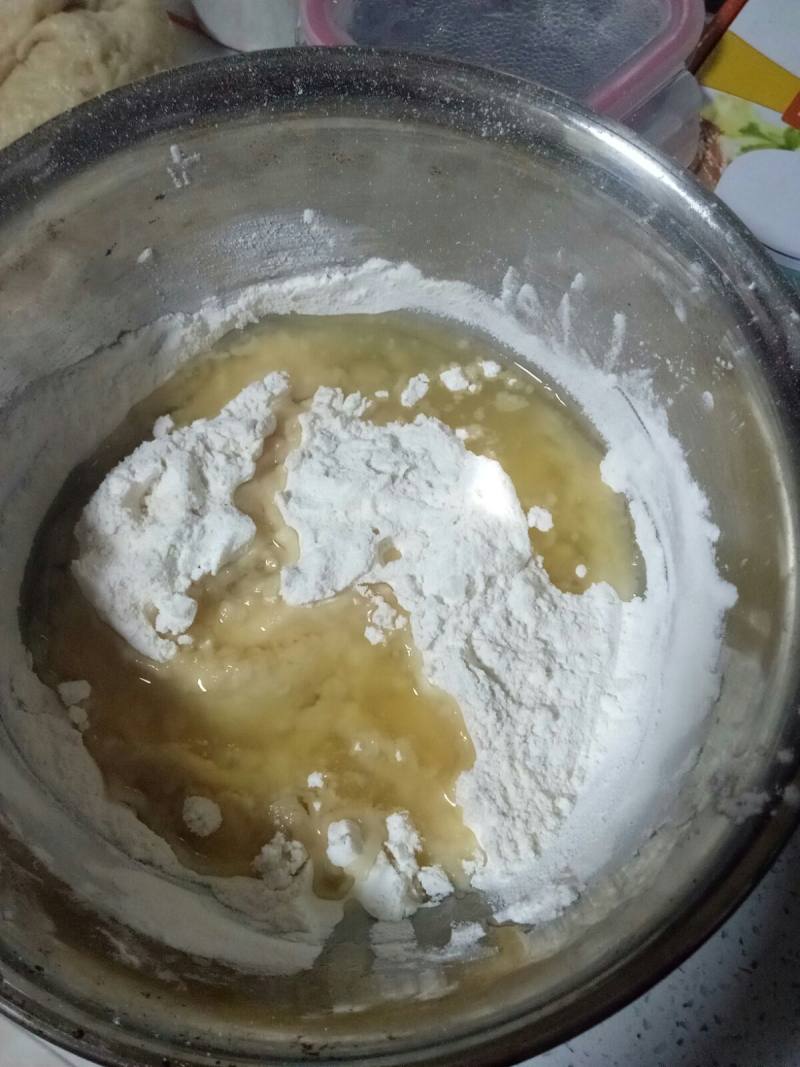
3.酥油面团所有食材放入盆里,揉成面团就可以了
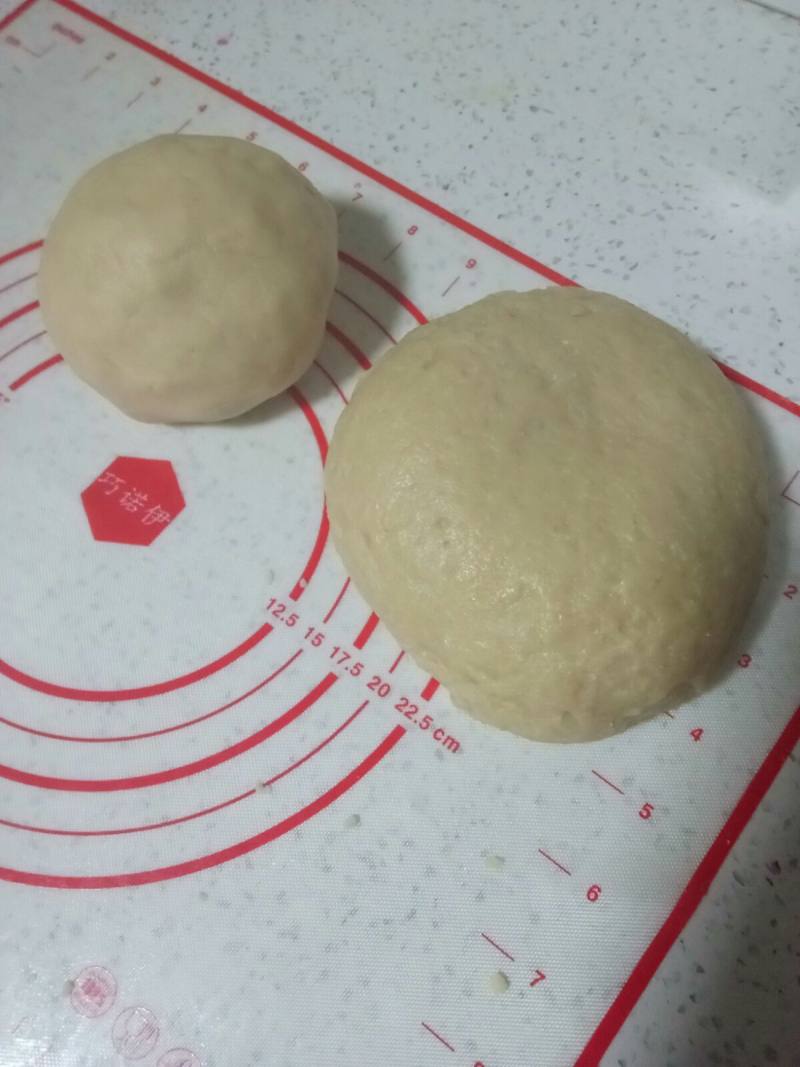
4.揉好的水油面团和油酥

5.水油面团平均分成12份
6.油酥面团平均分成3份,加入适量的抹茶粉,红曲粉,可可粉
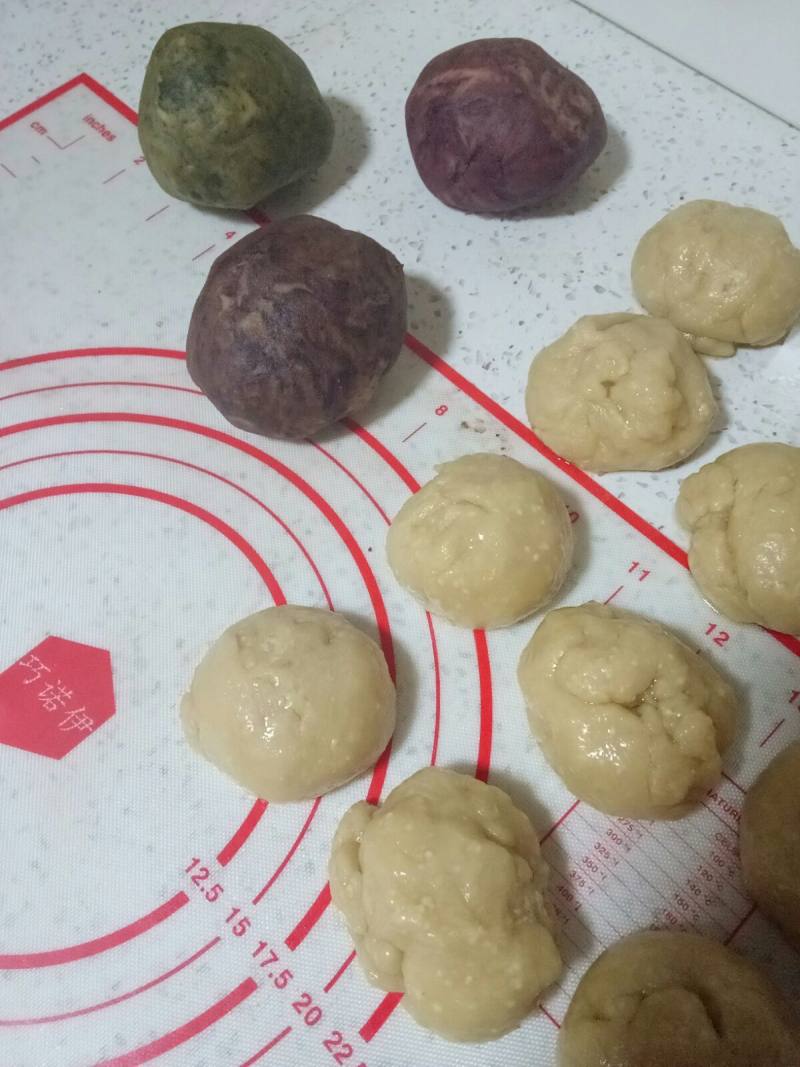
7.揉至好的油酥面团
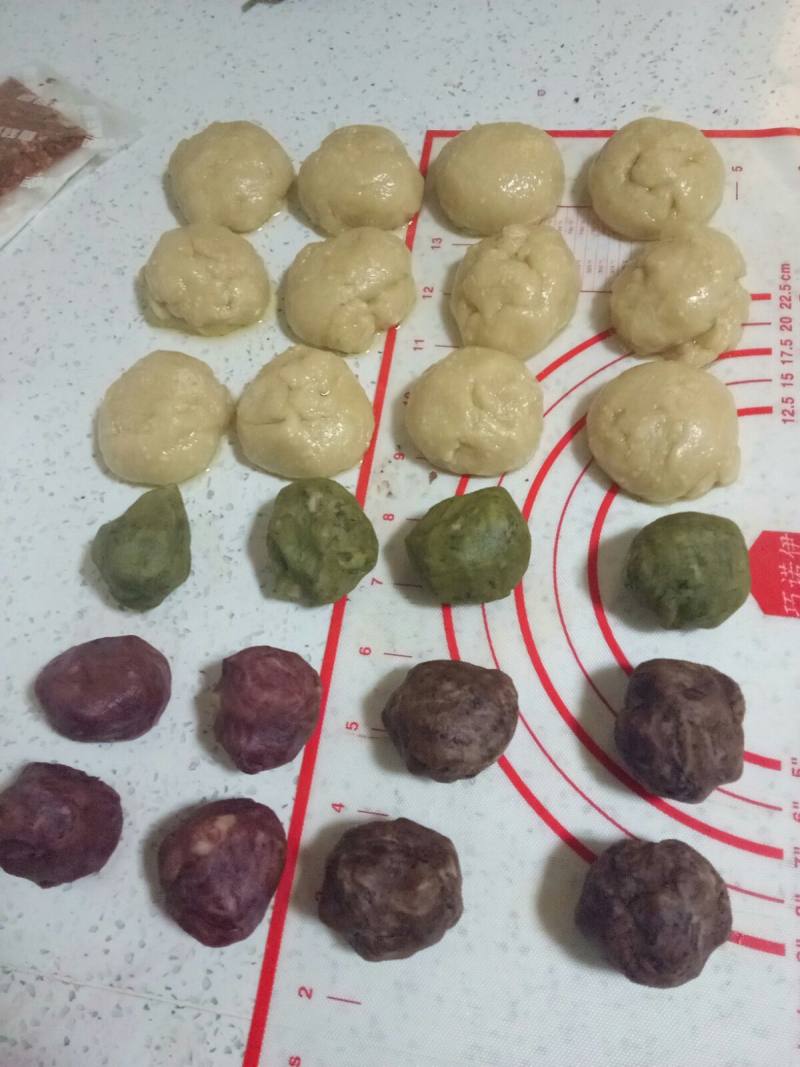
8.三色油酥面团,平均分成12份,盖上保鲜膜醒至一会
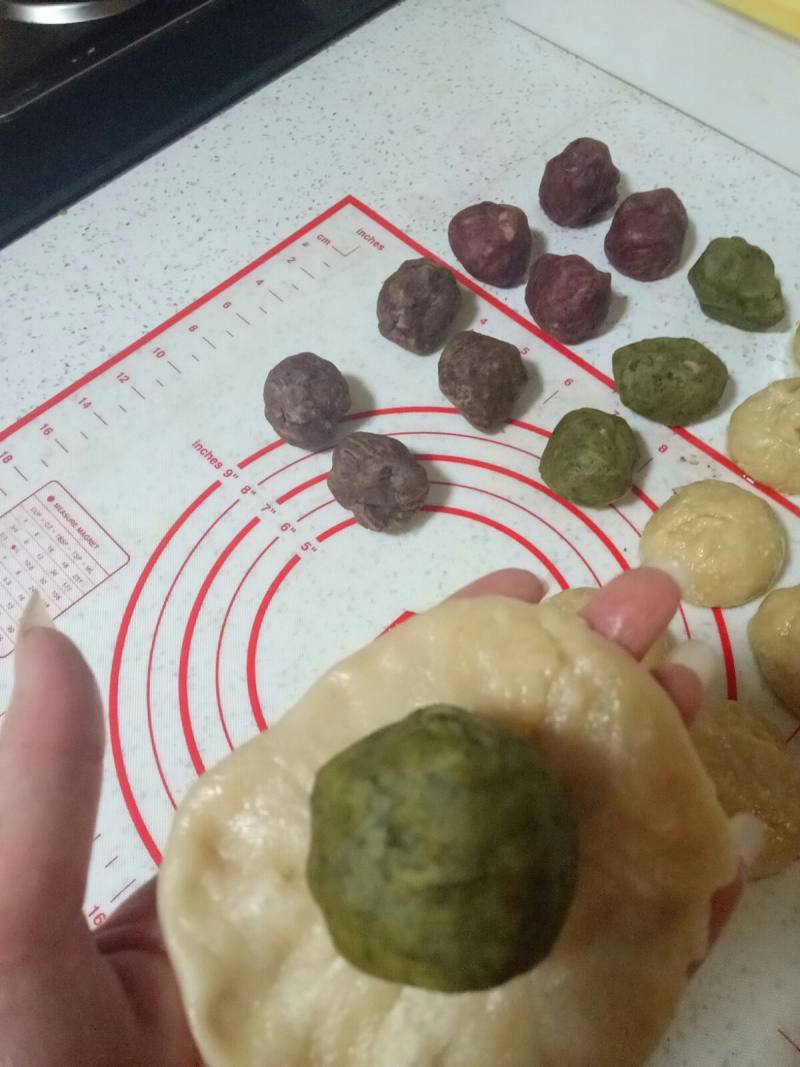
9.水油面压扁包裹住油酥,像包汤圆一样,收口朝下
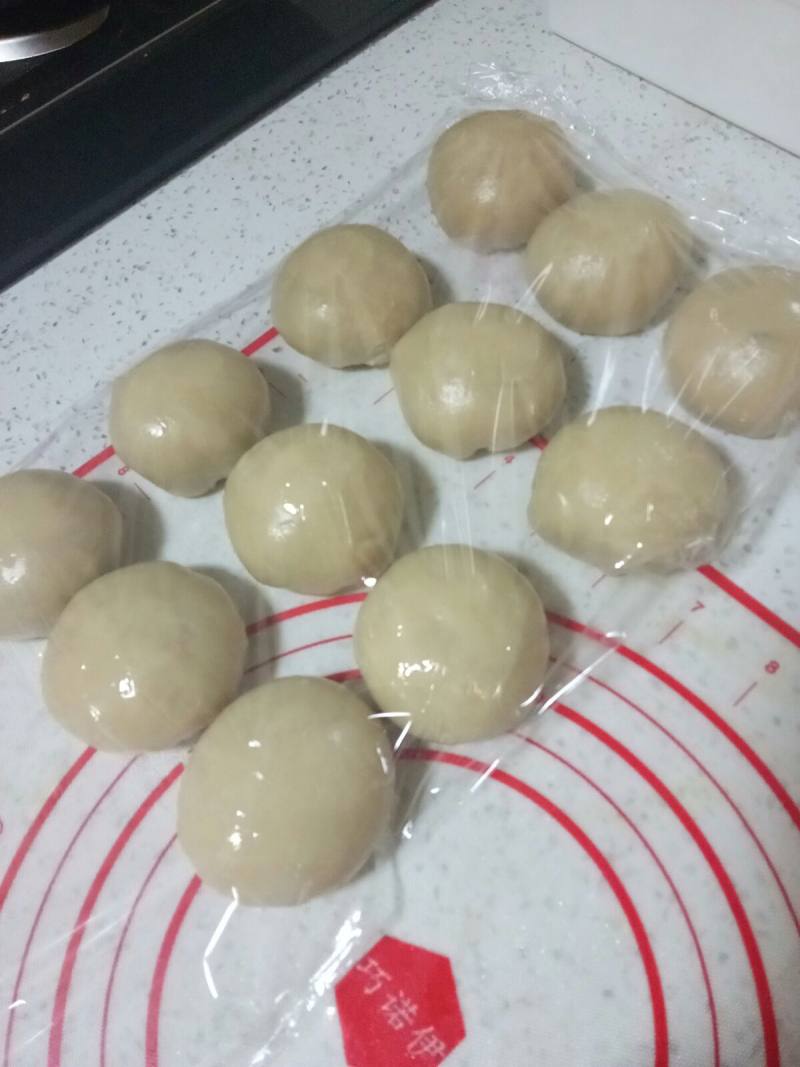
10.包裹好的面团,盖保鲜膜醒至15分钟
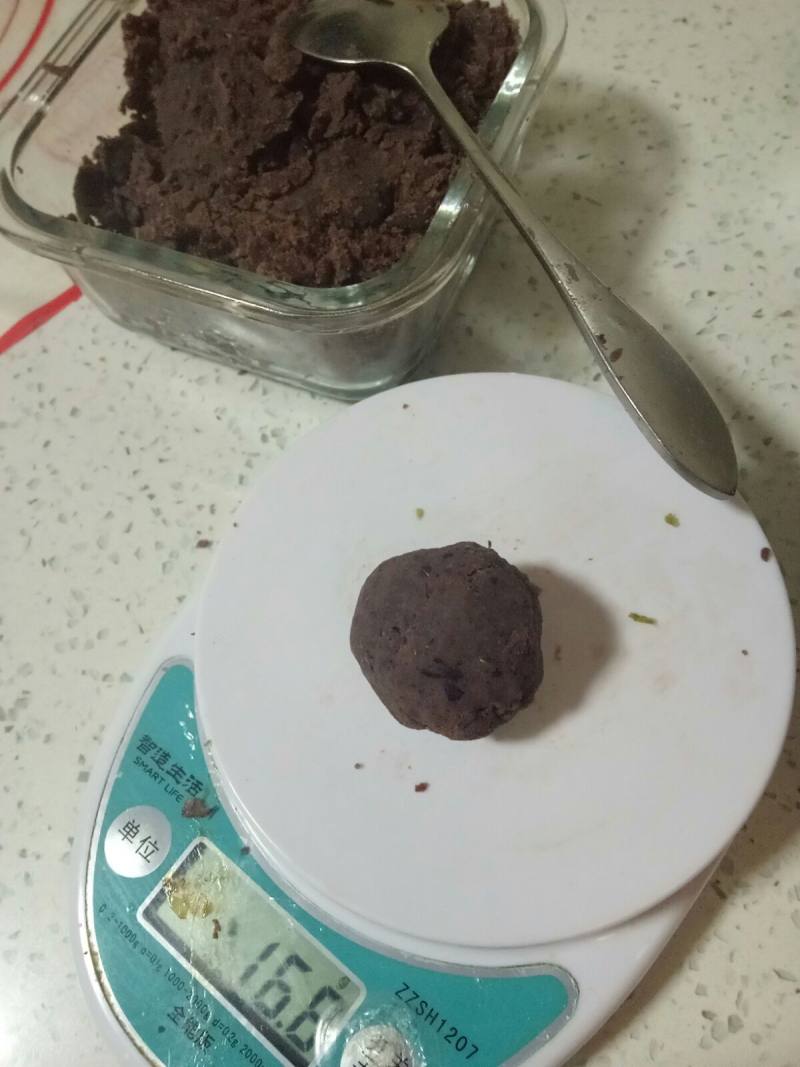
11.豆沙分成24分,搓圆
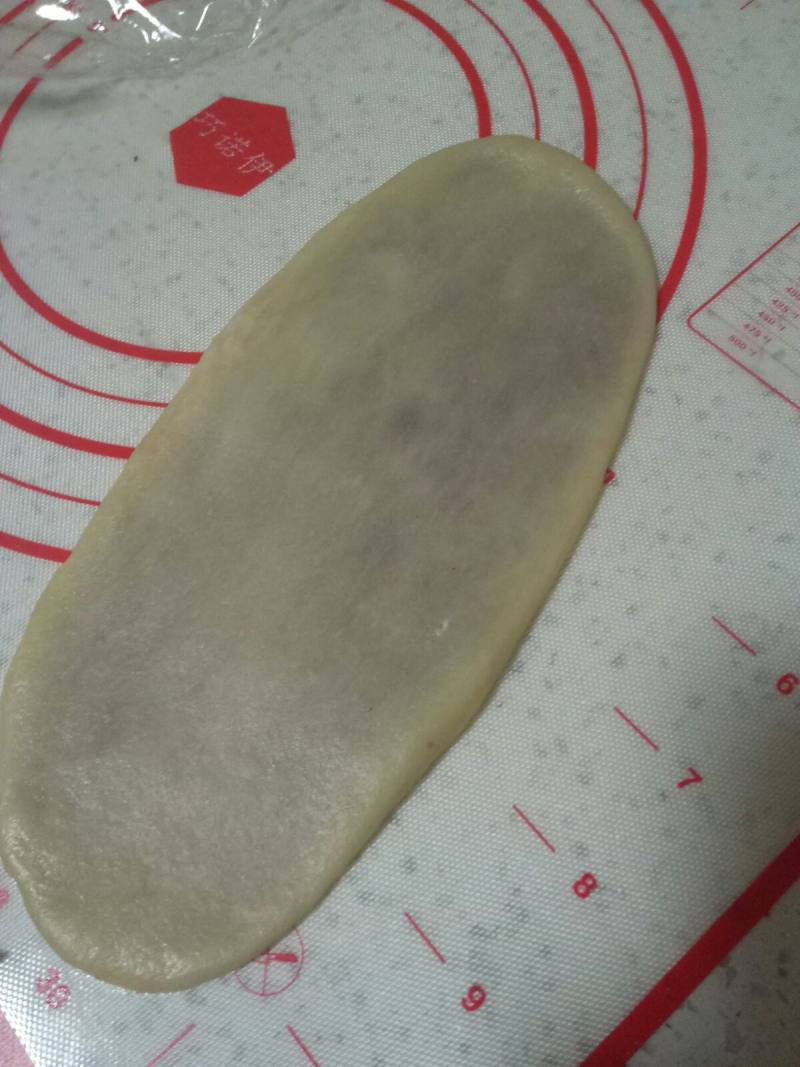
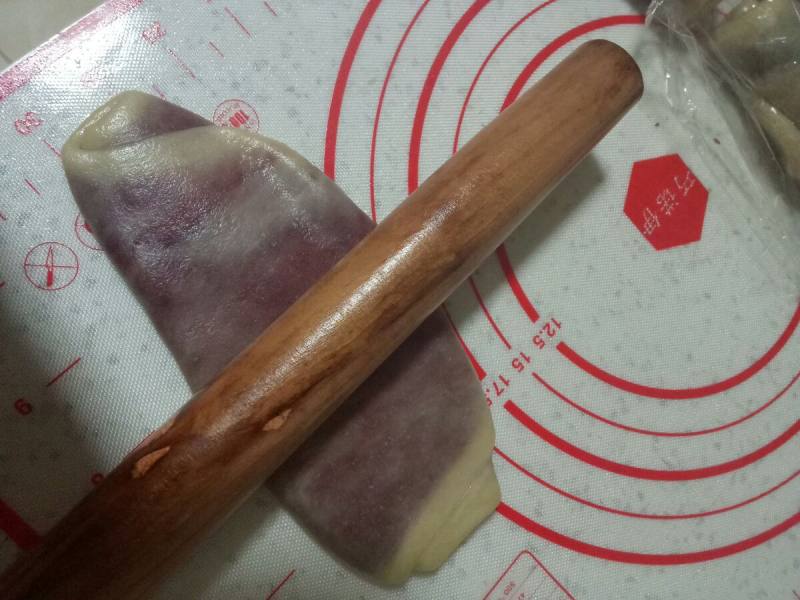
12.醒至好的面团,压扁,用擀面杖擀成长舌状
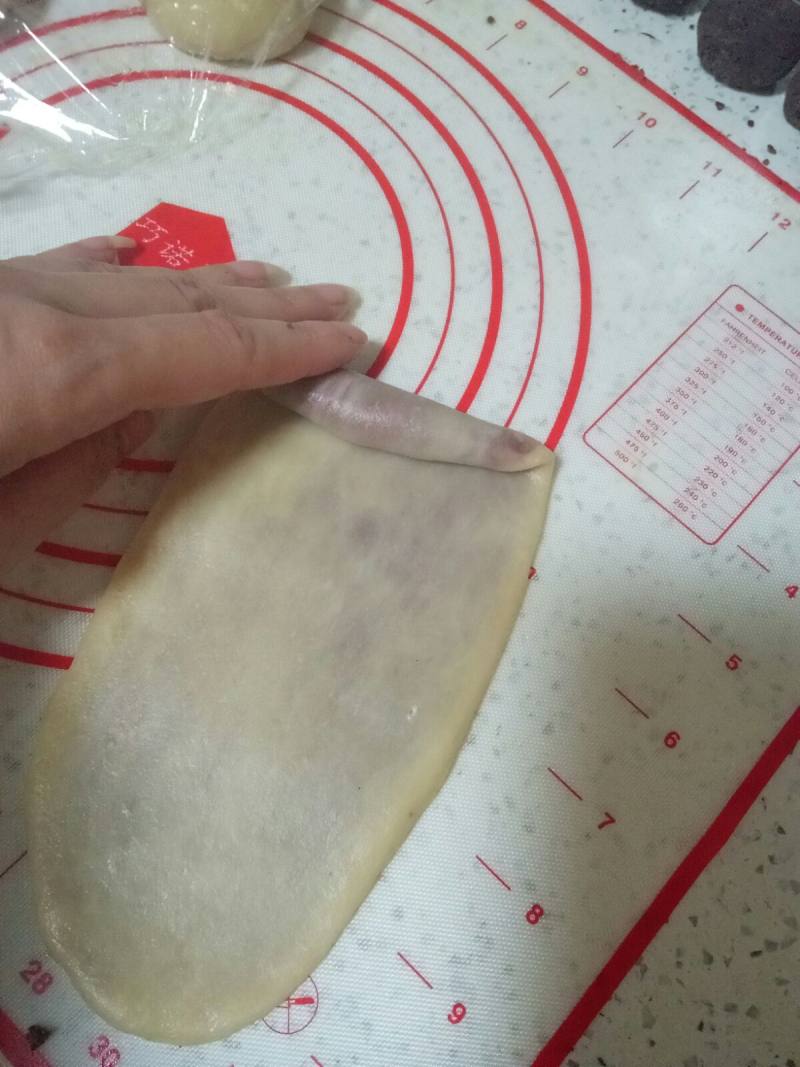
13.从上向下裹
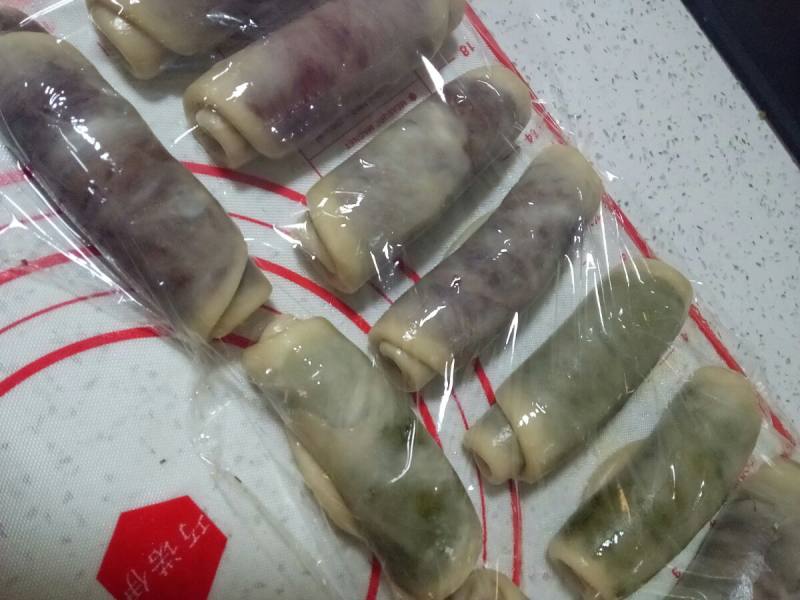
14.裹好的长条面团,盖上保险膜醒至5分钟
15.再重复一次擀成长舌状,从上向下裹
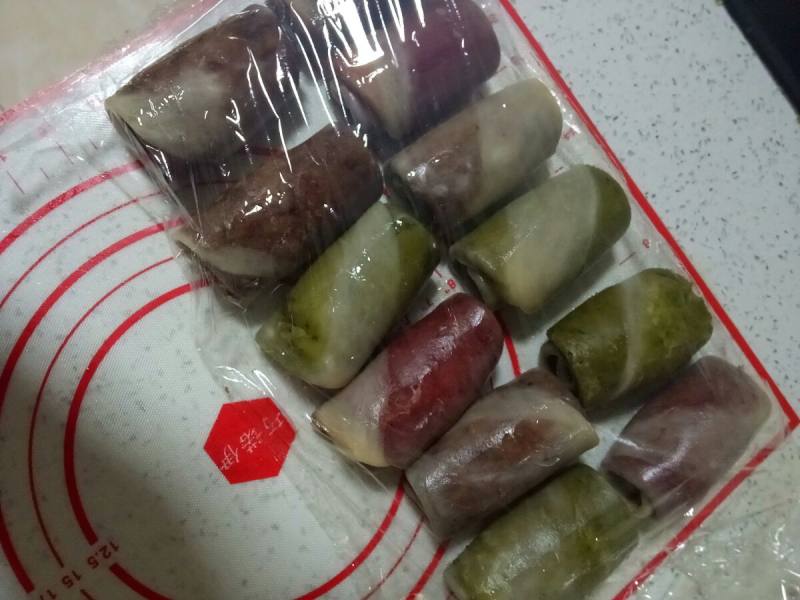
16.裹至好的面团
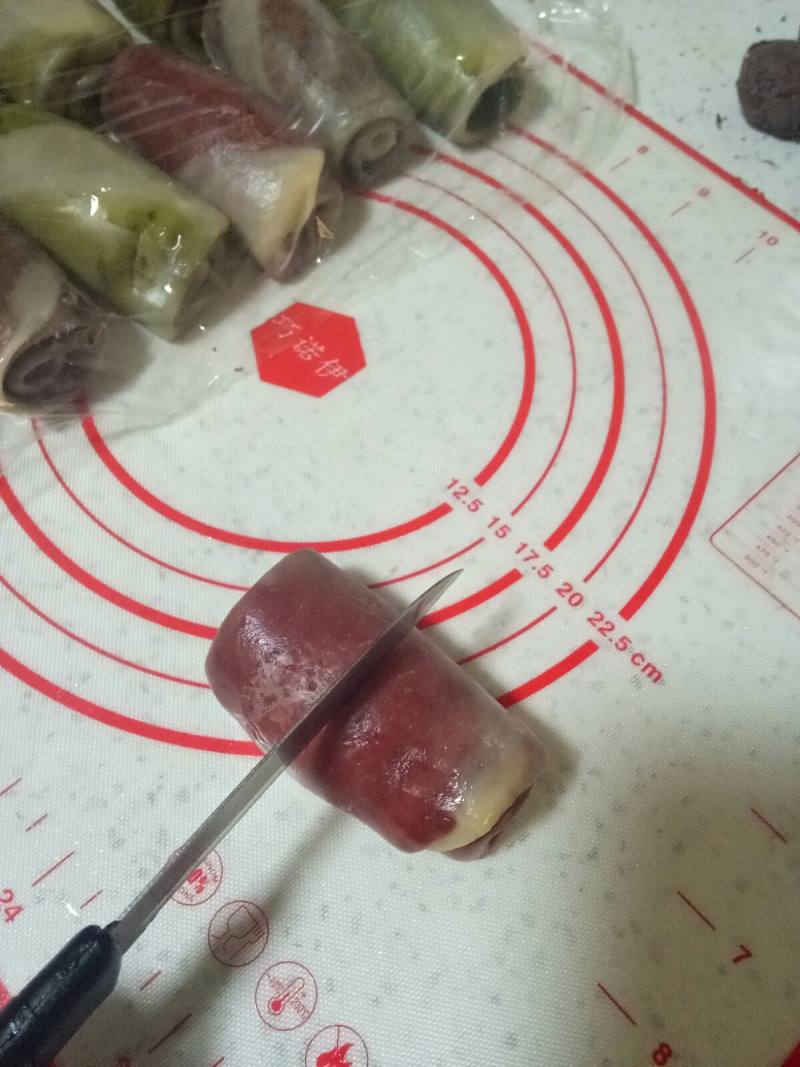
17.面团,入图一分为二,切口朝下

18.烤盘上铺一张油纸,备用
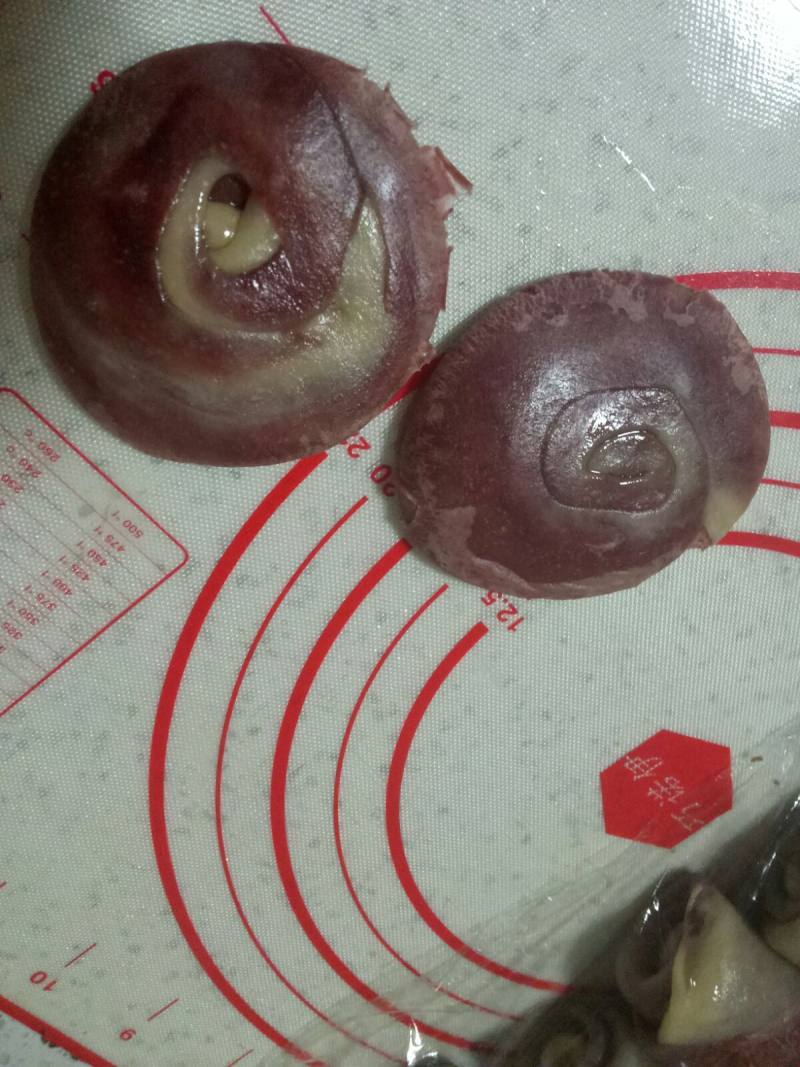
19.用擀面杖擀成圆片
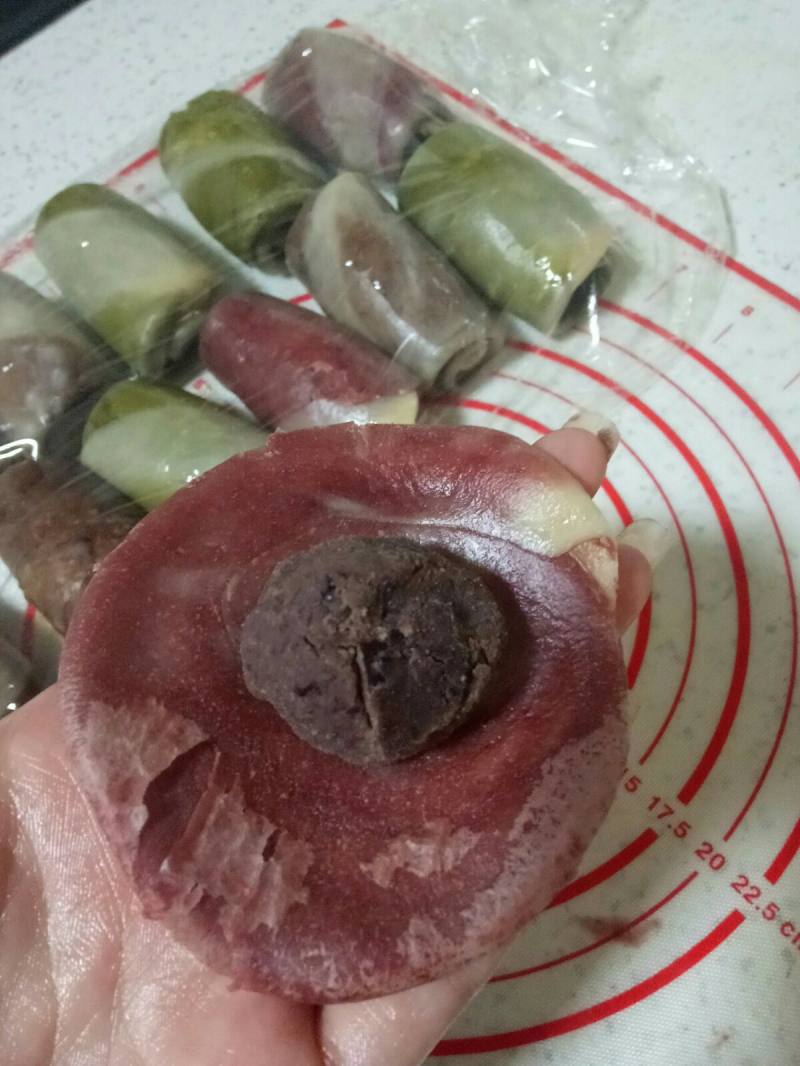
20.左手拿面皮,包裹住豆沙馅,像包汤圆一样,收口处朝下,放入烤盘
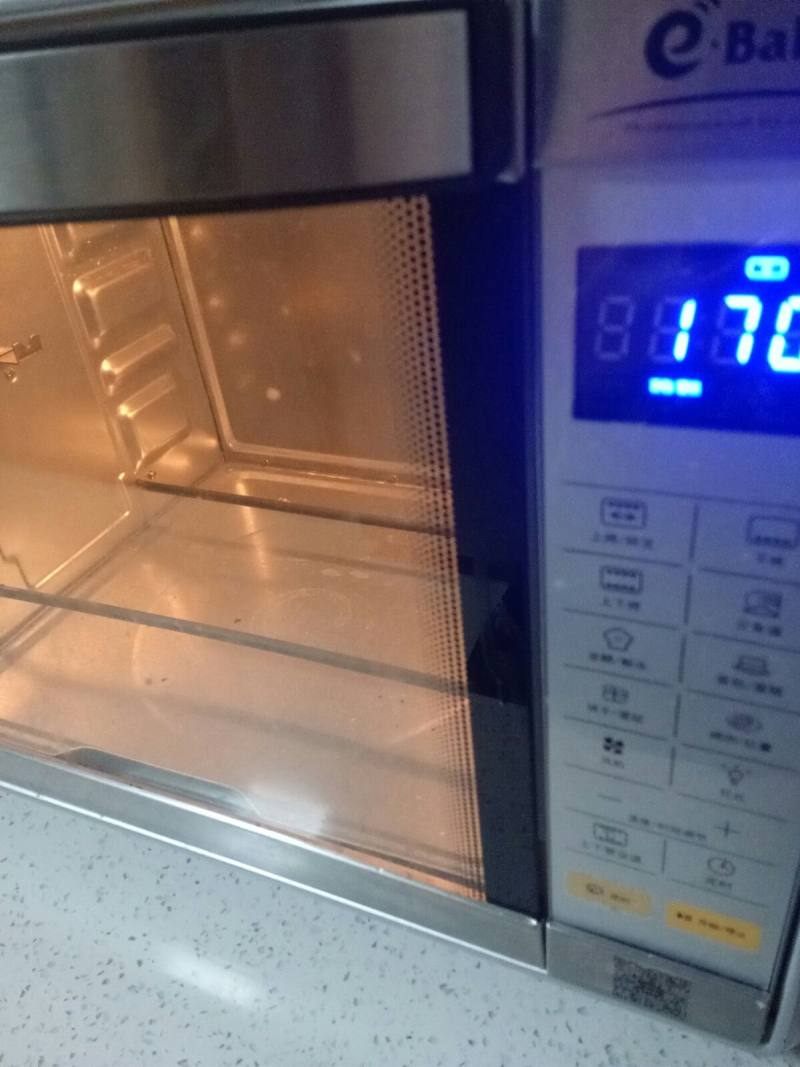
21.烤箱上下火170预热5分钟
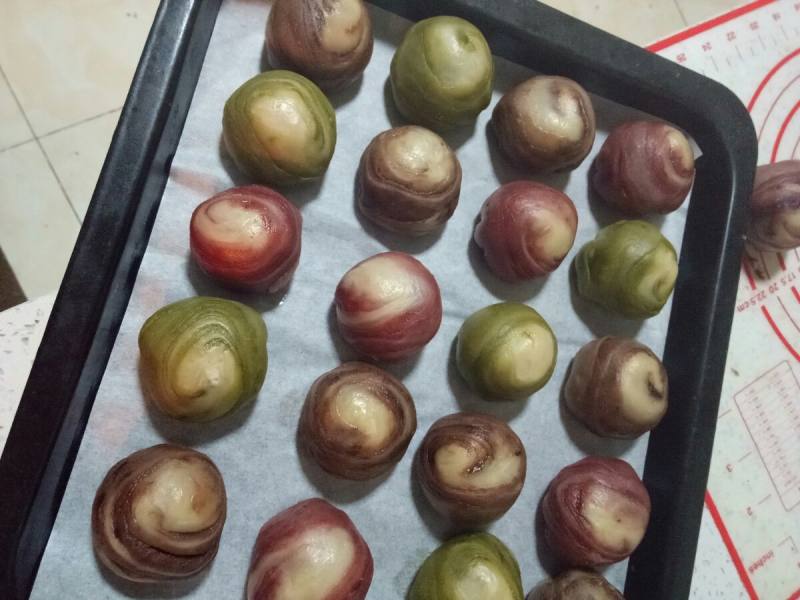
22.做好所有胚子
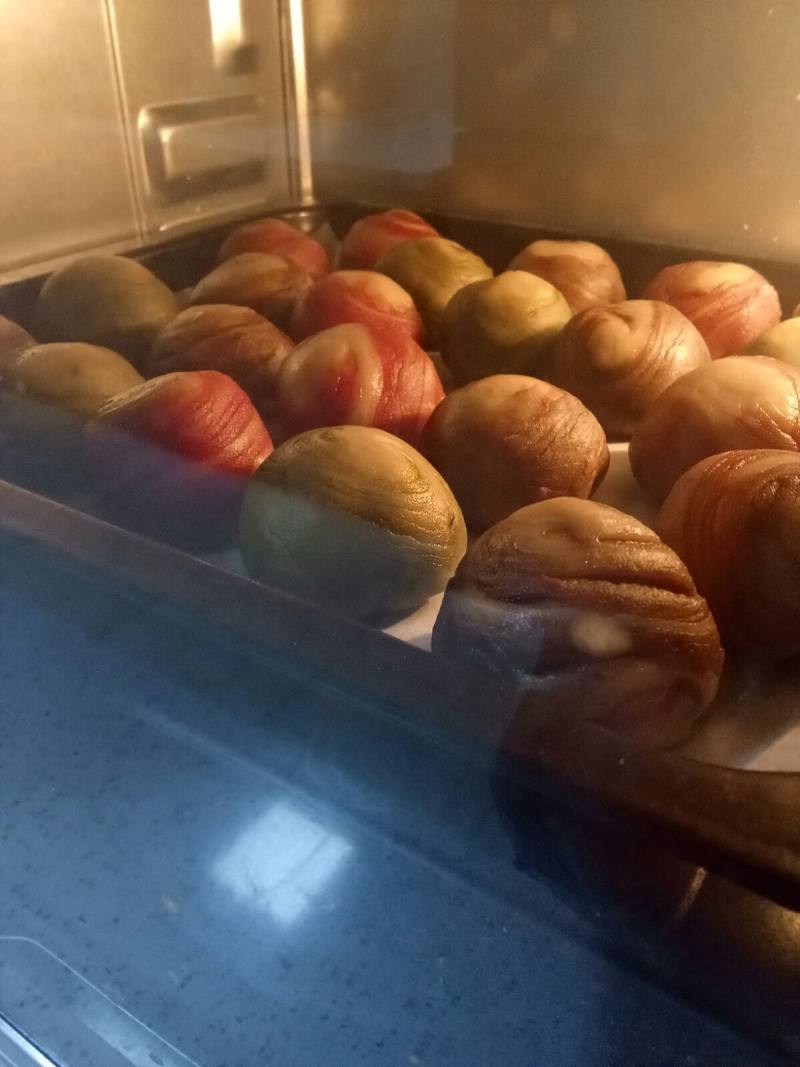
23.放入预热好的烤箱中层,烤箱15分钟

24.成品图欣赏
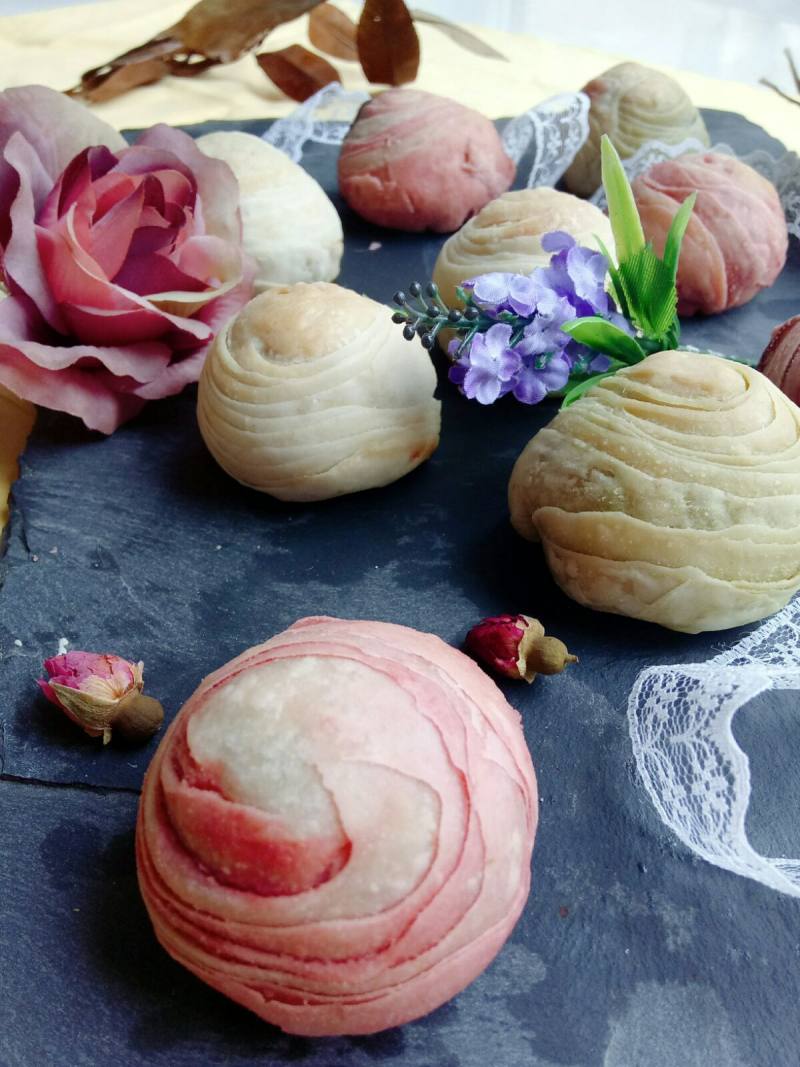
25.成品图欣赏
小窍门&温馨提示
1、烤箱温度根据自家烤箱上下调动
TAGS:
烘焙 其他菜系 面粉
免责声明:本站部分文章转载自网络,图文仅供行业学习交流使用,不做任何商业用途。文章仅代表原作者个人观点,其原创性及文章内容中图文的真实性、完整性等未经本站核实,仅供读者参考。
上一篇: 牛肉洋葱炒饭
下一篇: 椒盐藕夹的做法,椒盐藕夹怎么做,椒盐藕夹的做法,椒盐藕夹图片,椒盐藕夹的做法窍门,椒盐藕夹的热量
Deprecated: mysql_connect(): The mysql extension is deprecated and will be removed in the future: use mysqli or PDO instead in
/data/haozs.cc/xianguan.php on line
5
Deprecated: mysql_query(): The mysql extension is deprecated and will be removed in the future: use mysqli or PDO instead in
/data/haozs.cc/xianguan.php on line
7
