主料:
鸡蛋,
4个,
色拉油,
47ml,
糖,
55克自制豆沙适量
辅料:
低筋面粉,
55克,
水,
47ml可可蛋糕预拌粉,10克芒果适量花纹豆沙卷的做法步骤
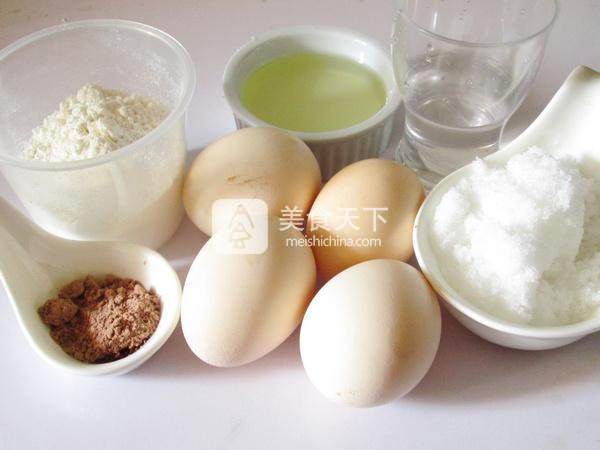
1.准备好所用食材。
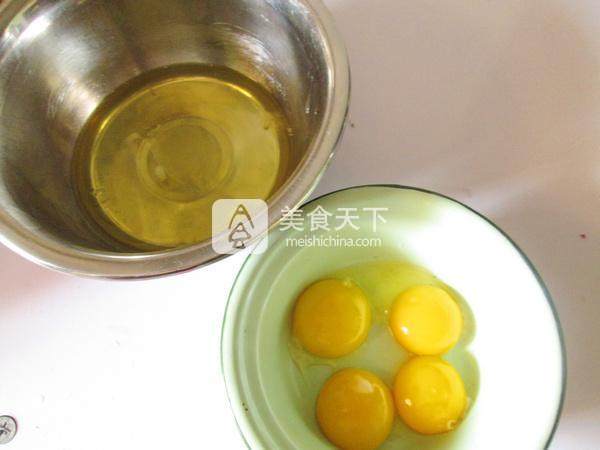
2. 蛋清 蛋黄分开。
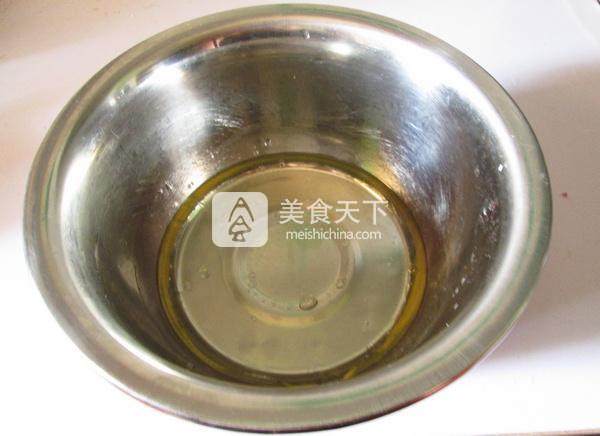
3.将油和水搅拌均匀,再加入20克糖,拌均。
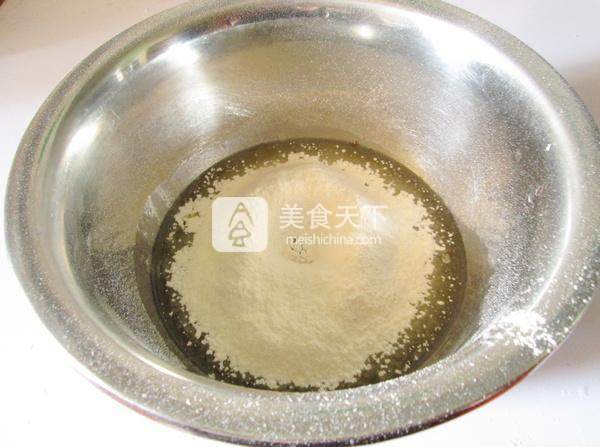
4.筛入低粉后搅拌均匀无颗粒。
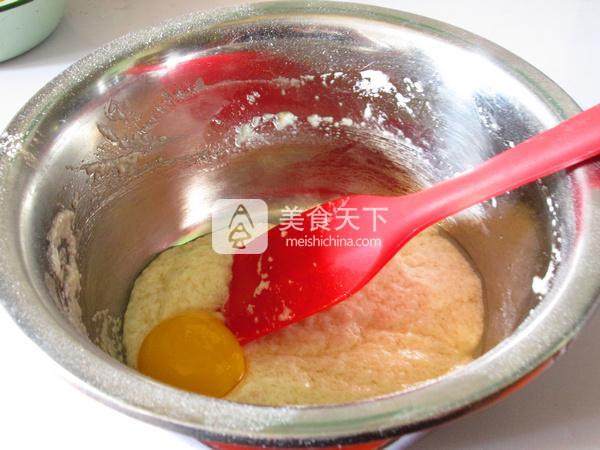
5. 加入蛋黄,一个 一个加入蛋糕糊中。
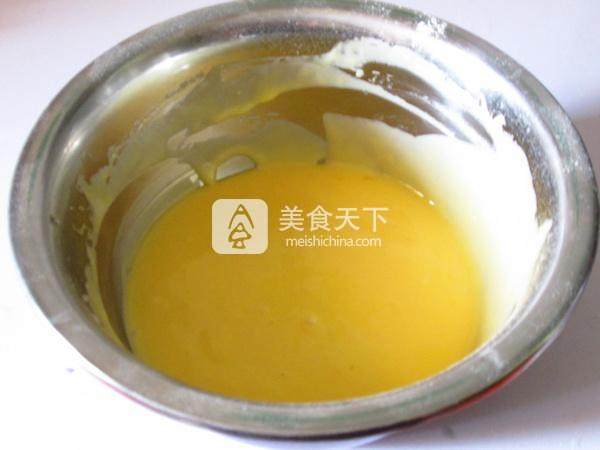
6. 切拌均匀。
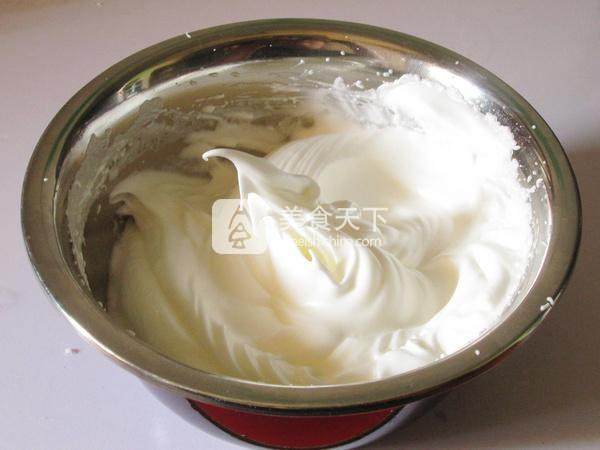
7.蛋清分次加入25克糖,打发至7--8分发。
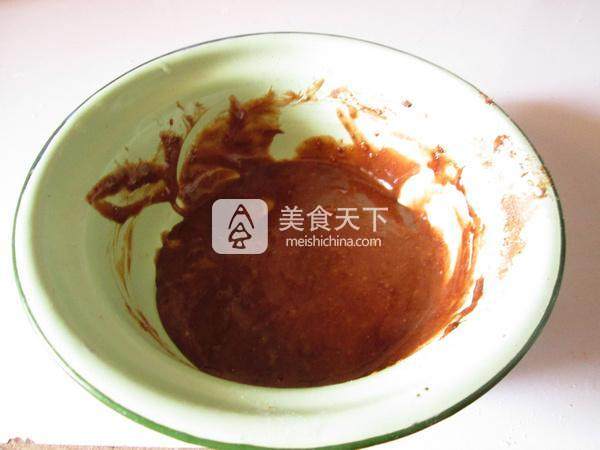
8.取出一大勺蛋黄糊加入可可预拌粉搅拌均匀。
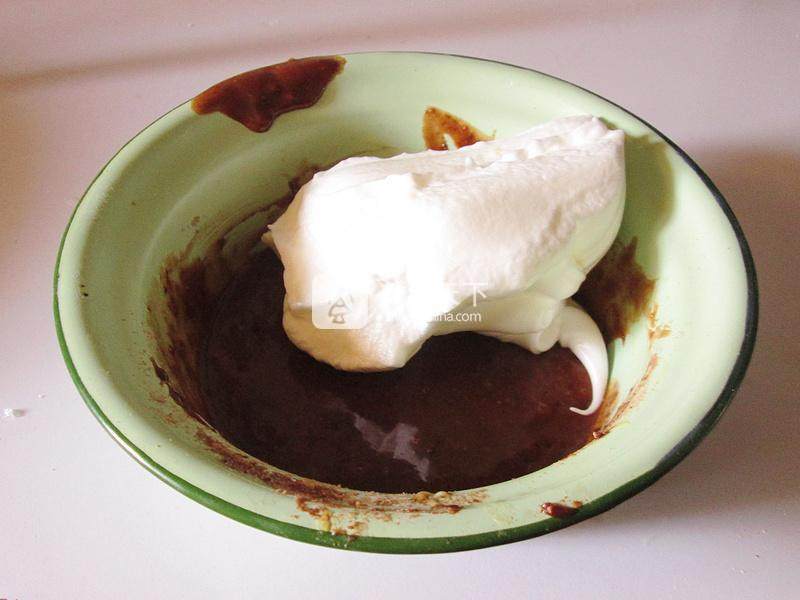
9.取一勺蛋清加入可可蛋黄糊中。切拌均匀装入裱花袋中。
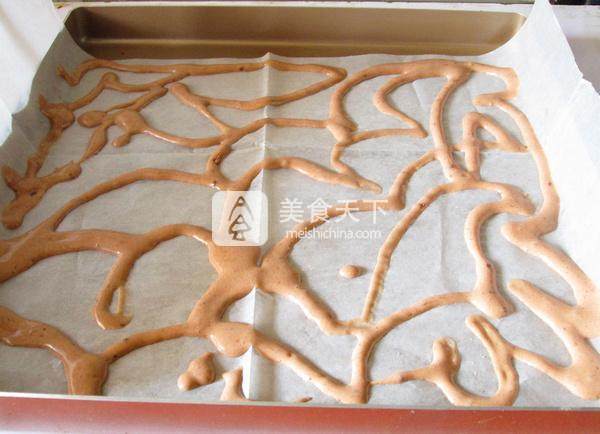
10.烤盘铺上烘焙纸,用裱花袋画出自己喜欢的花纹。
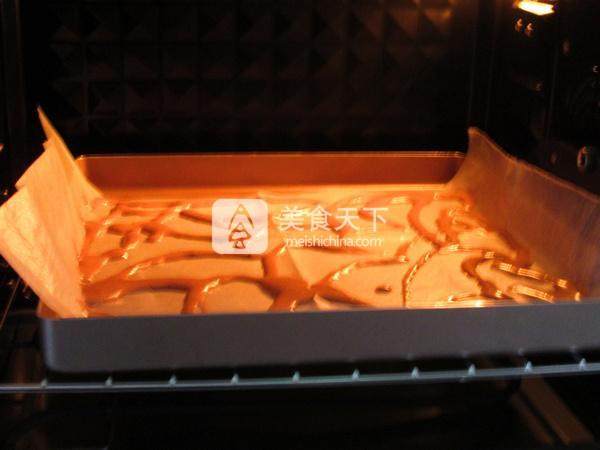
11.烤箱预热 上管 170度 下管 150 ,将烤盘放入,烤至2分钟,可可蛋糕糊凝固即可。
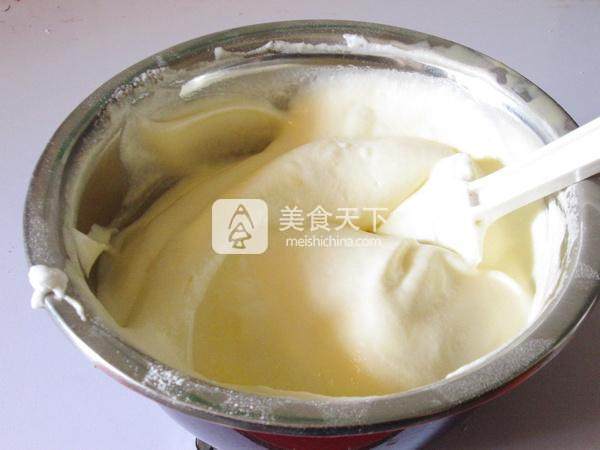
12.在烤花纹的时候,将剩余的打发的蛋清加入蛋糕糊中,切拌均匀。
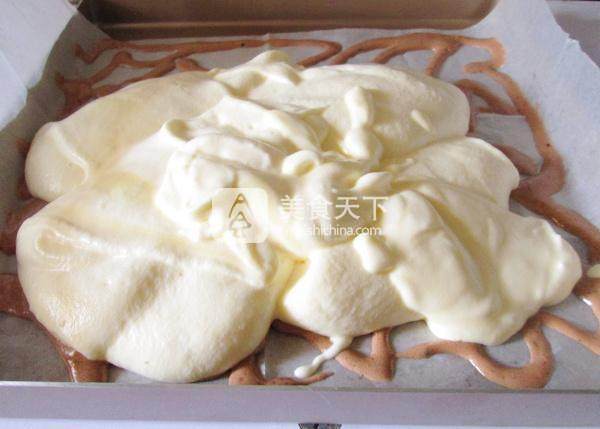
13.从烤箱中取出烤盘,将蛋糕糊倒入凝固的可可蛋糕糊上。
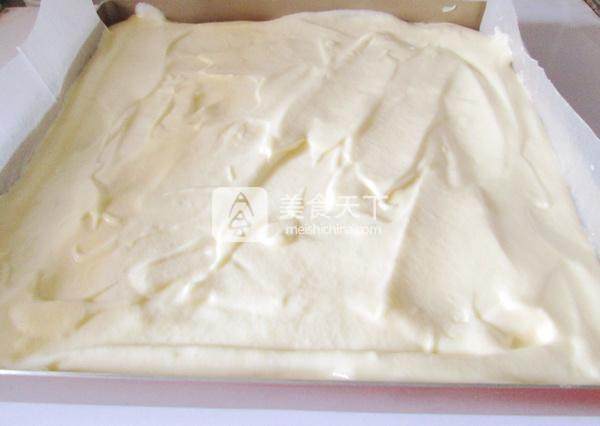
14.将蛋糕糊刮平。
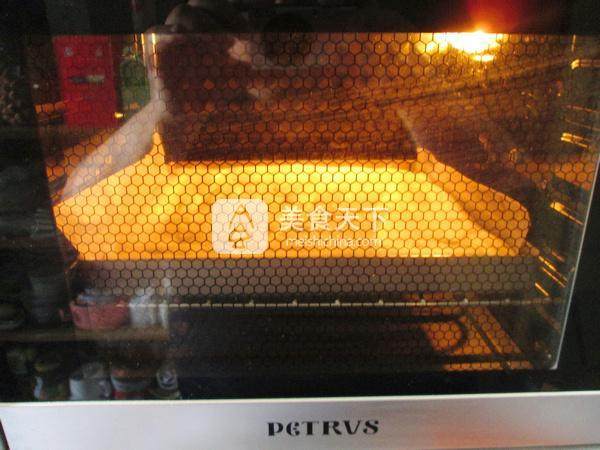
15.继续入烤箱 20--25分钟。
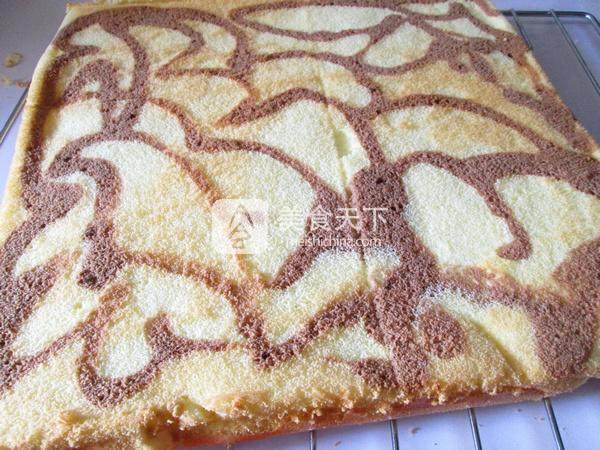
16.取出烤盘,将油纸撕掉。
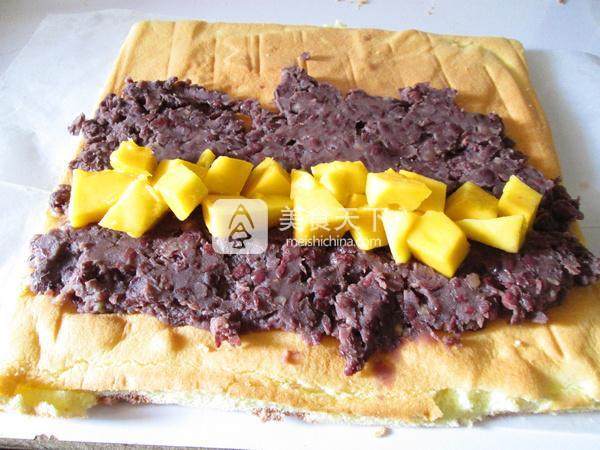
17.稍凉后切去边缘,把蛋糕片倒扣在另一种油纸上,再放入适量的豆沙和芒果粒。
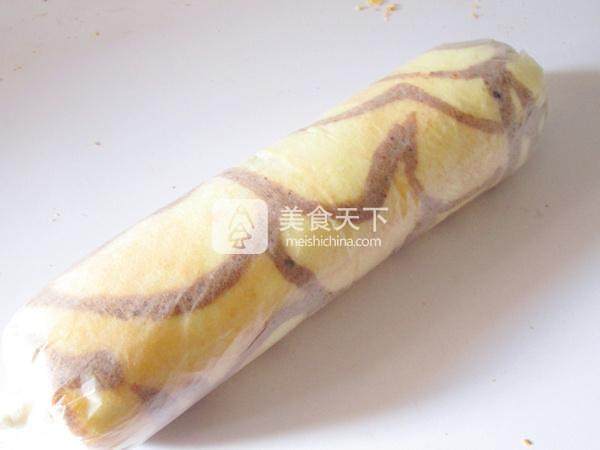
18.将蛋糕轻轻的卷起,用油纸包住蛋糕卷。冷藏1小时切片即可。
小窍门&温馨提示
没有预拌粉可以直接在蛋糕糊中加入5克可可粉,烘烤时间和温度要更具自家烤箱的具体情况来调整。
TAGS:
烘焙 儿童 老人 下午茶 快餐 其他菜系 鸡蛋
免责声明:本站部分文章转载自网络,图文仅供行业学习交流使用,不做任何商业用途。文章仅代表原作者个人观点,其原创性及文章内容中图文的真实性、完整性等未经本站核实,仅供读者参考。
上一篇: 西兰花鲜虾焗饭
下一篇: 蒜薹腊肉炒蘑菇的做法,蒜薹腊肉炒蘑菇怎么做,蒜薹腊肉炒蘑菇怎么做,蒜苔香菇炒腊肉,腊肉炒蒜薹的家常做法,蘑菇蒜薹炒肉做法
Deprecated: mysql_connect(): The mysql extension is deprecated and will be removed in the future: use mysqli or PDO instead in
/data/haozs.cc/xianguan.php on line
5
Deprecated: mysql_query(): The mysql extension is deprecated and will be removed in the future: use mysqli or PDO instead in
/data/haozs.cc/xianguan.php on line
7