主料:
土鸡蛋,
4个,
糖粉,
20g(入淡奶油),
牛奶,
40g,
色拉油,
40g,
低筋面粉,
40g,
淡奶油,
200g
辅料:
芒果,
1至2个芒果奶油蛋糕卷的做法步骤
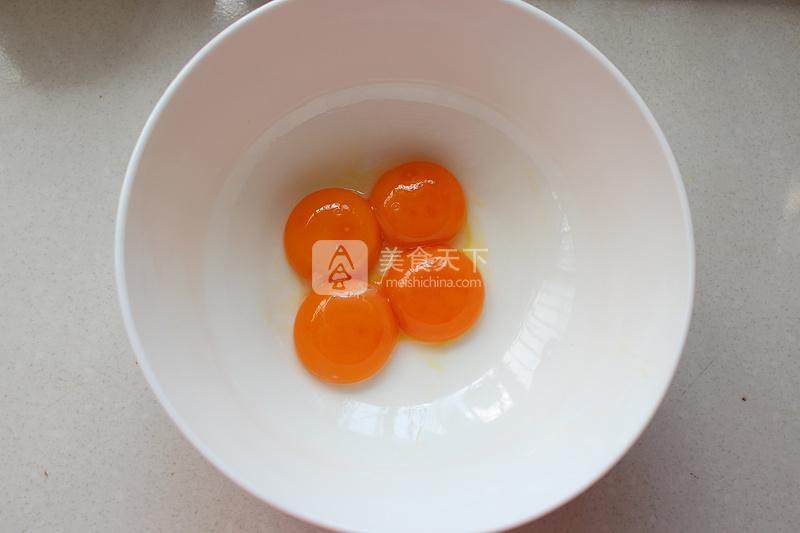
1.4个土鸡蛋蛋黄蛋白分离,土鸡蛋的蛋黄黄得好任性!
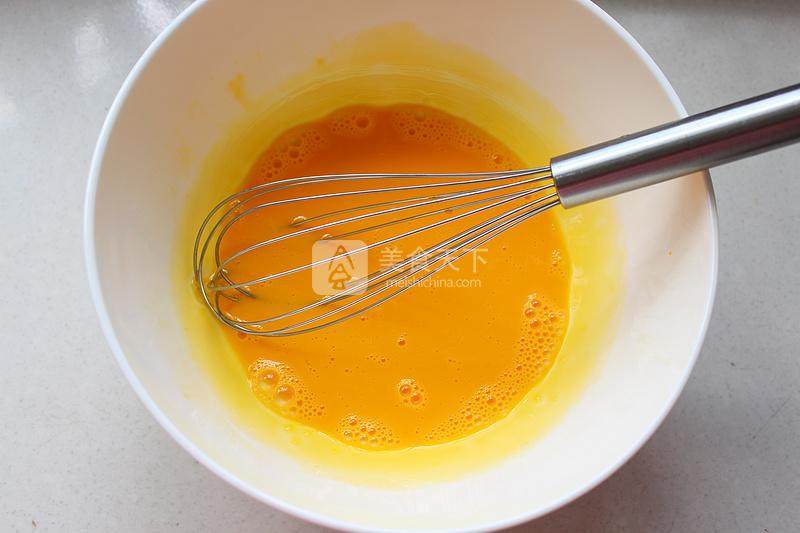
2.蛋黄中加入40g牛奶搅拌均匀;
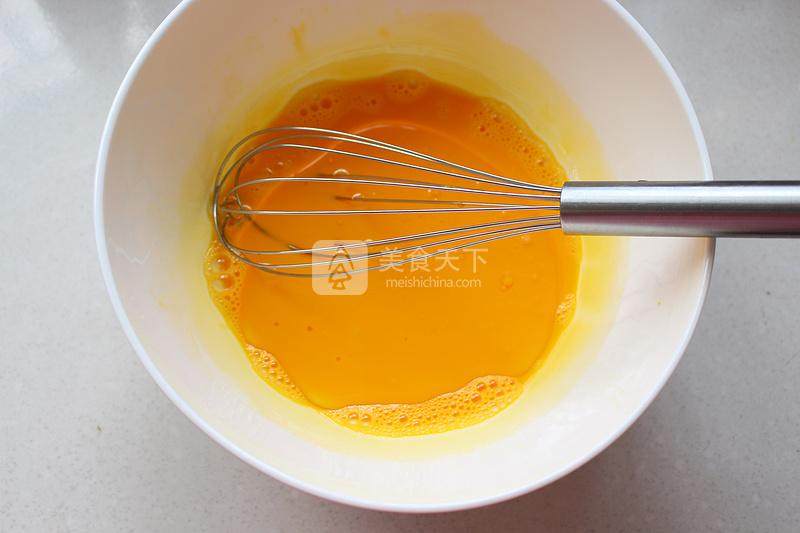
3.加入40g色拉油搅拌均匀;
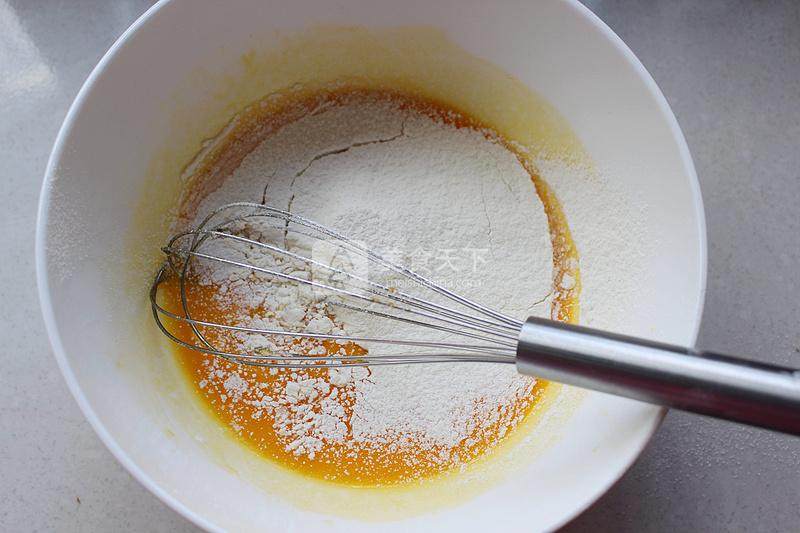
4.筛入40g低筋面粉;
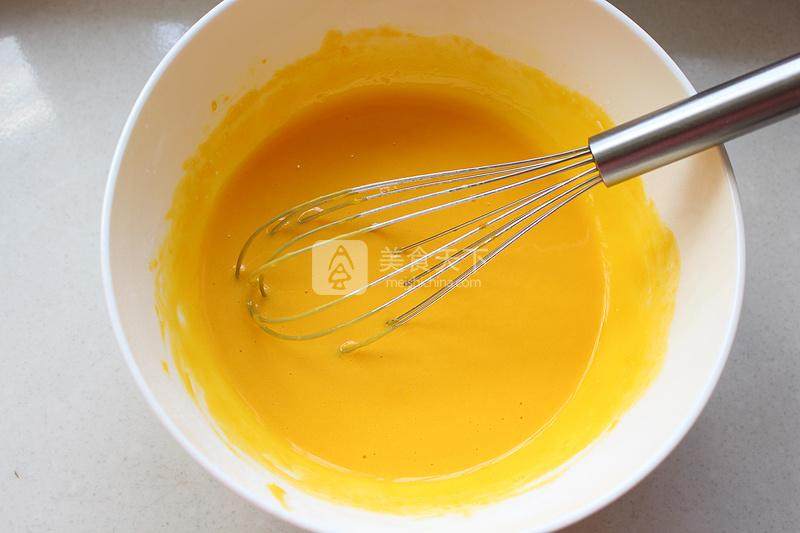
5.搅拌成均匀细腻的蛋黄糊;
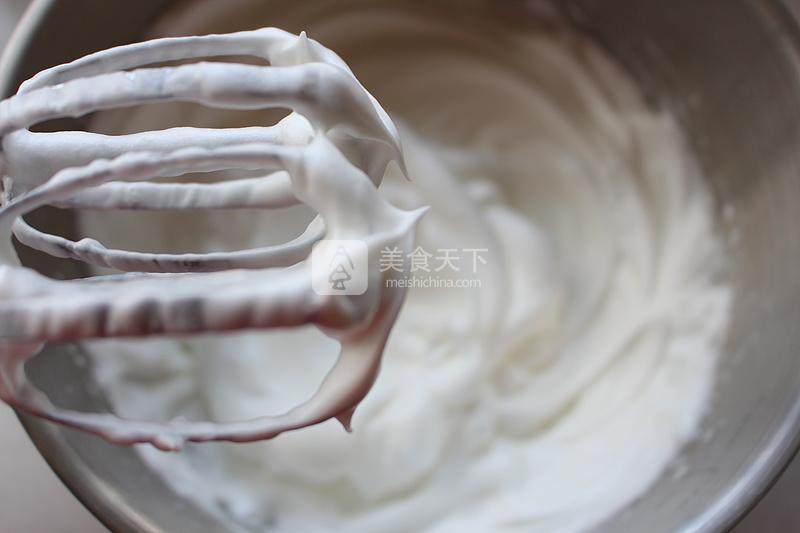
6.蛋白中滴进去几滴白醋,先低速打至鱼眼泡,然后分3次加入总共40g糖粉,高速将蛋白打发至湿性发泡,提起打蛋器蛋白呈现弯弯的尖角;
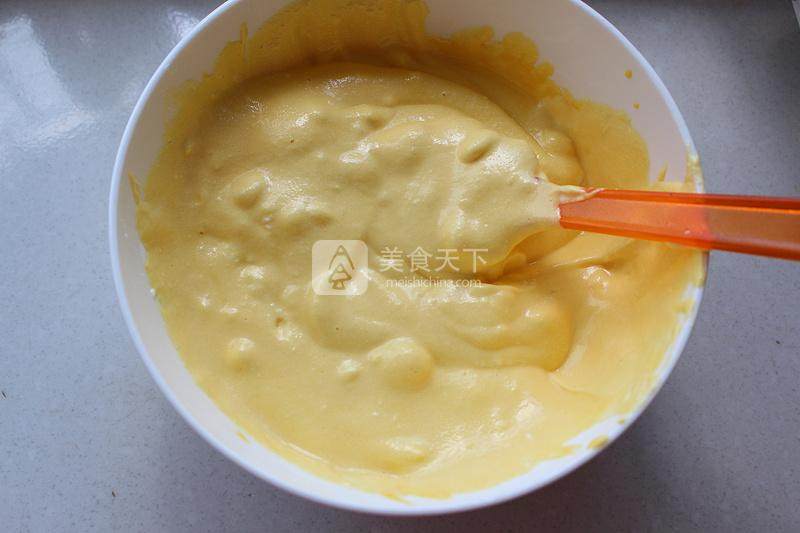
7.取一半的蛋白加入蛋黄糊中,用橡皮刮刀从底部往上翻拌均匀,不可划圈搅拌,以免蛋白消泡;
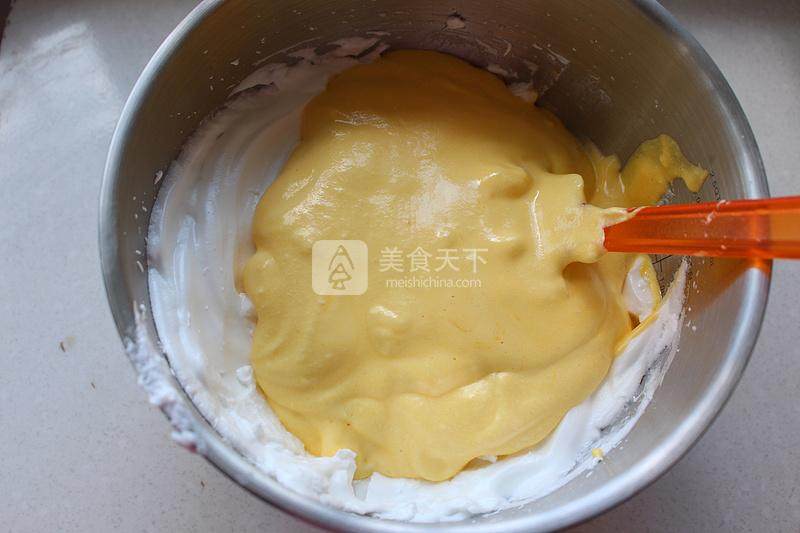
8.将蛋黄糊倒入剩下的蛋白中,相同手法翻拌均匀;
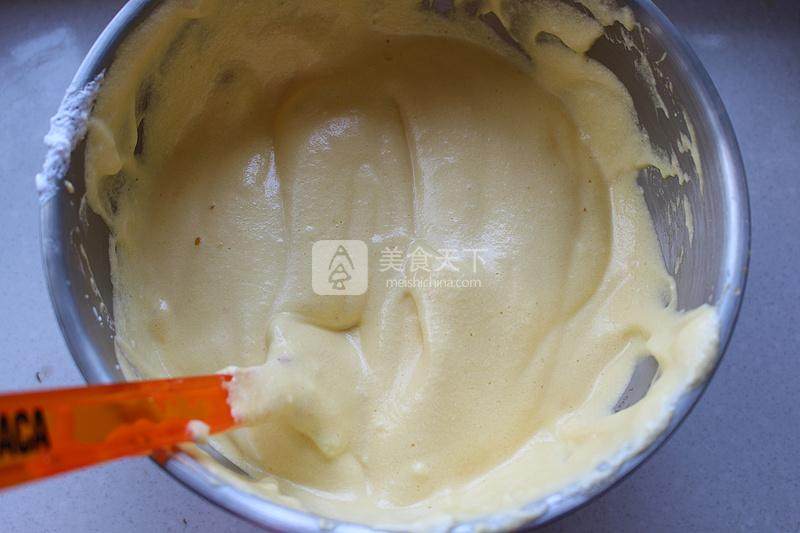
9.翻拌成均匀细腻的蛋糕糊;
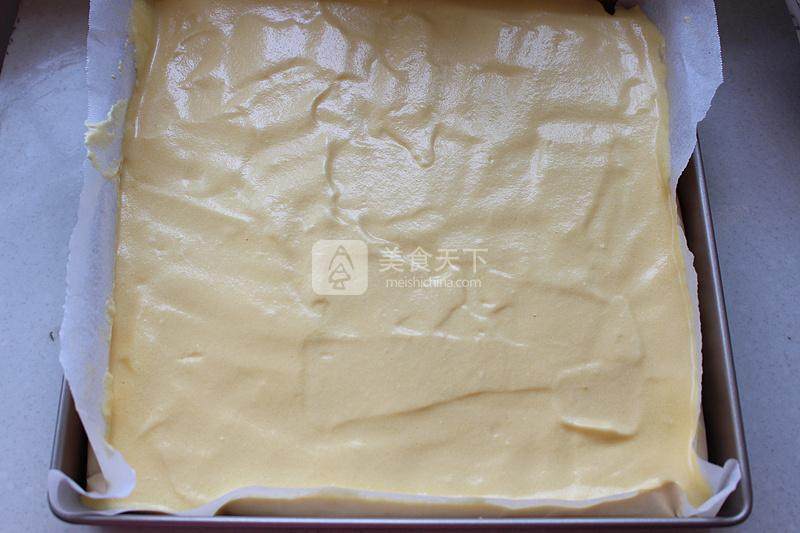
10.在高处一点的位置将蛋糕糊倒入铺有油纸的方形烤盘中(这样不容易产生气泡),抹平,震两下去除大的气泡;
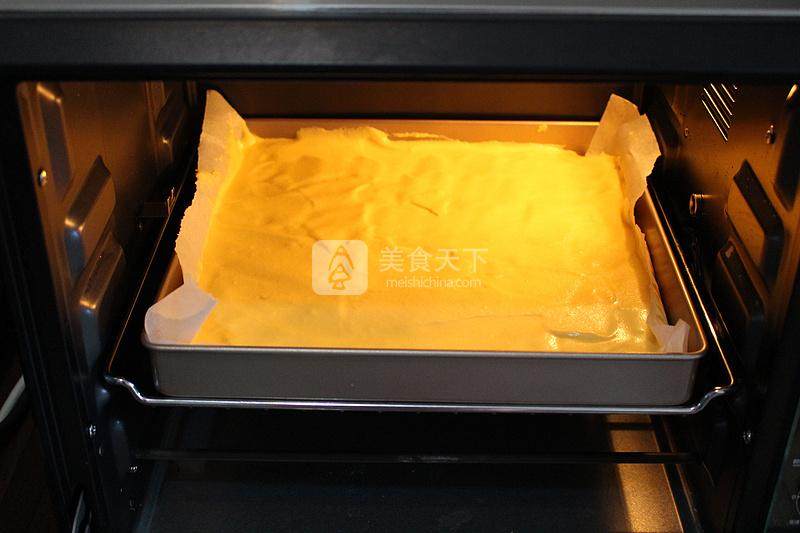
11.放入提前预热的烤箱,180度烤焙20分钟;
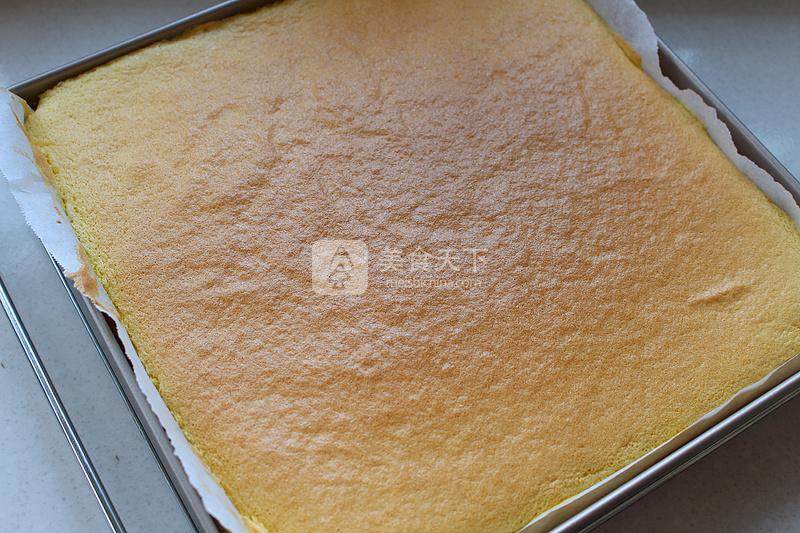
12.蛋糕出炉后,趁热撕掉油纸,放冷却架上晾凉;
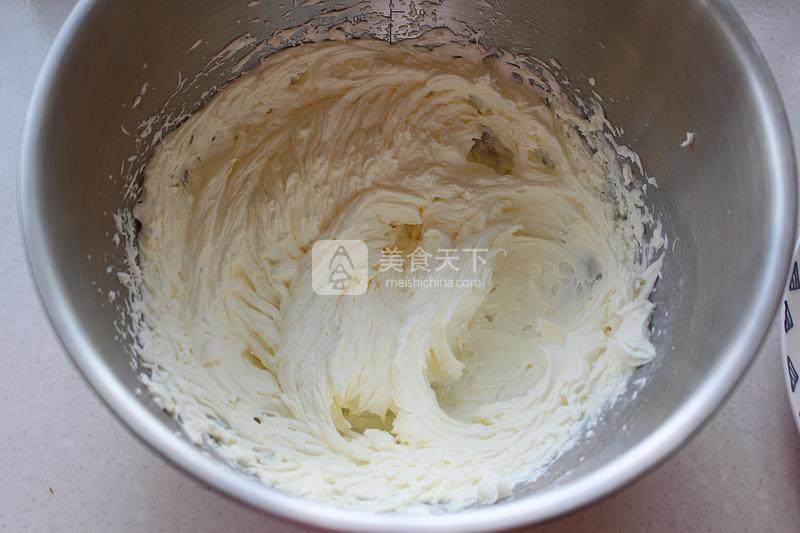
13.淡奶油中加入20g糖,打至9分发,纹路很明显,奶油很硬挺的状态;
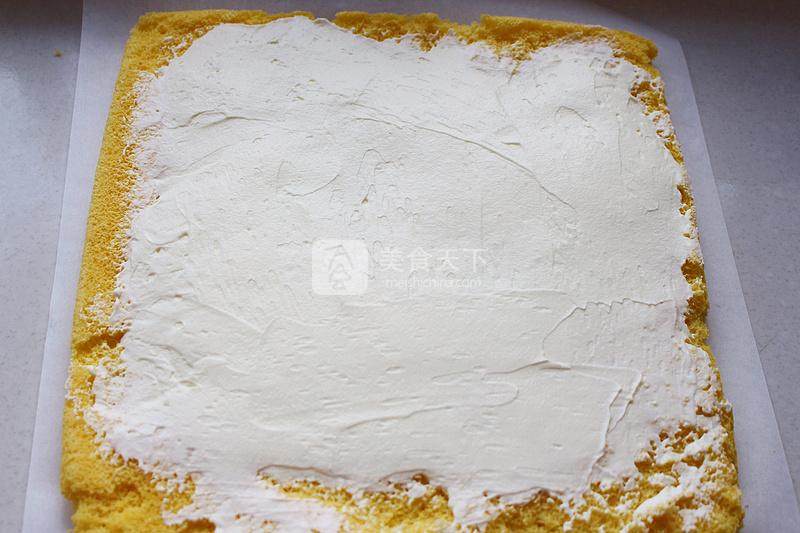
14.冷却的蛋糕片正面铺在油纸上,均匀的涂抹上淡奶油,奶油中间抹厚一些,上下两边抹薄一些;
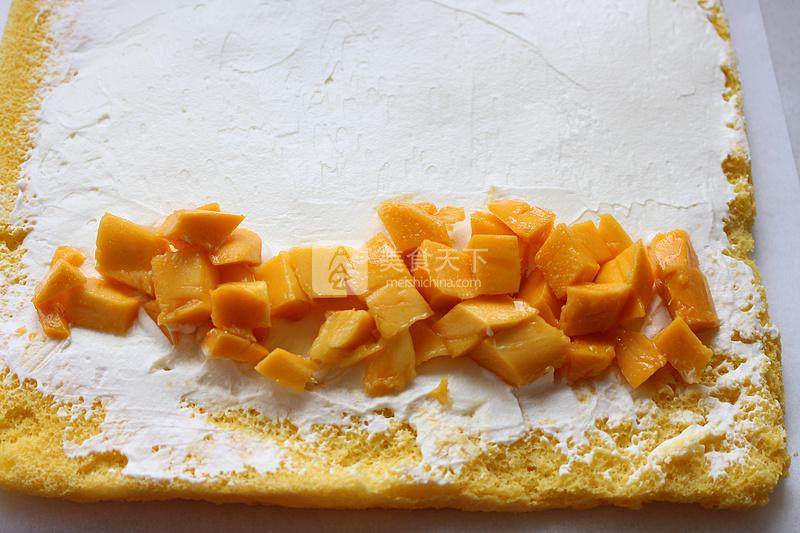
15.铺上适量的芒果肉;
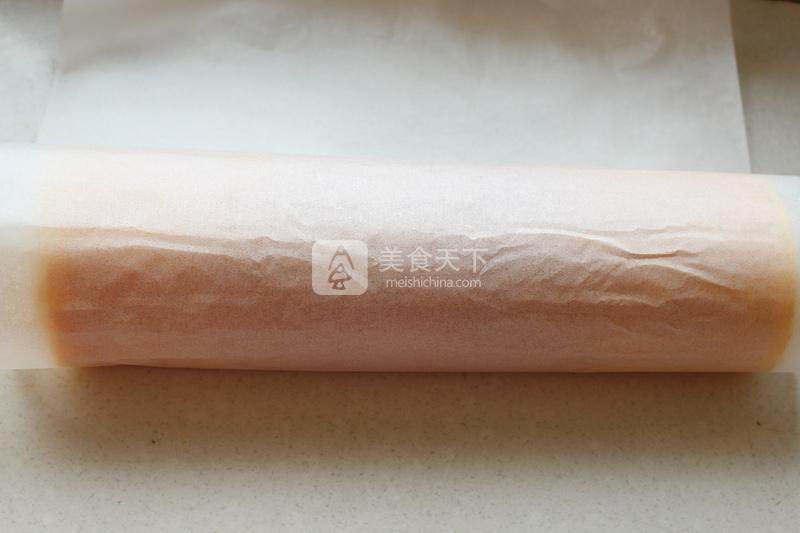
16.用擀面杖辅助卷起,放冰箱冷藏一个小时定型;
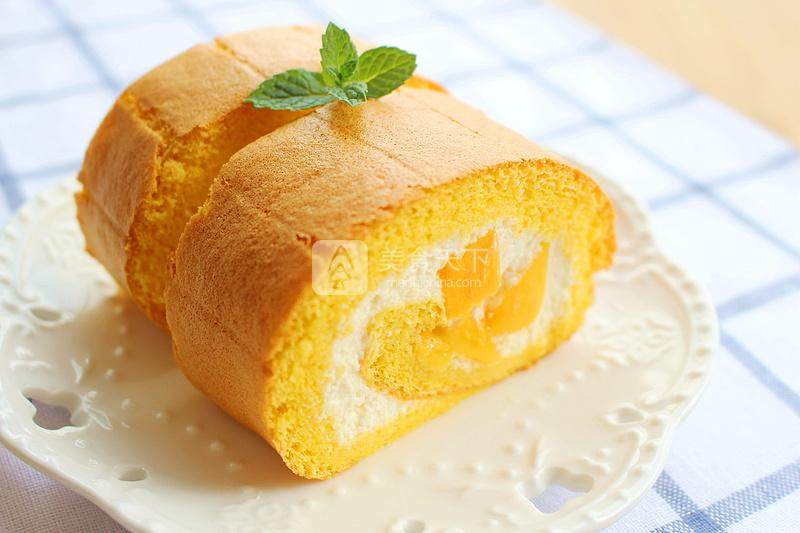
17.切片食用~
小窍门&温馨提示
1、涂抹奶奶油的时候中间抹厚一些,上下两边抹薄一些,卷起的卷卷就不会有多余的奶油漏出来~
2、烤箱温度按个人烤箱脾气做适当调整哈~
TAGS:
烘焙 其他菜系 土鸡蛋
免责声明:本站部分文章转载自网络,图文仅供行业学习交流使用,不做任何商业用途。文章仅代表原作者个人观点,其原创性及文章内容中图文的真实性、完整性等未经本站核实,仅供读者参考。
上一篇: 时蔬方便面
下一篇: 西兰花蘑菇浓汤的做法,西兰花蘑菇浓汤怎么做,西兰花蘑菇浓汤做法,西兰花蘑菇浓汤什么颜色,西兰花蘑菇浓汤图片,西兰花蘑菇浓汤口感介绍
Deprecated: mysql_connect(): The mysql extension is deprecated and will be removed in the future: use mysqli or PDO instead in
/data/haozs.cc/xianguan.php on line
5
Deprecated: mysql_query(): The mysql extension is deprecated and will be removed in the future: use mysqli or PDO instead in
/data/haozs.cc/xianguan.php on line
7