主料:
咸蛋黄,
2个,
锅巴,
1块
辅料:
食用油适量蟹黄锅巴的做法步骤
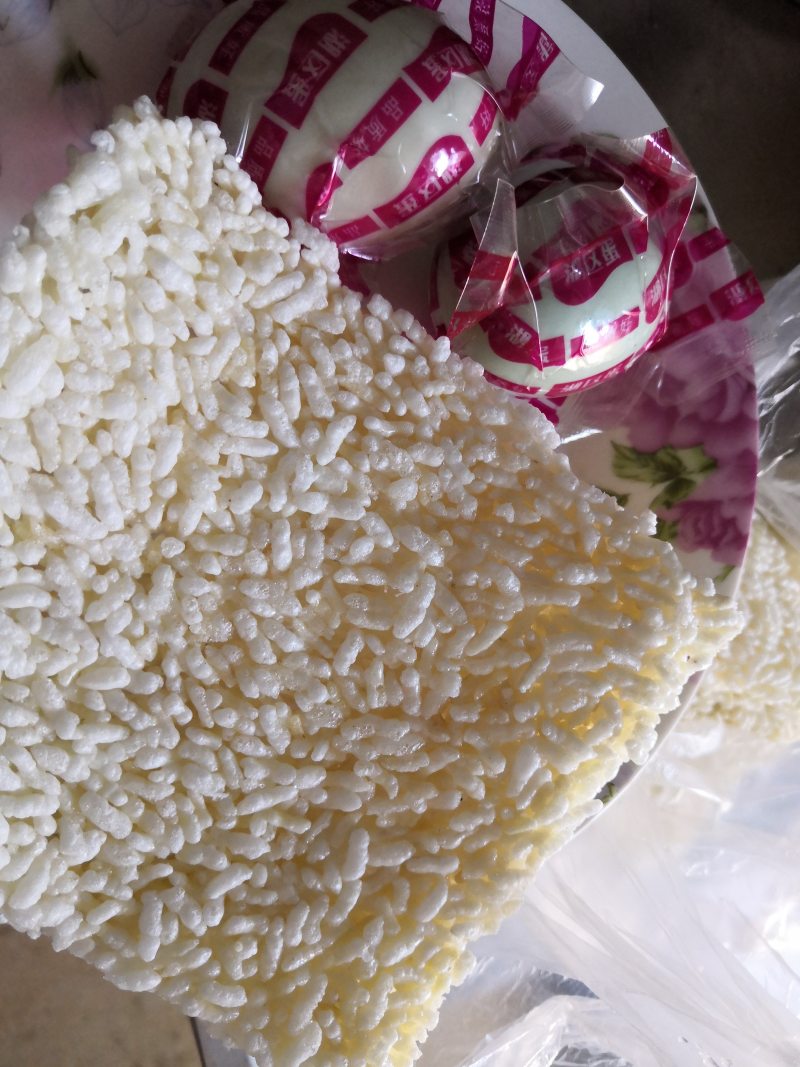
1.两咸鸭蛋和一块米锅巴。
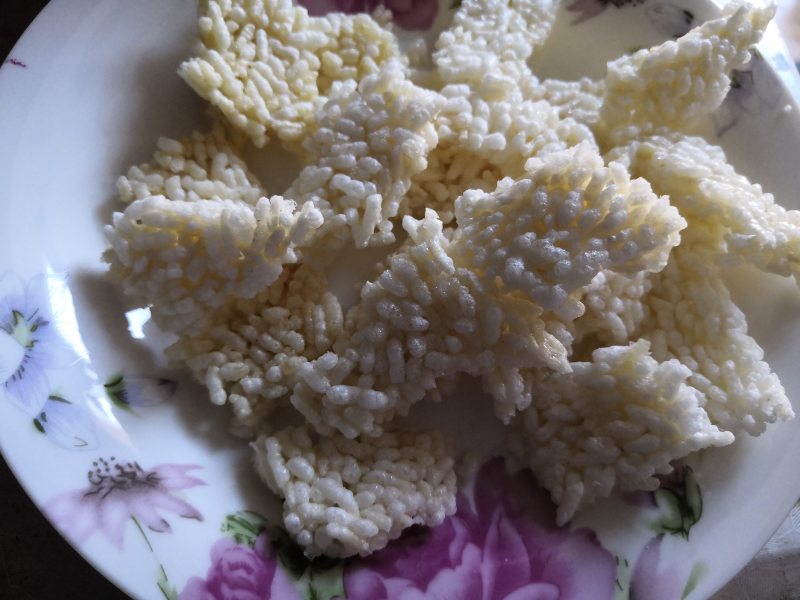
2.把锅巴掰成小块待用。
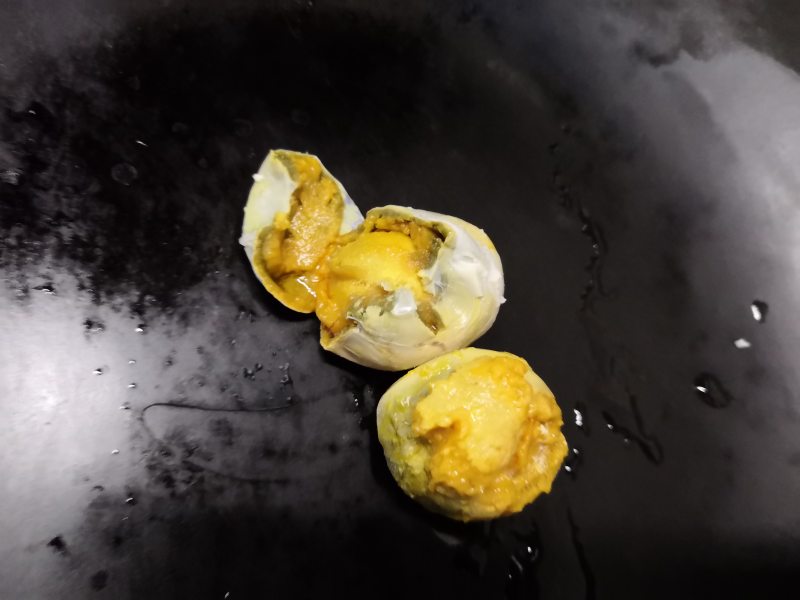
3.咸鸭蛋去掉蛋白。
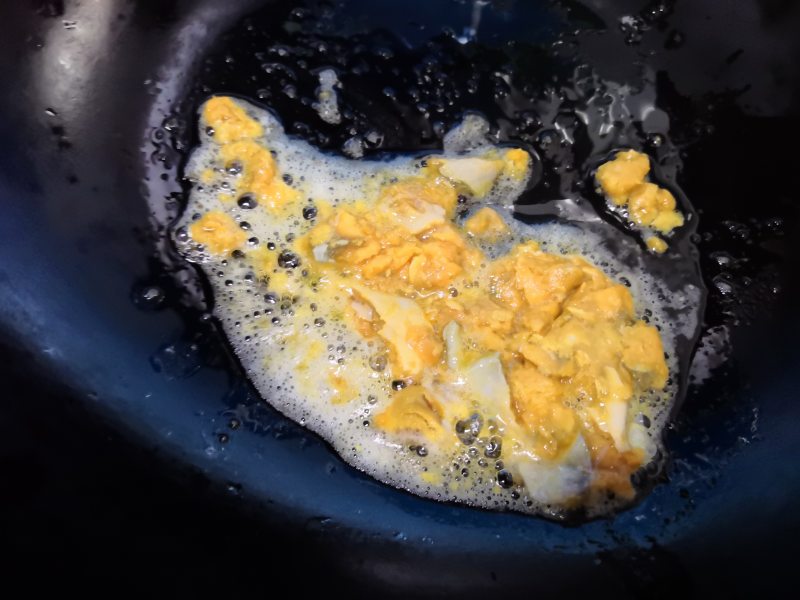
4.锅里给少许油,用锅铲把咸蛋黄压碎。
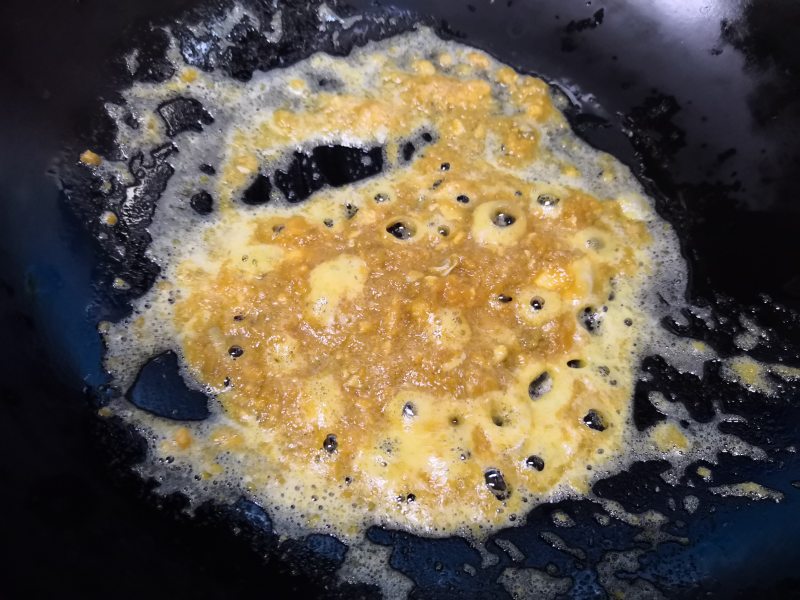
5.转小火不停的翻炒(如图所示)
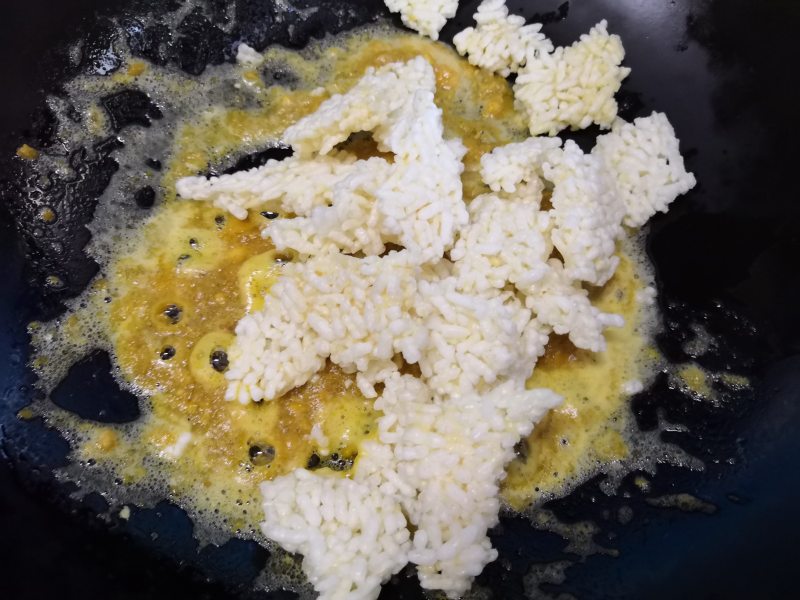
6.倒入锅巴。
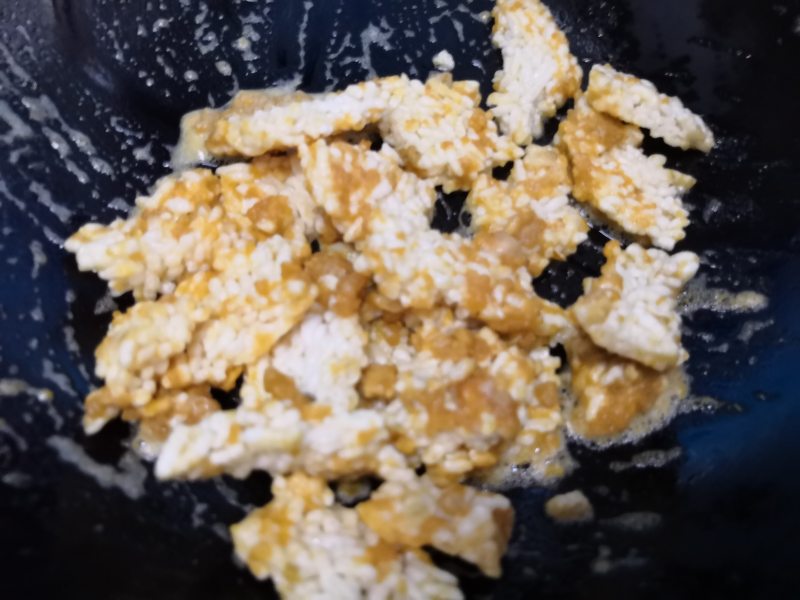
7.快速的翻炒均匀(让锅巴上裹上一层蛋黄)
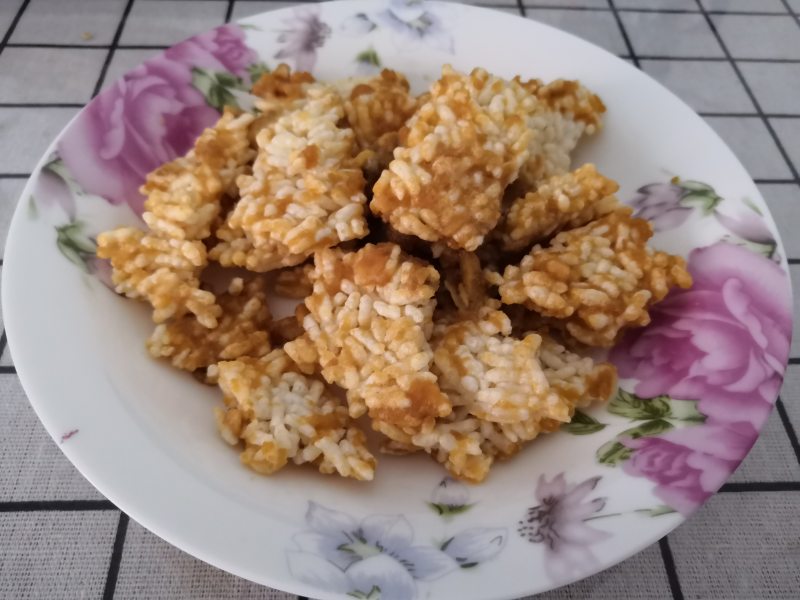
8.出锅装盘。
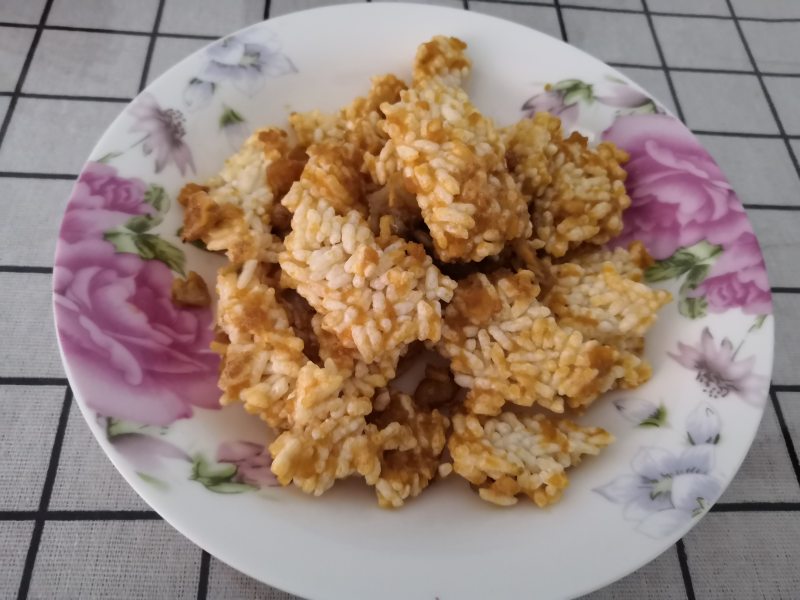
9.成品欣赏。
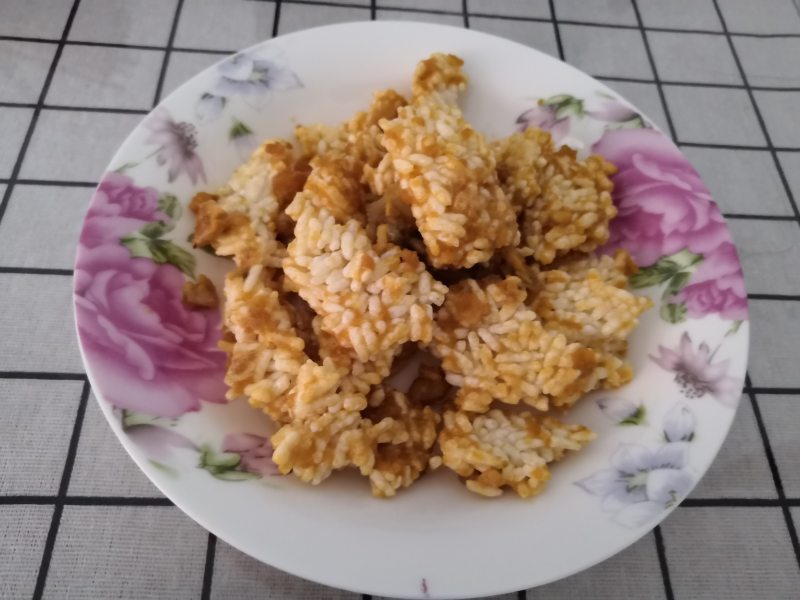
10.成品欣赏。
小窍门&温馨提示
用小火炒咸蛋黄。
TAGS:
小吃 家常菜 下午茶 咸蛋黄
免责声明:本站部分文章转载自网络,图文仅供行业学习交流使用,不做任何商业用途。文章仅代表原作者个人观点,其原创性及文章内容中图文的真实性、完整性等未经本站核实,仅供读者参考。
上一篇: 炒面的做法,炒面怎么做,炒面怎么做最好吃又简单,炒面的做法,炒面粉的功效与作用,炒面粉
下一篇: 蛋黄酥的做法,蛋黄酥怎么做,蛋黄酥的制作方法,蛋黄酥保质期一般是多久,蛋黄酥哪个牌子的好吃,蛋黄酥图片
Deprecated: mysql_connect(): The mysql extension is deprecated and will be removed in the future: use mysqli or PDO instead in
/data/haozs.cc/xianguan.php on line
5
Deprecated: mysql_query(): The mysql extension is deprecated and will be removed in the future: use mysqli or PDO instead in
/data/haozs.cc/xianguan.php on line
7


