主料:
小米,
50克,
蛋白,
4个,
蛋黄,
2个
辅料:
色拉油,
40克,
糖,
50克小米糕的做法步骤
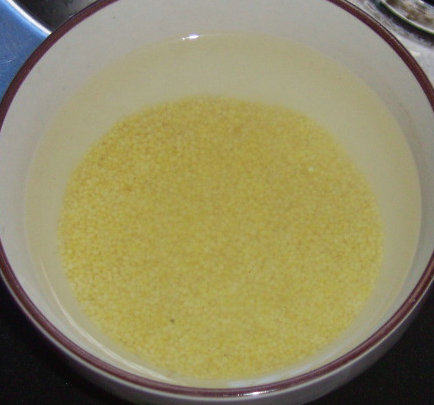
1.小米洗净浸泡24小时。
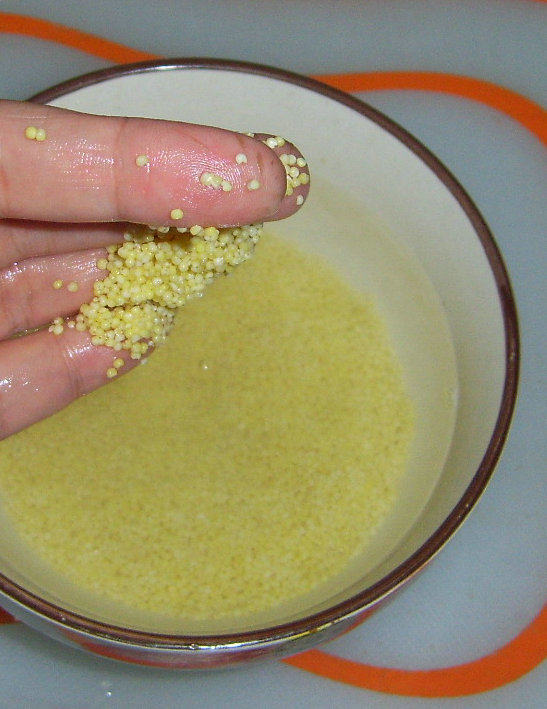
2.用手指能把米粒碾开。
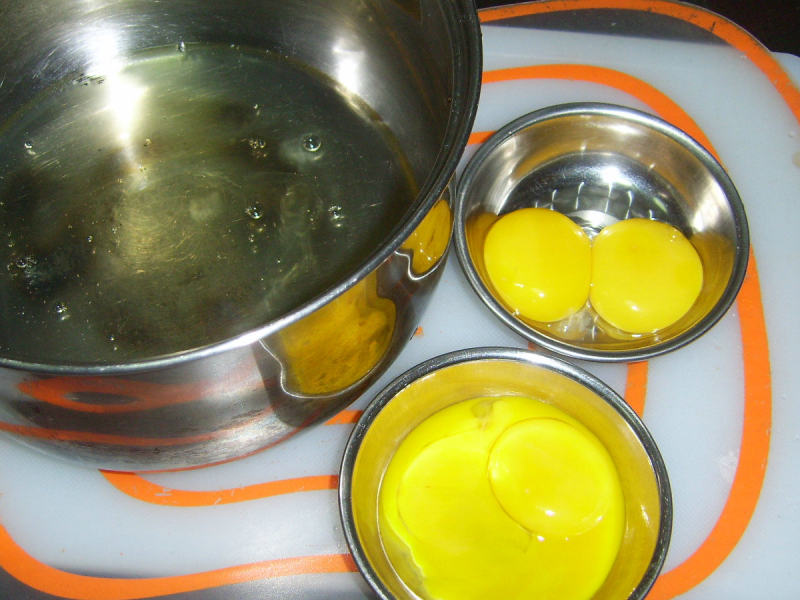
3.分离蛋白和蛋黄备用。
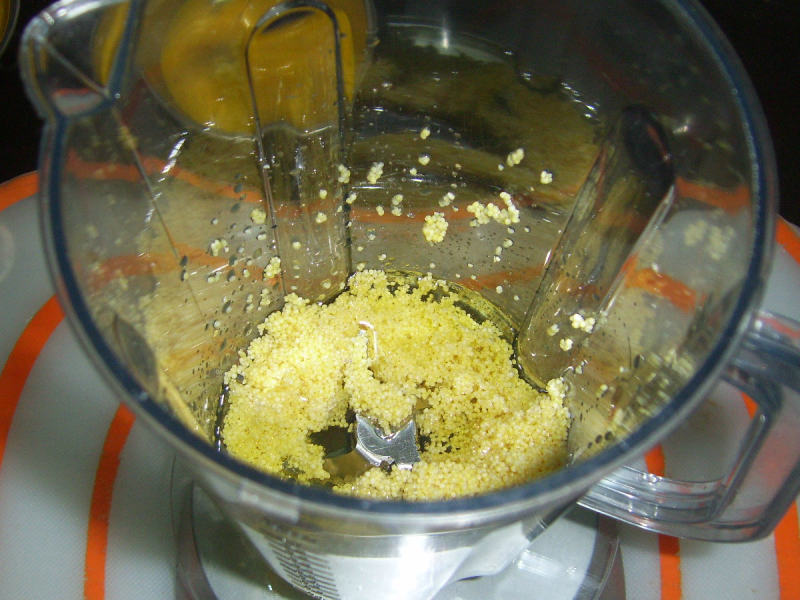
4.小米控干水份,入料理机,入油先略打一下。
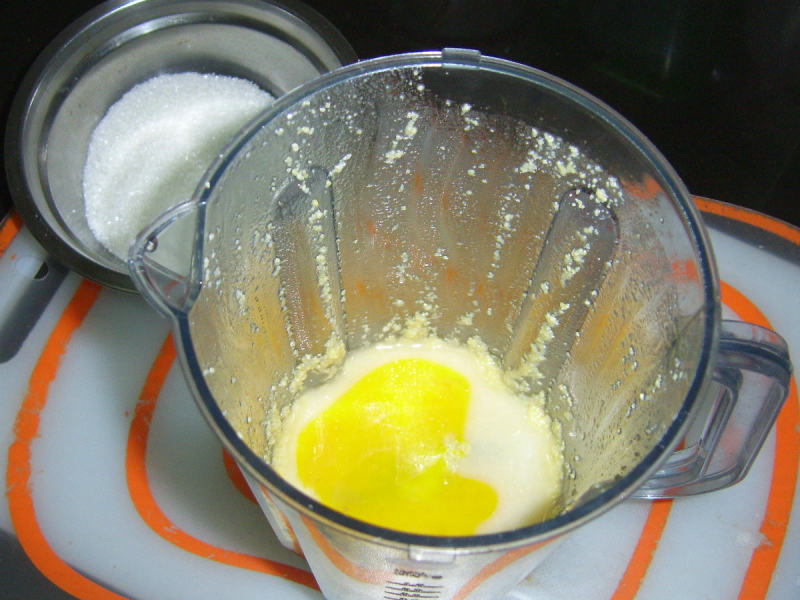
5.再加入两个蛋黄,打至小米成米浆。
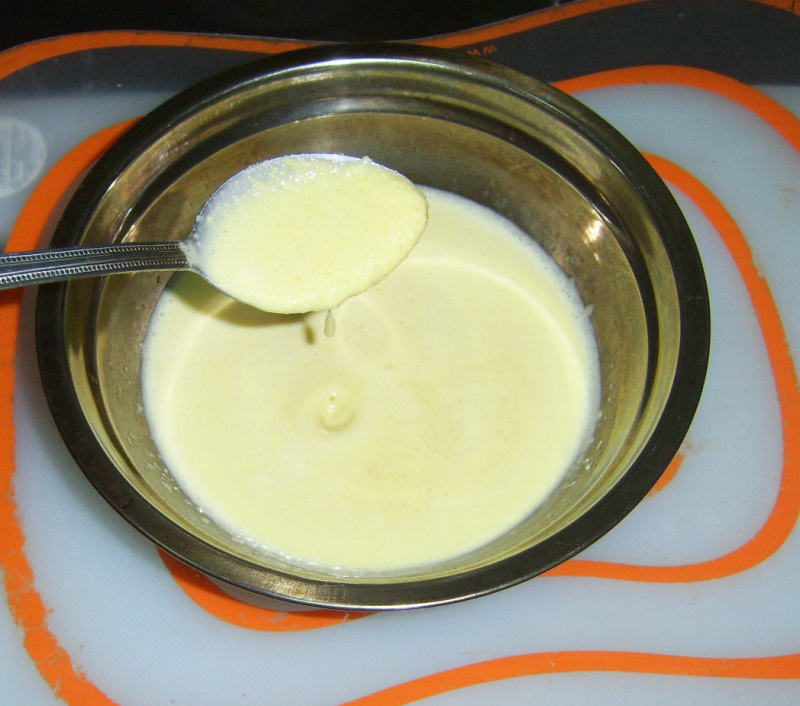
6.这是打好的米浆(看着好像挺浆了,可是后来糕做出来后,还是发现有小米粒,应该还要多打一下)。
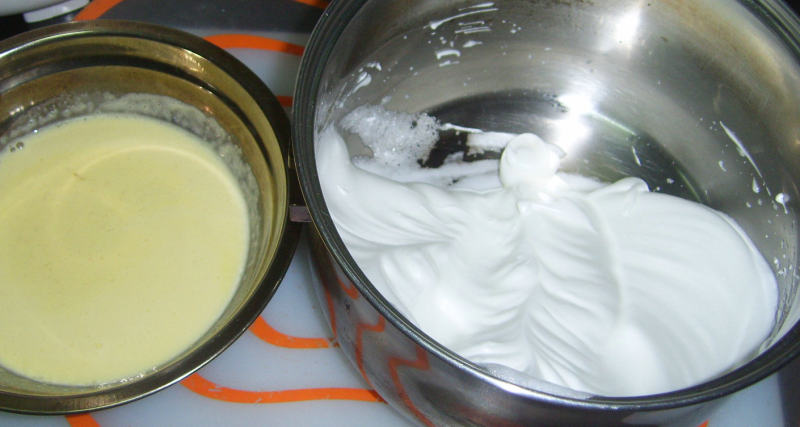
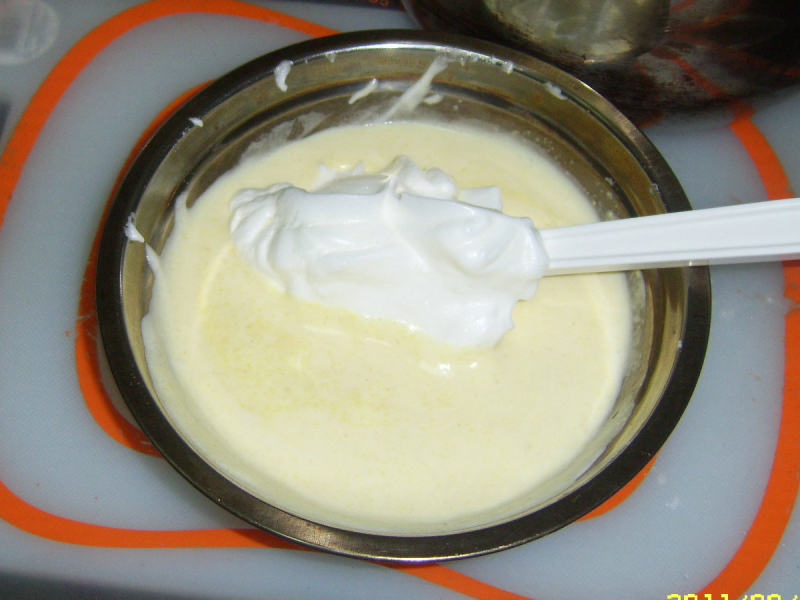
7.4个蛋白分次加入全部的糖打至湿性发泡。
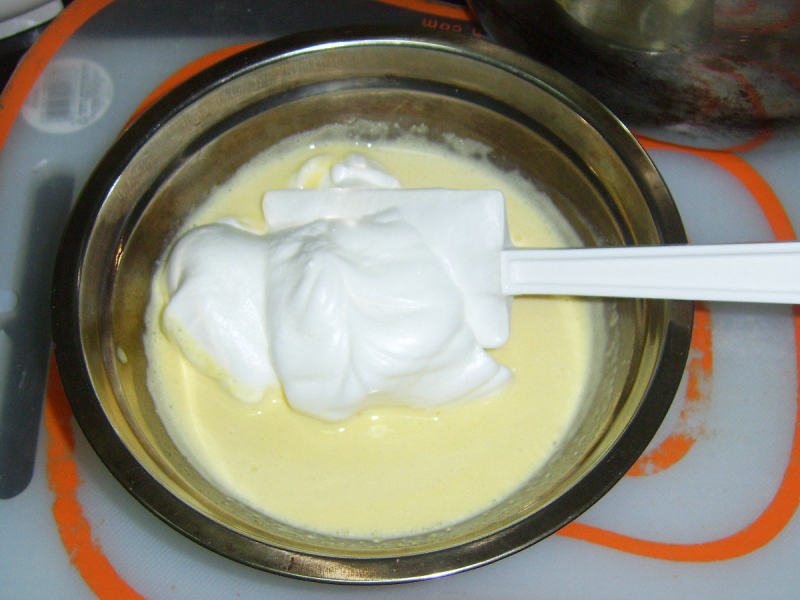
8.挖1/3打好的蛋白入小米浆。
9.上下翻拌均匀后,再挖1/3打好的蛋白入内,再次翻拌均匀。
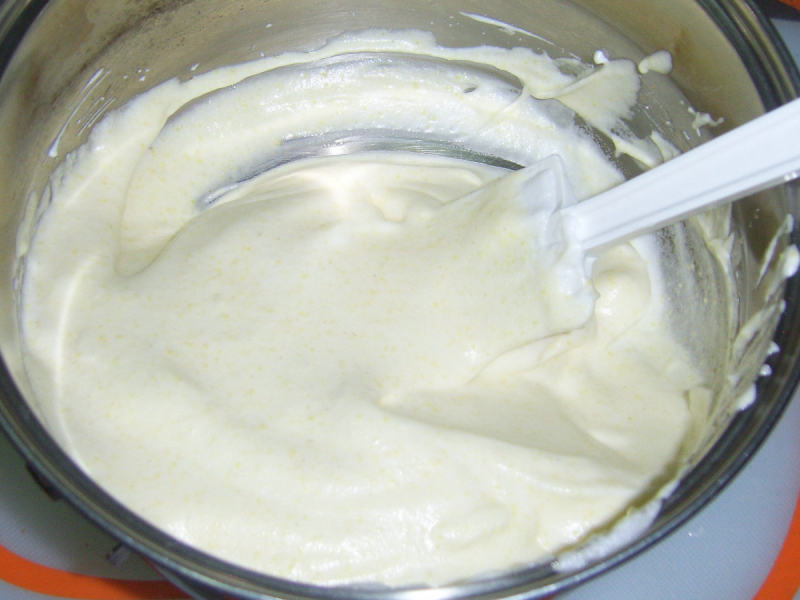
10.倒回蛋白盆中,上下翻拌均匀。

11.倒入已铺油纸的电饭锅内、抹平表面,震出大气泡插电。
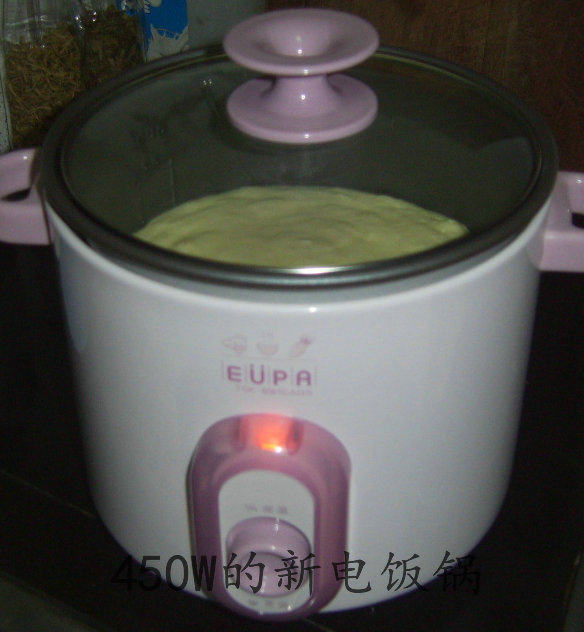
12.450W的锅,按‘煮饭’键跳过‘保温’键后保温约半小时,再次按‘煮饭’键等跳过‘保温’后保温约25分钟。
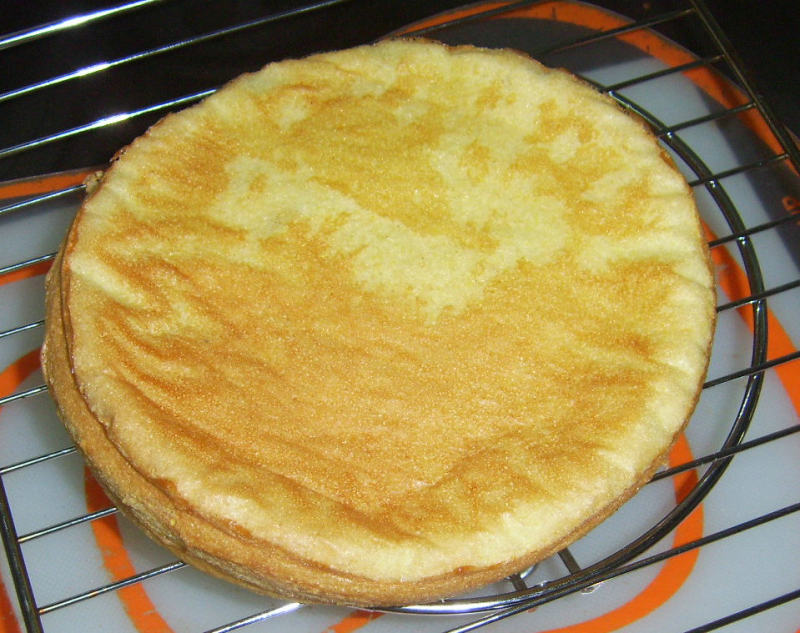
13.揭油纸时不够小心,粘掉了一块皮~~ 但是还是很漂醇啊。
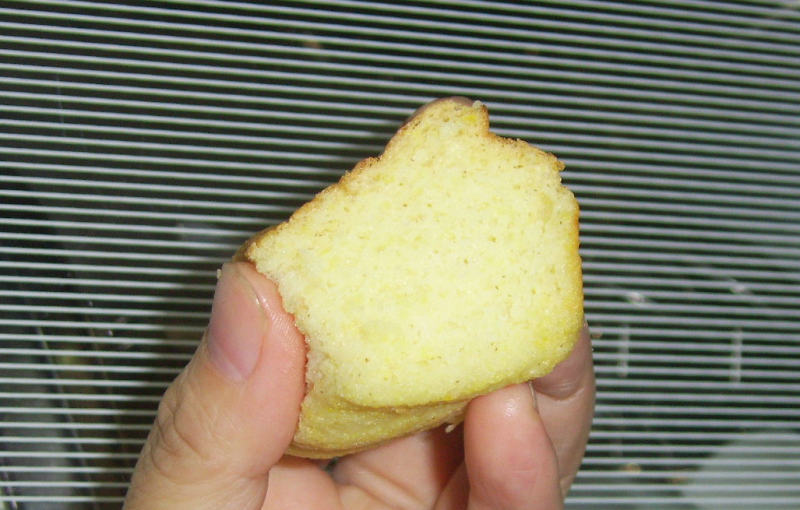
14.看内在—— 这糕就俩字:轻盈,一直抖啊抖啊抖。
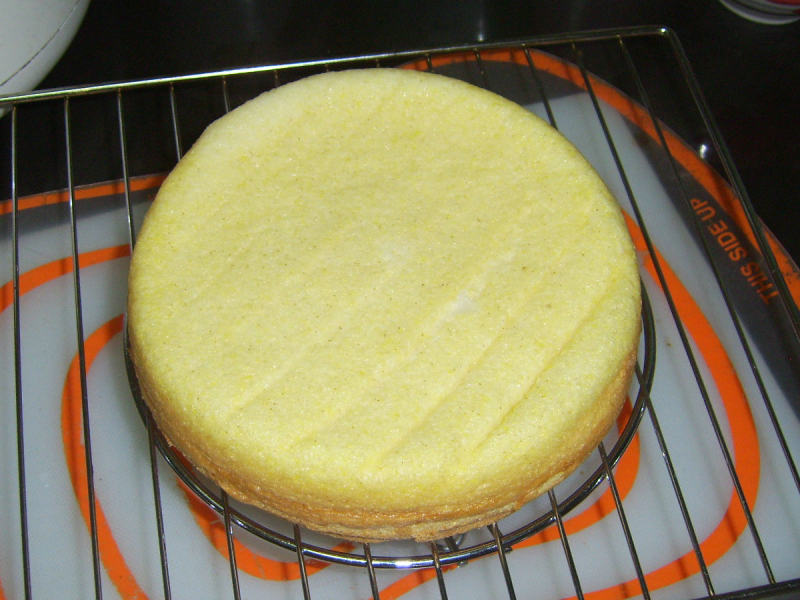
15.电饭锅蛋糕难免面上有水蒸气,找到一个好办法:蛋糕倒扣出锅后,再翻转一面扣回锅内,利用锅内的余温捂五分钟左右,此时蛋糕堪称完美!
TAGS:
糕点 其他菜系 小米
免责声明:本站部分文章转载自网络,图文仅供行业学习交流使用,不做任何商业用途。文章仅代表原作者个人观点,其原创性及文章内容中图文的真实性、完整性等未经本站核实,仅供读者参考。
上一篇: 浓浓小米粥
下一篇: 绿豆奶粥的做法,绿豆奶粥怎么做,绿豆奶粥的功效,绿豆奶粥的做法,牛奶绿豆粥,绿豆糯米奶粥
Deprecated: mysql_connect(): The mysql extension is deprecated and will be removed in the future: use mysqli or PDO instead in
/data/haozs.cc/xianguan.php on line
5
Deprecated: mysql_query(): The mysql extension is deprecated and will be removed in the future: use mysqli or PDO instead in
/data/haozs.cc/xianguan.php on line
7
