主料:
高筋面粉,
250g
辅料:
鸡蛋,
1个,
水,
55g,
牛奶,
75g,
酵母,
3g,
椰子油,
45g,
全蛋液,
20g,
椰蓉,
55g调料
盐,
2g,
细砂糖,
20g,
糖粉,
20g唇齿留香的椰蓉面包的做法步骤
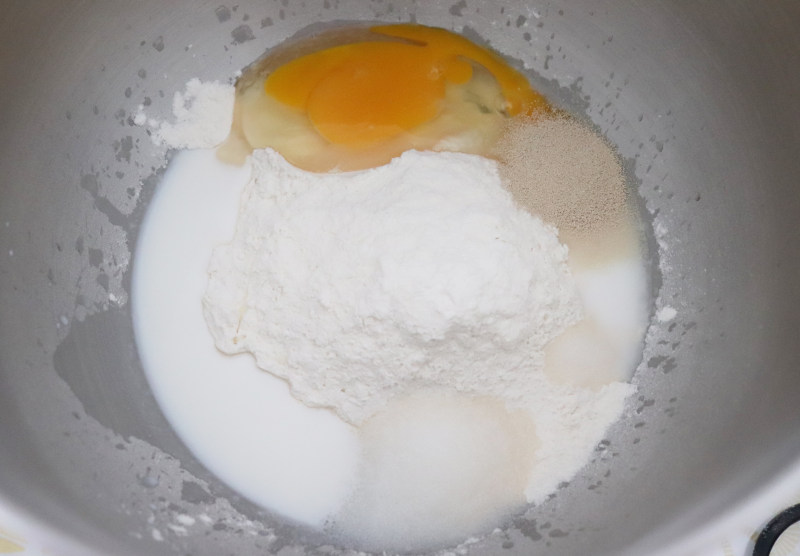
1.主面团部分除椰子油外所有材料放入厨师机。
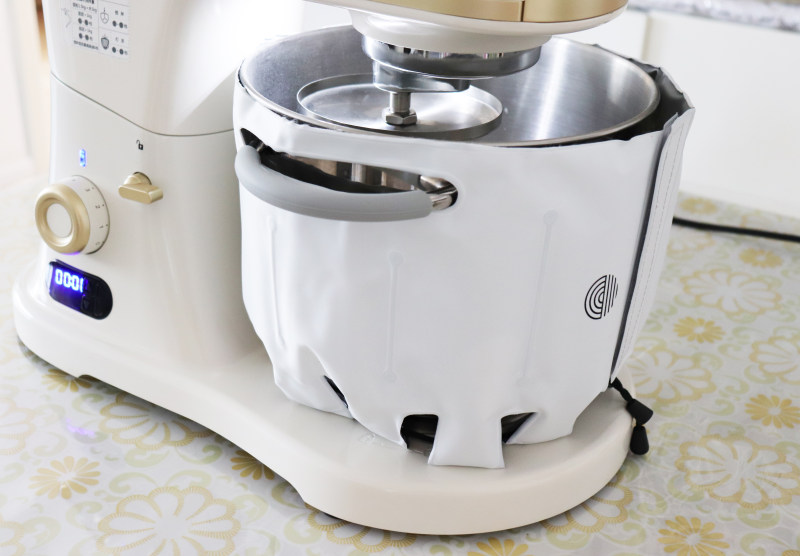
2.搅拌桶外面包上冰袋。
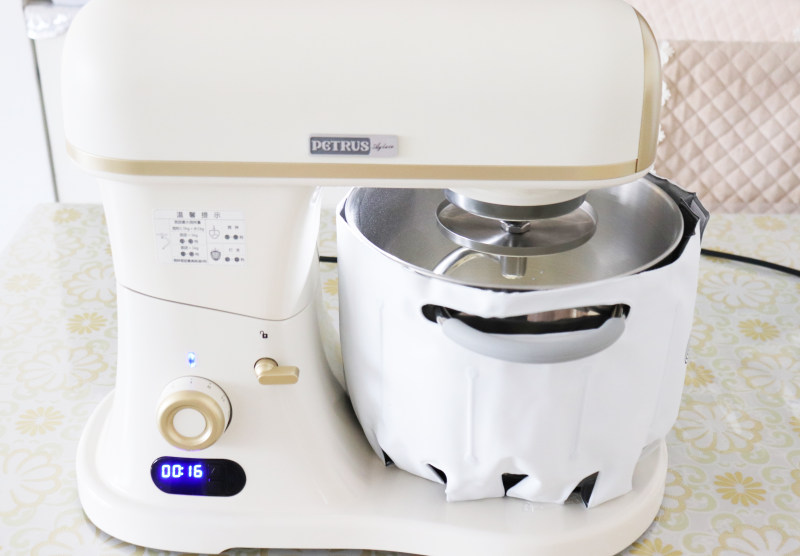
3.开始搅拌。
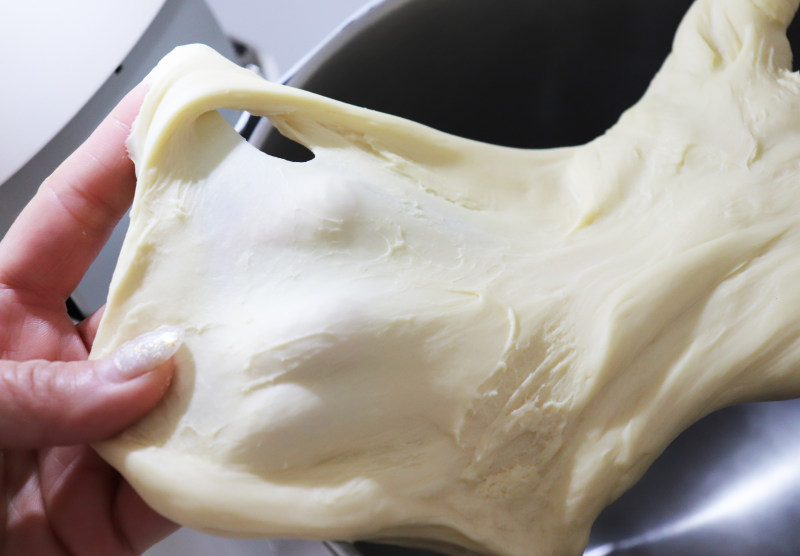
4.揉到可以抻出粗膜。
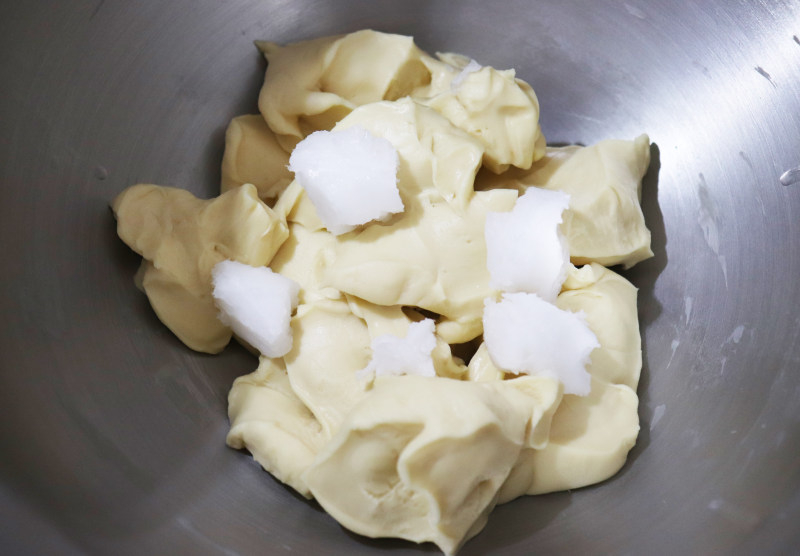
5.把面团取出剪成小块,加入椰子油。
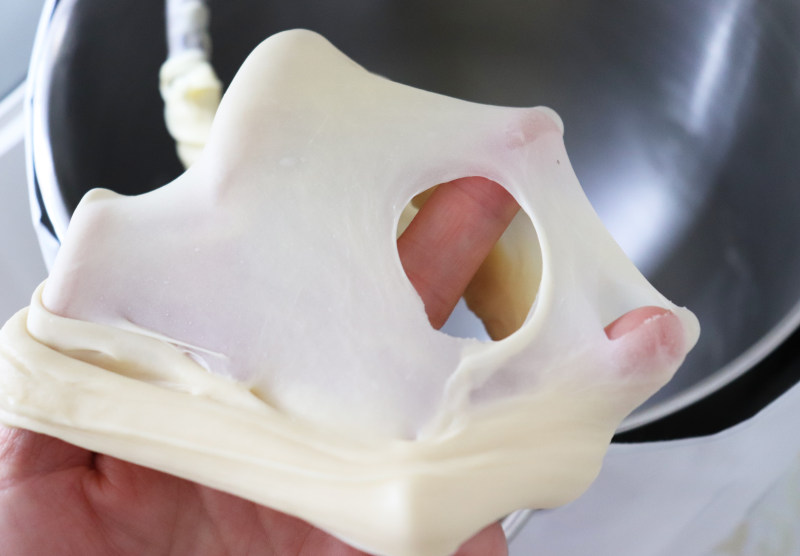
6.继续揉到可以抻出手套膜。
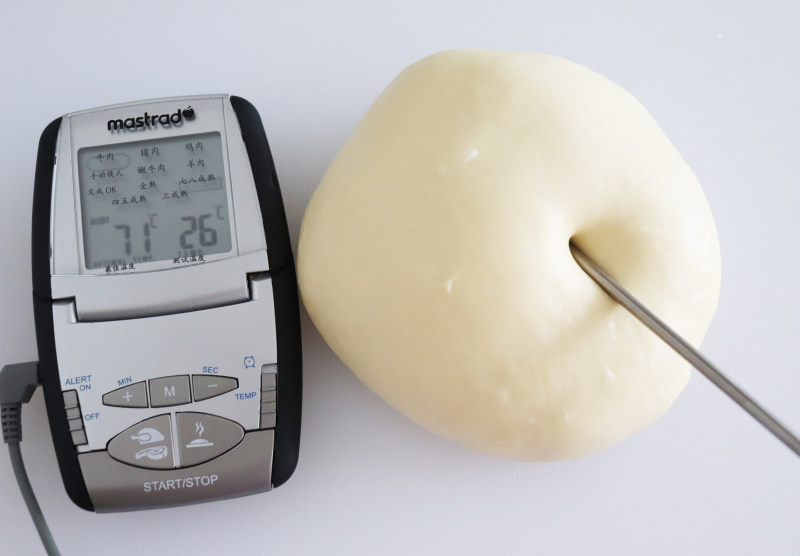
7.出缸温度26度。
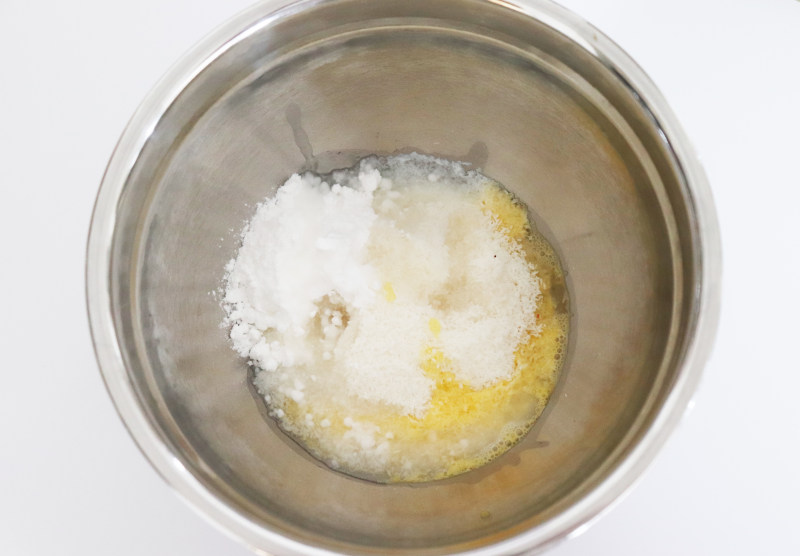
8.开始准备馅料,馅料部分所有材料放在一起。
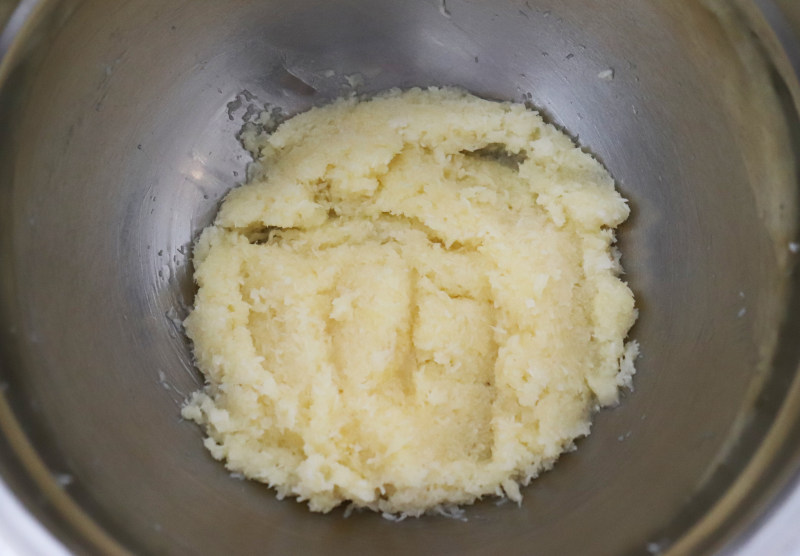
9.搅拌均匀。
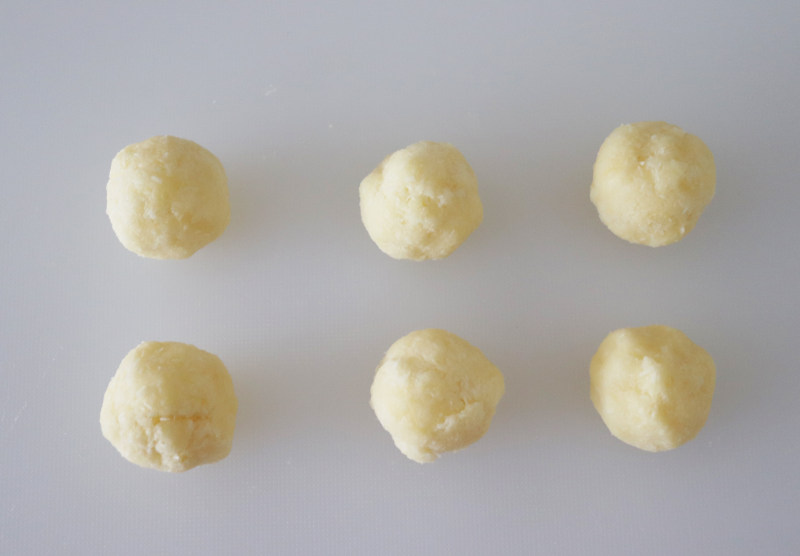
10.平均分成6份滚圆备用。
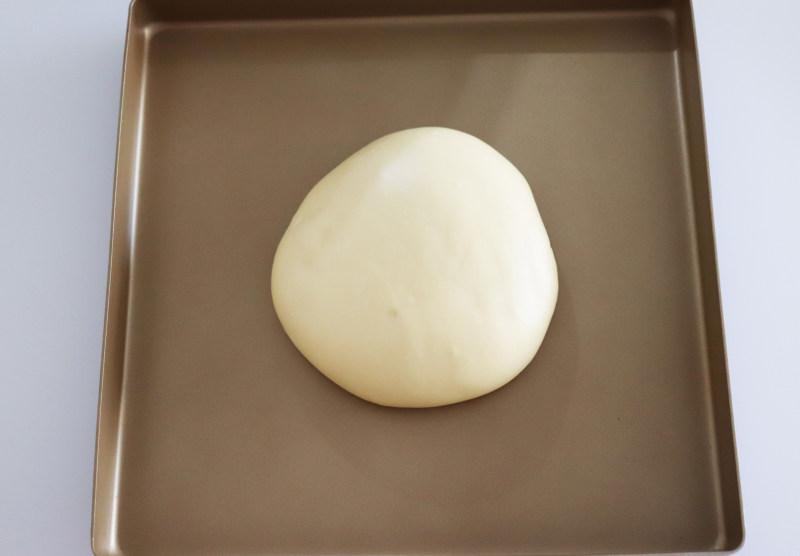
11.面团发酵至两倍大。
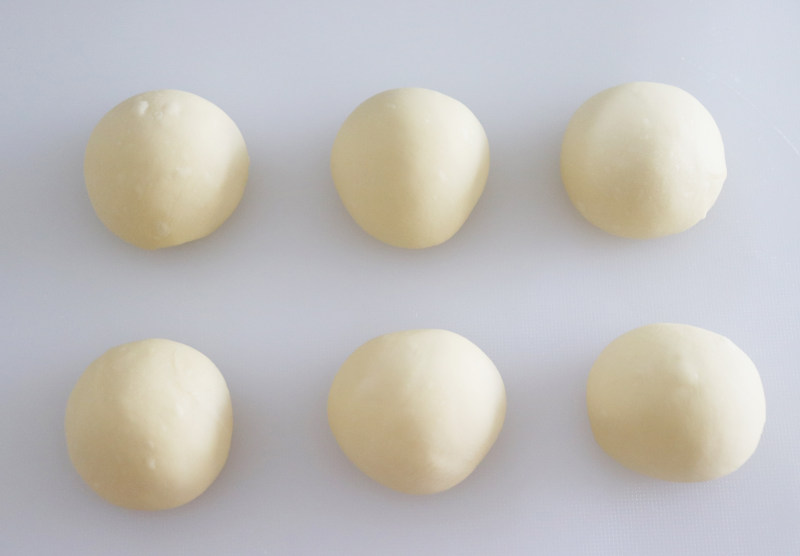
12.平均分成六份。
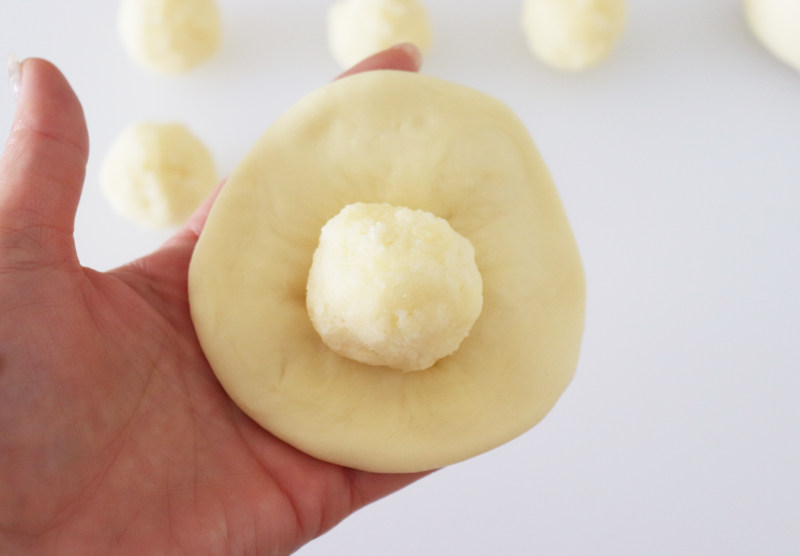
13.取其中一份压扁、擀薄,包入椰蓉馅。
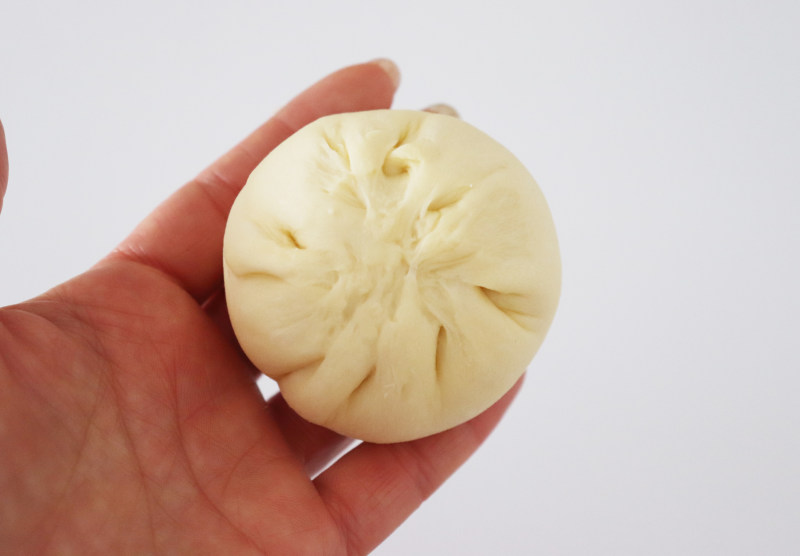
14.收口捏紧。
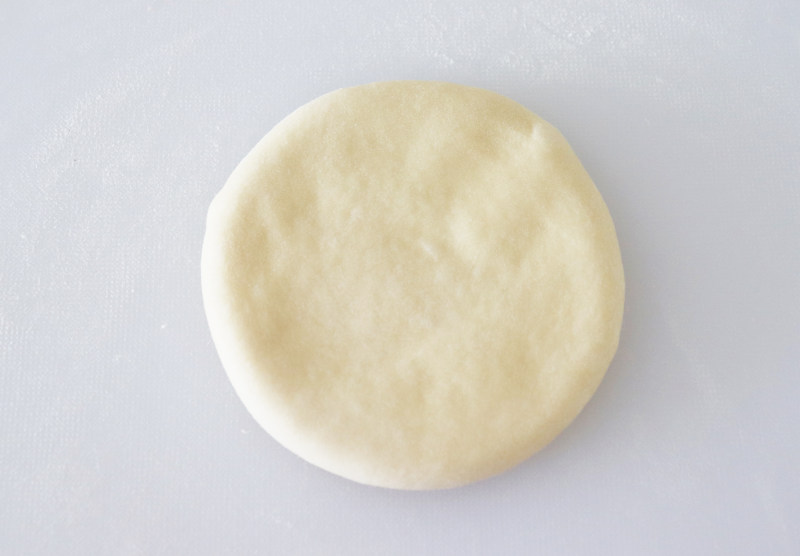
15.收口向下,压扁、擀得稍大一点。
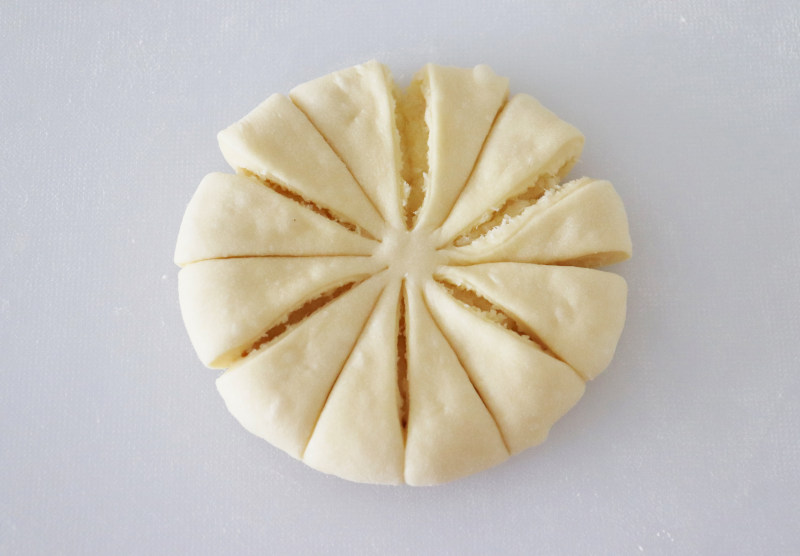
16.切花刀,分出六个花瓣。
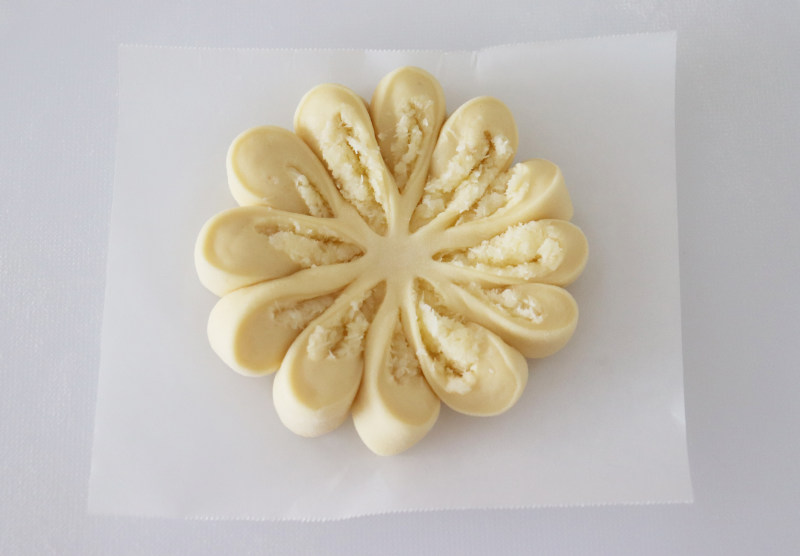
17.放在温度35度、湿度80%的环境下,发酵至两倍大。
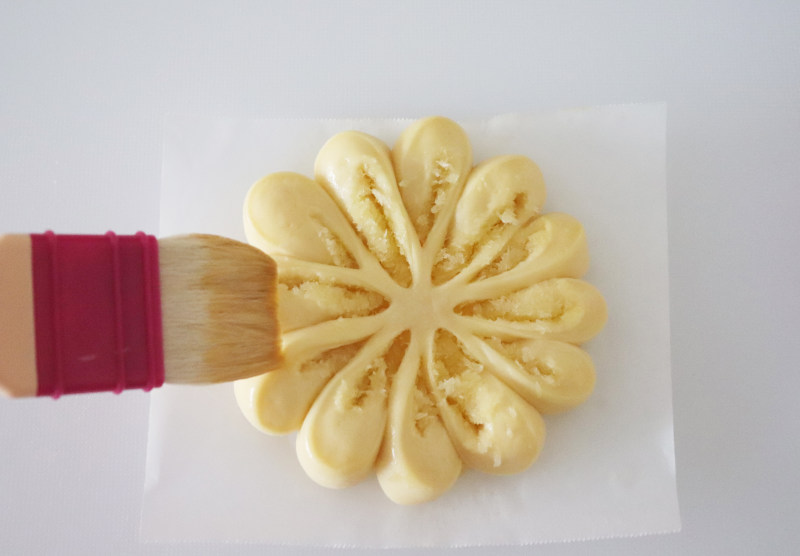
18.表面刷上全蛋液。
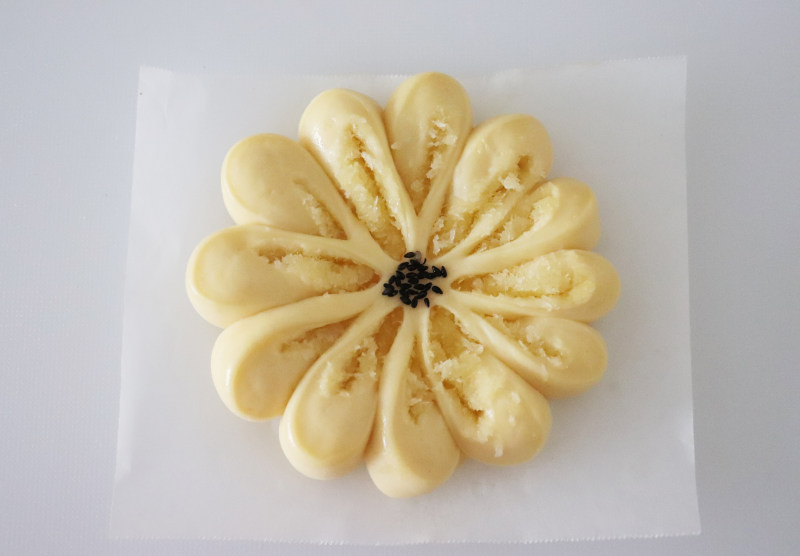
19.中间粘上黑芝麻做点缀。
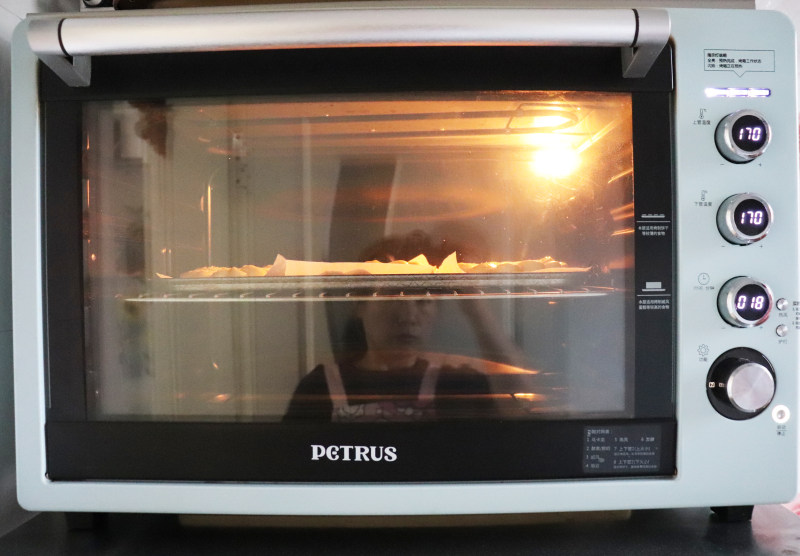
20.送入预热好的烤箱,上下火170度烤18分钟左右,烤至表面金黄出炉即可。
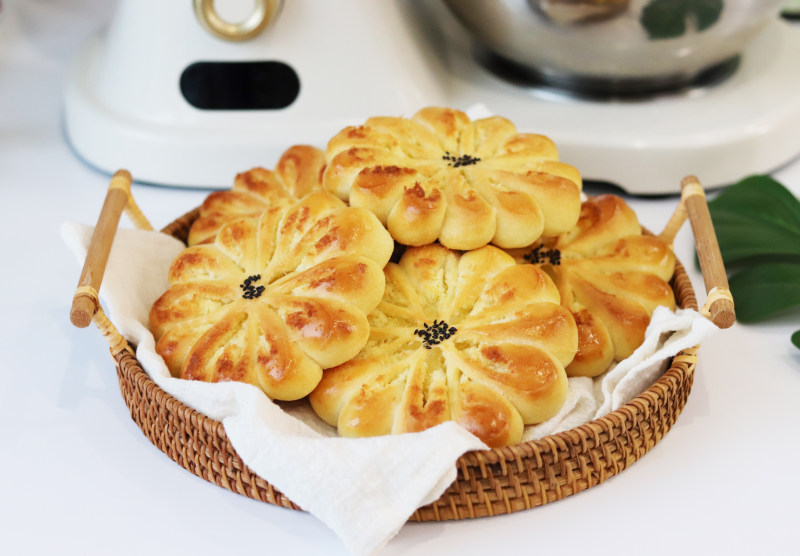
21.开吃!
小窍门&温馨提示
1、烤温和烤时仅供参考,具体按照家中的烤箱脾气决定;
2、文章出自@非儿。
TAGS:
烘焙 早餐 其他菜系 高筋面粉
免责声明:本站部分文章转载自网络,图文仅供行业学习交流使用,不做任何商业用途。文章仅代表原作者个人观点,其原创性及文章内容中图文的真实性、完整性等未经本站核实,仅供读者参考。
上一篇: 红豆沙蛋黄馅月饼的做法,红豆沙蛋黄馅月饼怎么做,红豆沙蛋黄馅月饼的做法,红豆沙蛋黄馅月饼怎么做,红豆沙蛋黄月饼的做法,红豆沙蛋黄月饼热量
下一篇: 五香花生的做法,五香花生怎么做,五香花生米的正确做法,五香花生米的做法 水煮,五香花生的做法和配料,五香花生带壳怎么煮
Deprecated: mysql_connect(): The mysql extension is deprecated and will be removed in the future: use mysqli or PDO instead in
/data/haozs.cc/xianguan.php on line
5
Deprecated: mysql_query(): The mysql extension is deprecated and will be removed in the future: use mysqli or PDO instead in
/data/haozs.cc/xianguan.php on line
7


