主料:
低筋面粉,
75g,
凤梨,
1/2个
辅料:
鸡蛋,
4个,
牛奶,
65g,
玉米油,
45g,
可可粉,
10g,
细砂糖,
120g,
淡奶油,
300g,
黄色素,
几滴凤梨蛋糕的做法步骤
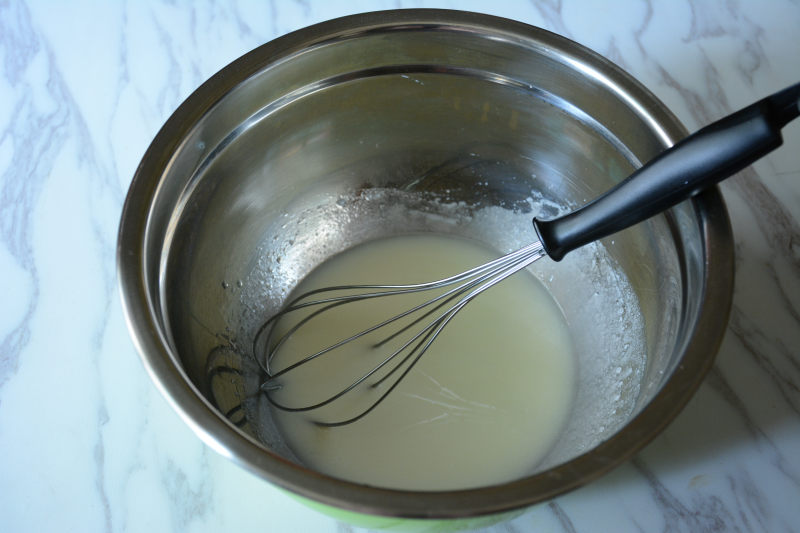
1.先将20g细砂糖加入牛奶中搅动直至细砂糖完全融化,再加入玉米油继续搅动混合均匀。
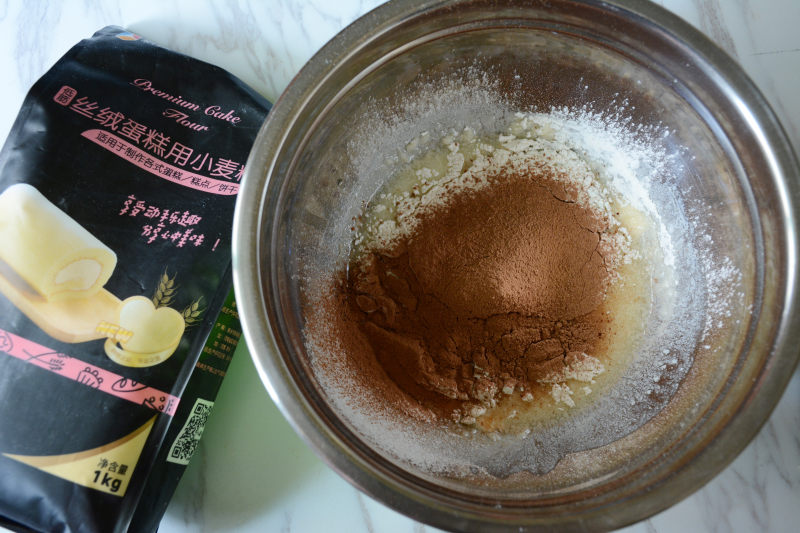
2.低筋面粉和可可粉过筛加入。
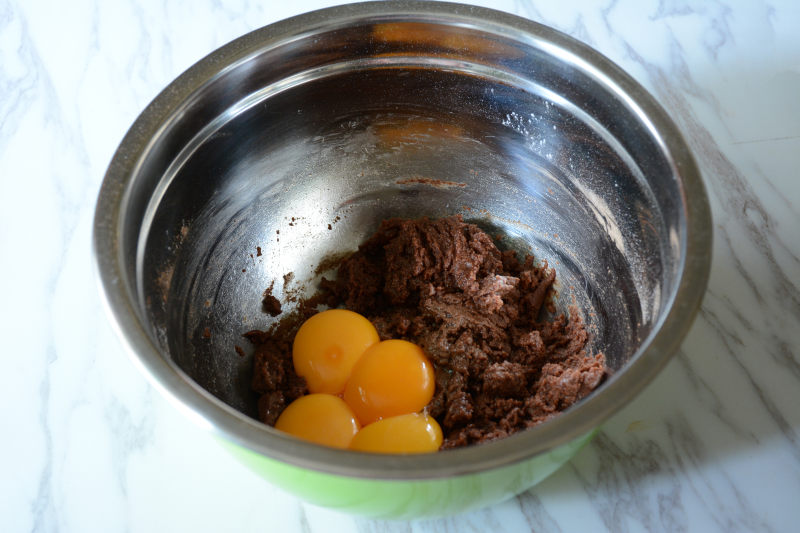
3.将面粉糊混合均匀,加入蛋黄继续混合均匀。
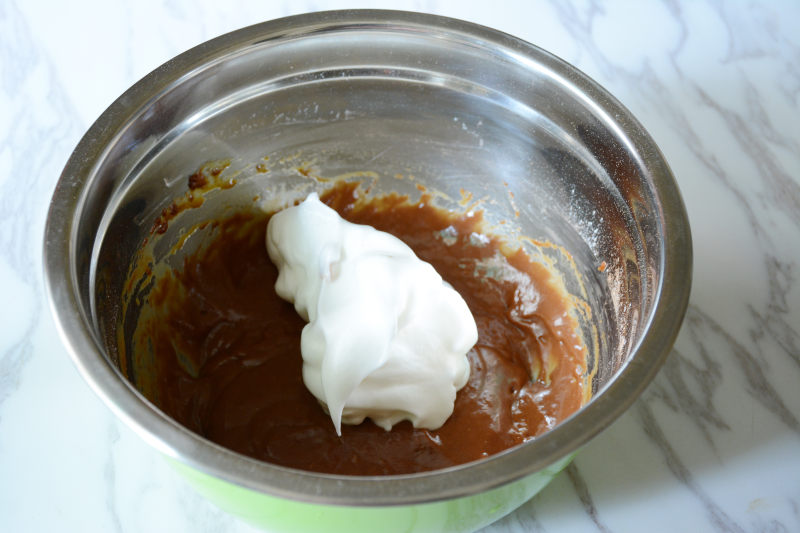
4.接着将30g细砂糖分三次加入蛋清中,打发至提起牛角尖即可。取三分之一加入蛋黄糊中,翻拌均匀。
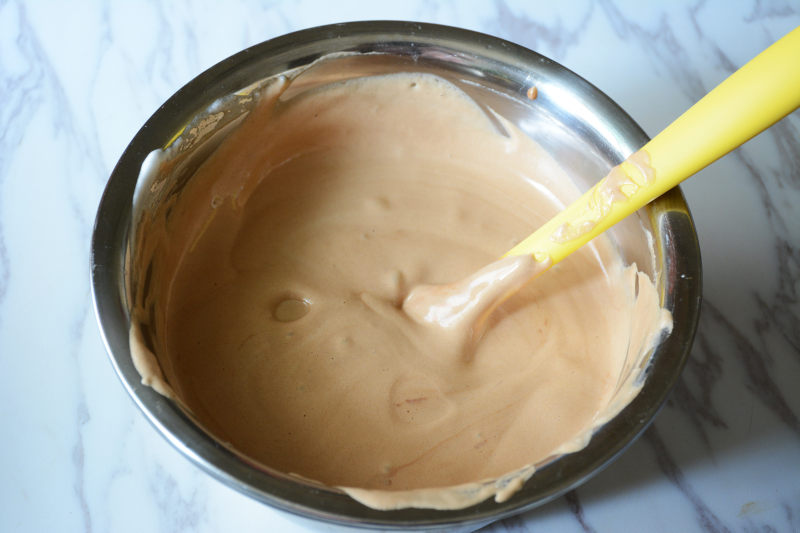
5.将翻拌均匀的蛋黄糊倒入剩下的蛋白中继续翻拌均匀。
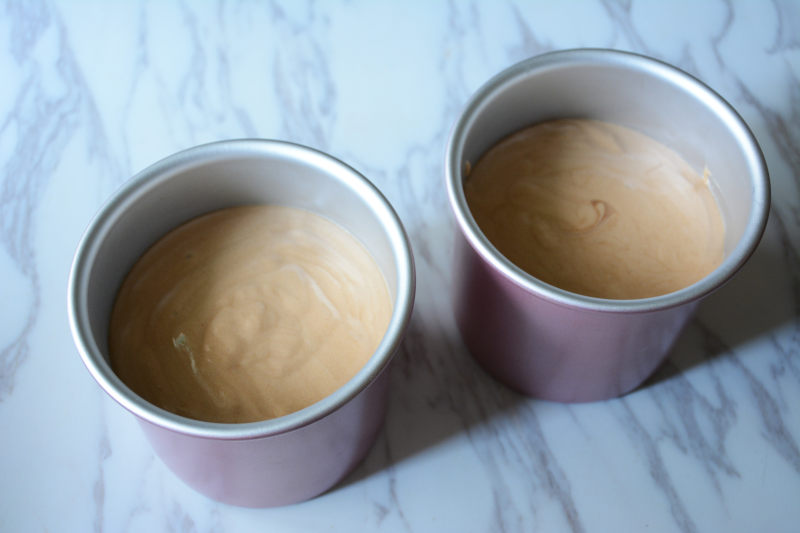
6.将翻拌均匀的蛋糕糊倒入模具中。
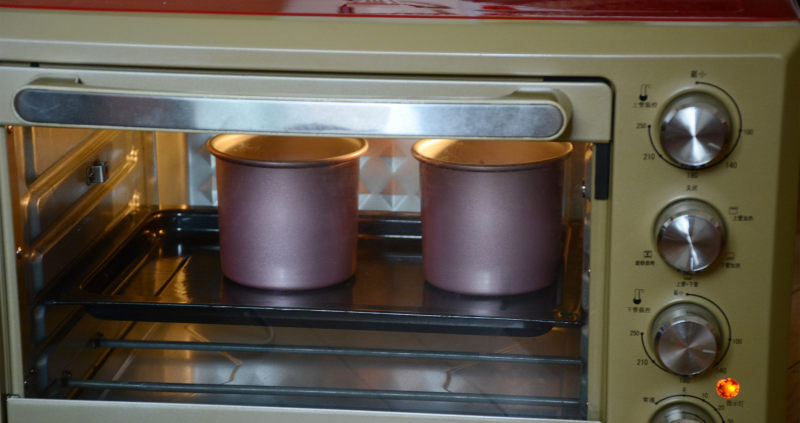
7.烤箱预热160度烤50分钟。
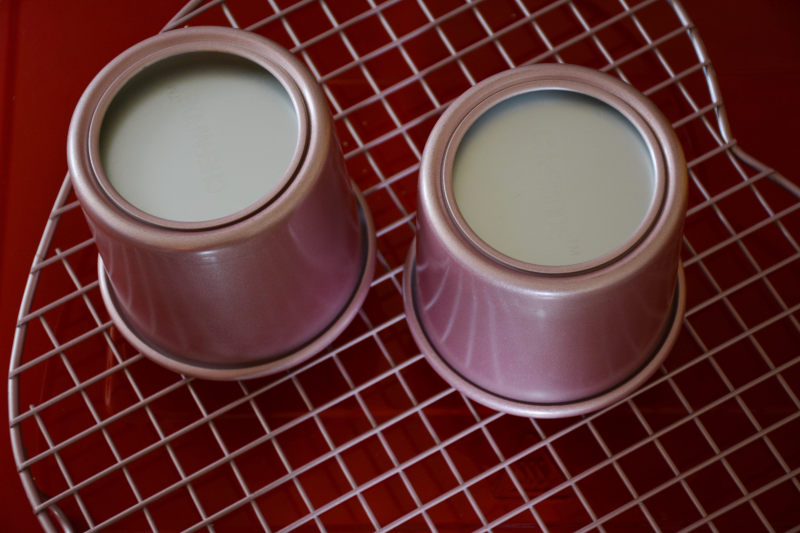
8.烤好之后将蛋糕模具倒扣放凉脱模。
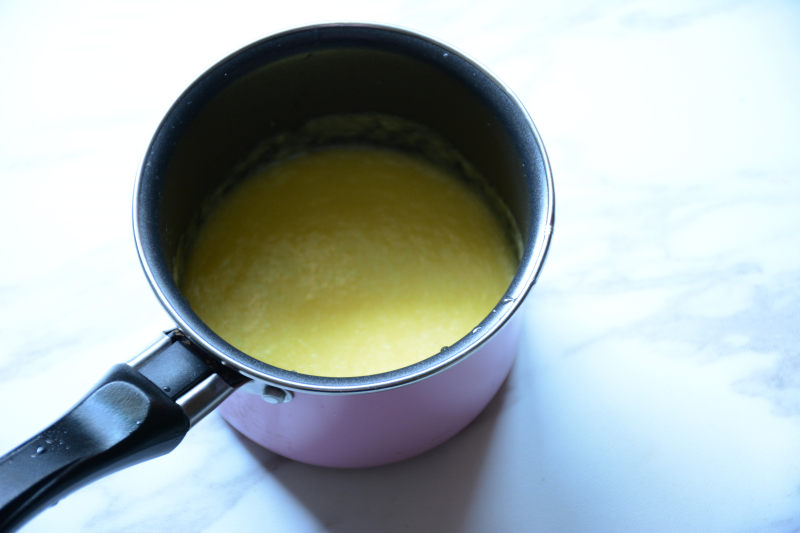
9.凤梨切薄片榨汁,加入少量细砂糖小火加热稍微住一会儿。
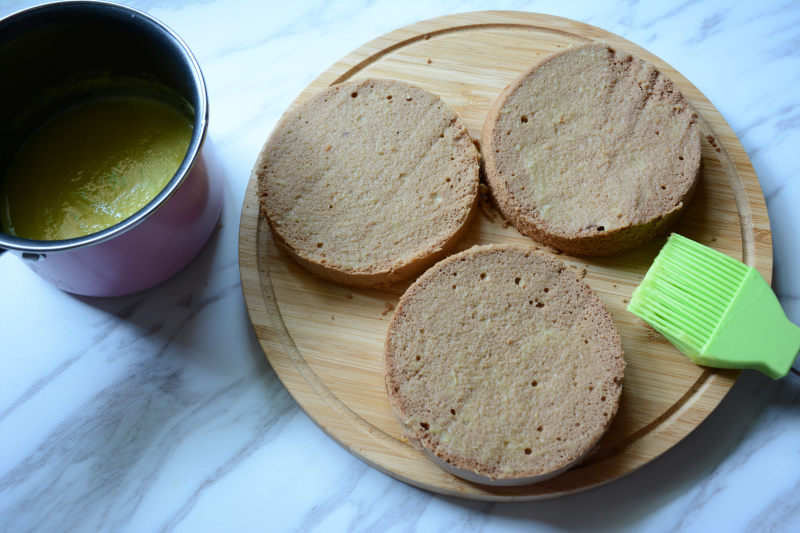
10.蛋糕切片。涂抹凤梨糖水,涂三次。涂抹凤梨水可以增添蛋糕的风味,并保持蛋糕胚的湿润。
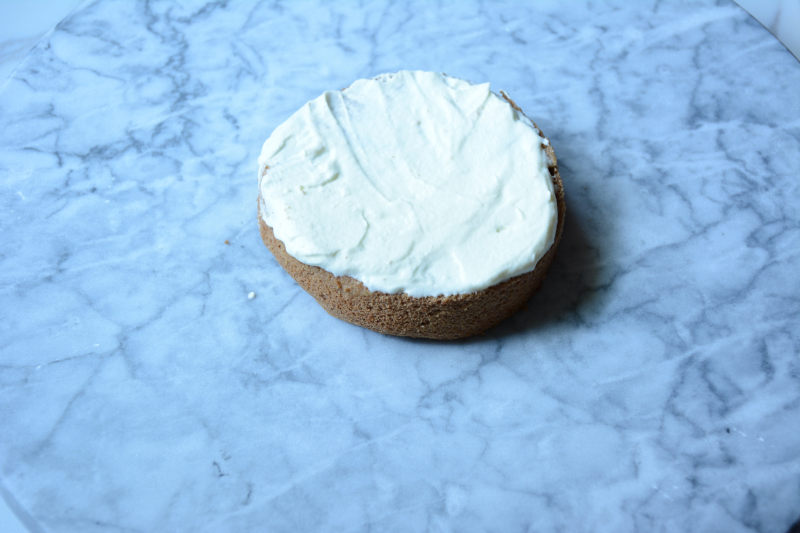
11.20g细砂糖分三次加入100g淡奶油打发好,涂抹在蛋糕层上。
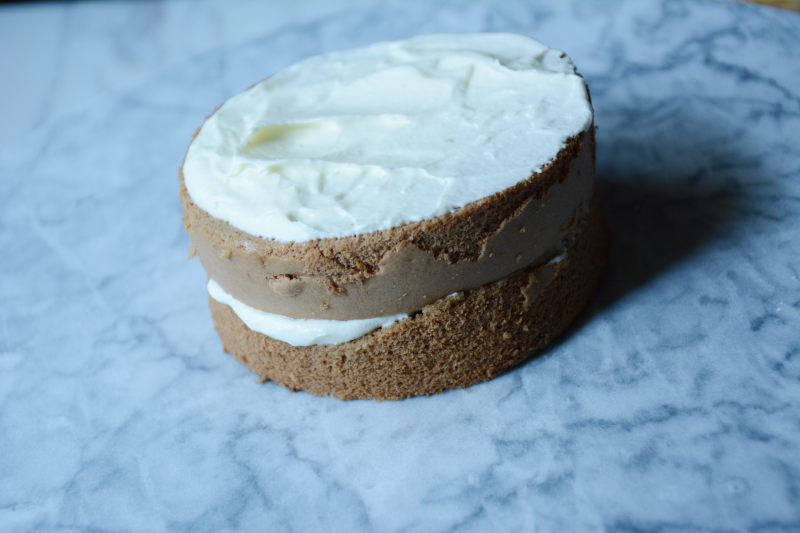
12.接着涂抹第二层蛋糕胚。
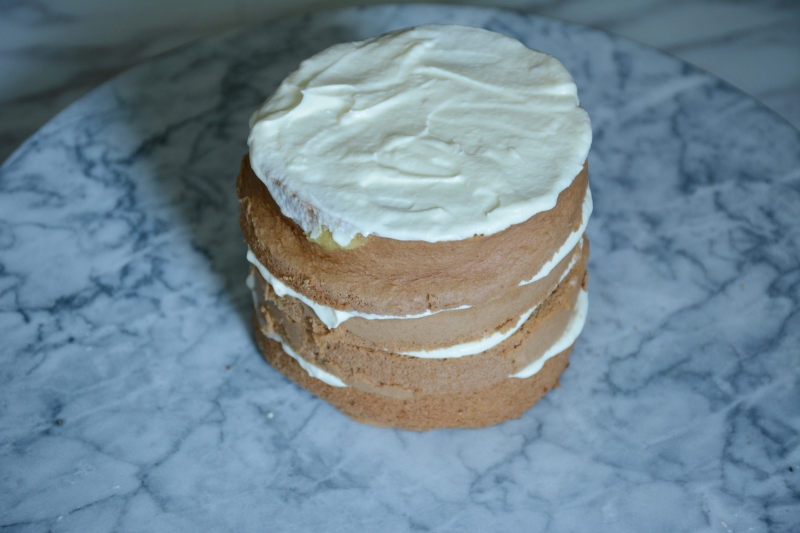
13.同样的步骤涂抹好整个蛋糕胚,在侧面稍作修饰平整,不需要特别光滑,和裸蛋糕一样就好。
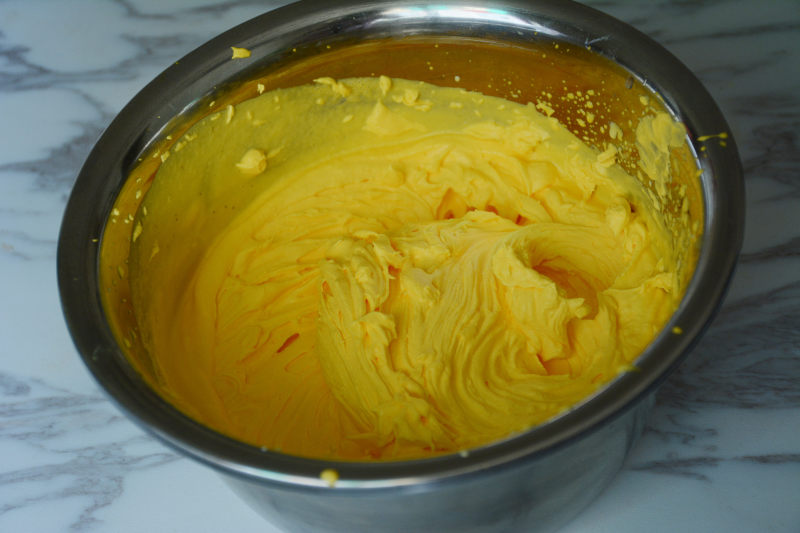
14.剩下的细砂糖分三次加入200g淡奶油中,打发前加入几滴黄色素。
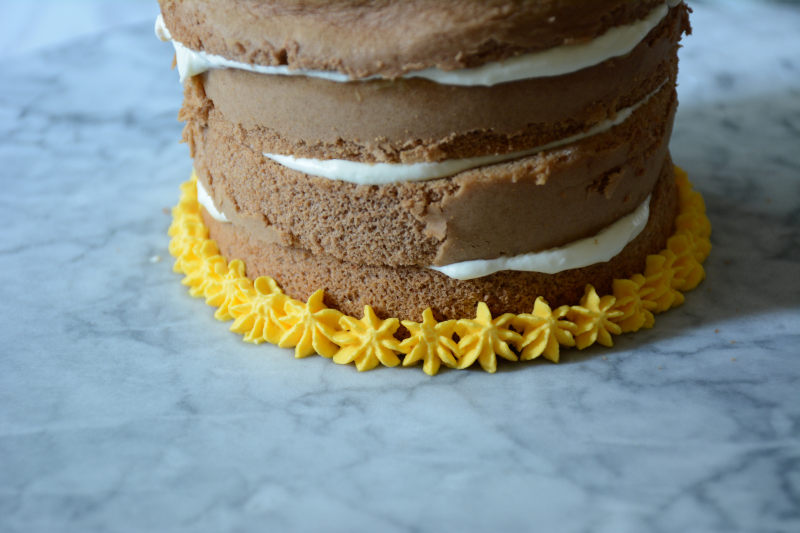
15.打发好的淡奶油选择好裱花嘴,装好淡奶油均匀挤满蛋糕就好啦。
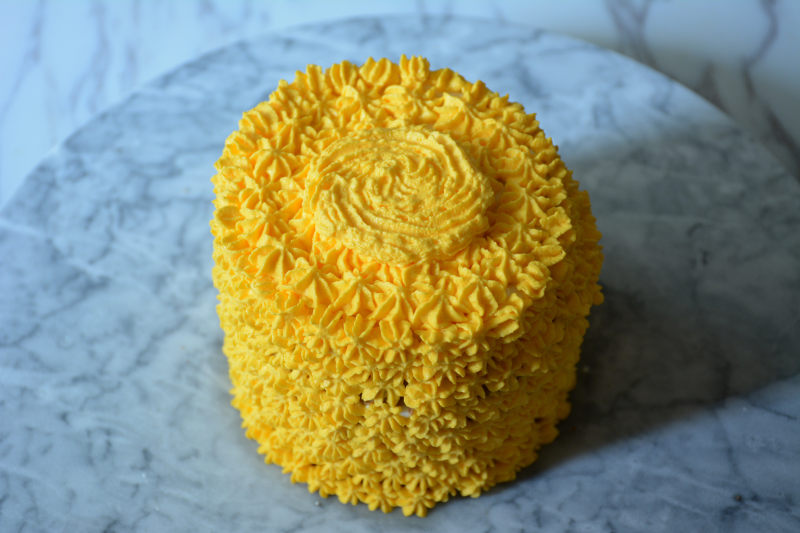
16.在顶部中间在挤一圈比较厚的淡奶油,方便组装凤梨叶装饰。
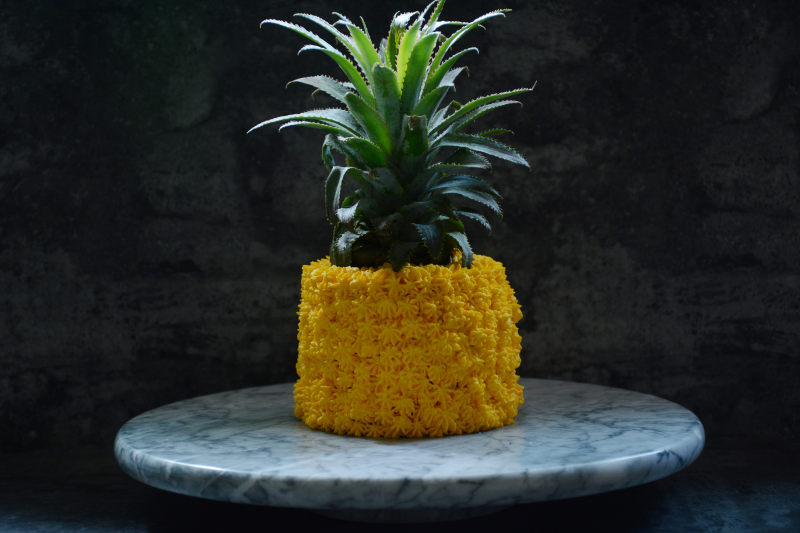
17.最后放上凤梨叶就更逼真了。
小窍门&温馨提示
做好的凤梨蛋糕放入冰箱冷藏后口感更好。
TAGS:
烘焙 小清新 下午茶 夏季食谱 其他菜系 低筋面粉
免责声明:本站部分文章转载自网络,图文仅供行业学习交流使用,不做任何商业用途。文章仅代表原作者个人观点,其原创性及文章内容中图文的真实性、完整性等未经本站核实,仅供读者参考。
上一篇: 陈皮酸梅汤的做法,陈皮酸梅汤怎么做,陈皮酸梅汤的功效与作用,陈皮酸梅汤的功效与禁忌,康师傅陈皮酸梅汤,陈皮酸梅汤的做法
下一篇: 凤梨酥的做法,凤梨酥怎么做,凤梨酥是哪里的特产,凤梨酥的做法与材料,凤梨酥哪个牌子好吃,凤梨酥的做法
Deprecated: mysql_connect(): The mysql extension is deprecated and will be removed in the future: use mysqli or PDO instead in
/data/haozs.cc/xianguan.php on line
5
Deprecated: mysql_query(): The mysql extension is deprecated and will be removed in the future: use mysqli or PDO instead in
/data/haozs.cc/xianguan.php on line
7


