主料:
榴莲适量,
牛油适量,
面粉适量,
鸡蛋适量榴莲酥的做法步骤
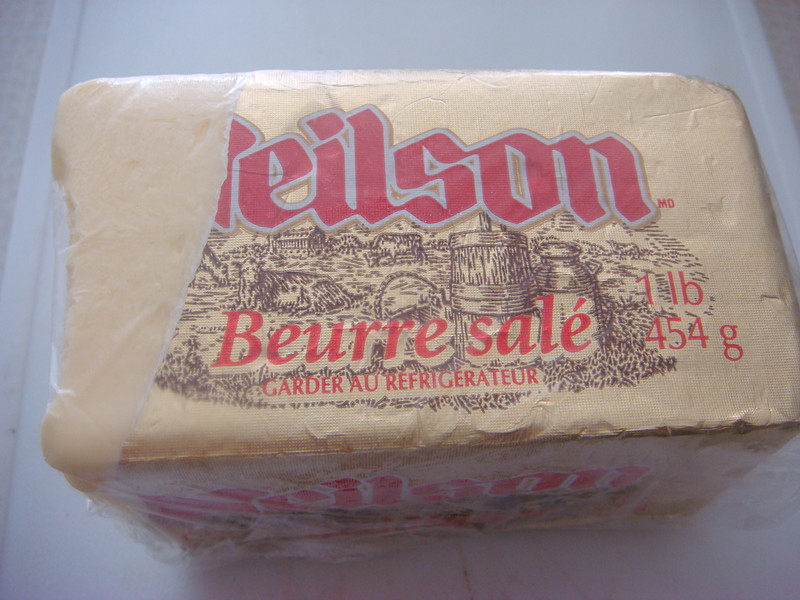
1.准备牛油。
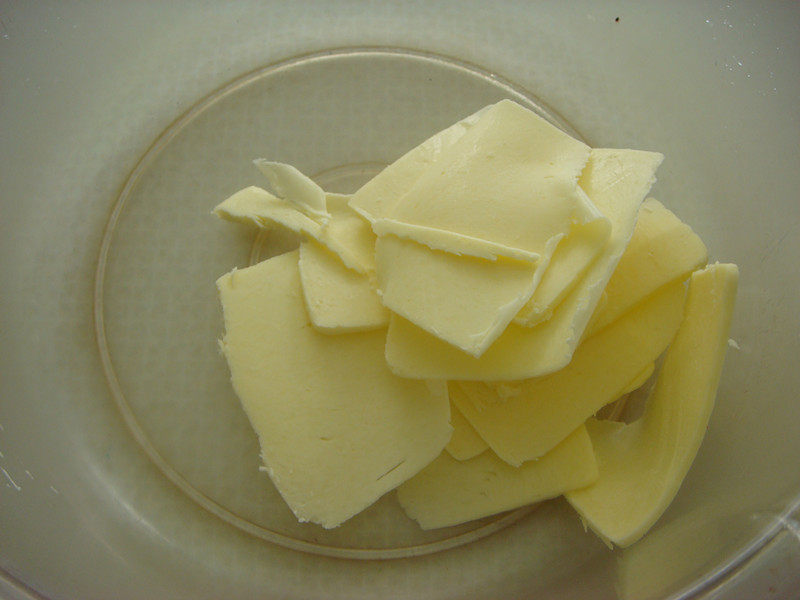
2.切少许牛油片。(看做多少用料)
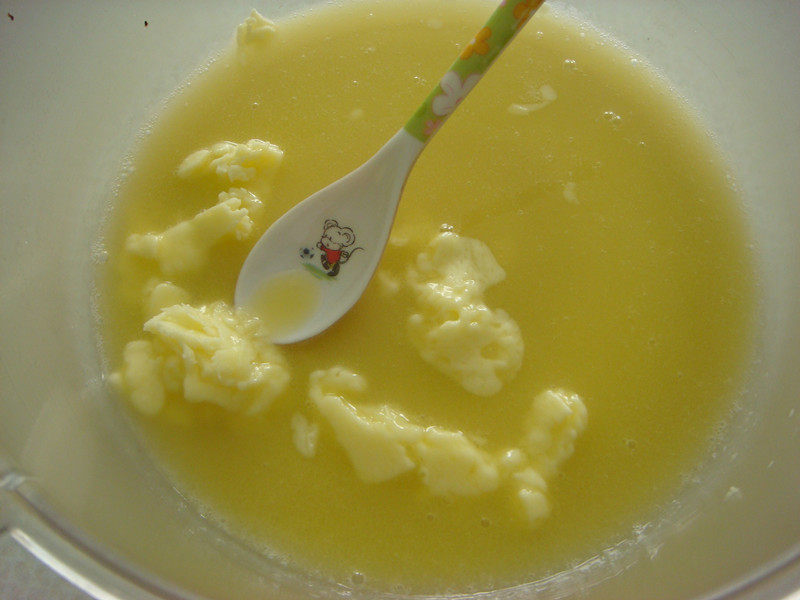
3.将牛油放入微波炉叮30秒融化。
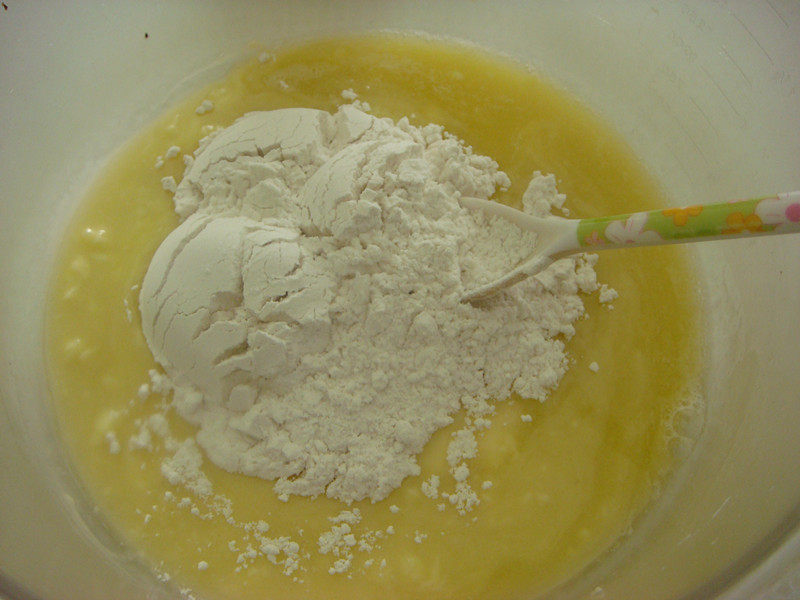
4.将三勺面粉放入牛油里。
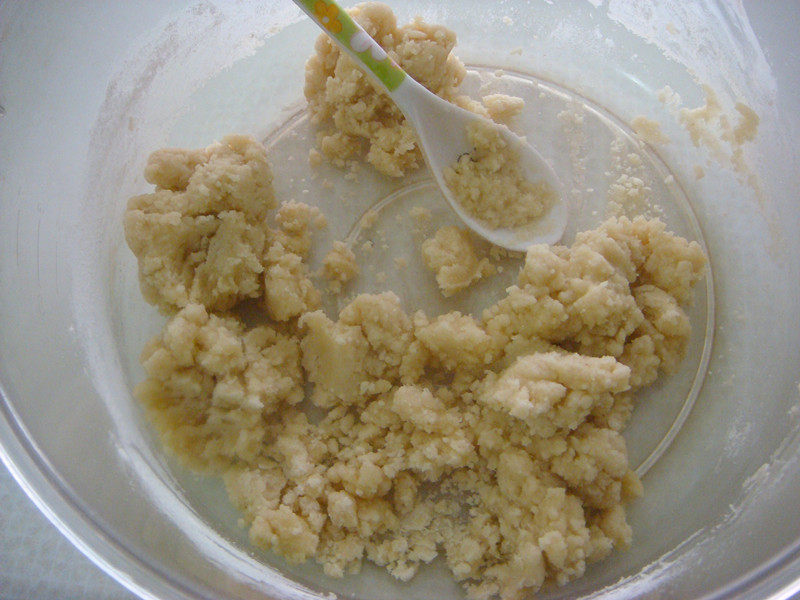
5.将面粉和融化的牛油混合成粒状然后揉成油面。
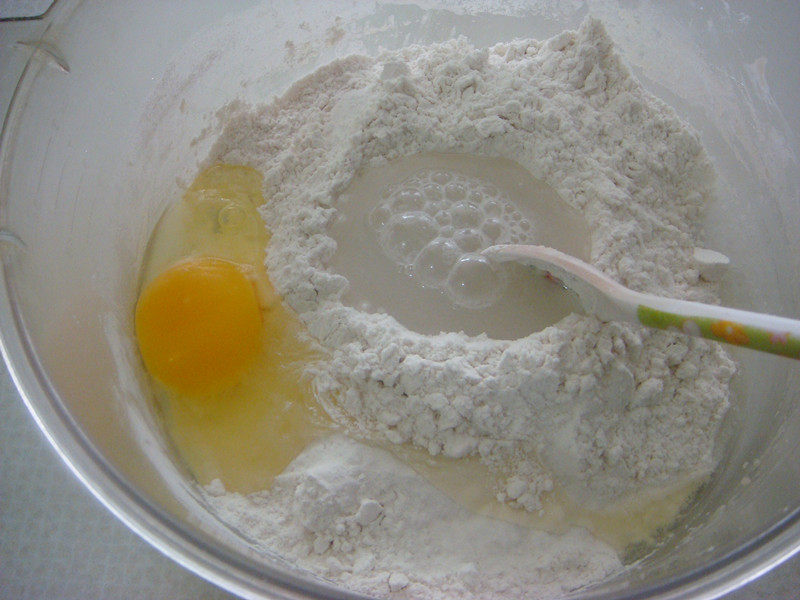
6.取四勺面粉加入鸡蛋和少许水混合。
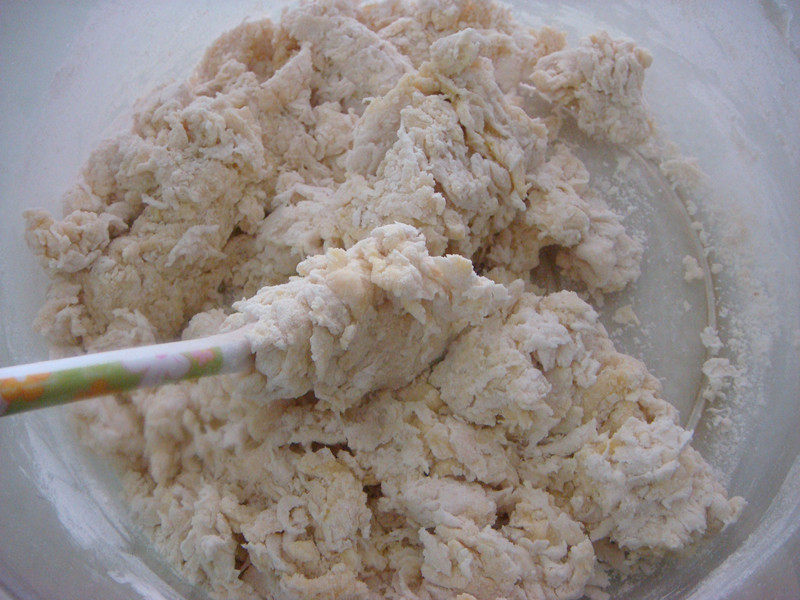
7.用小勺将面团混合。
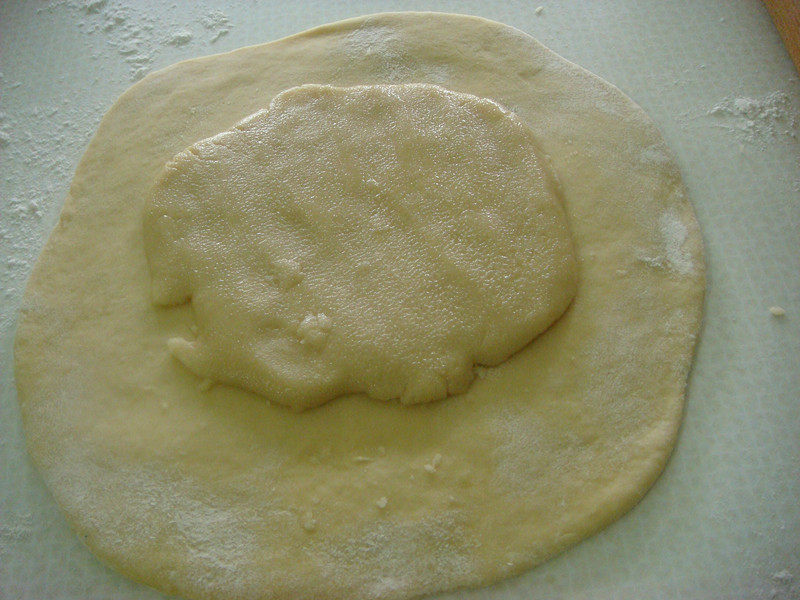
8.将揉好的面团摆放在第一层,上面放揉好的油面。
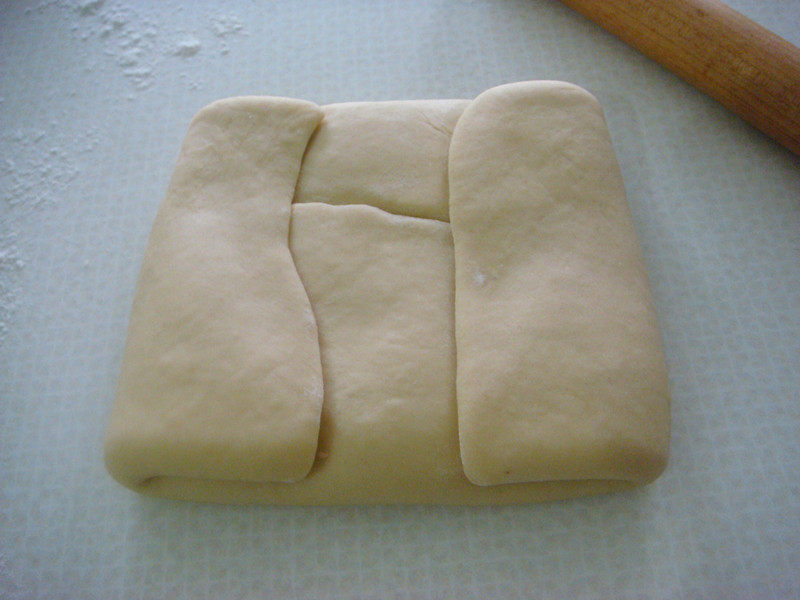
9.将面团擀薄包着油面,用擀面杖擀开然后折叠。(想做出多层效果的可以多折叠两次)
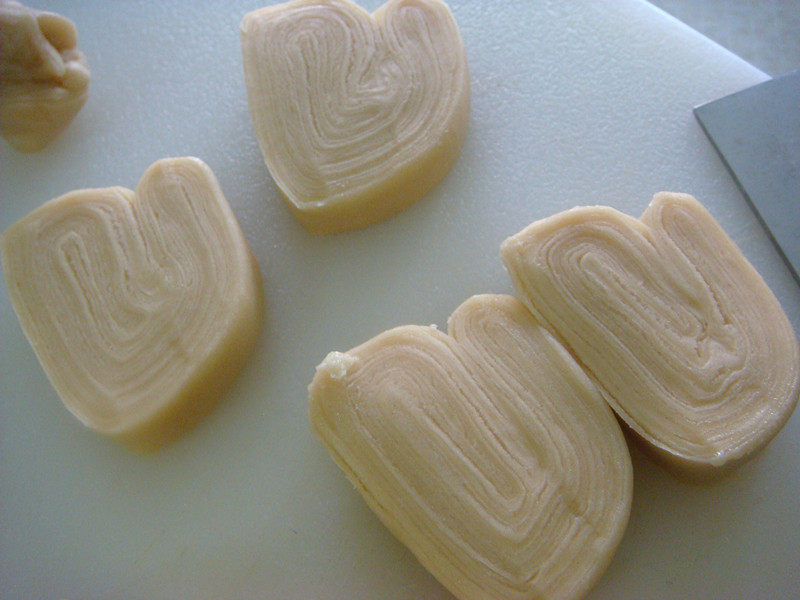
10.将擀好的酥面片切成小块。
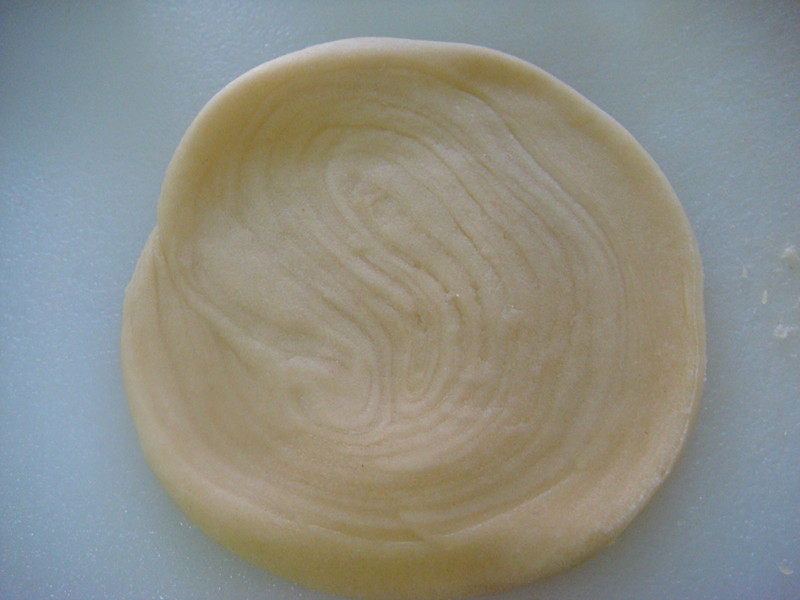
11.用擀面杖轻轻擀成园片。
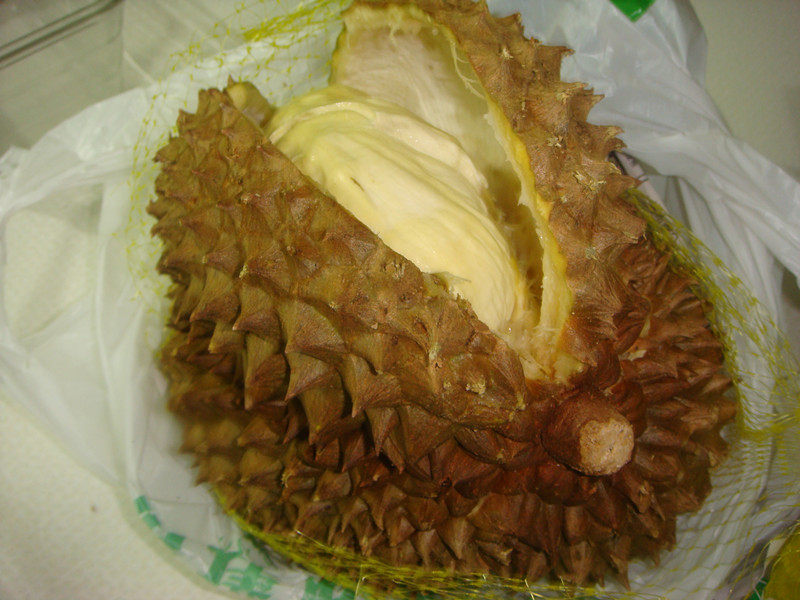
12.打开榴莲。
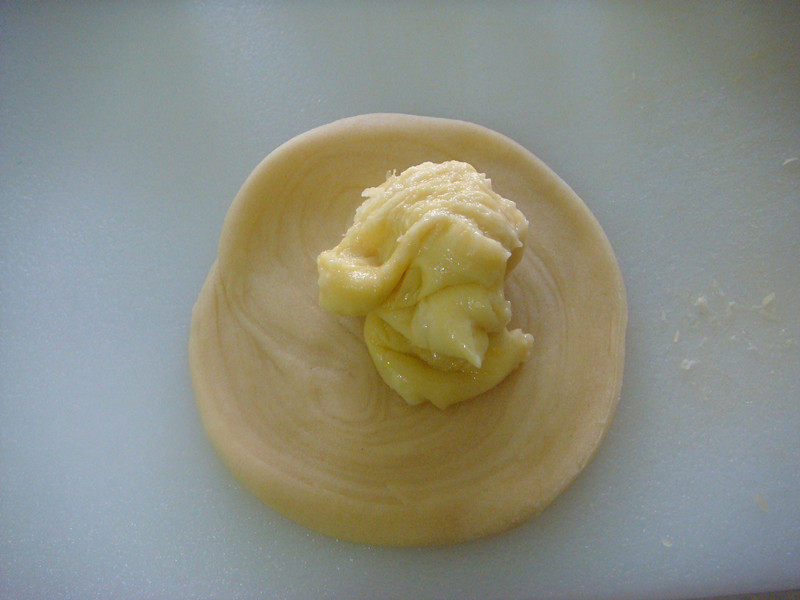
13.用小勺将榴莲肉放入擀好的酥皮里。
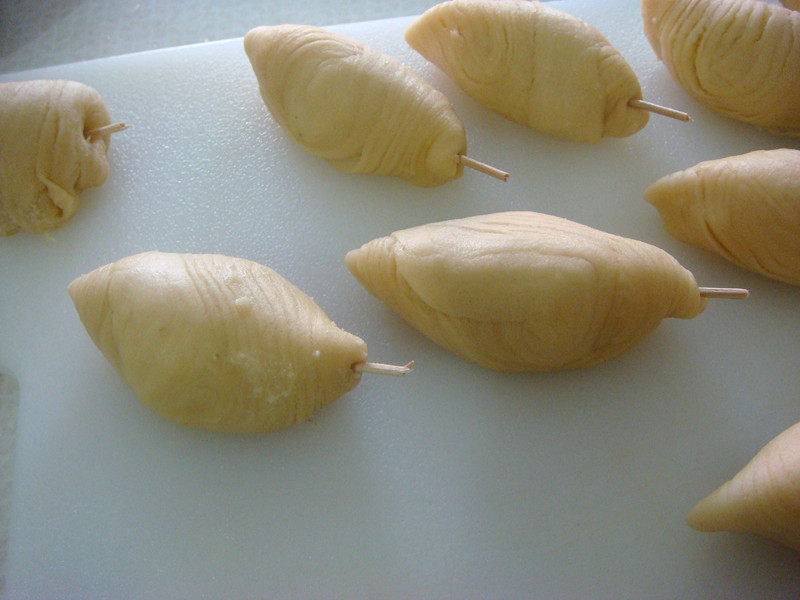
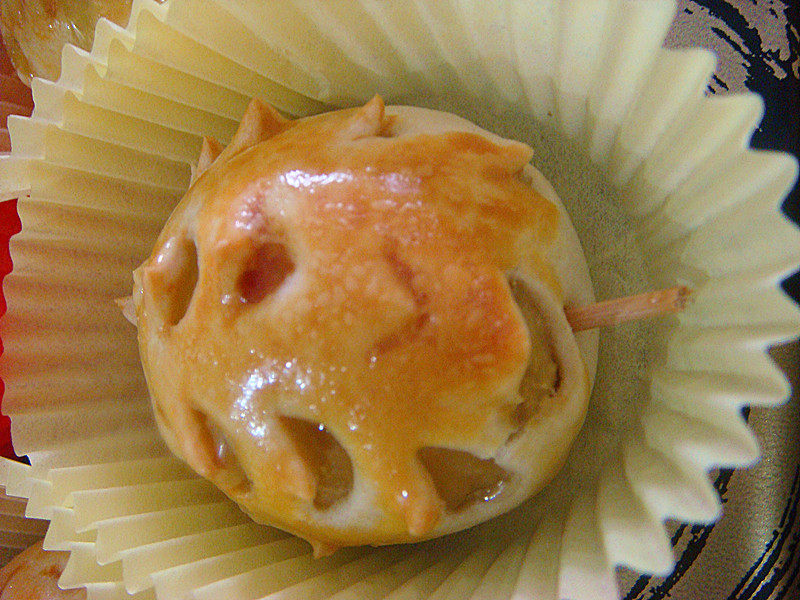
14.包好的榴莲酥用牙签插在一头做榴莲梗。
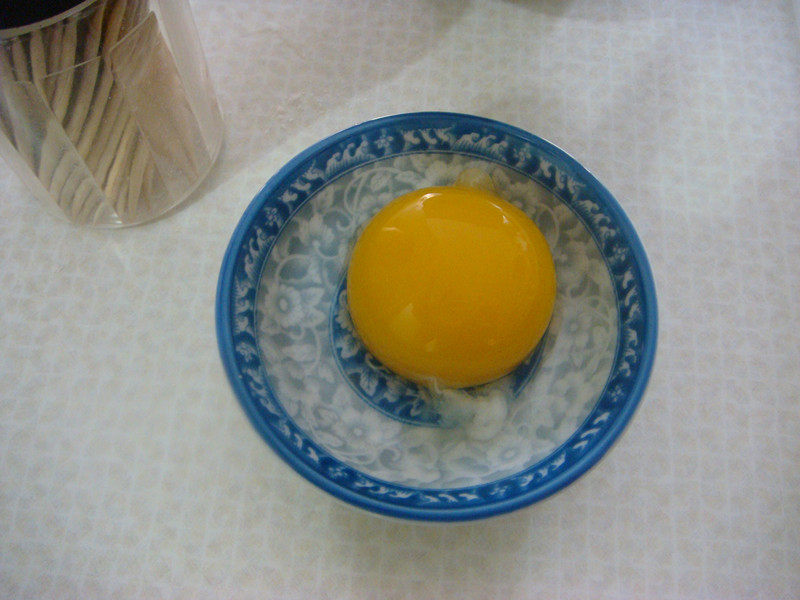
15.准备鸡蛋黄。
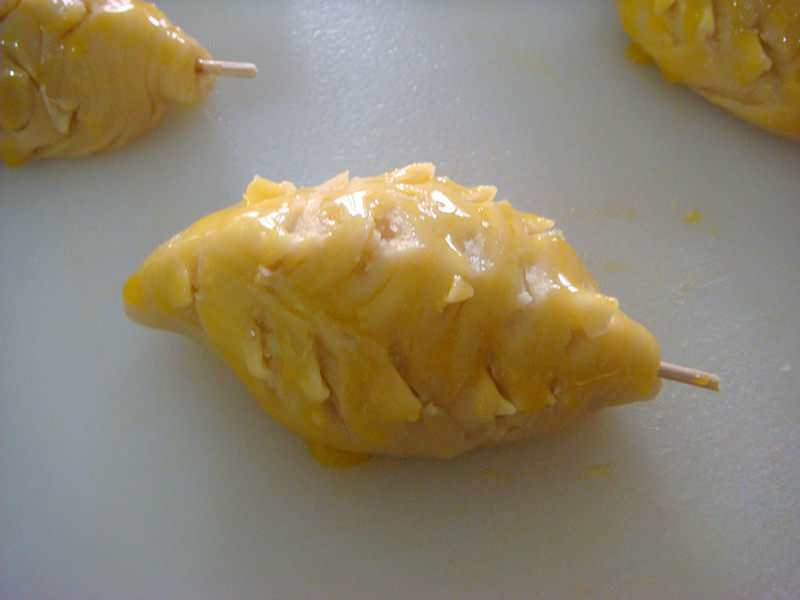
16.将鸡蛋黄薄薄的扫一层在榴莲酥表面上然后用剪刀轻轻的剪像榴莲状。
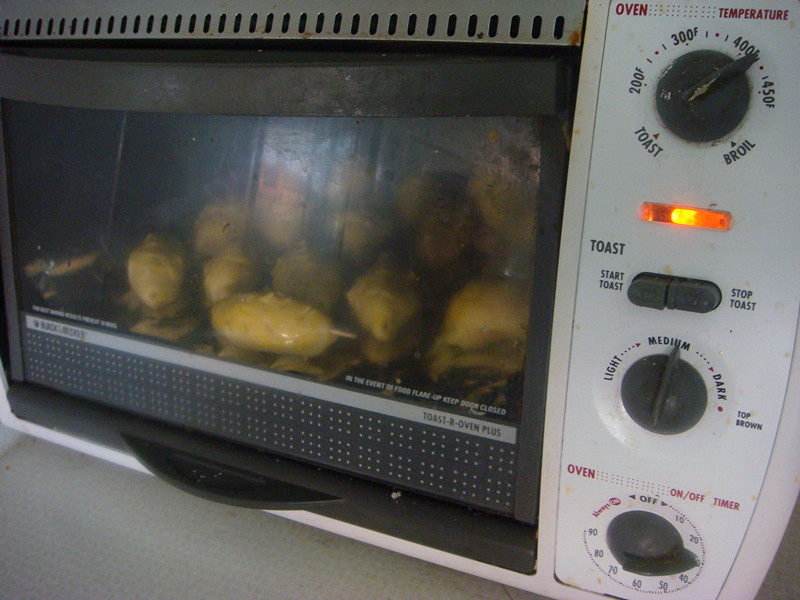
17.将榴莲酥放入烤箱400°F(也就是205°C)烤30分钟。然后让它再焗少许时间即可。
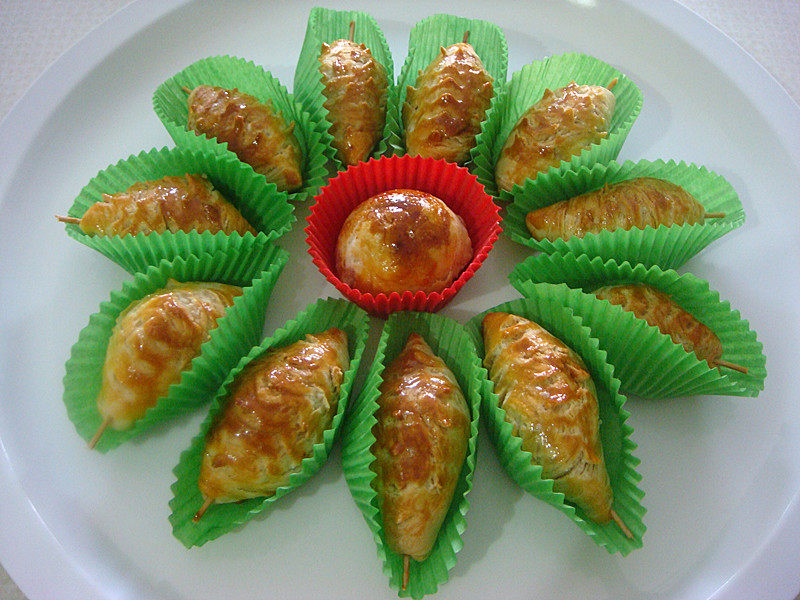
18.烤好的榴莲酥。
19.烤好的榴莲酥。
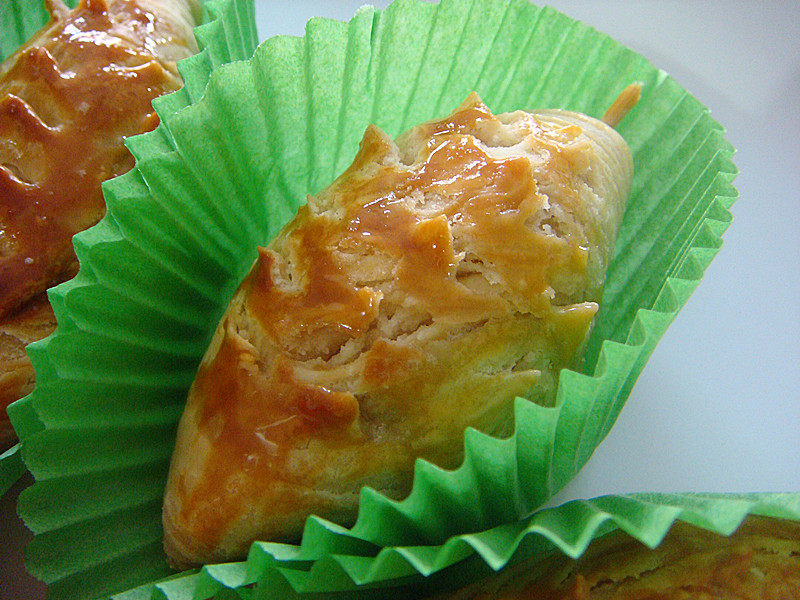
20.烤好的榴莲酥。
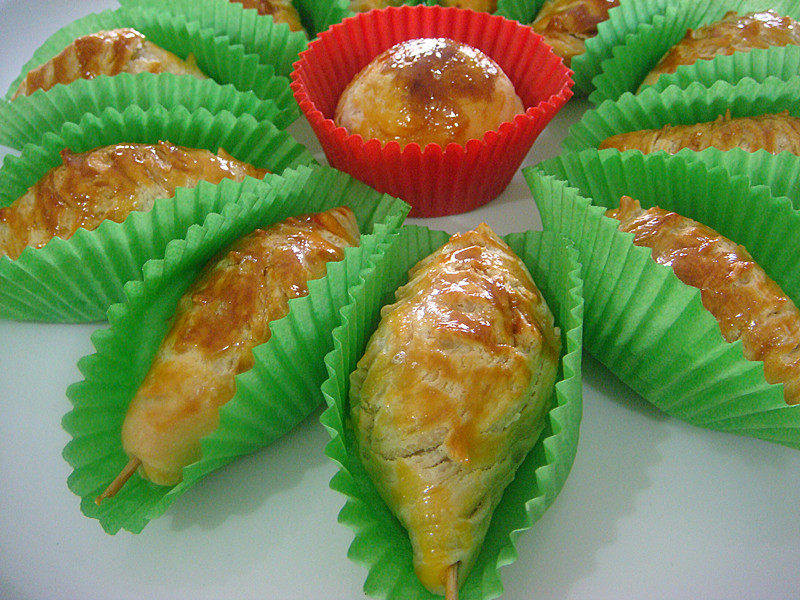
21.第一次做的榴莲酥。
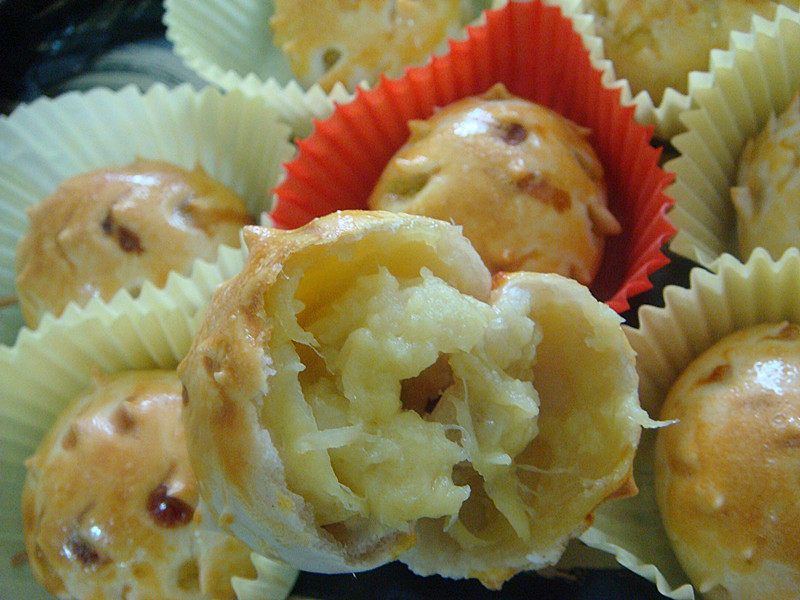
22.第一次做的榴莲酥。
TAGS:
烘焙 小吃 常见菜式 冰品 其他菜系 榴莲
免责声明:本站部分文章转载自网络,图文仅供行业学习交流使用,不做任何商业用途。文章仅代表原作者个人观点,其原创性及文章内容中图文的真实性、完整性等未经本站核实,仅供读者参考。
上一篇: 葡萄干吐司饼的做法,葡萄干吐司饼怎么做,葡萄干吐司面包,吐司饼干做法,葡萄吐司做法,葡萄干吐司面包的做法 烤箱家庭
下一篇: 香蕉核桃蛋糕的做法,香蕉核桃蛋糕怎么做,香蕉核桃蛋糕的做法,香蕉核桃蛋糕 君之,香蕉核桃蛋糕热量,香蕉核桃蛋糕怎么保存
Deprecated: mysql_connect(): The mysql extension is deprecated and will be removed in the future: use mysqli or PDO instead in
/data/haozs.cc/xianguan.php on line
5
Deprecated: mysql_query(): The mysql extension is deprecated and will be removed in the future: use mysqli or PDO instead in
/data/haozs.cc/xianguan.php on line
7
