主料:
鸡蛋,
3个,
低筋面粉,
50克,
牛奶,
30毫升,
食用油,
30毫升,
细砂糖,
60克(蛋黄里加20克,蛋白里加40克)
辅料:
牛奶,
100毫升(奶油霜),
面粉,
1汤匙,
无盐黄油,
150克,
糖粉,
100克奶油霜玫瑰纸杯蛋糕的做法步骤
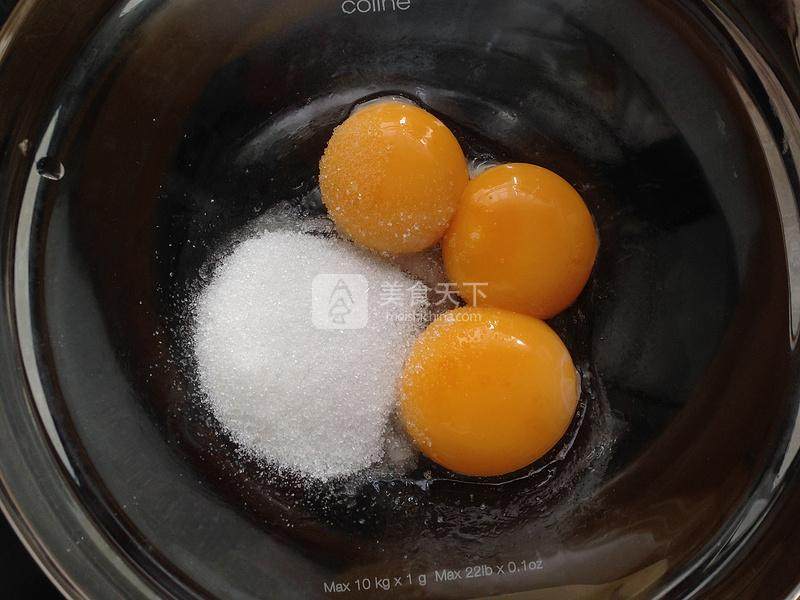
1.蛋黄加入细砂糖,用打蛋器搅打至颜色略为变浅
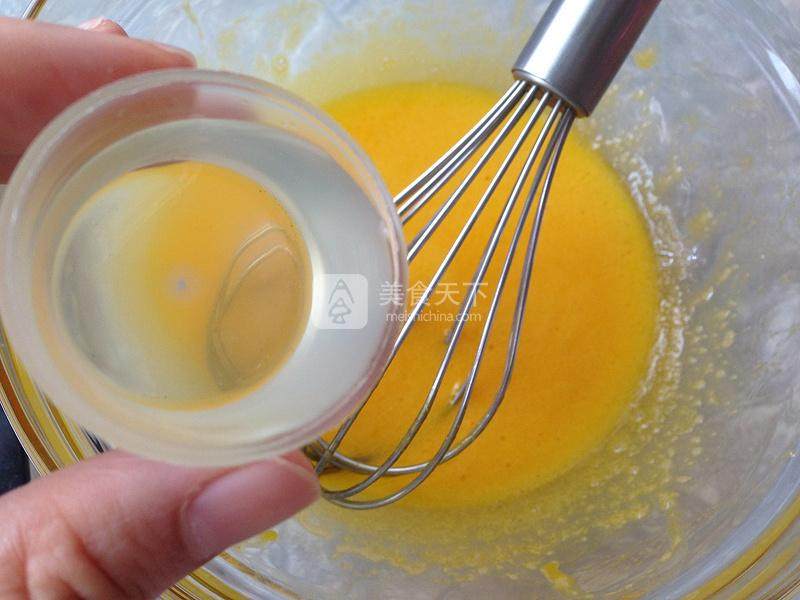
2.加入食用油,边加边搅打
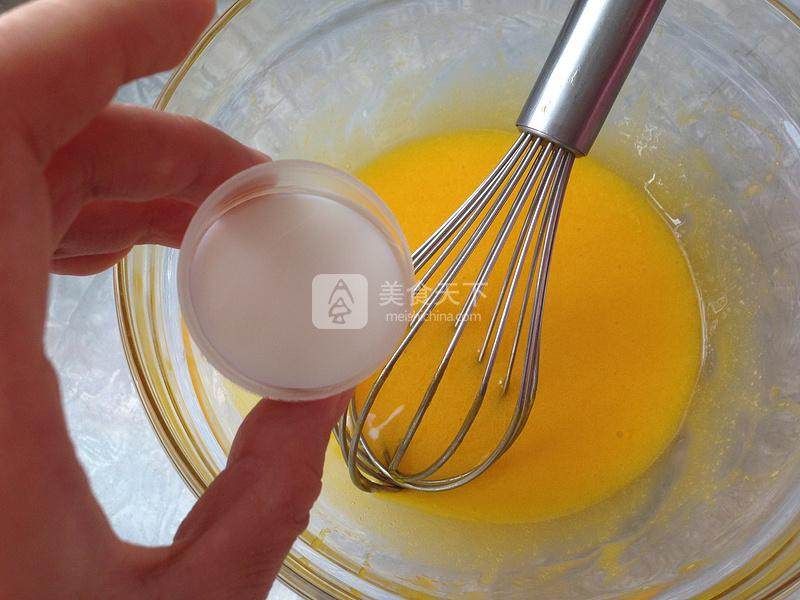
3.加入牛奶,边加边搅打
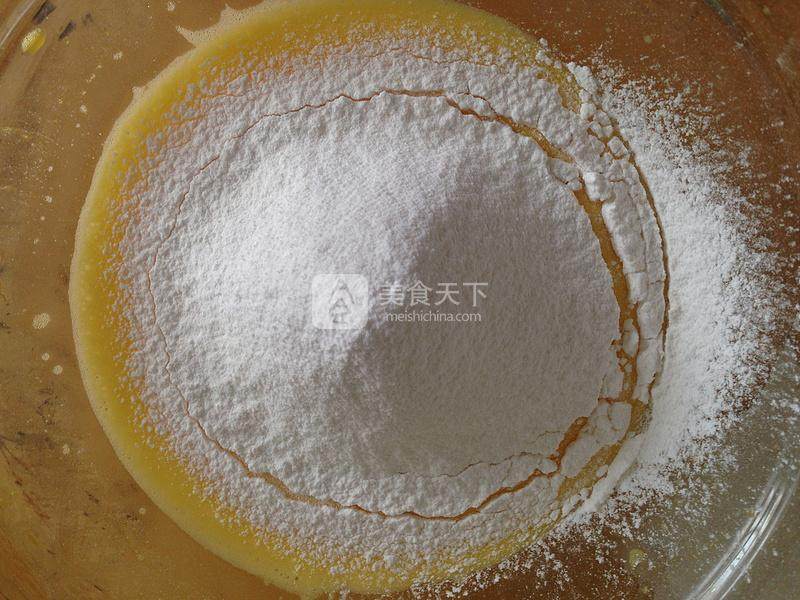
4.晒入低粉
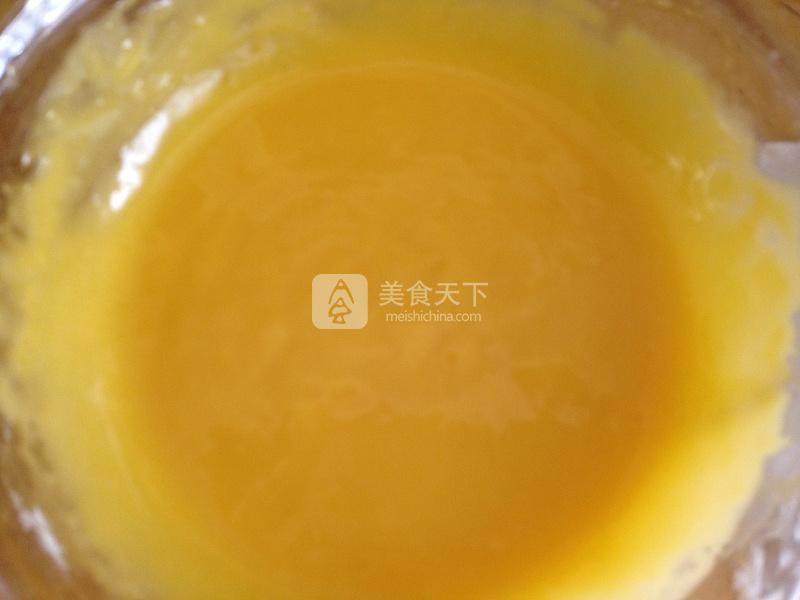
5.搅拌至无颗粒备用
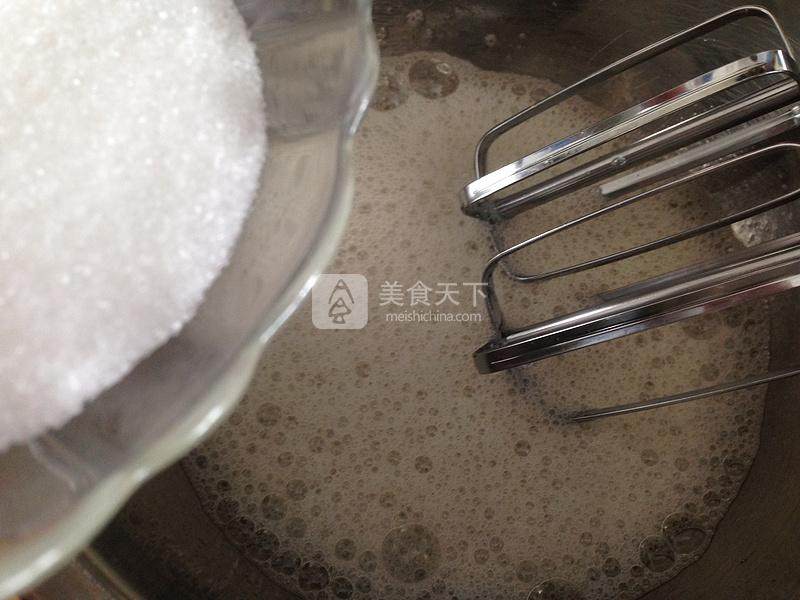
6.蛋白放入无油无水的深盆中,电动打蛋器搅打至出现大泡,加入1/3的细砂糖
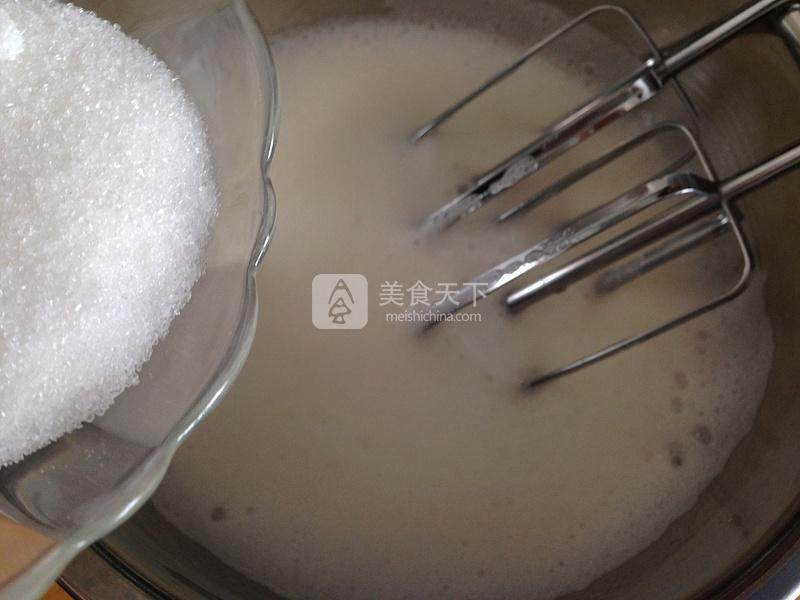
7.搅打至变为细小的泡时再加入1/3的细砂糖
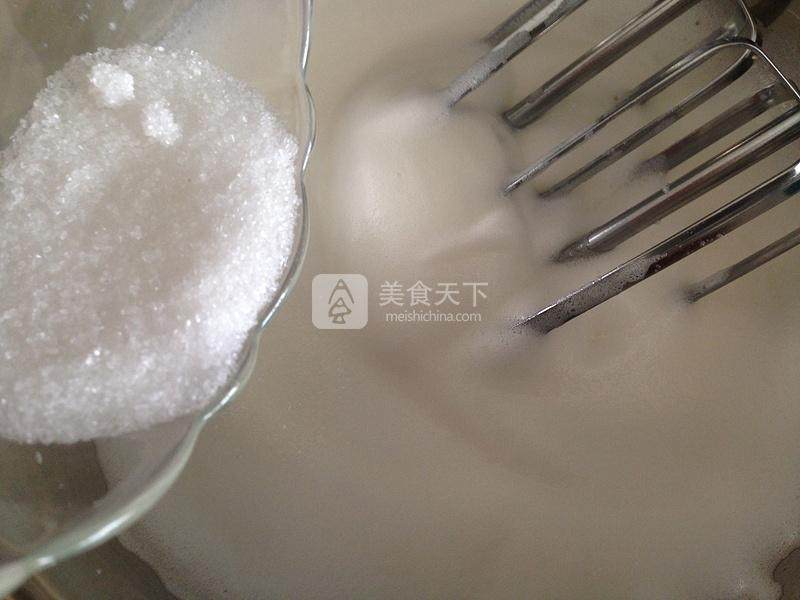
8.出现纹路以后加入剩下的1/3的细砂糖

9.继续搅打至可以拉出短小直立的尖角
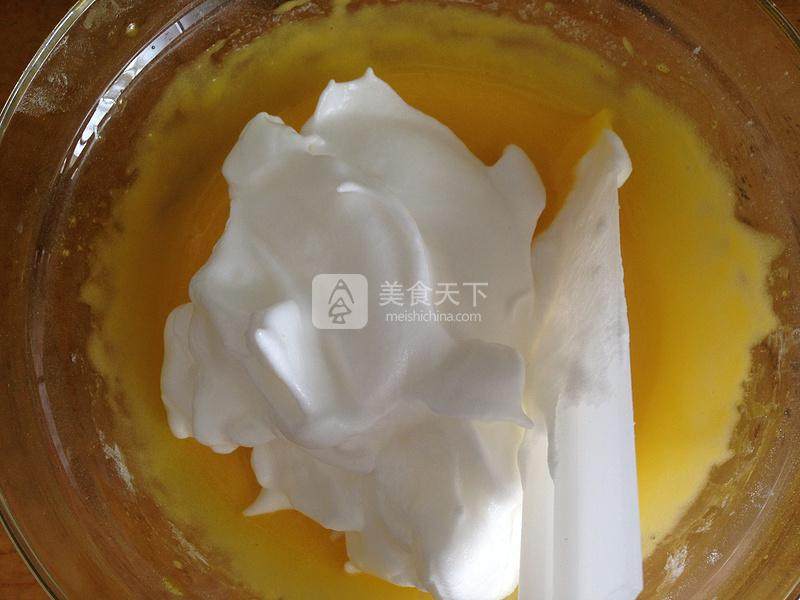
10.取1/3蛋白加入到蛋黄糊中,用橡皮刮刀翻拌均匀。这里不能画圈搅拌以免消泡
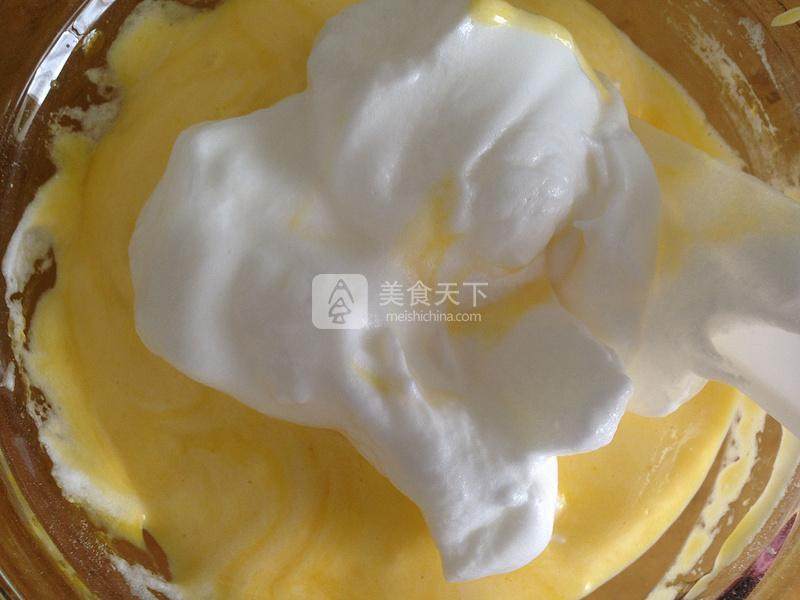
11.再取1/3蛋白加入到蛋黄糊中,用橡皮刮刀翻拌均匀。
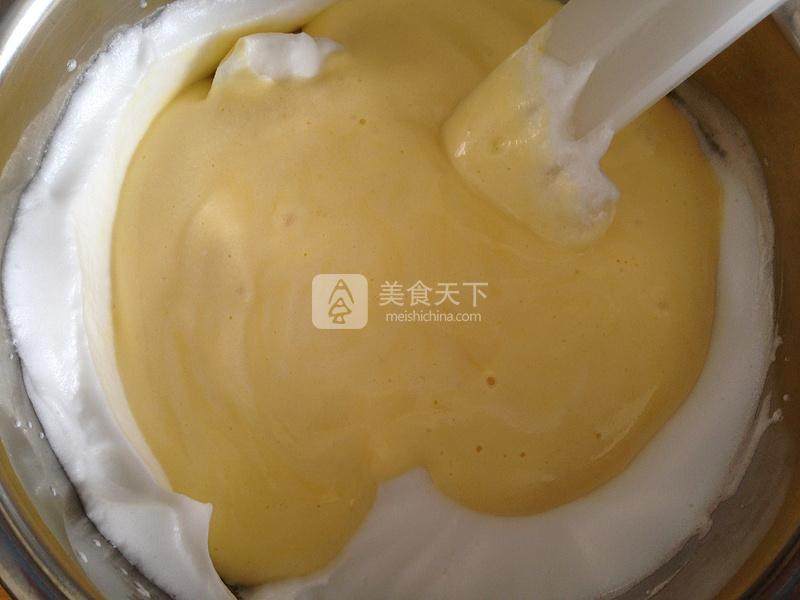
12.将蛋黄糊倒回至蛋白盆中,与剩下的1/3蛋白翻拌均匀
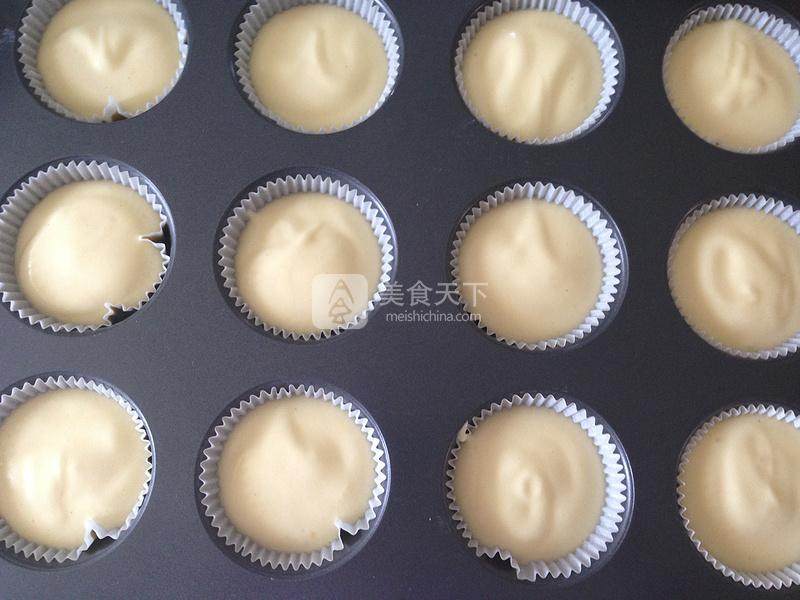
13.分装至纸杯中
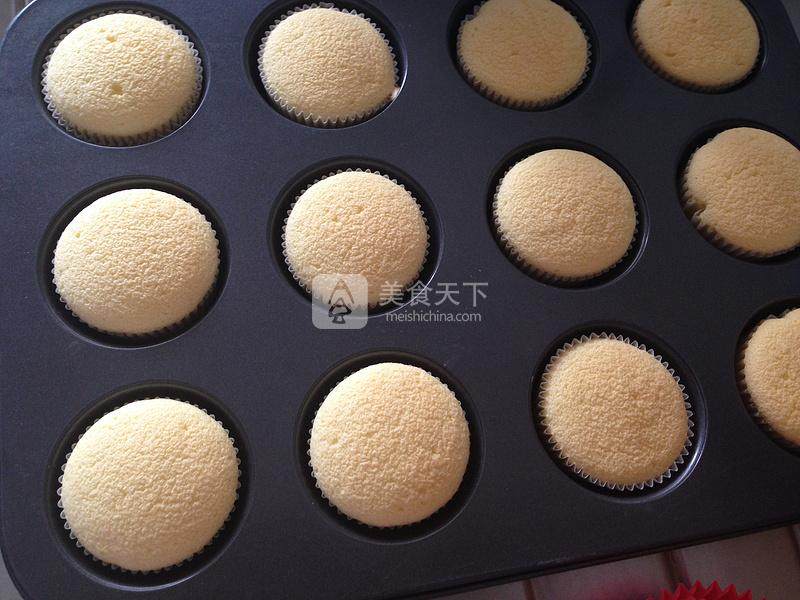
14.烤箱预热160度,中层上下火,20分钟左右
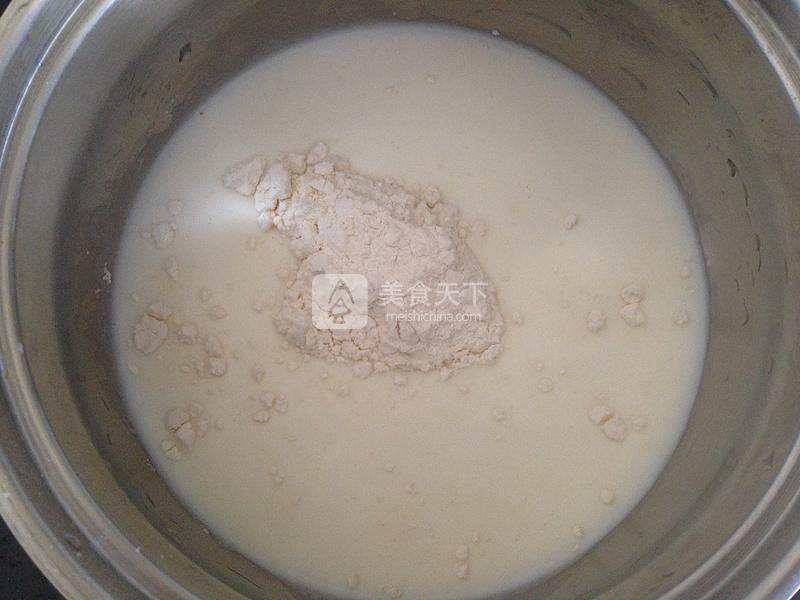
15.牛奶中加入面粉,小火慢慢加热
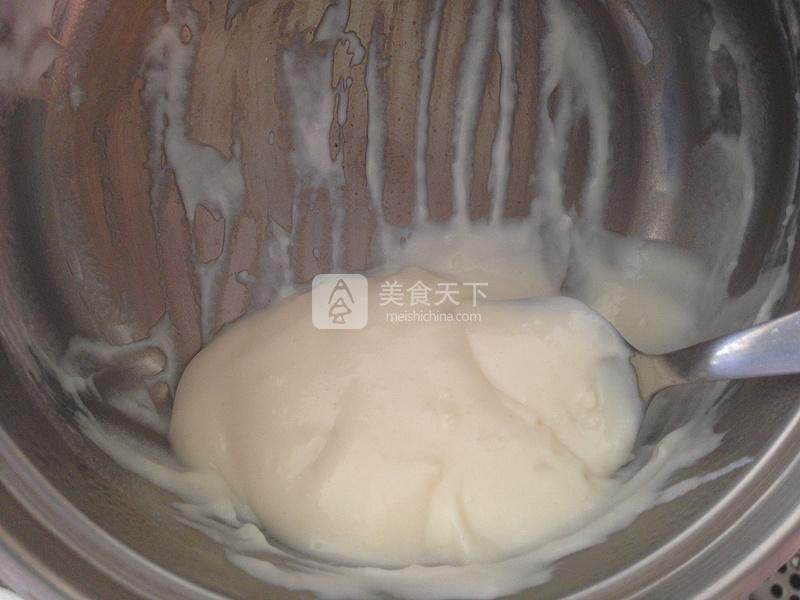
16.搅拌至糊状离火晾凉
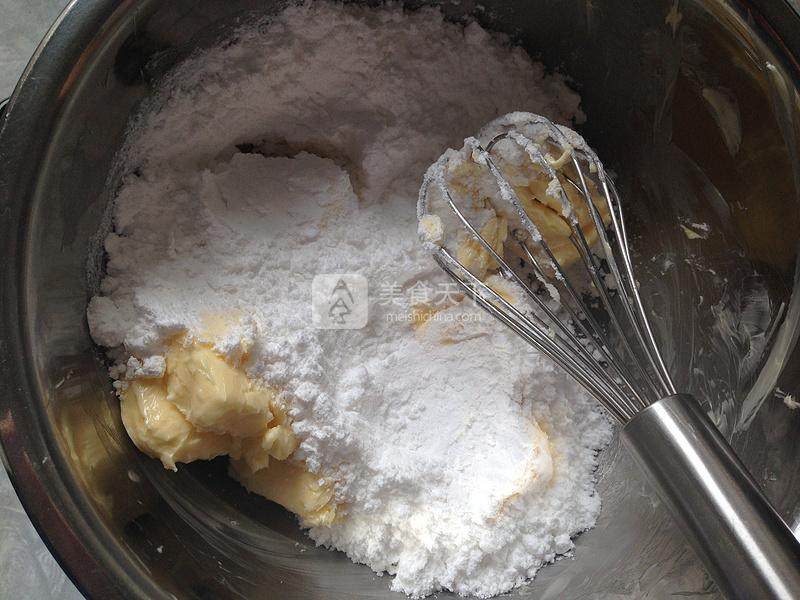
17.黄油室温软化,加糖粉打发
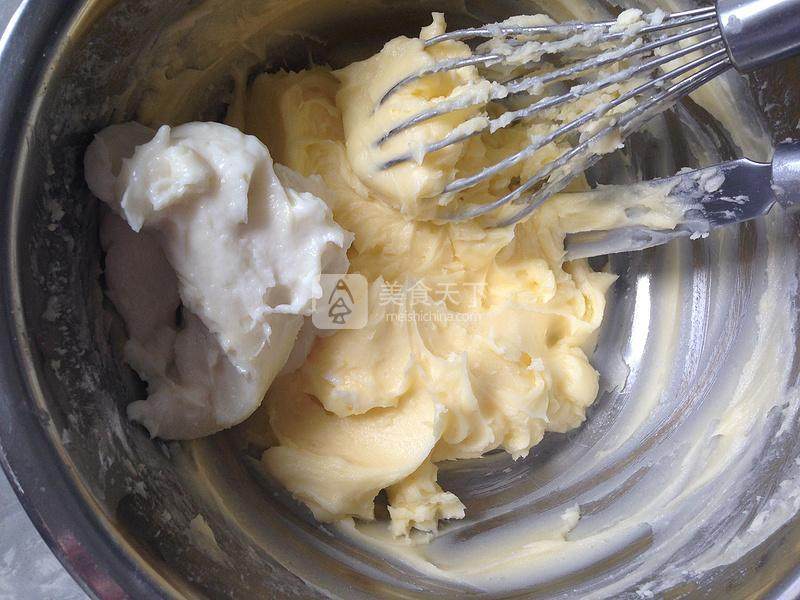
18.倒入已冷却的牛奶糊
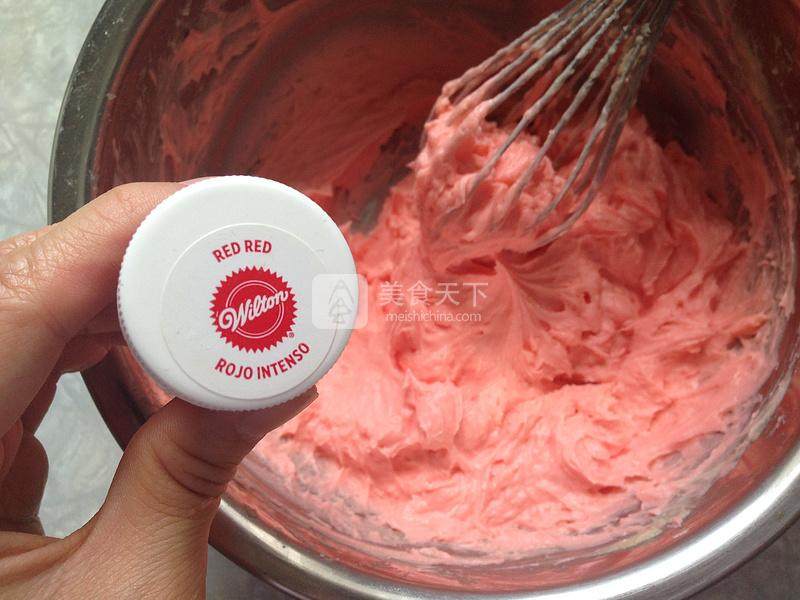
19.用牙签取适量喜欢的颜色的色膏进行调色
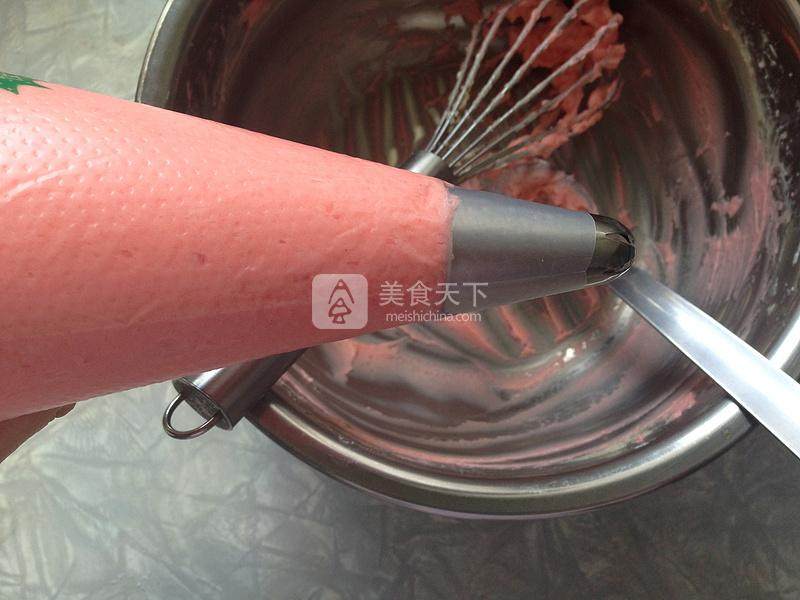
20.装进裱花袋中,用2d裱花头自中心向外旋转裱花即可。家里还有剩下的彩针糖,我就撒了些。
小窍门&温馨提示
烤箱的温度和时间要根据自己烤箱的实际情况来掌握,适度调节
TAGS:
烘焙 纸杯蛋糕 其他菜系 鸡蛋
免责声明:本站部分文章转载自网络,图文仅供行业学习交流使用,不做任何商业用途。文章仅代表原作者个人观点,其原创性及文章内容中图文的真实性、完整性等未经本站核实,仅供读者参考。
上一篇: 香杞苦瓜的做法,香杞苦瓜怎么做,枸杞 苦瓜,韭菜 苦瓜,香菇 苦瓜,苦瓜青苦瓜苦
下一篇: 鲜海蛰汤的做法,鲜海蛰汤怎么做,鲜海蛰汤的做法大全家常,鲜海蛰怎么做,新鲜海蜇汤,鲜海蜇汤的做法大全家常
Deprecated: mysql_connect(): The mysql extension is deprecated and will be removed in the future: use mysqli or PDO instead in
/data/haozs.cc/xianguan.php on line
5
Deprecated: mysql_query(): The mysql extension is deprecated and will be removed in the future: use mysqli or PDO instead in
/data/haozs.cc/xianguan.php on line
7
