冰皮
糯米粉,
65g,
粘米粉,
65g,
澄面,
25g,
低筋面粉,
25g,
糖,
35g,
牛奶,
325g,
色拉油,
25g,
炼乳,
25g馅料
细砂糖,
25g,
蛋黄,
51g,
低筋面粉,
50g,
牛奶,
120g,
淡奶油,
20g奶油芝士,85g黄油,
35g果馅
榴莲肉,
250g,
黄油,
20g,
吉利丁片,
5g,
草莓,
125g,
细砂糖,
30g红肉火龙果,125g芝士冰皮月饼的做法步骤
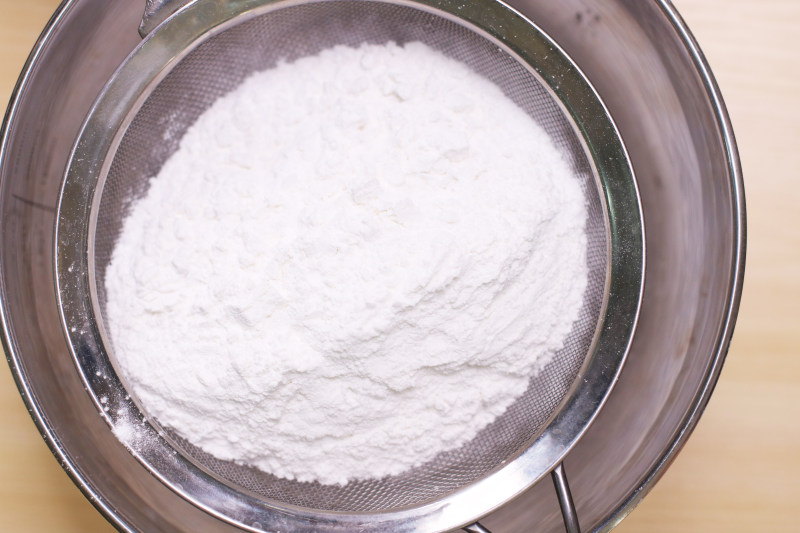
1.冰皮材料中的粉类材料混合过筛。
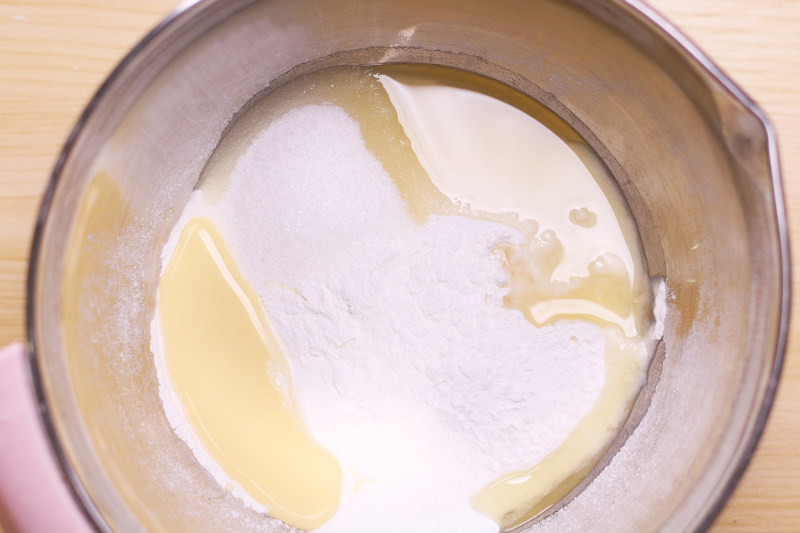
2.加入细砂糖、色拉油、炼乳。
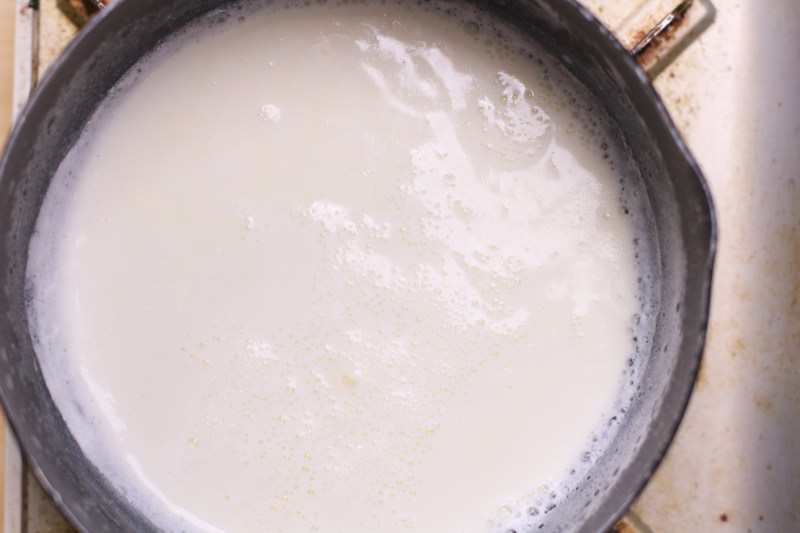
3.牛奶加热,煮至边缘冒小泡,约80度。
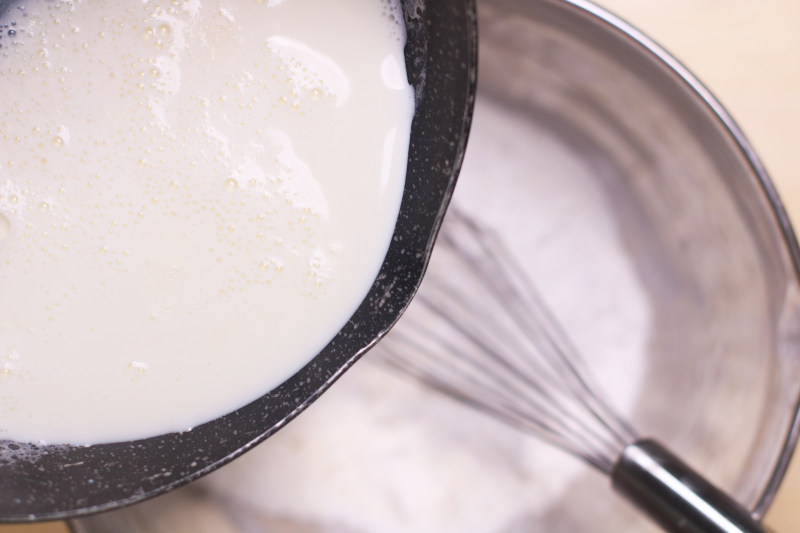
4.将牛奶分2-3次加入,搅匀。
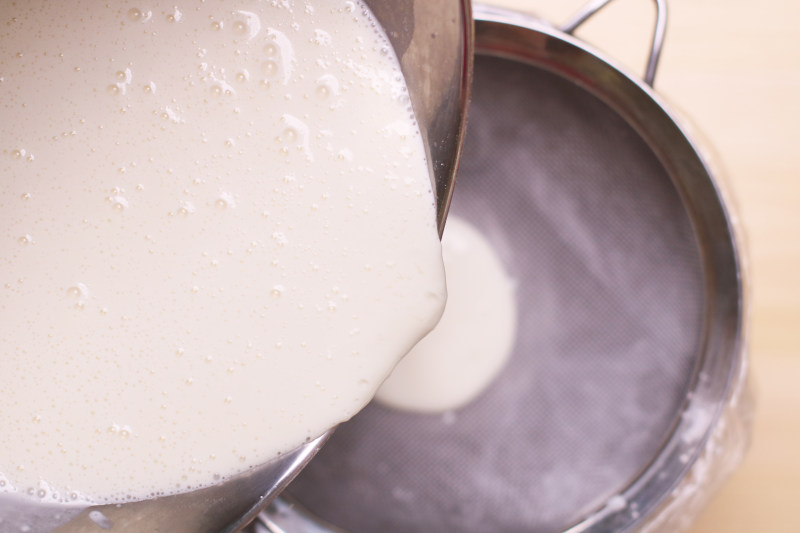
5.过筛面糊,放入蒸锅、大火蒸30分钟(热水放)。
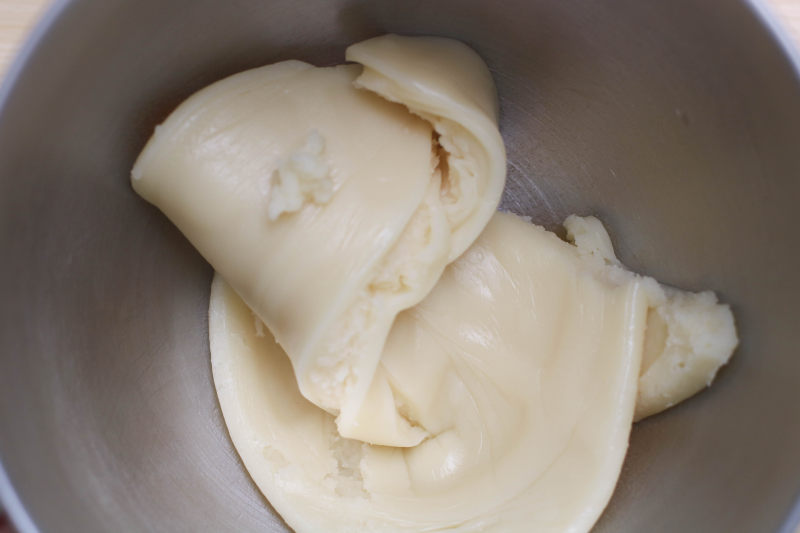
6.放入厨师机搅拌散热。
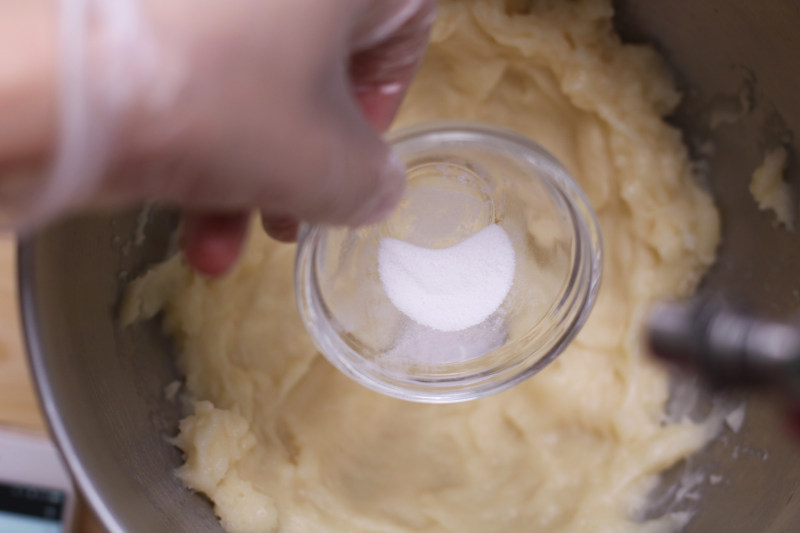
7.饼皮降温到70度内,再倒入保软酶。。
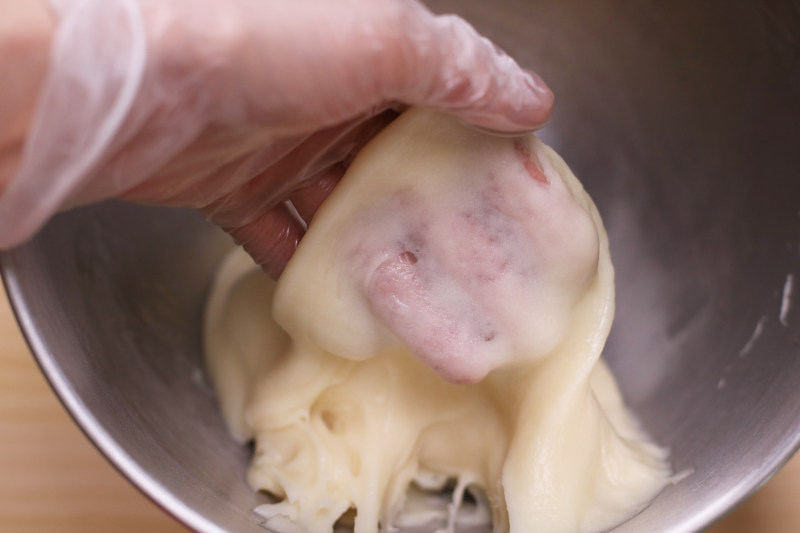
8.搅拌至能出薄膜,延展性会更好,装入保鲜袋,放凉。
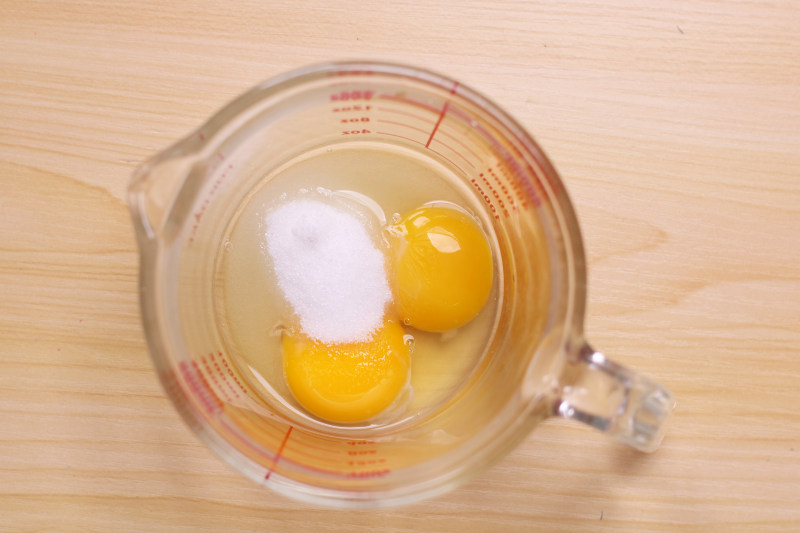
9.制作芝士奶黄馅料,蛋黄加细砂糖,用电动打蛋器打发至能划八字。
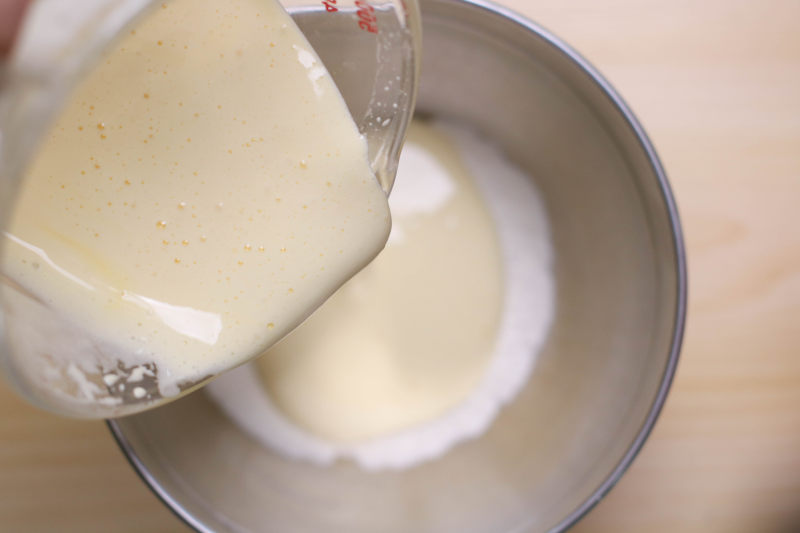
10.加入到过筛好的低筋面粉中,搅匀。
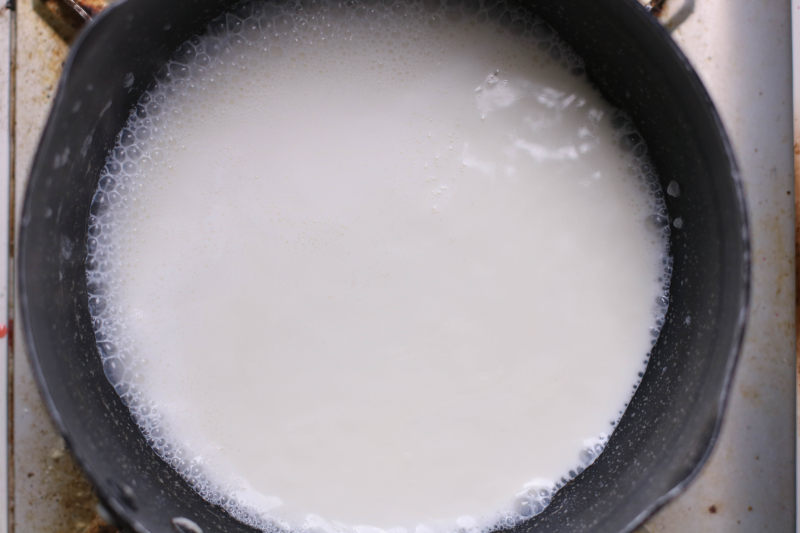
11.牛奶+淡奶油,加热,煮至冒泡。
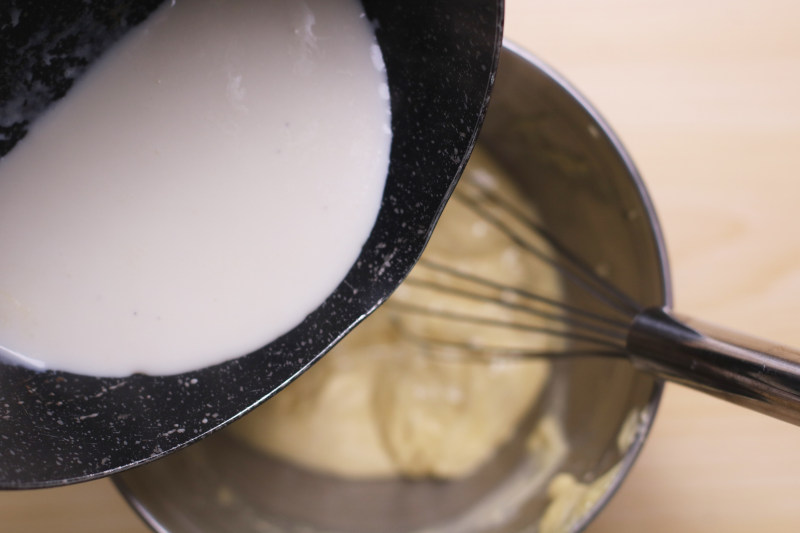
12.分多次加入到面糊中。
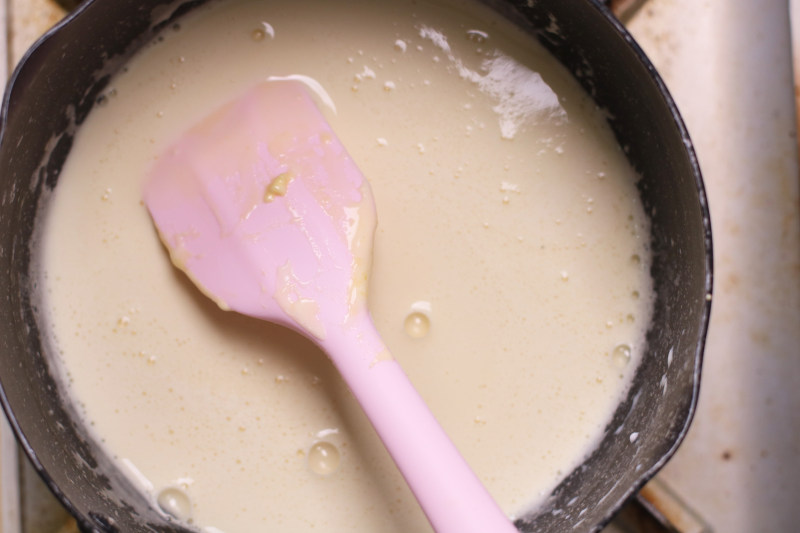
13.回炉重煮,煮至能成团。密封冷藏保存待用。
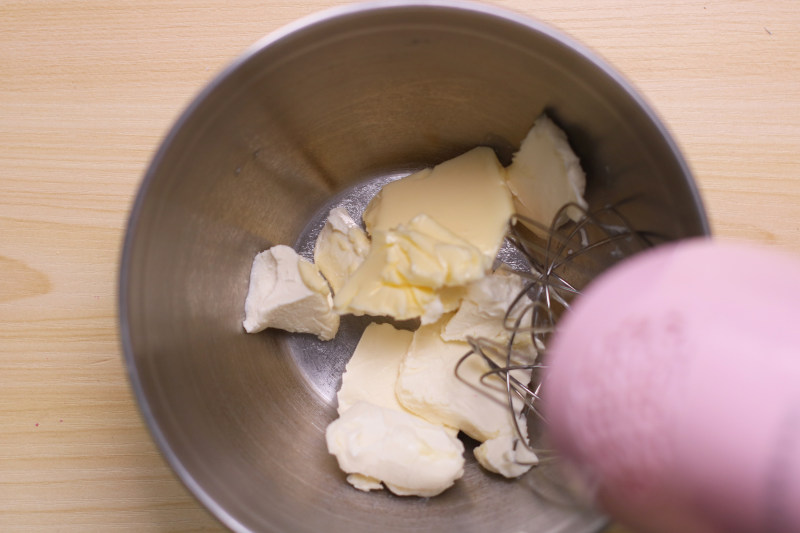
14.黄油和奶油致死提前室温软化,用电动打蛋器打至混合。
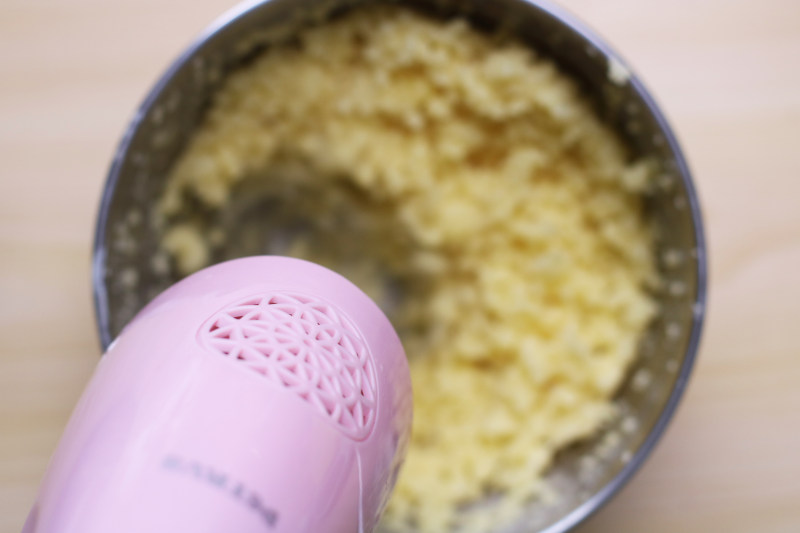
15.用打蛋器搅打奶黄馅料,分2次加入到奶酪混合物中一起搅打。芝士奶黄馅制作完成后,盖上保鲜膜放入冰箱冷藏。
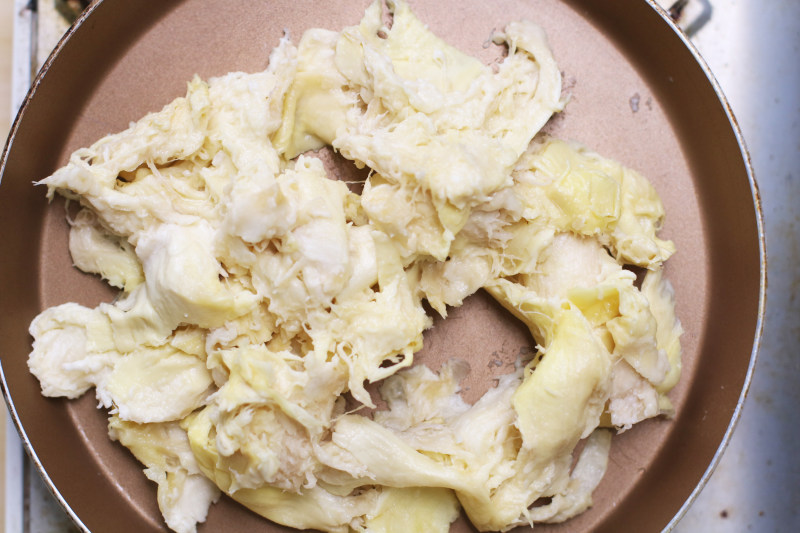
16.榴莲翻炒,炒至金黄色。
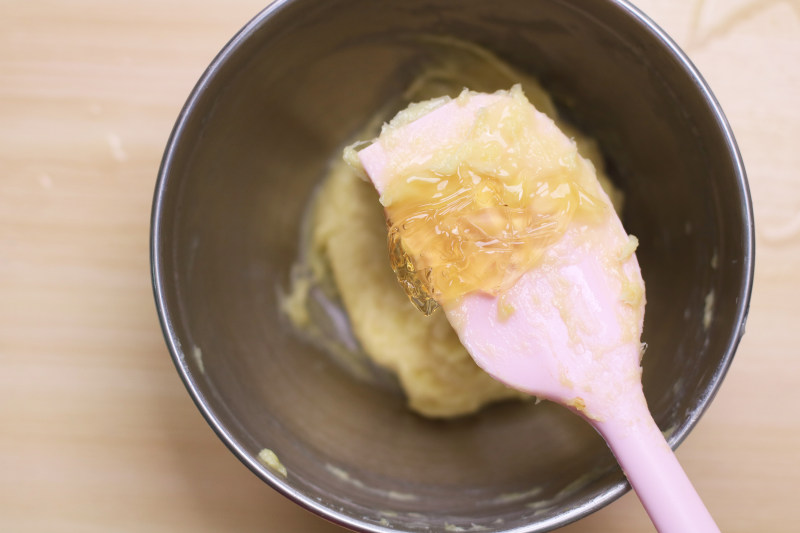
17.吉利丁片泡软后沥水,加入到榴莲中拌匀。
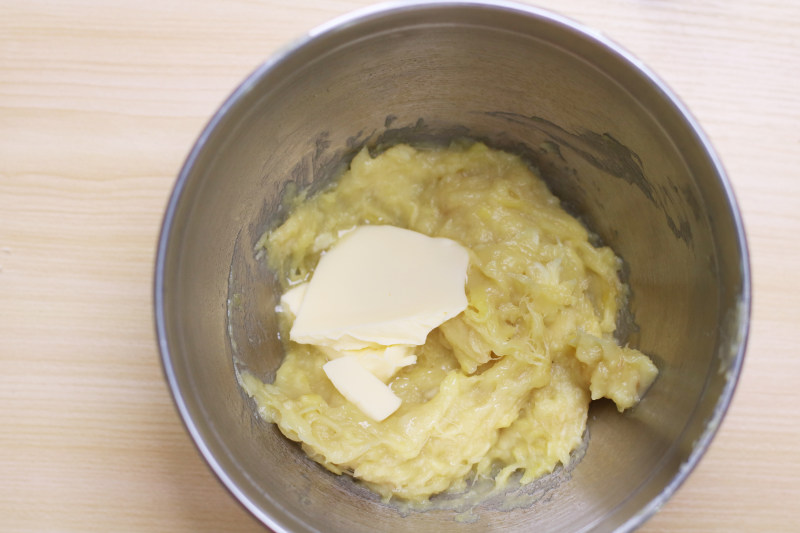
18.温热的时候加入乳化黄油,拌匀。
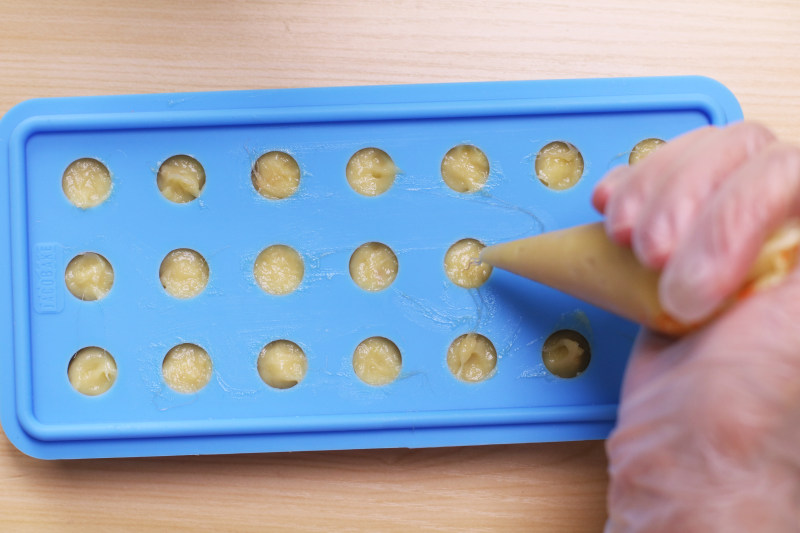
19.把馅料挤入模具中,放入冷冻。
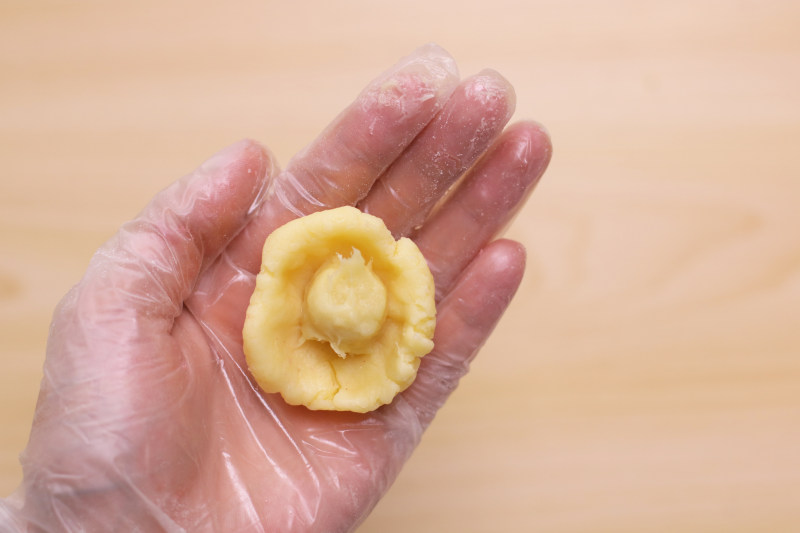
20.果馅脱模,芝士奶黄馅包裹果馅。
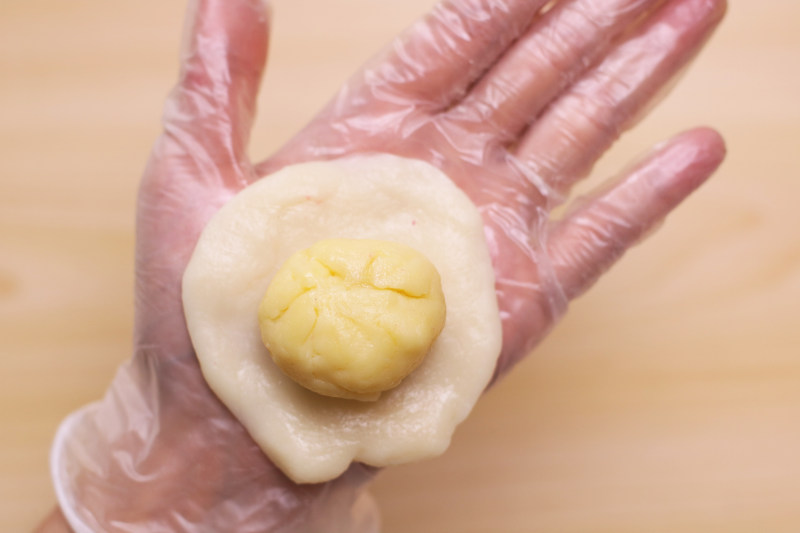
21.再用饼皮包裹馅料。
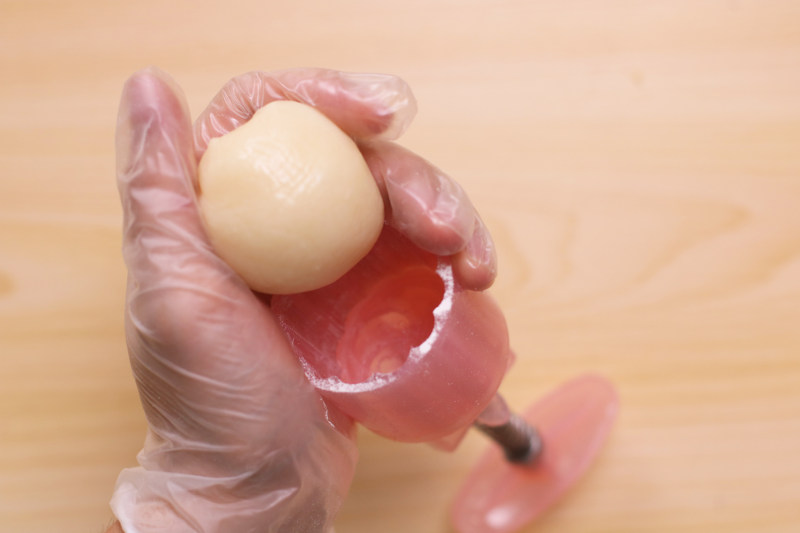
22.月饼模具粘上熟糯米粉,把包裹好的饼皮月饼放入模具,压膜。
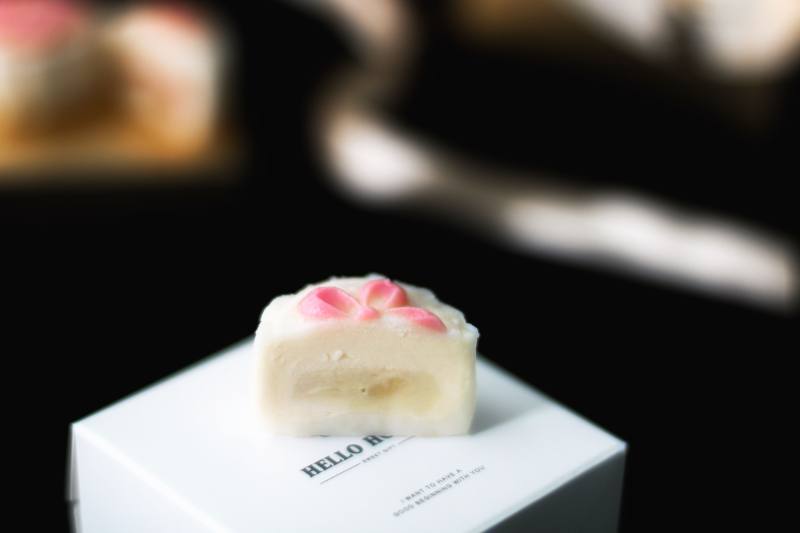
23.做好的月饼马上就可以吃啦!放冰箱冷冻保存,可放置一个月。
小窍门&温馨提示
1.没有厨师机可以用手揉,借助刮板按压。
2.煮馅料的时候,建议使用电陶炉,明火也可以但要小火。
3.果馅冻不硬,是由于冰箱不够冻。
4.饼皮可以根据自己喜欢加入果蔬粉或者色素。
5.保软酶可以不加,但不能多加。
TAGS:
烘焙 中秋 其他菜系 糯米粉
免责声明:本站部分文章转载自网络,图文仅供行业学习交流使用,不做任何商业用途。文章仅代表原作者个人观点,其原创性及文章内容中图文的真实性、完整性等未经本站核实,仅供读者参考。
上一篇: 奶香榴莲包的做法,奶香榴莲包怎么做,榴莲牛奶包,奶油榴莲包,奶香榴莲酱,榴莲奶黄包
下一篇: 蔓越莓玫瑰花面包的做法,蔓越莓玫瑰花面包怎么做,蔓越莓 面包,蔓越梅玫瑰面包,蔓越莓面包片图片,玫瑰蔓越莓茶包
Deprecated: mysql_connect(): The mysql extension is deprecated and will be removed in the future: use mysqli or PDO instead in
/data/haozs.cc/xianguan.php on line
5
Deprecated: mysql_query(): The mysql extension is deprecated and will be removed in the future: use mysqli or PDO instead in
/data/haozs.cc/xianguan.php on line
7


