蛋黄糊
蛋黄,
5个,
细砂糖,
14克,
牛奶,
38克,
玉米油,
58克,
南瓜泥,
110克,
低粉,
90克蛋白霜
蛋白,
5个,
细砂糖,
41克南瓜戚风蛋糕的做法步骤
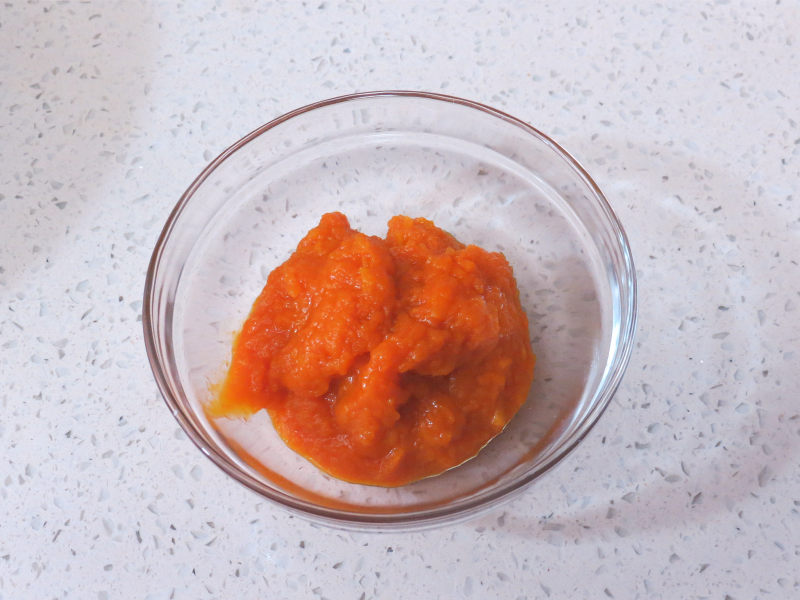
1.南瓜去皮去瓤切小块,上锅蒸熟压成泥,取出需要的份量备用。
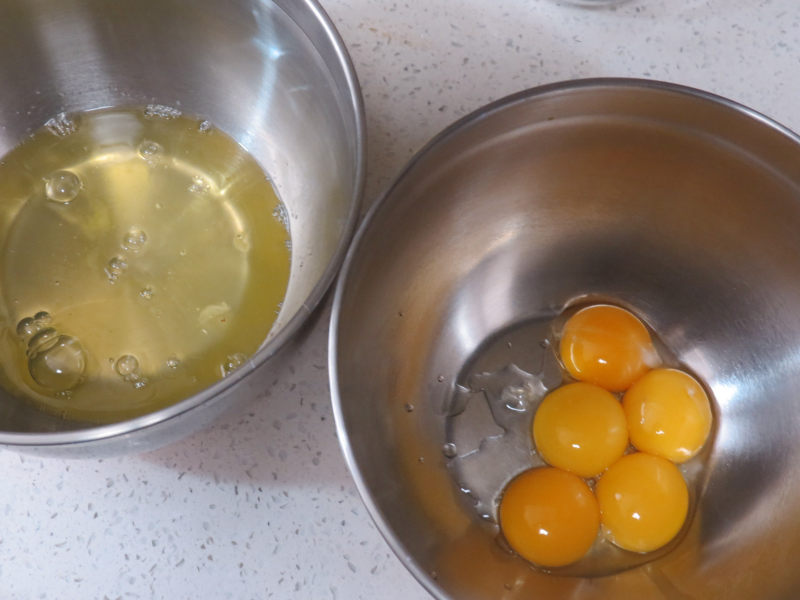
2.蛋黄蛋清分离。
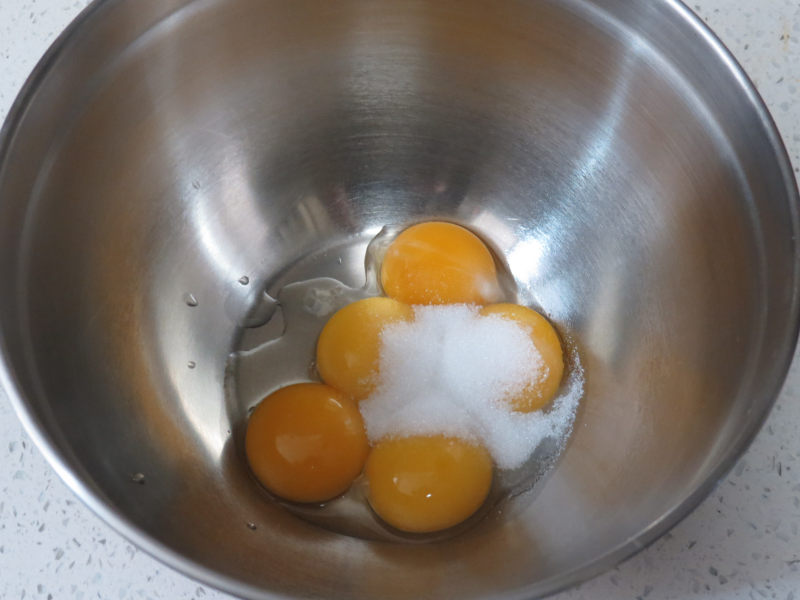
3.蛋黄中加入糖14克。
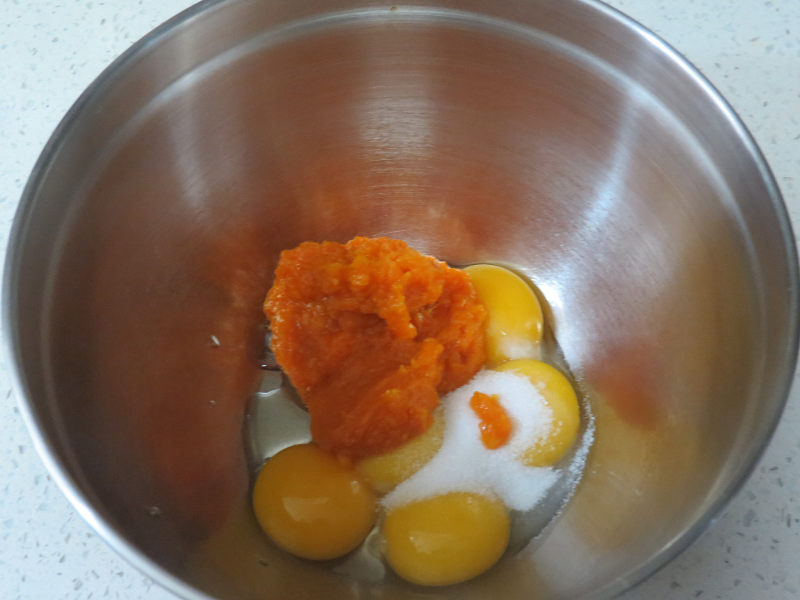
4.再加入南瓜泥。

5.用手动打蛋器搅拌均匀。
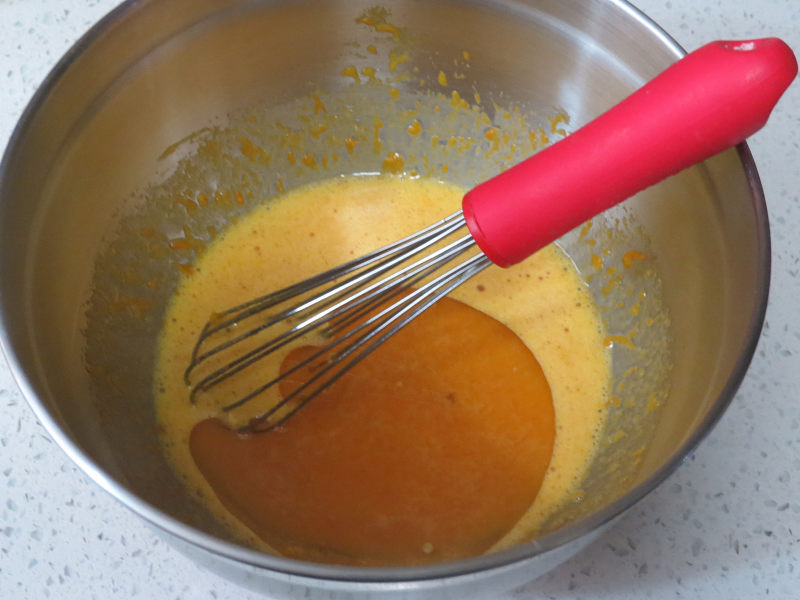
6.加入玉米油搅匀。
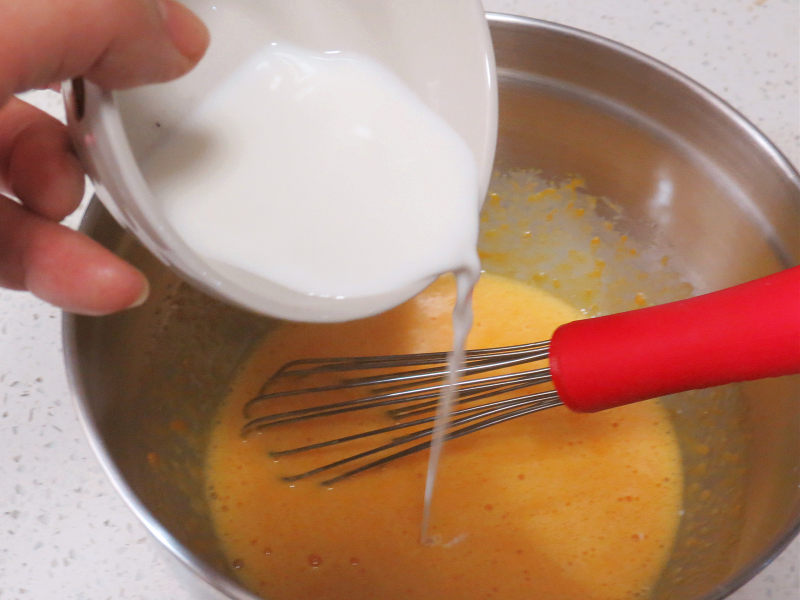
7.加入牛奶。
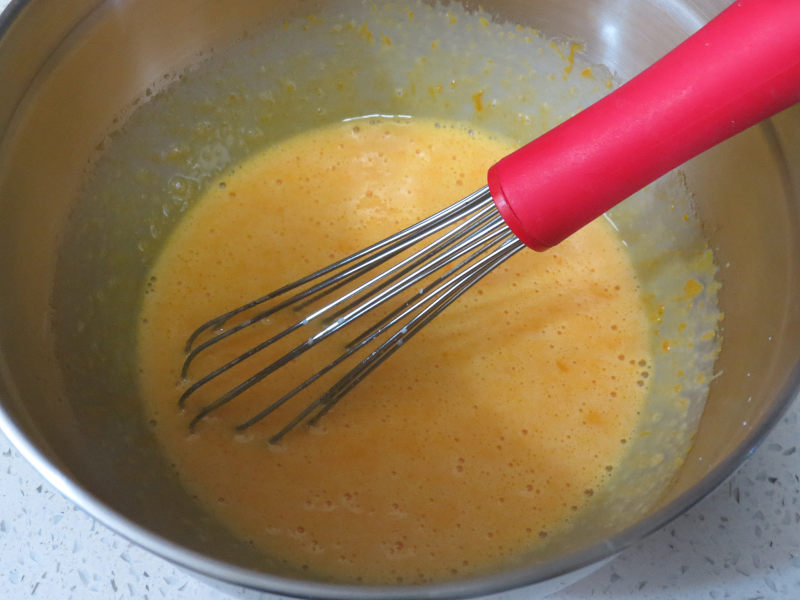
8.搅拌均匀。

9.筛入低粉。
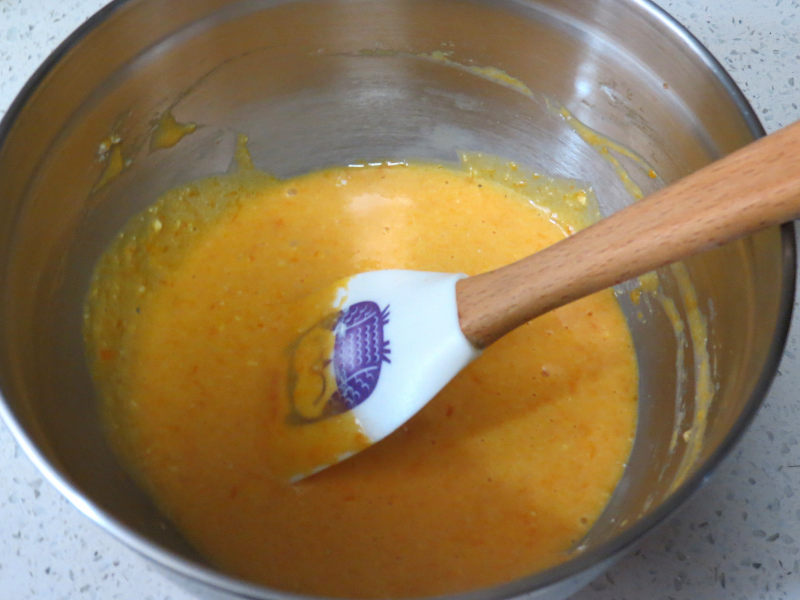
10.翻拌至无干粉,面糊细腻光滑的状态。
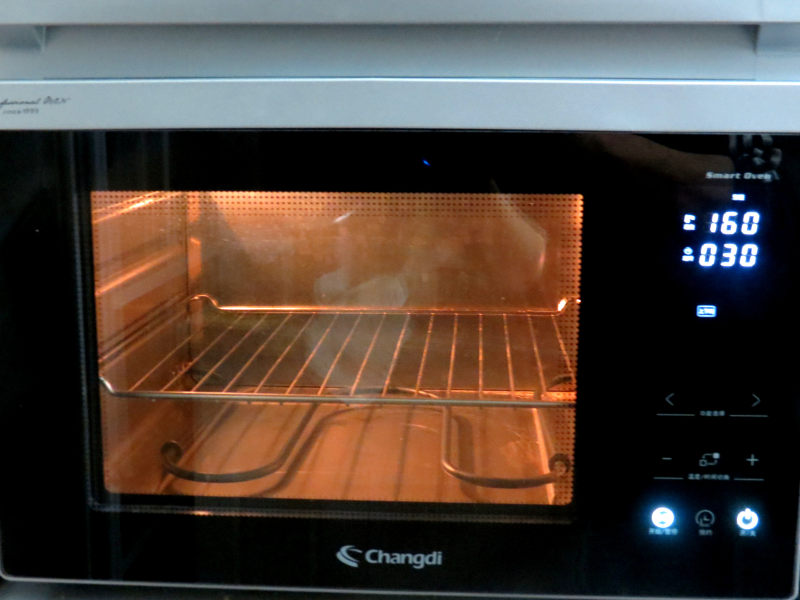
11.烤箱预热160度。
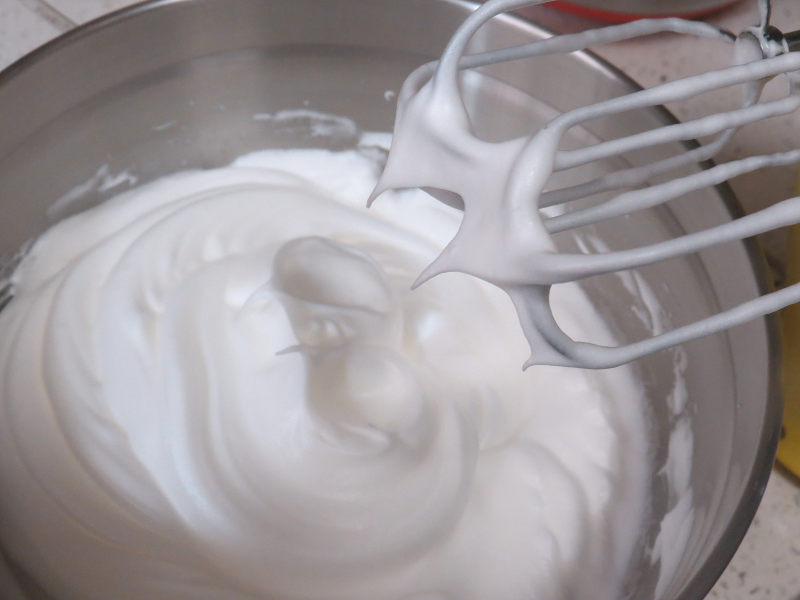
12.打发蛋白。分三次加糖将蛋白打至有挺立的小尖角。
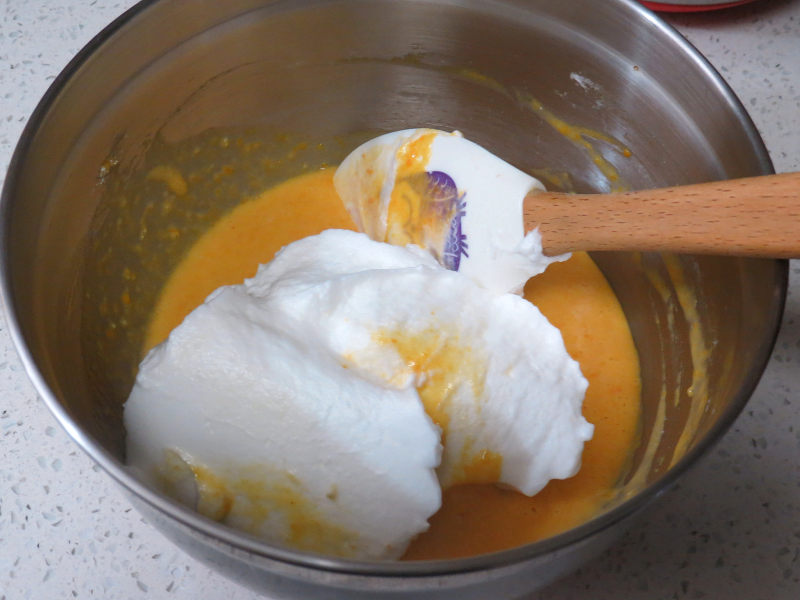
13.取三分之一蛋白霜与蛋黄糊混合均匀。
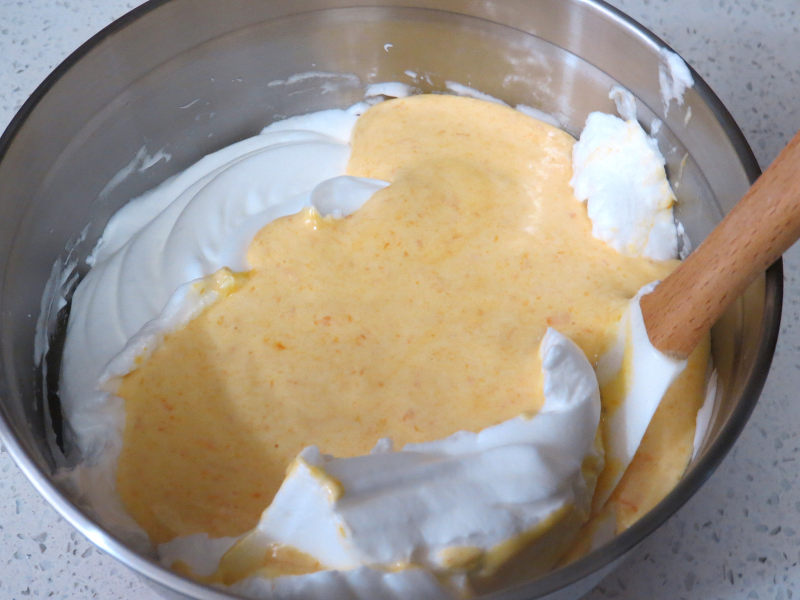
14.倒回蛋白霜盆中。
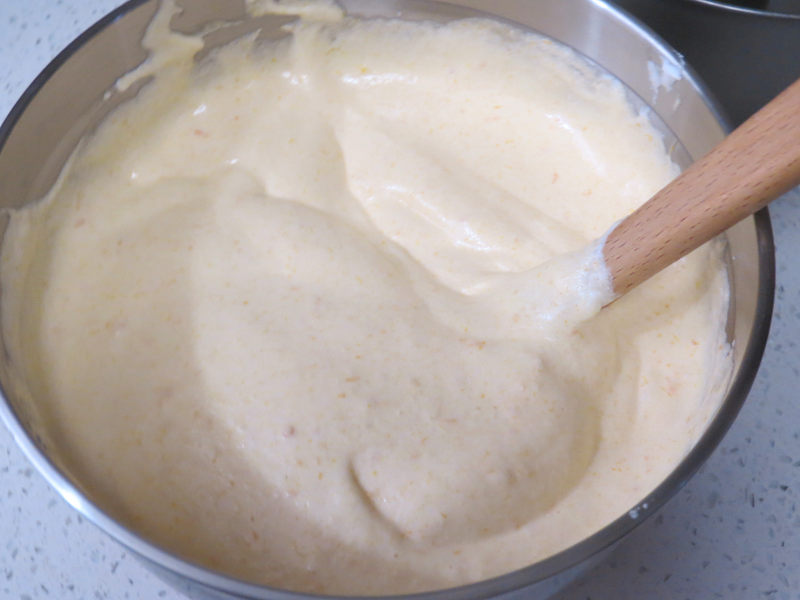
15.继续自下而上翻拌均匀。
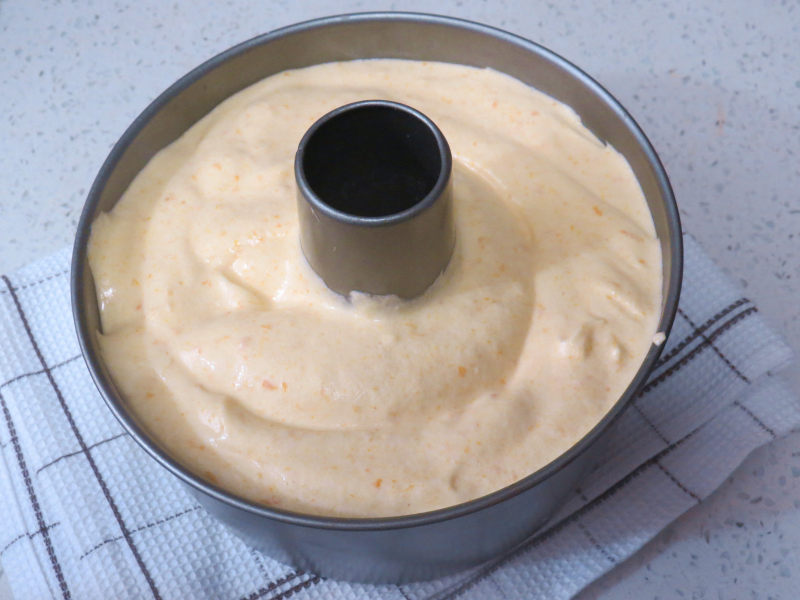
16.将蛋糕糊装入中空模具,轻轻震动几下震出大气泡。
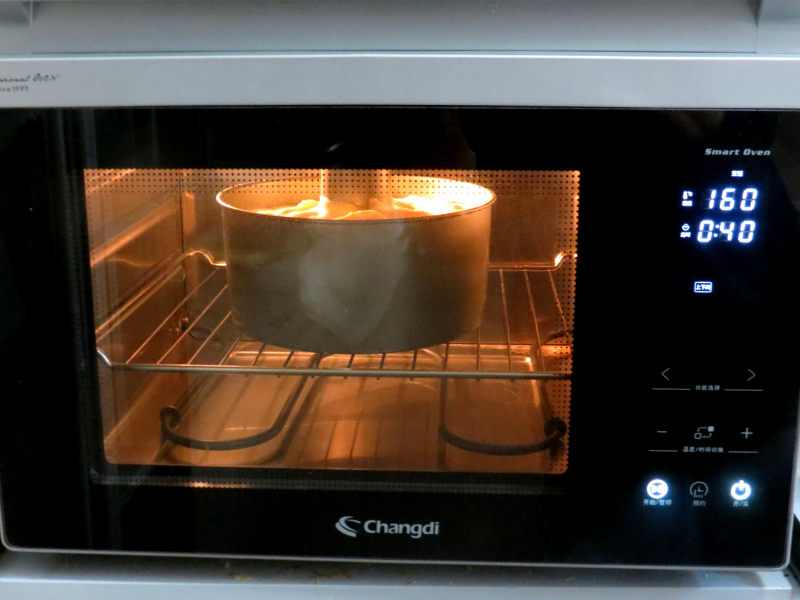
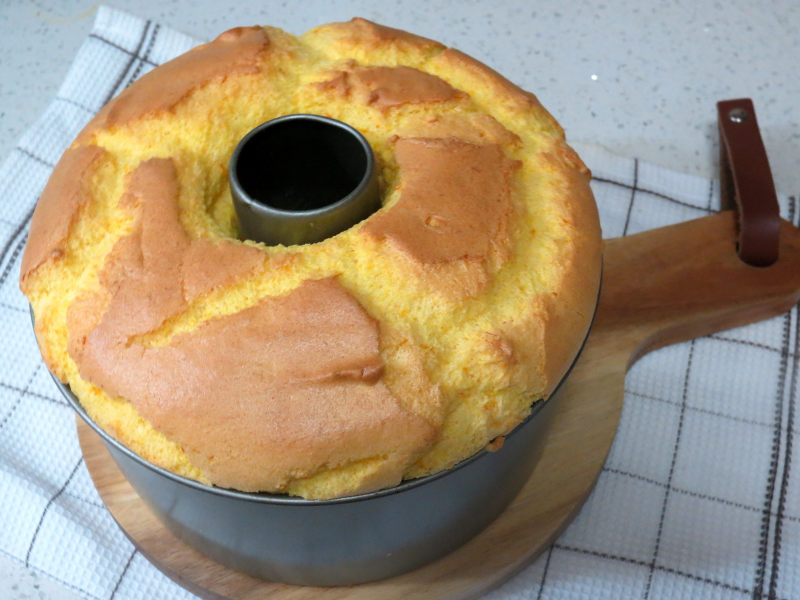
17.放入烤箱中下层,上下管160度烘烤40分钟左右(请按自家烤箱习性调整温度和时间)。
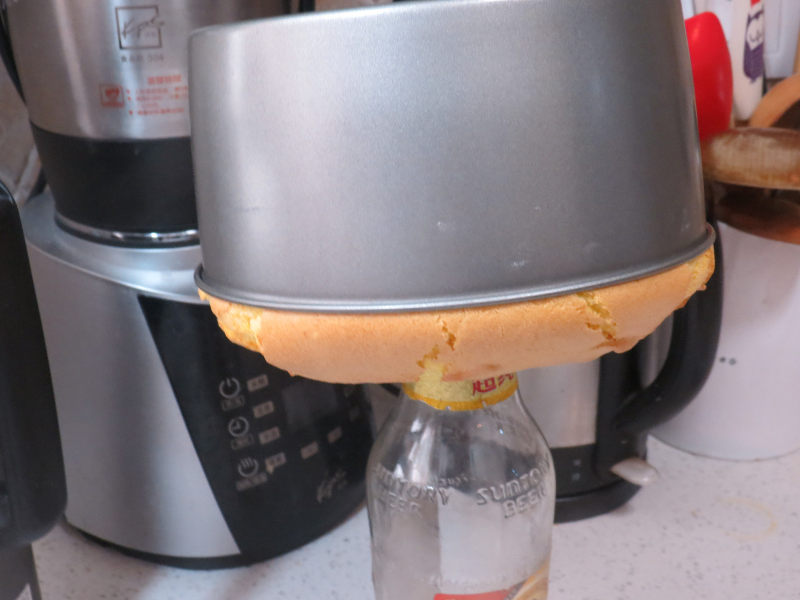
18.出炉后立刻轻震一下倒扣在酒瓶上冷却。
19.完全冷却后,再小心脱模。
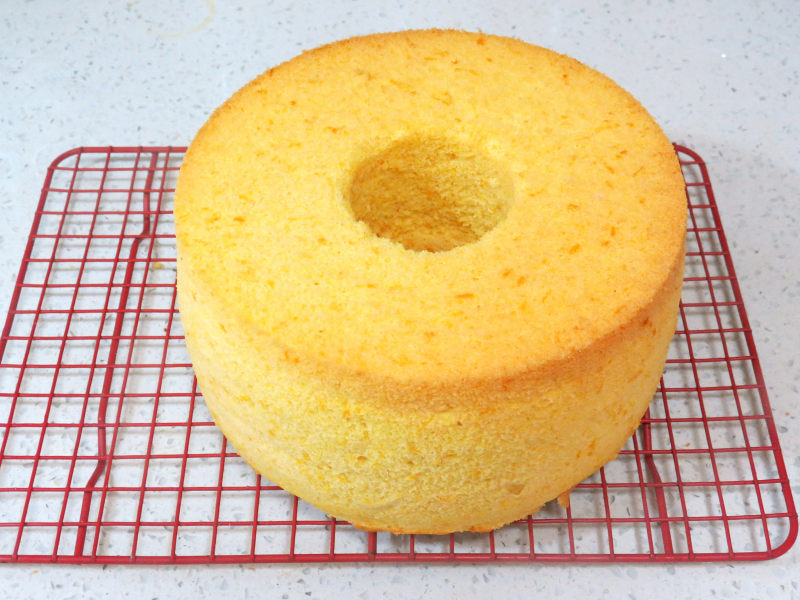
20.可用手脱模或用脱模刀帮助完成。
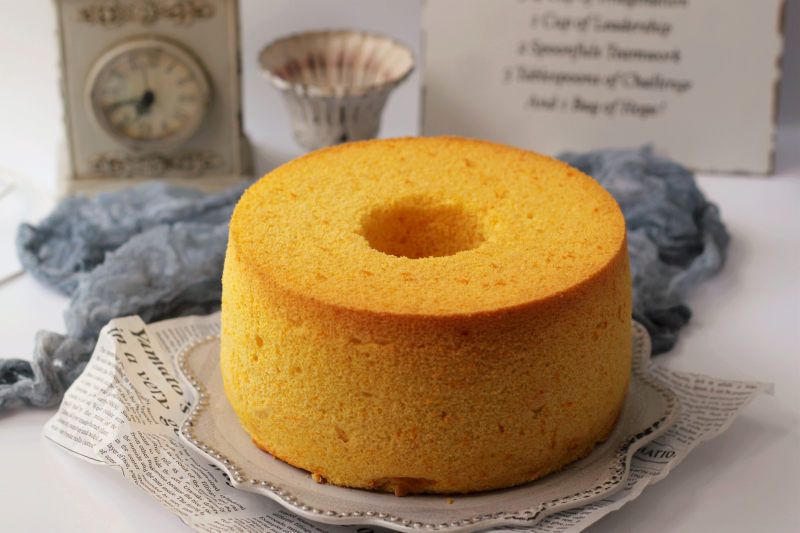
21.成品。
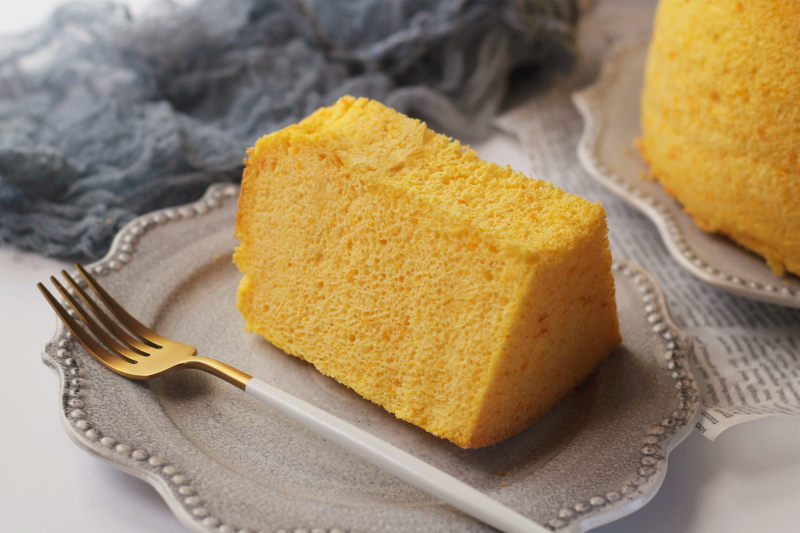
22.成品。
TAGS:
烘焙 早餐 下午茶 其他菜系 蛋黄
免责声明:本站部分文章转载自网络,图文仅供行业学习交流使用,不做任何商业用途。文章仅代表原作者个人观点,其原创性及文章内容中图文的真实性、完整性等未经本站核实,仅供读者参考。
上一篇: 奶油吐司的做法,奶油吐司怎么做,奶油吐司面包的做法,奶油吐司面包,奶油吐司英文,奶油吐司的做法
下一篇: 韭菜鸡蛋饺子的做法,韭菜鸡蛋饺子怎么做,韭菜鸡蛋饺子蒸多长时间能熟,韭菜鸡蛋饺子馅怎样做,韭菜鸡蛋饺子的热量是多少,韭菜鸡蛋饺子可以放冰箱冷冻多久
Deprecated: mysql_connect(): The mysql extension is deprecated and will be removed in the future: use mysqli or PDO instead in
/data/haozs.cc/xianguan.php on line
5
Deprecated: mysql_query(): The mysql extension is deprecated and will be removed in the future: use mysqli or PDO instead in
/data/haozs.cc/xianguan.php on line
7
