主料:
花生碎,
150克,
面包粉,
200克,
咸蛋黄适量,
黄油,
25克,
牛奶,
150克,
鸡蛋,
2个,
白糖,
(依个人口味)10克调料
盐,
2克,
酵母粉,
2克花生蛋黄面包的做法步骤
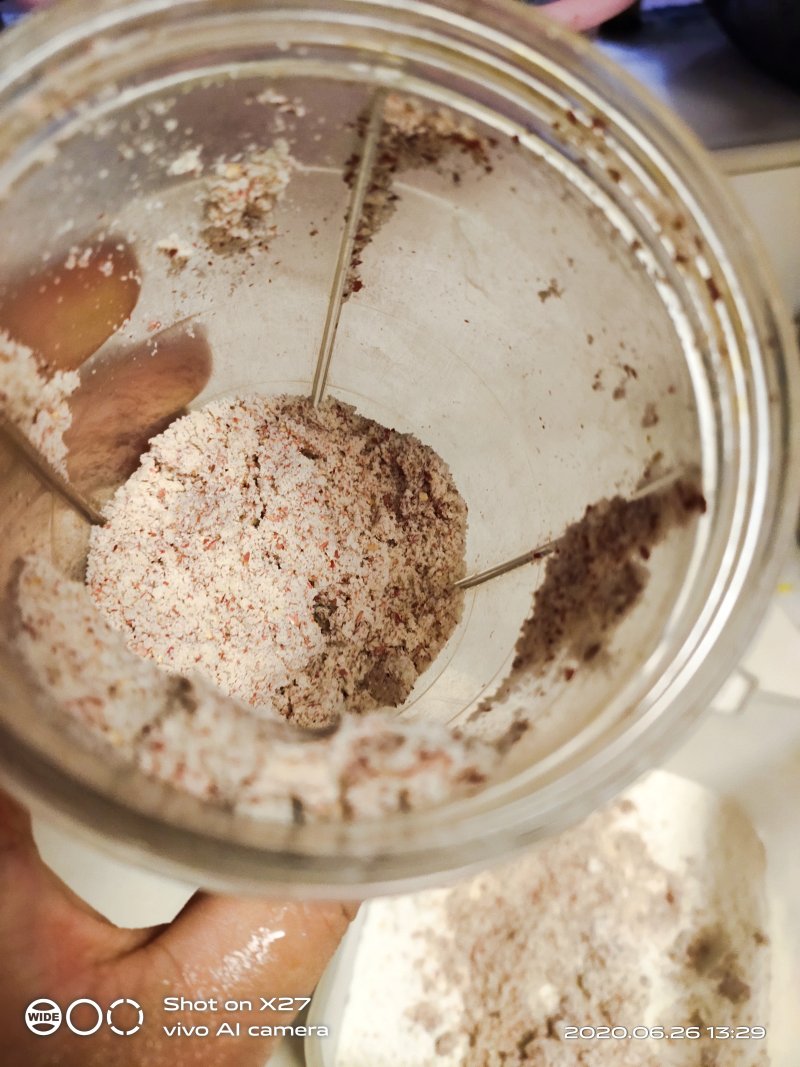
1.花生榨成粉状类。
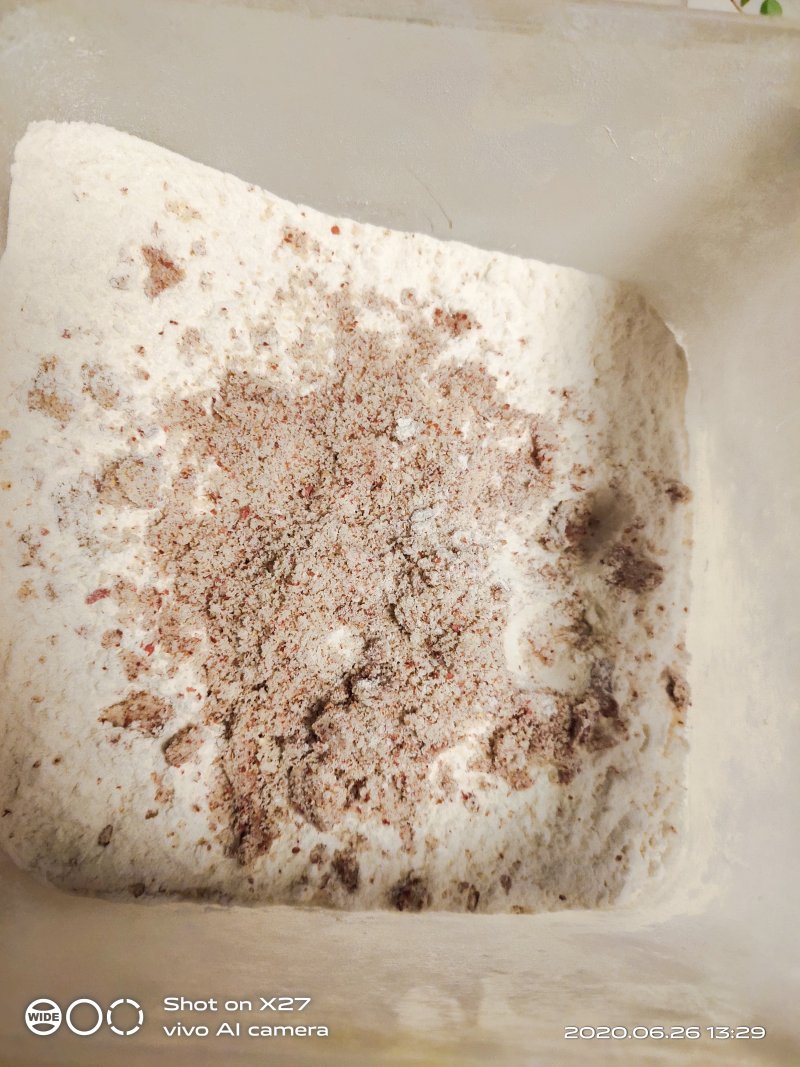
2.倒入与面包粉混合。
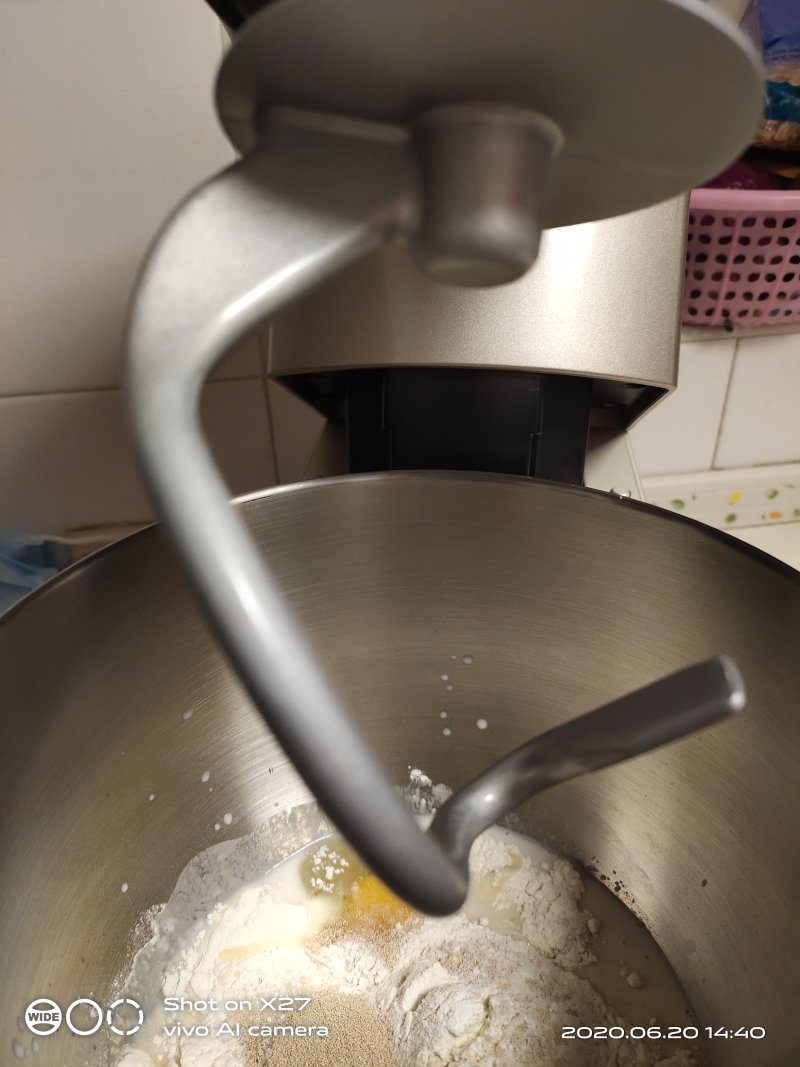
3.加入一个鸡蛋,酵母粉,牛奶,白糖,盐。
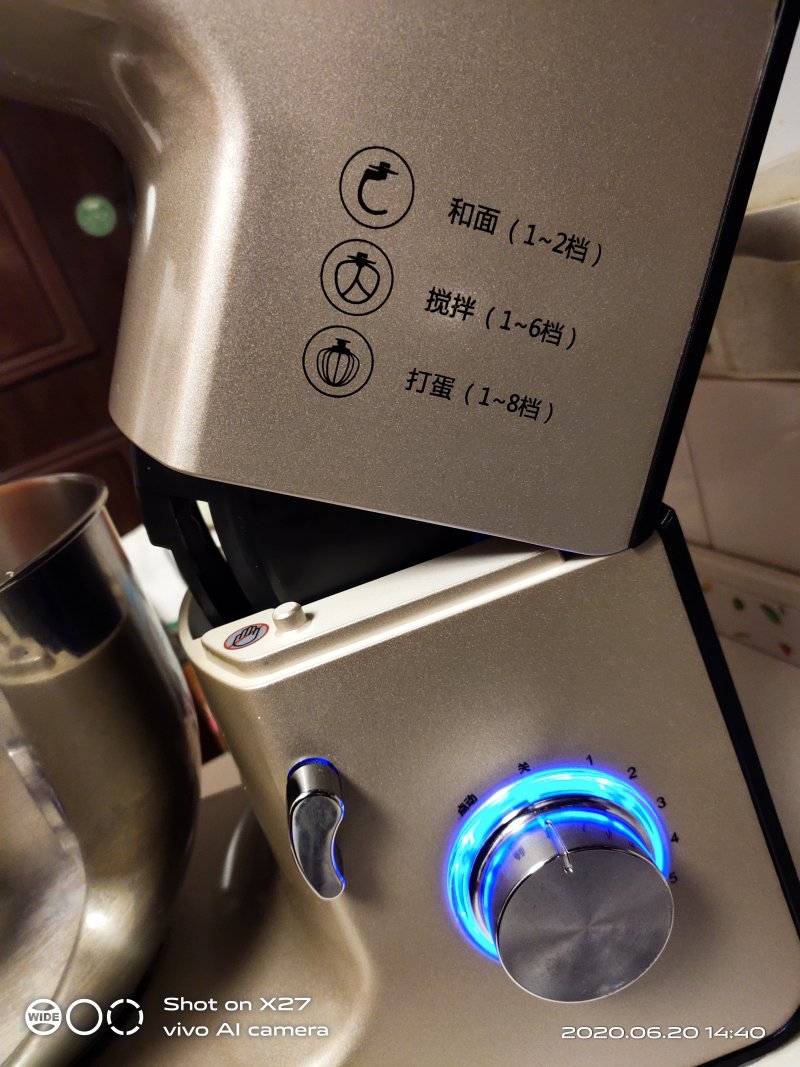
4.厨师机开启用和面档搅拌 3分钟。
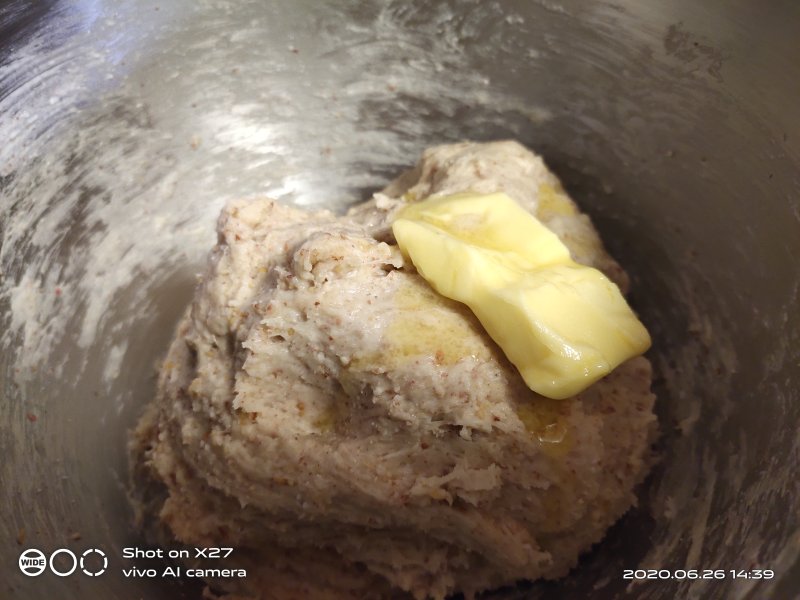
5.然后在加入黄油,启动搅拌程序搅拌 3分钟。
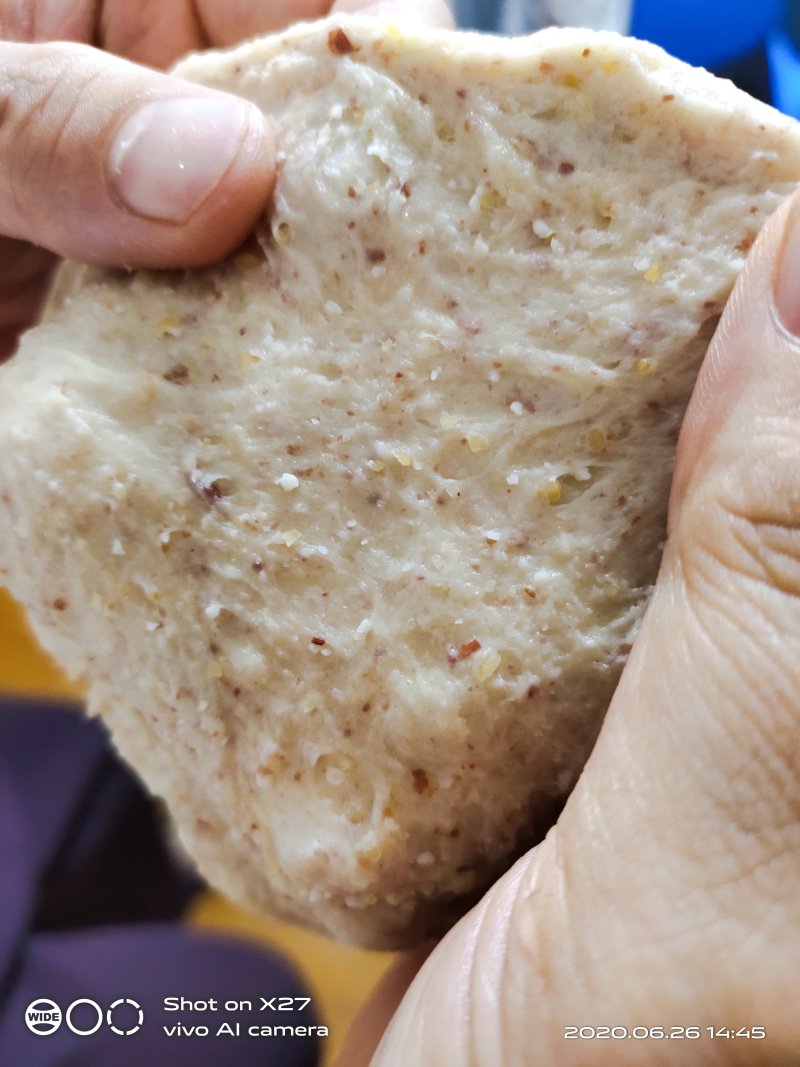
6.取出面团。能轻松拉出膜即可。
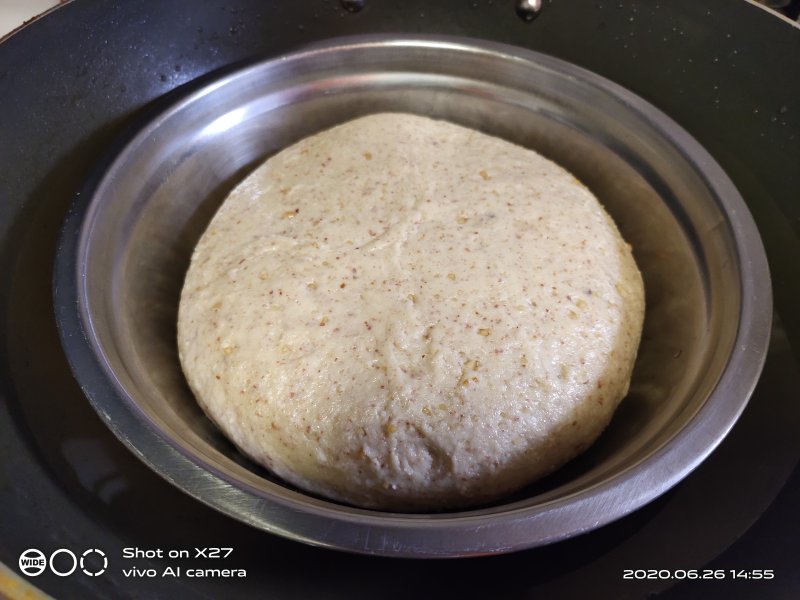
7.将面团整理好,入不锈钢碗里,盖上湿布发酵。
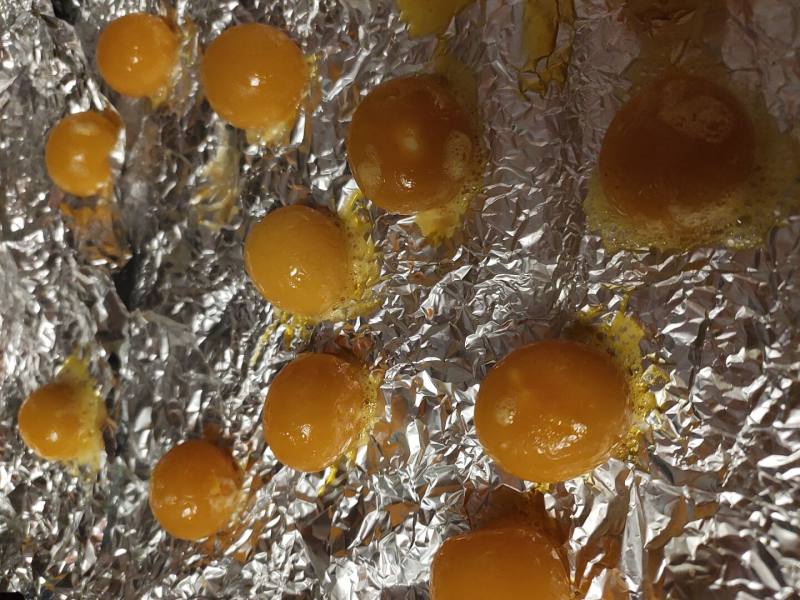
8.咸蛋黄入烤箱上下火150度,烘烤10分钟。
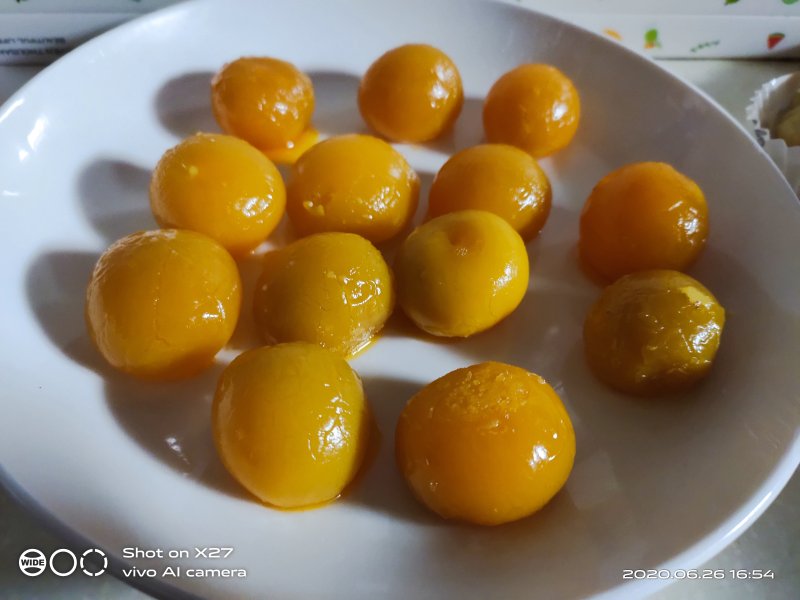
9.取出备用。
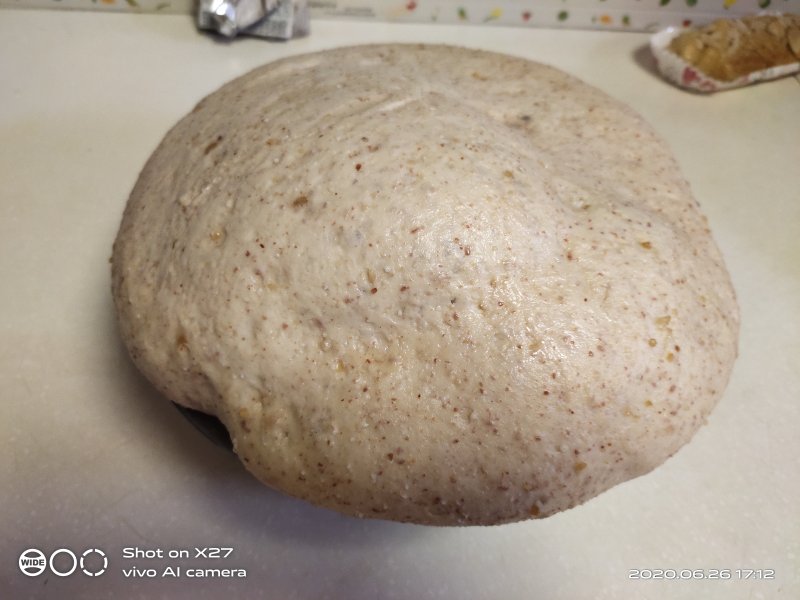
10.面团发酵至两倍大。
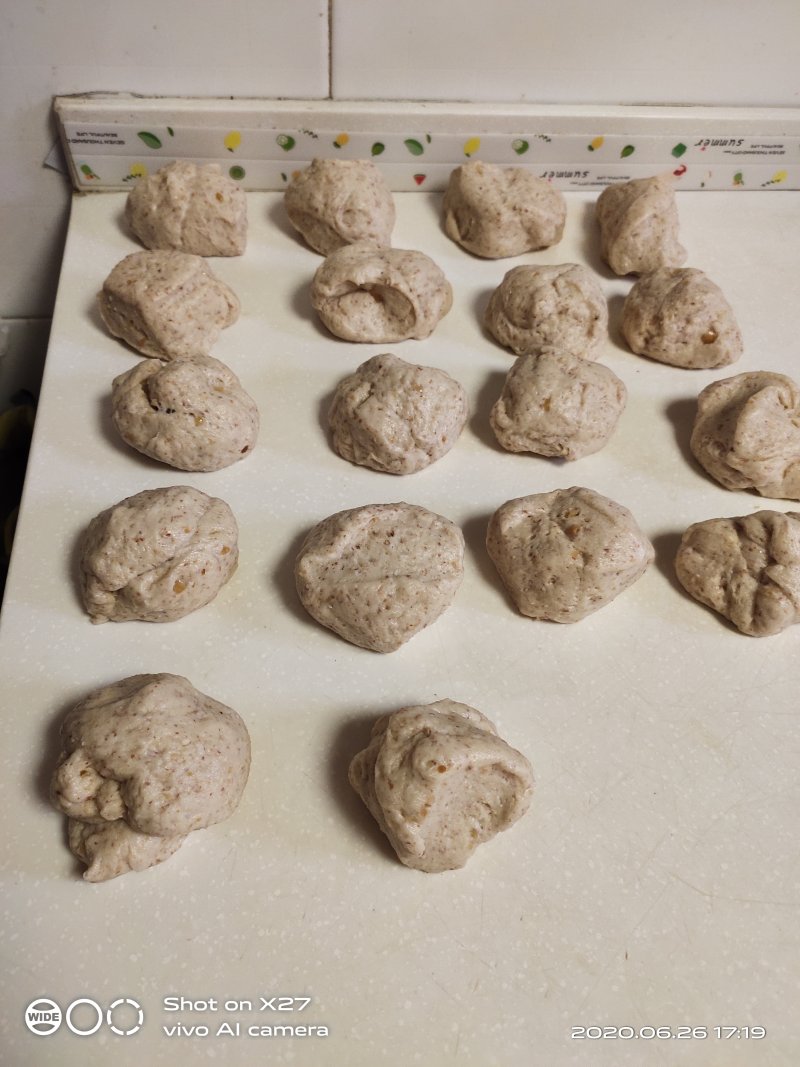
11.将面团分割为小胚子,盖上湿布,静置10分钟。
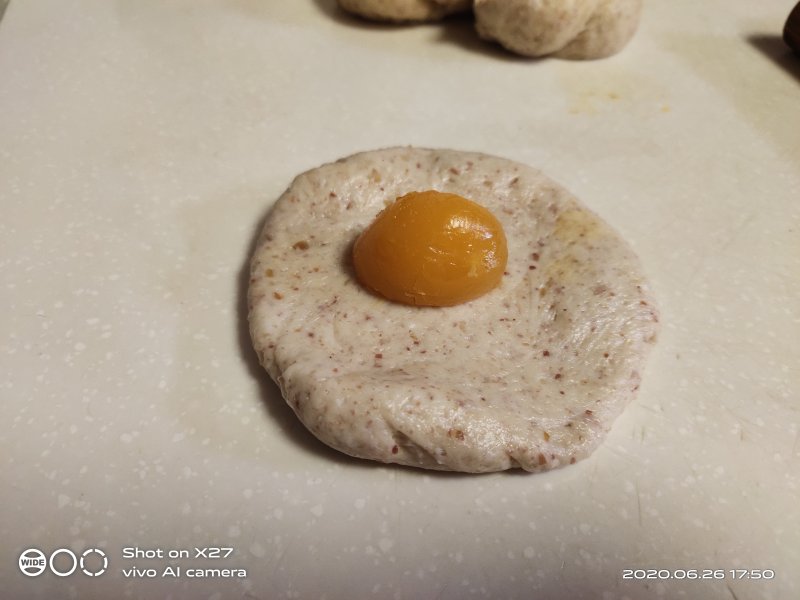
12.取一份面团,擀成圆形,放入咸蛋黄。
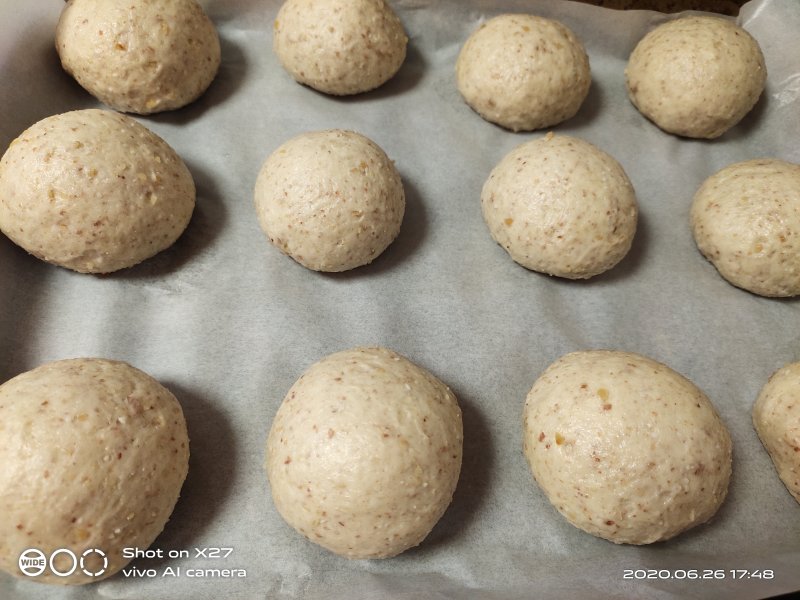
13.揉成光滑面团,入铺好蛋糕纸烤盘中。
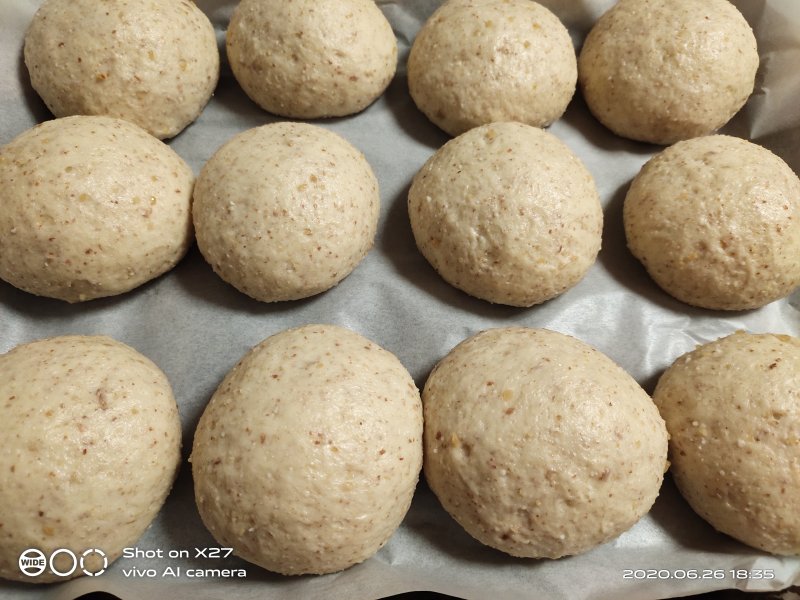
14.入烤箱上层,底部放一碗开水,发酵40分钟至两倍大。
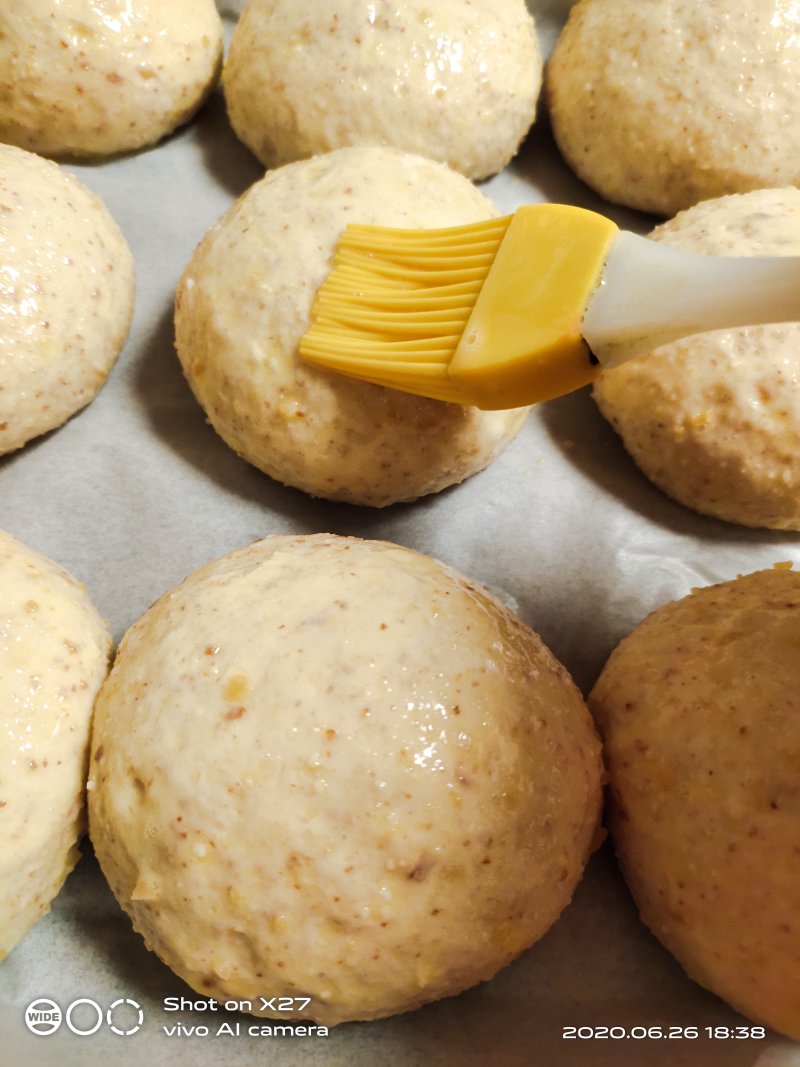
15.表面刷一层鸡蛋液。

16.入烤箱上下火170度烘烤25分钟。每家烤箱不一样,所设置的时间和温度也不一样。
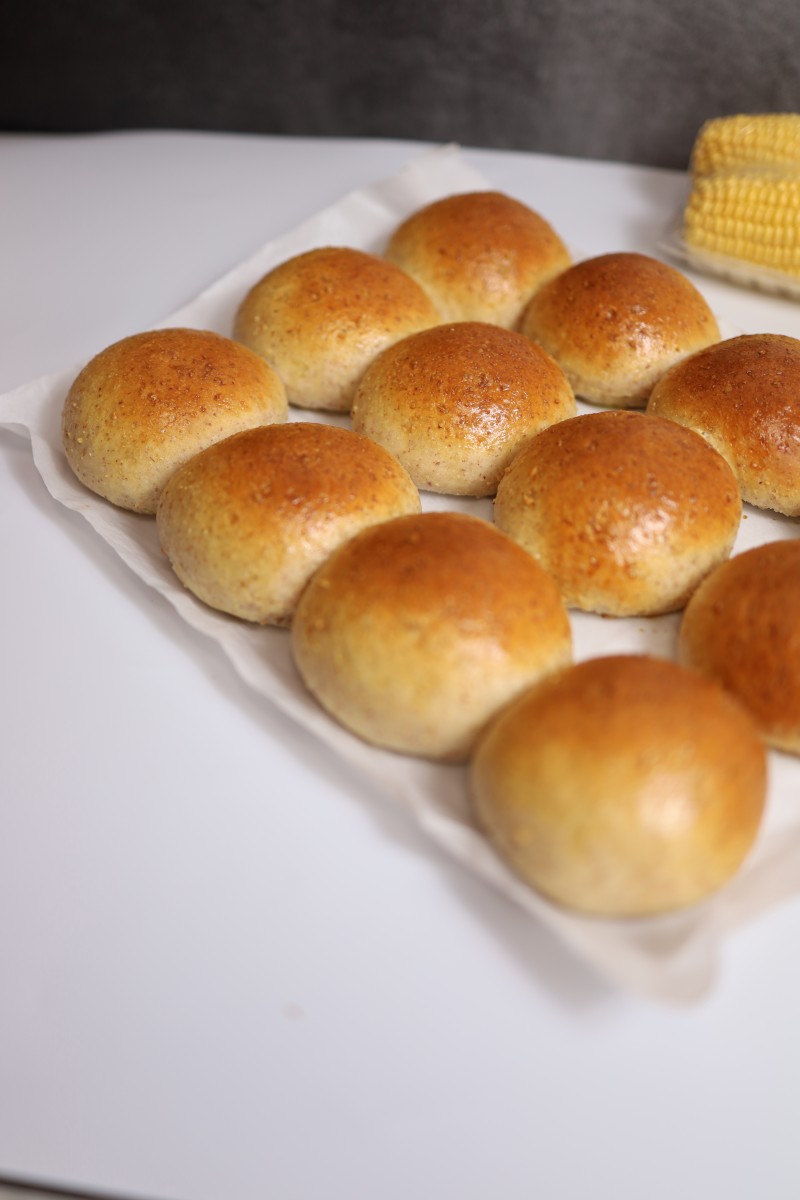
17.取出。
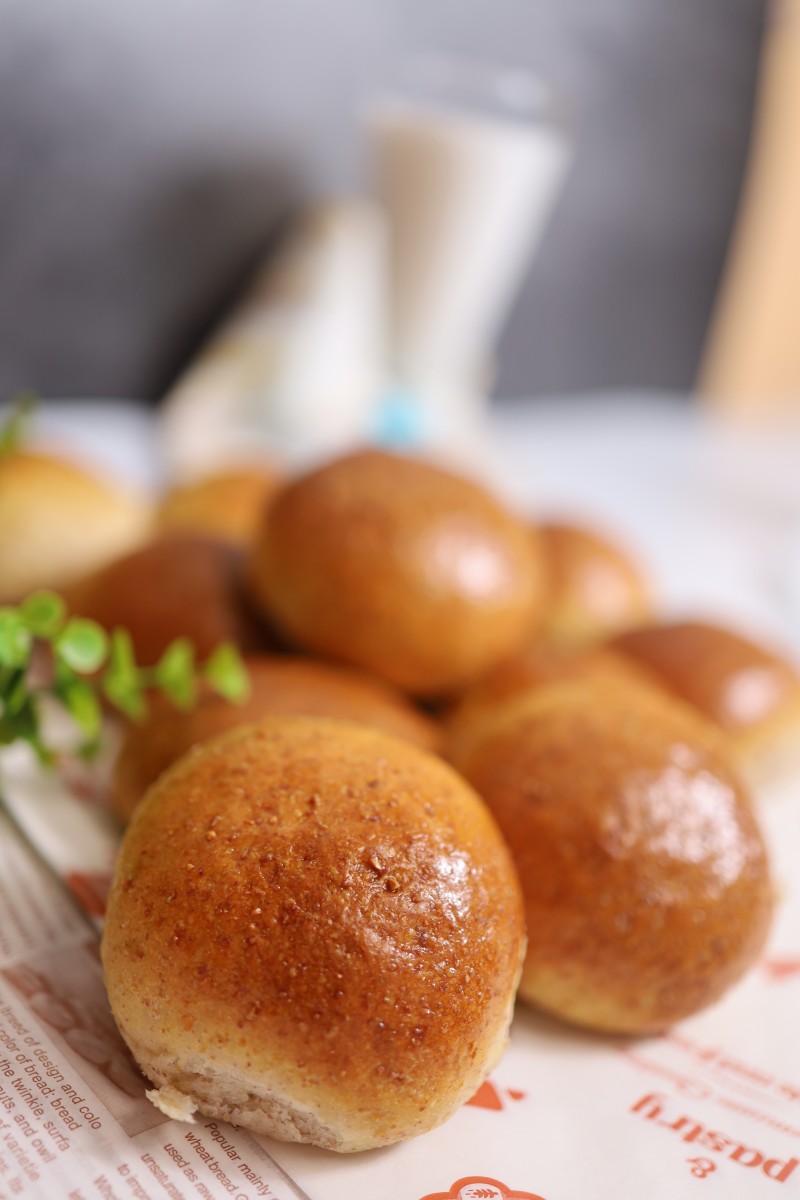
18.看着不错吧。
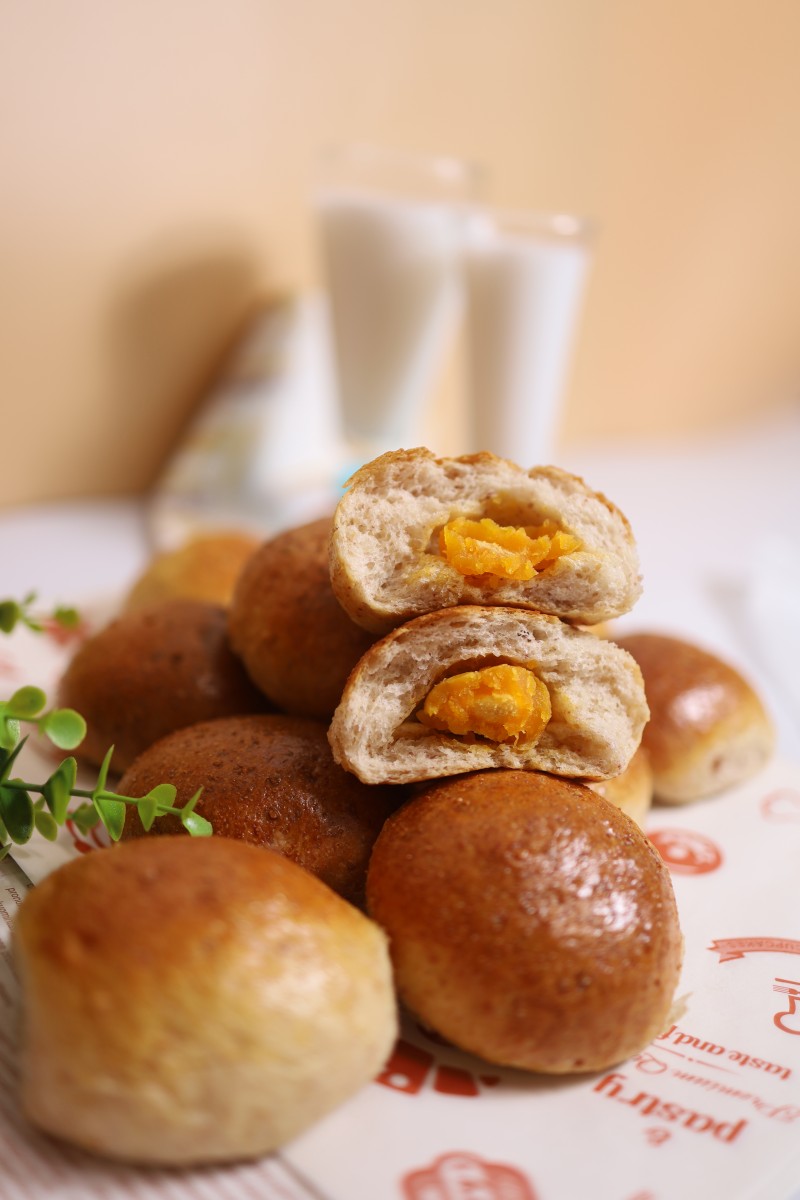
19.成品图!
TAGS:
烘焙 早餐 其他菜系 花生碎
免责声明:本站部分文章转载自网络,图文仅供行业学习交流使用,不做任何商业用途。文章仅代表原作者个人观点,其原创性及文章内容中图文的真实性、完整性等未经本站核实,仅供读者参考。
上一篇: 韭菜鸡蛋饺子的做法,韭菜鸡蛋饺子怎么做,韭菜鸡蛋饺子蒸多长时间能熟,韭菜鸡蛋饺子馅怎样做,韭菜鸡蛋饺子的热量是多少,韭菜鸡蛋饺子可以放冰箱冷冻多久
下一篇: 盐焗鹌鹑蛋的做法,盐焗鹌鹑蛋怎么做,盐焗鹌鹑蛋的做法,盐焗鹌鹑蛋要几分钟才能熟,盐焗鹌鹑蛋的好处与作用,盐焗鹌鹑蛋隔夜还能吃吗
Deprecated: mysql_connect(): The mysql extension is deprecated and will be removed in the future: use mysqli or PDO instead in
/data/haozs.cc/xianguan.php on line
5
Deprecated: mysql_query(): The mysql extension is deprecated and will be removed in the future: use mysqli or PDO instead in
/data/haozs.cc/xianguan.php on line
7
