蛋糕
低筋粉,
60g,
牛奶,
50g,
鸡蛋,
4个,
玉米油,
50g酥粒
低筋粉,
20g,
糖,
10g,
黄油,
10g
配料:
黄油,
30g,
高筋粉,
230g,
酵母,
5g,
盐,
2g,
牛奶,
130g,
糖,
50g,
柠檬汁适量,
樱桃适量,
芒果适量猕猴桃干适量蛋糕夹心果蔬面包的做法步骤
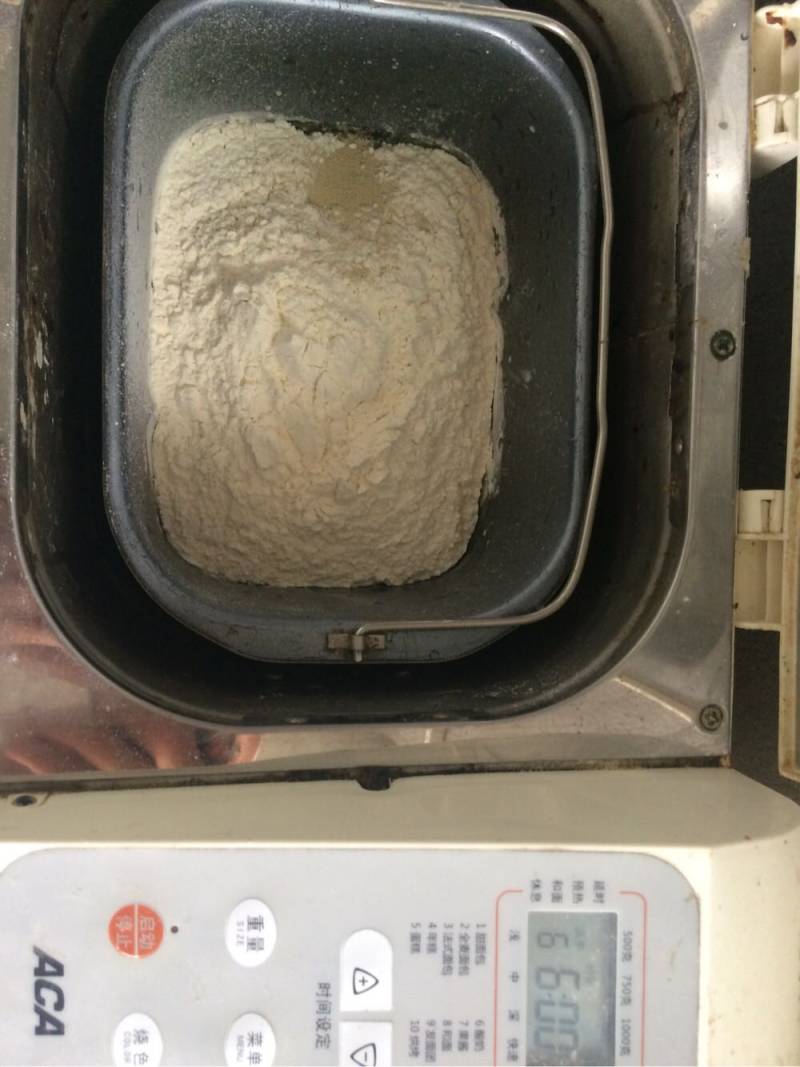
1.把面团除了黄油外其他材料全部放入面包机进行和面功能

2.和至扩展阶段加入黄油继续和面至完全扩展
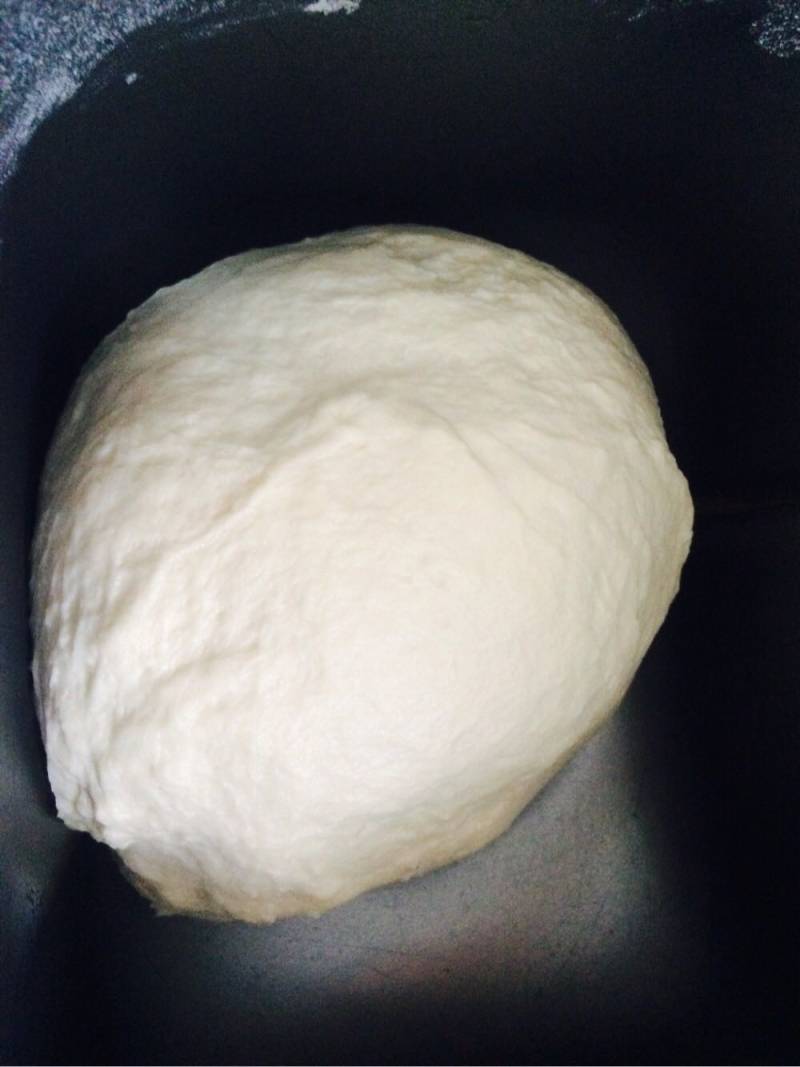
3.然后选择发酵功能进行发酵至面团的两倍大
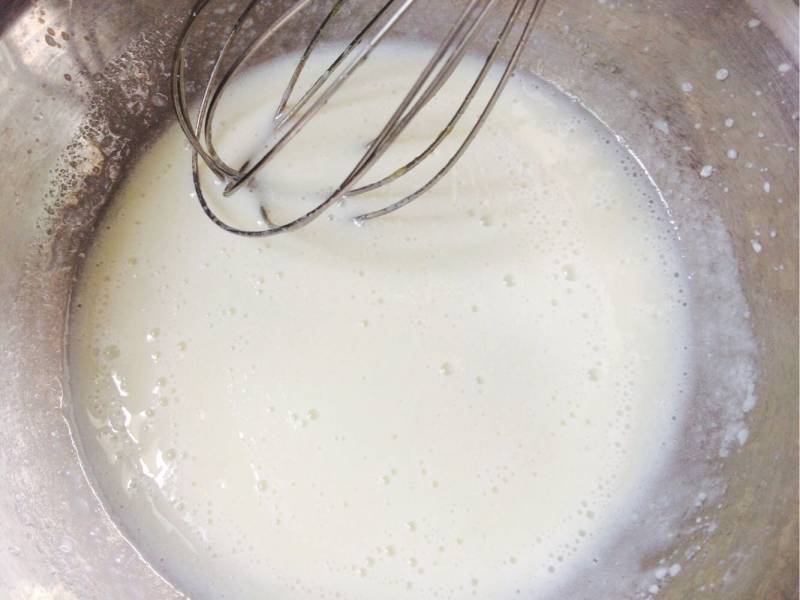
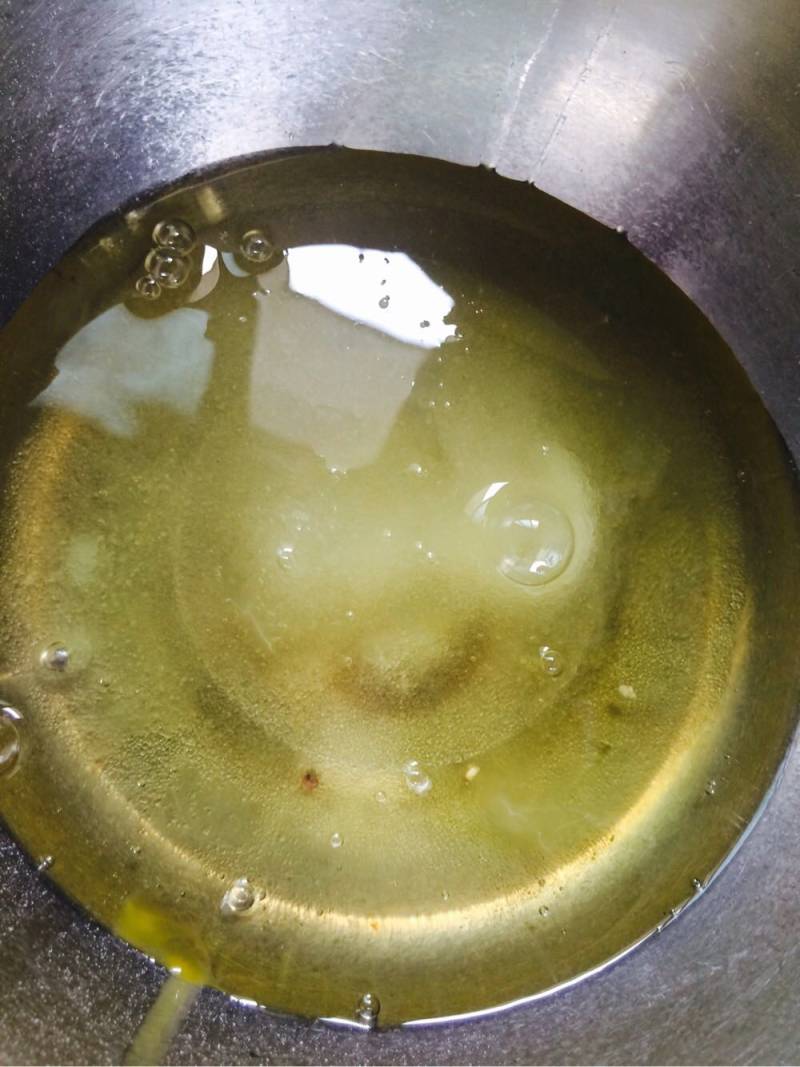
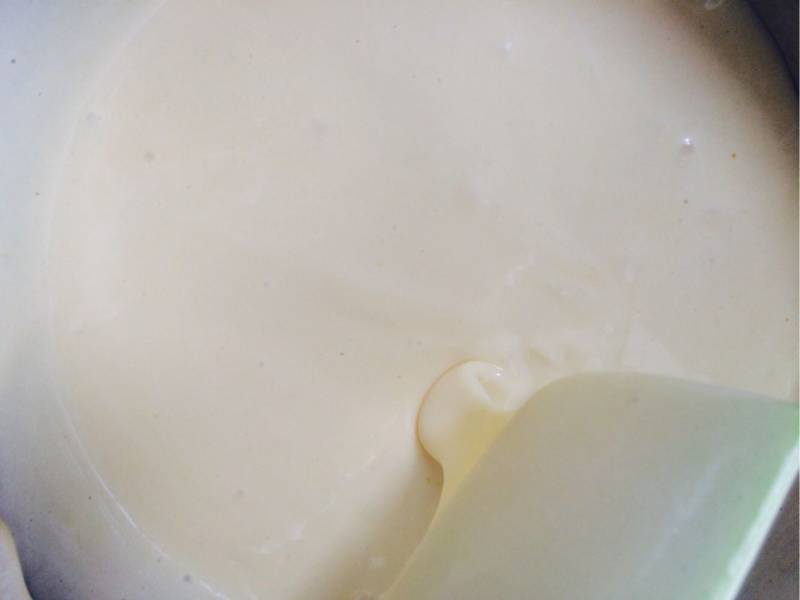
4.面团发酵的过程我们来做蛋糕夹心。牛奶和玉米混合均匀

5.筛入低粉拌匀
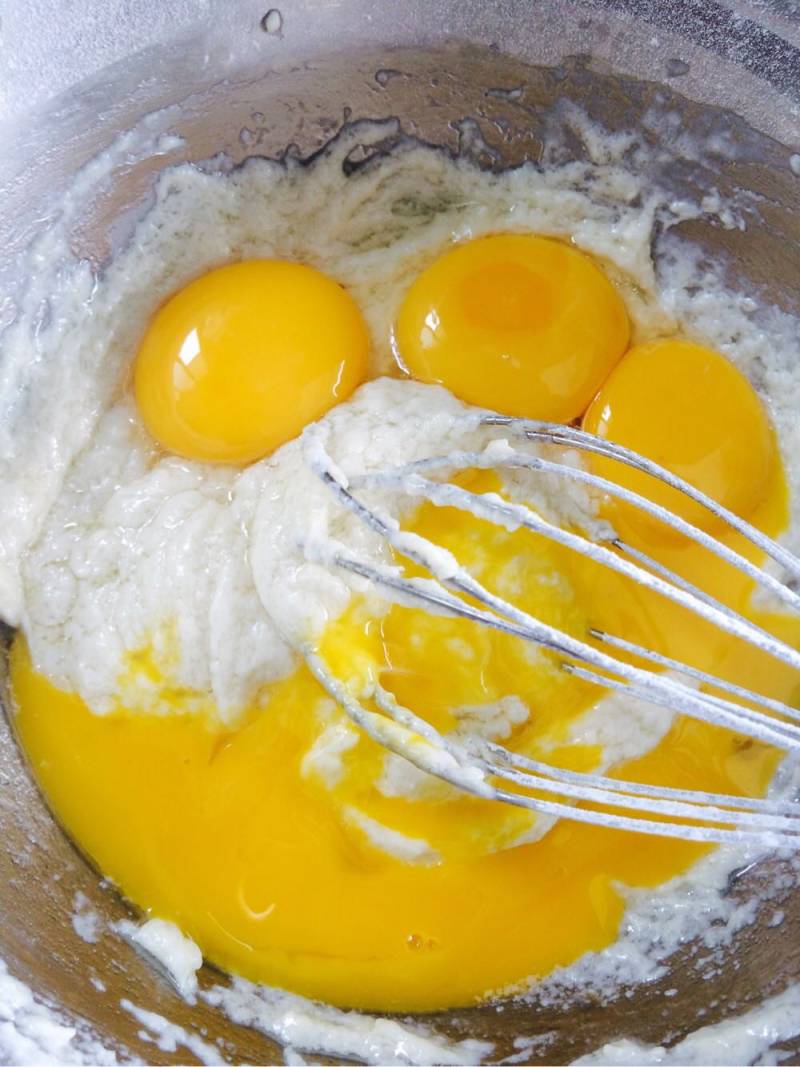
6.打入蛋黄之字拌匀
7.蛋白加糖
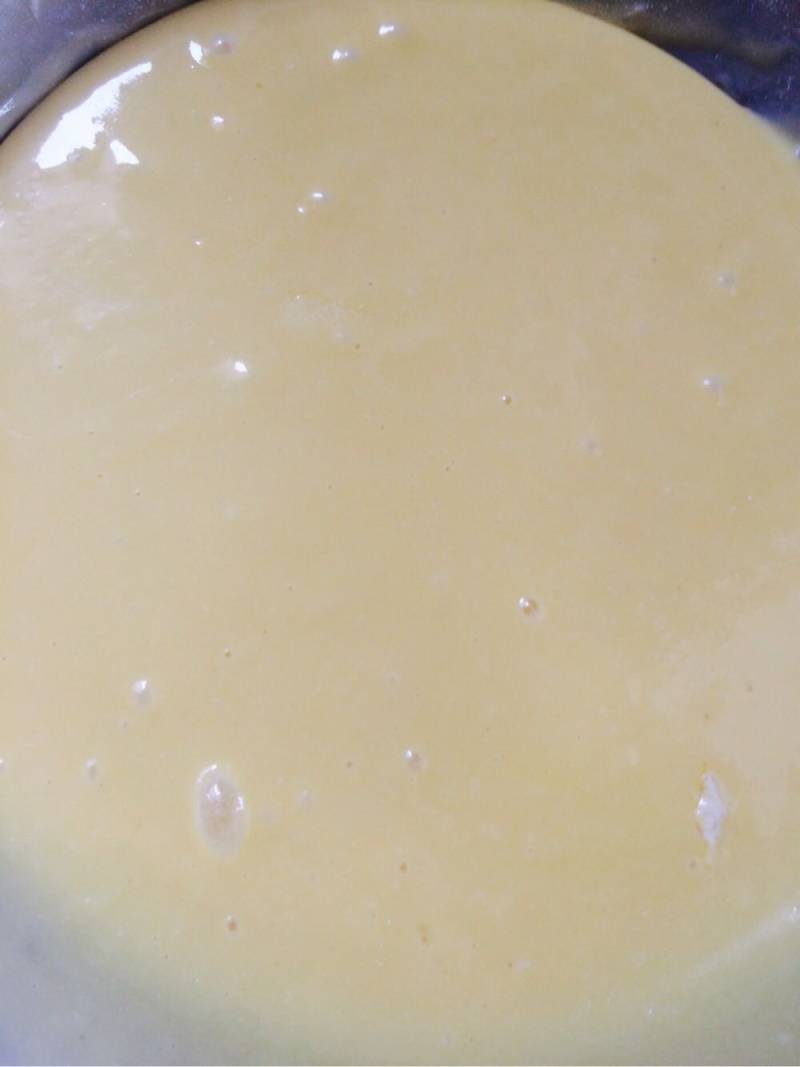
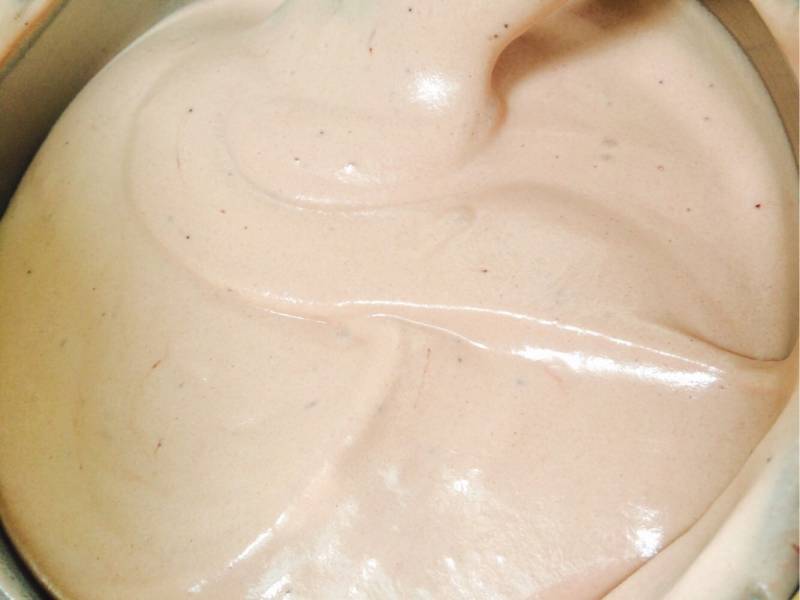
8.蛋黄糊拌匀状态
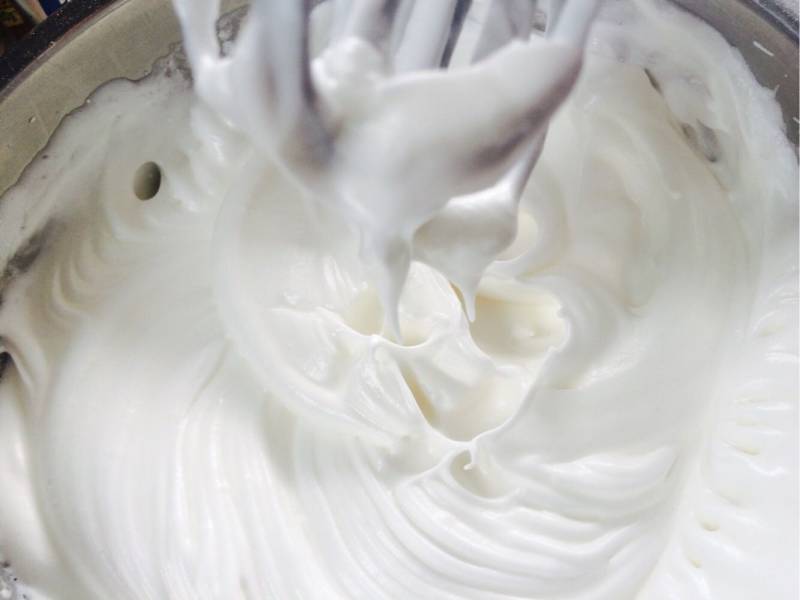
9.蛋白打发至干性发泡
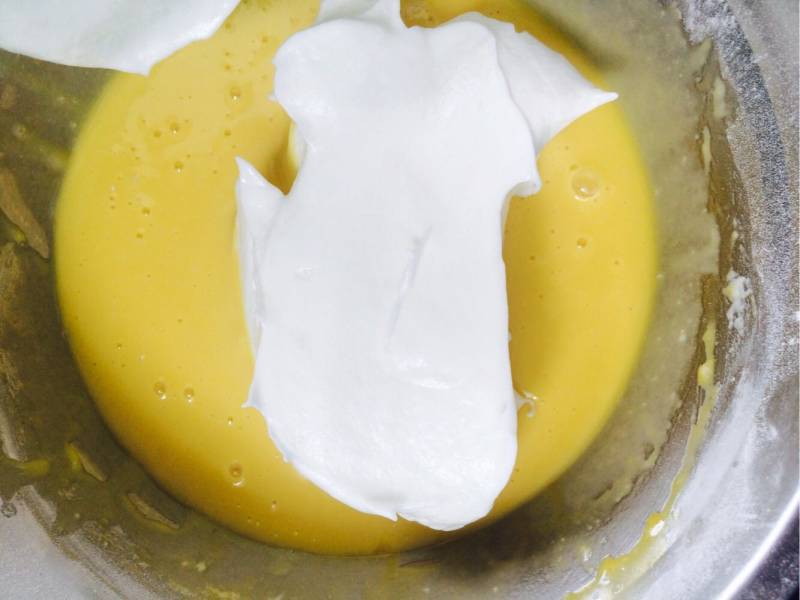
10.取三之一的蛋白和蛋黄糊翻拌均匀
11.然后倒入剩下的蛋白里继续翻拌均匀

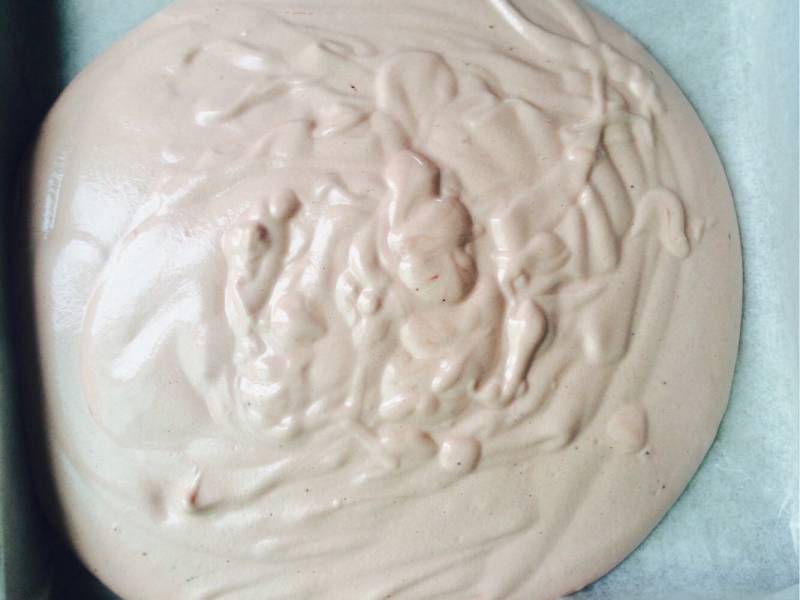
12.筛入适量的红曲米粉!这边可以换抹茶。可可什么的。自己喜欢的
13.翻拌均匀
14.把拌好的蛋糕糊倒入铺好油纸的烤盘上
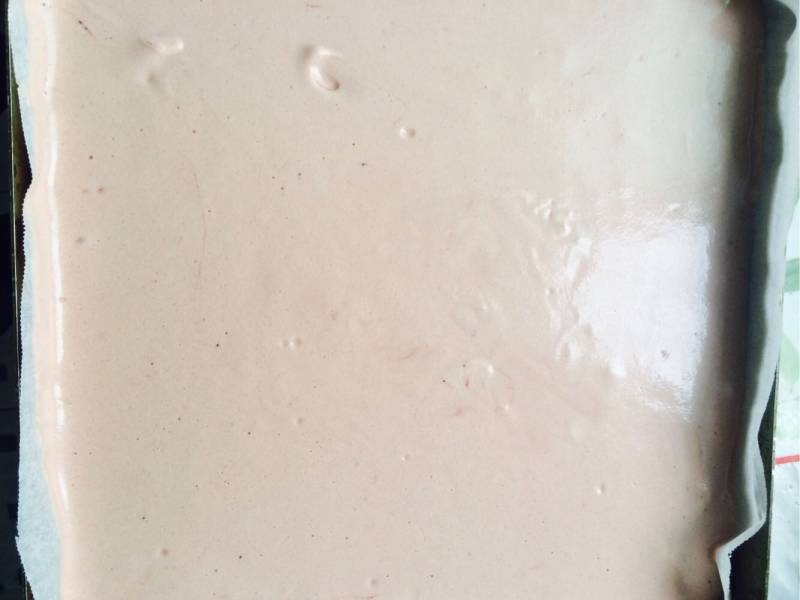
15.整理平 放入提前预热好上下火190的烤箱里烤上下火烤30分钟即可
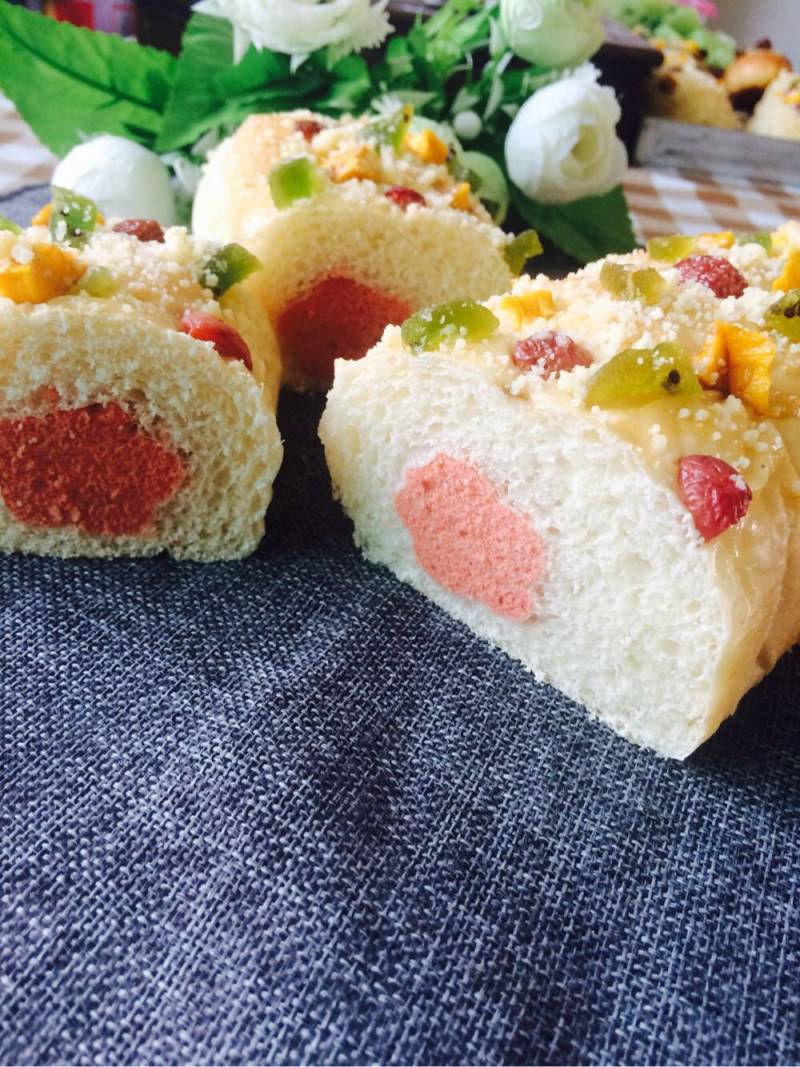
16.烤好后取出倒扣。去除底部油纸放凉。
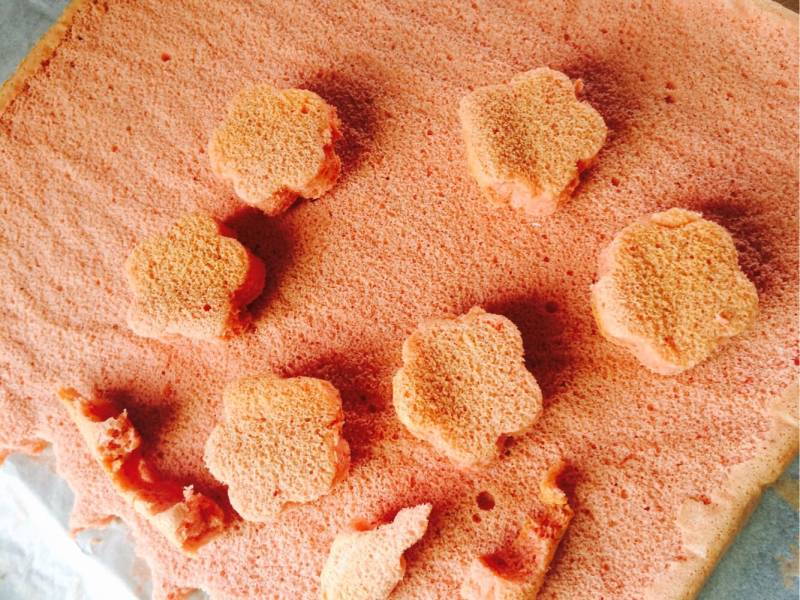
17.把凉好的蛋糕用自己喜欢的模型抠出来形状备用
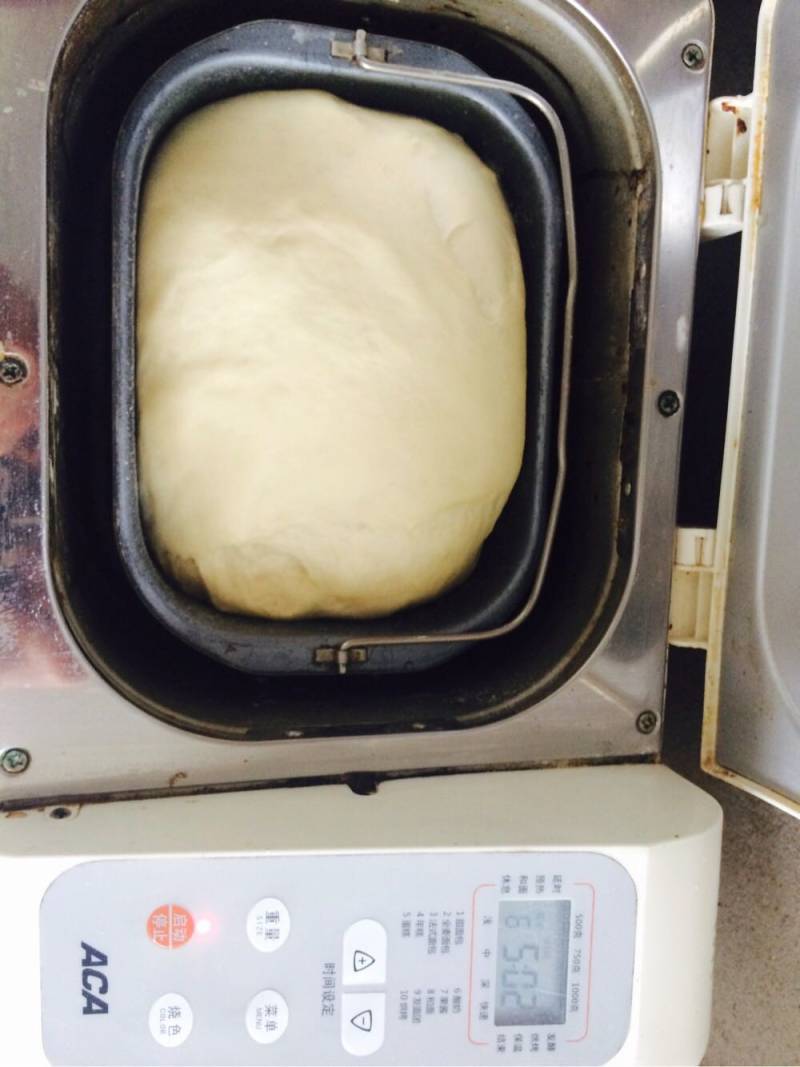
18.此时面包面团已经发酵好了

19.取出面团排气擀成薄片
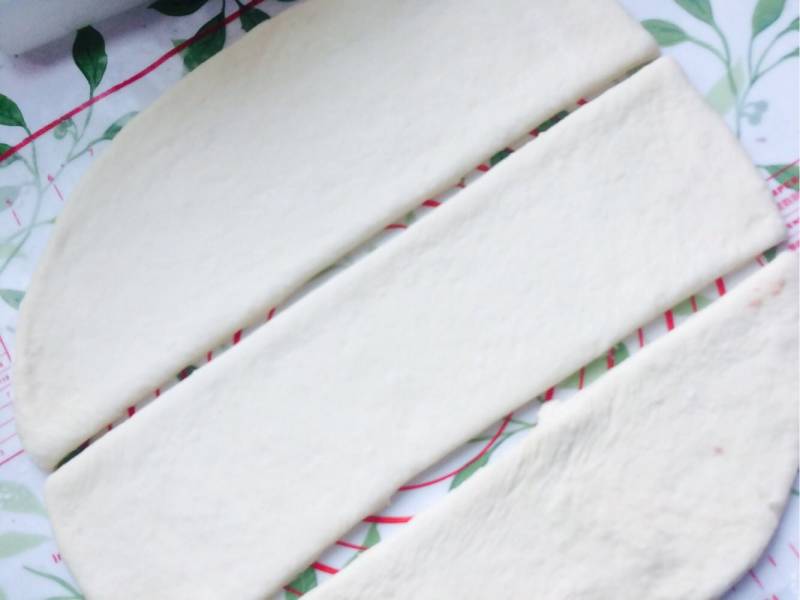
20.切成薄片与蛋糕形状周长大小的条形
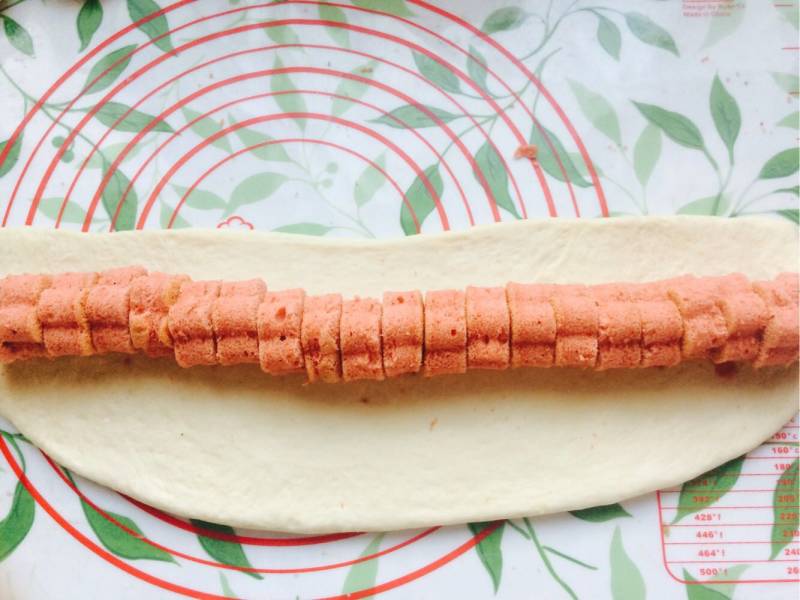
21.把蛋糕片依次摆上
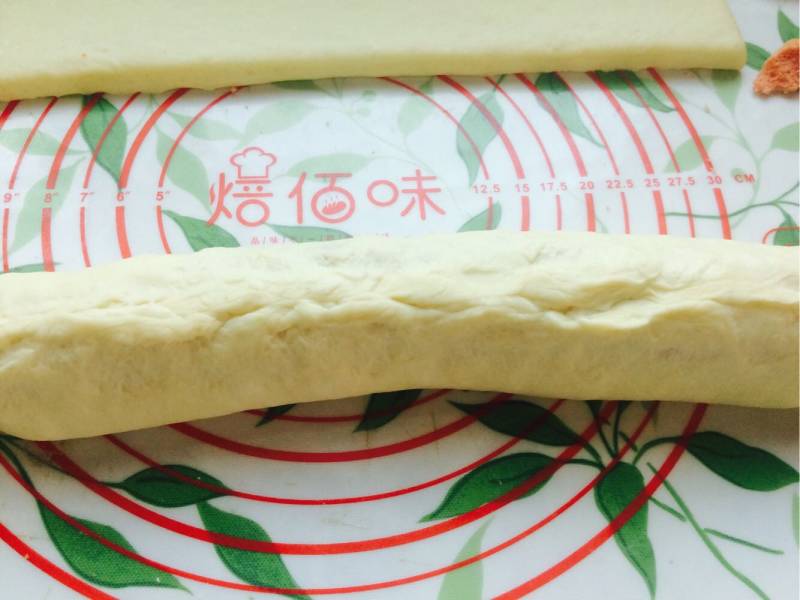
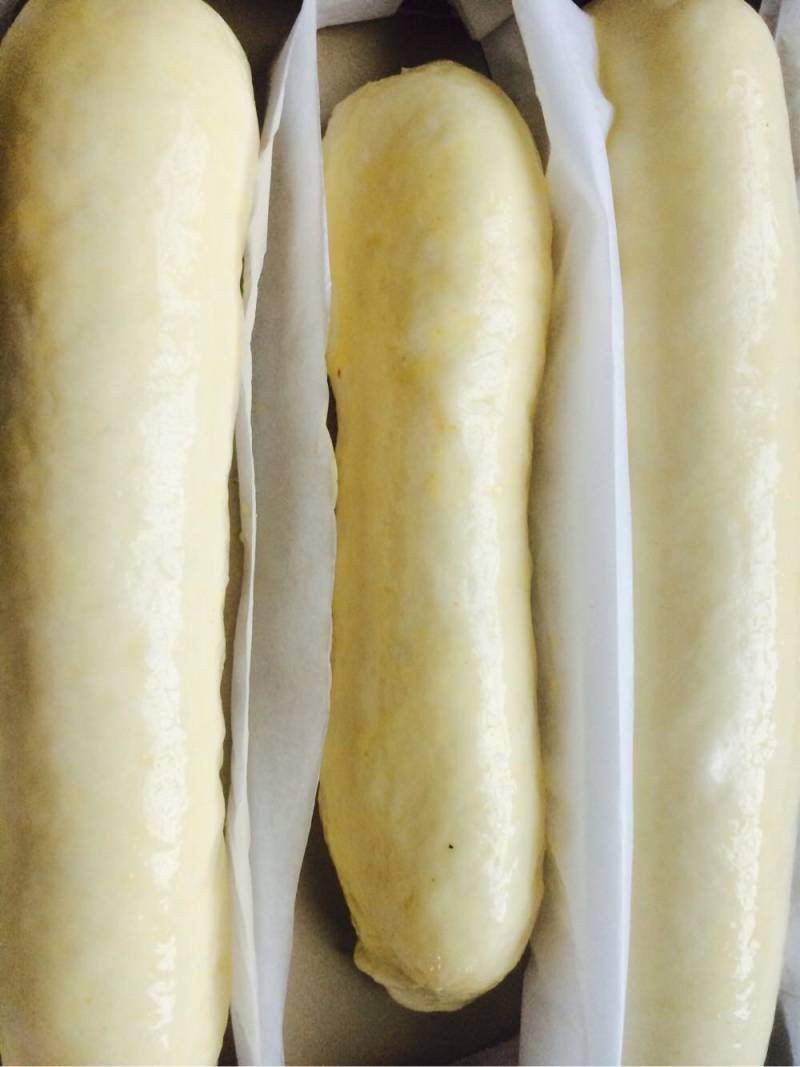
22.用面包片把蛋糕包起来 捏紧收口处。把收口处朝下放在烤盘里
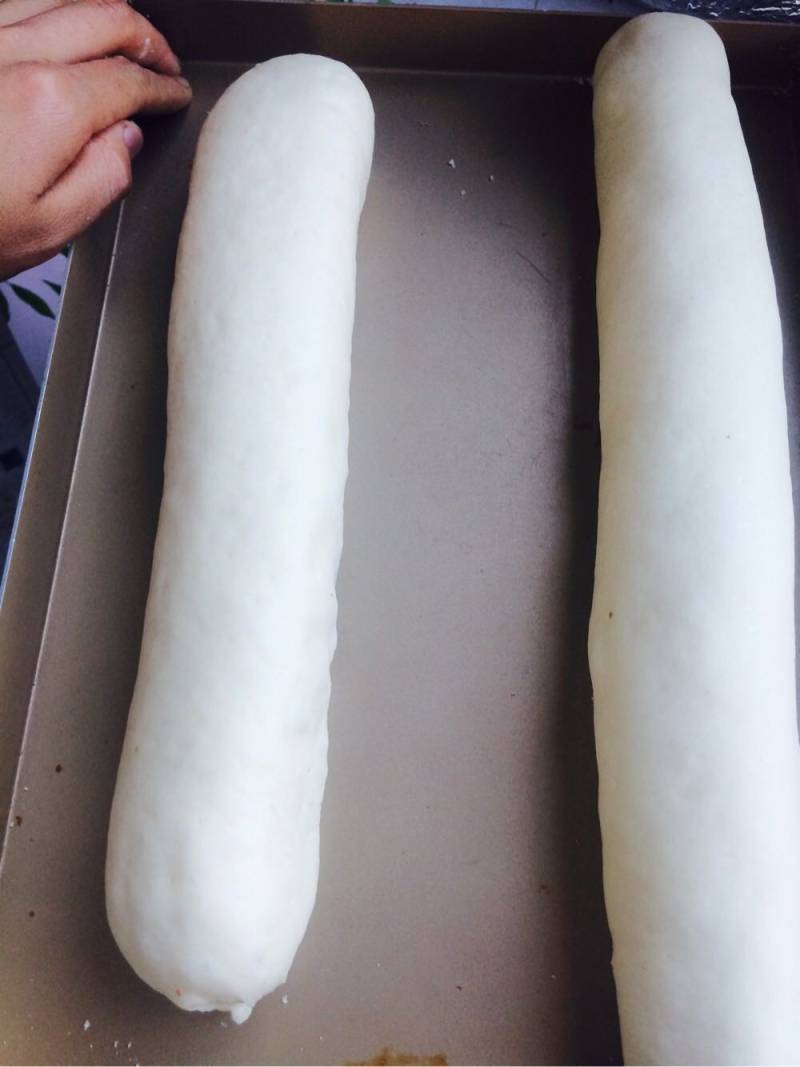
23.依次放入烤盘
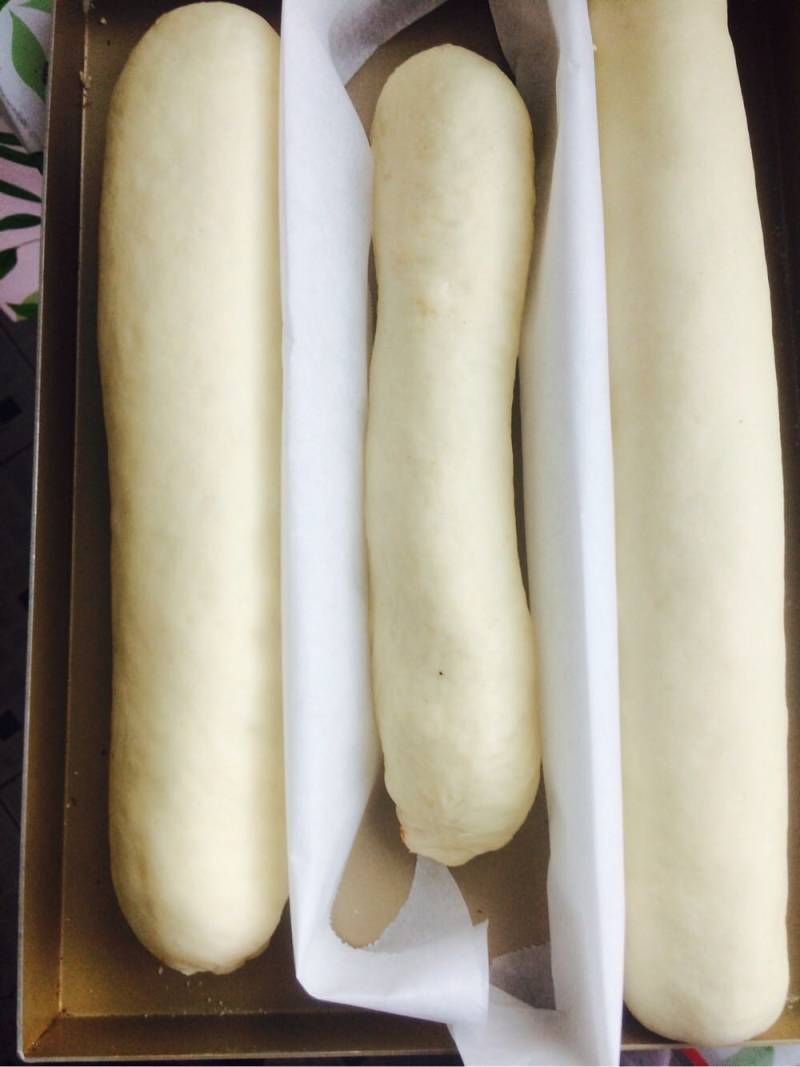
24.都做好了进行二次发酵
25.发酵好了刷上一层鸡蛋液
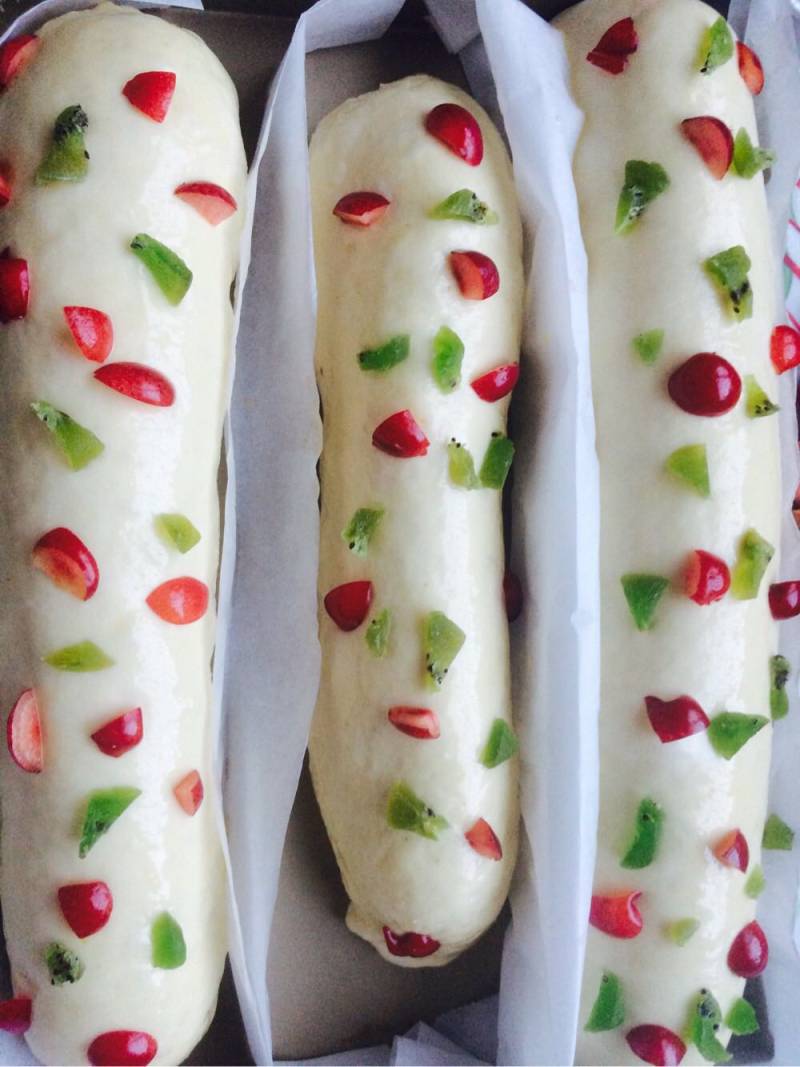
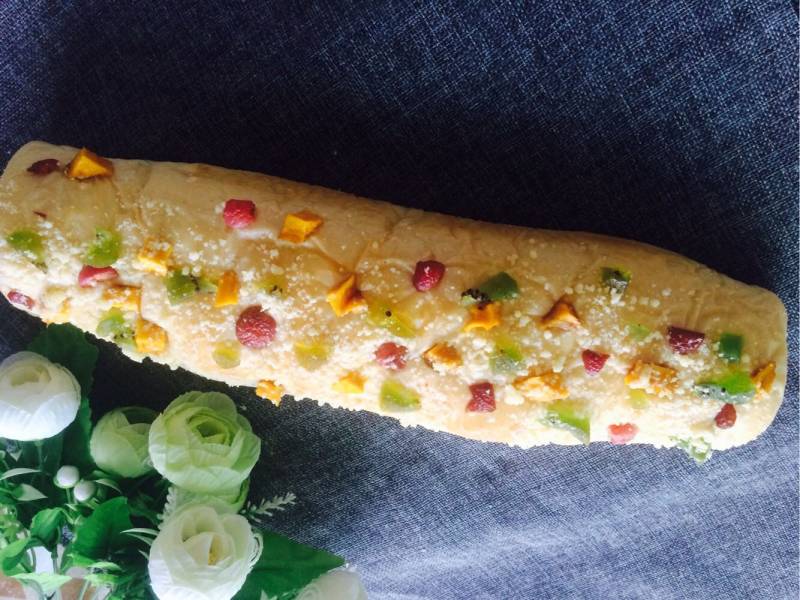
26.铺上自己喜欢的水果和果干
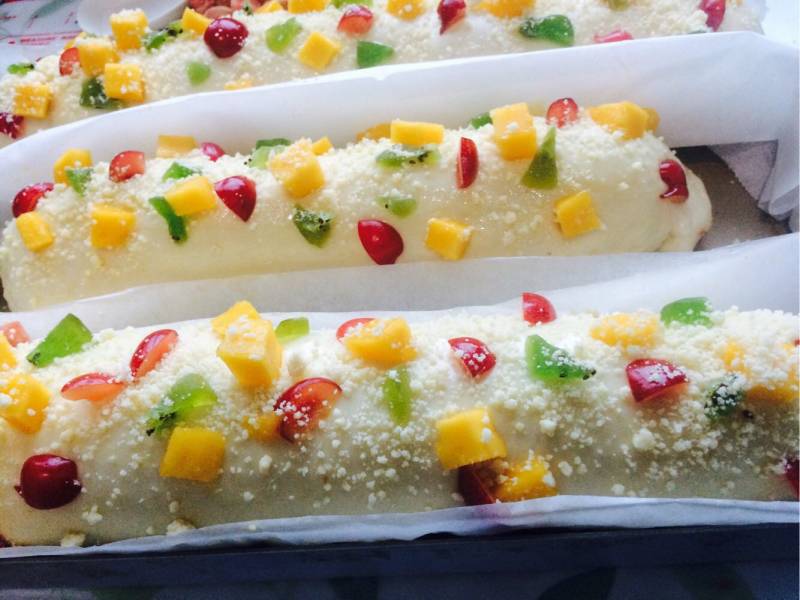
27.撒上一些酥粒

28.烤箱预热到上下200度。中层烤30分钟
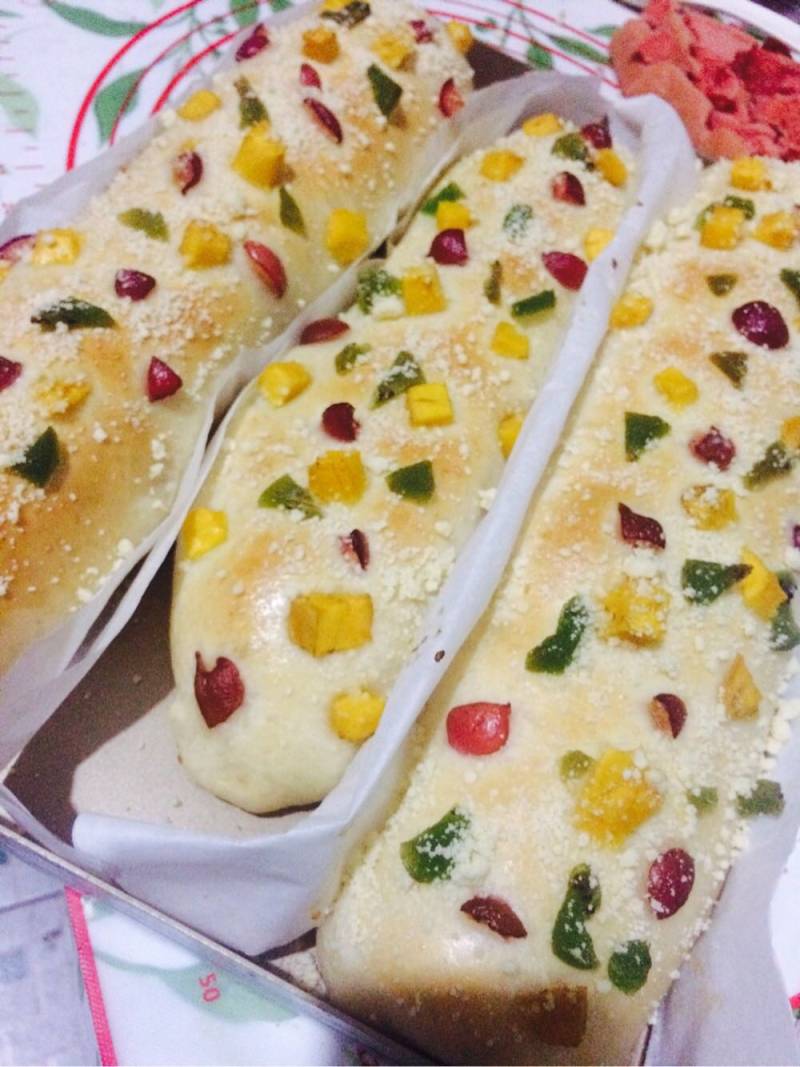
29.出炉放凉
30.凉了。可以吃了
31.成品观赏
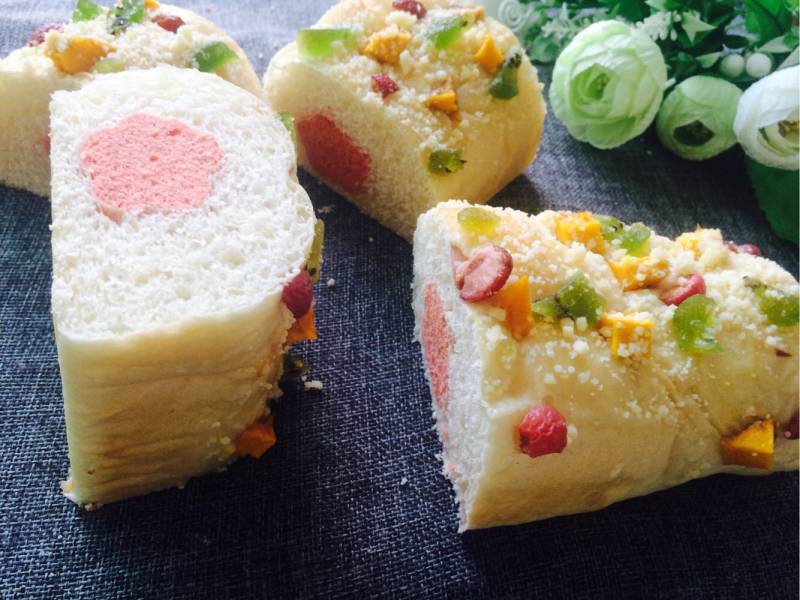
32.成品观赏

33.成品观赏
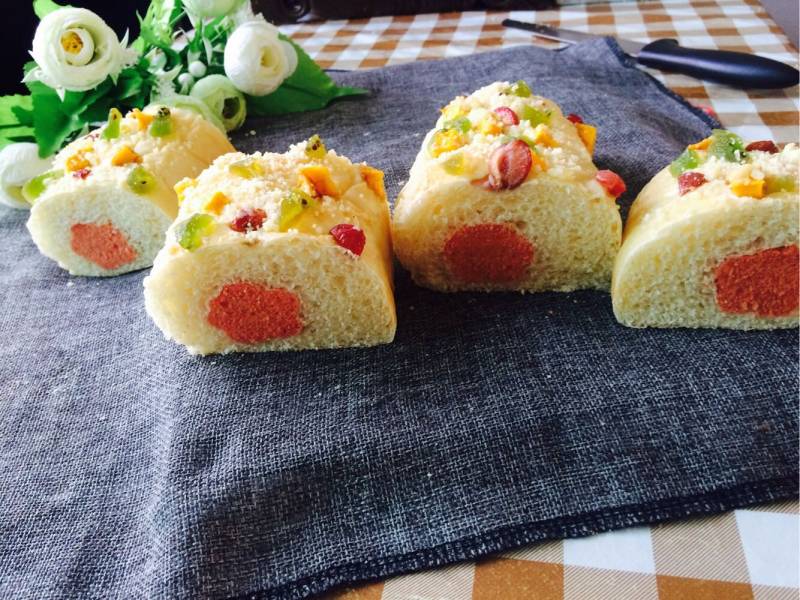
34.成品观赏
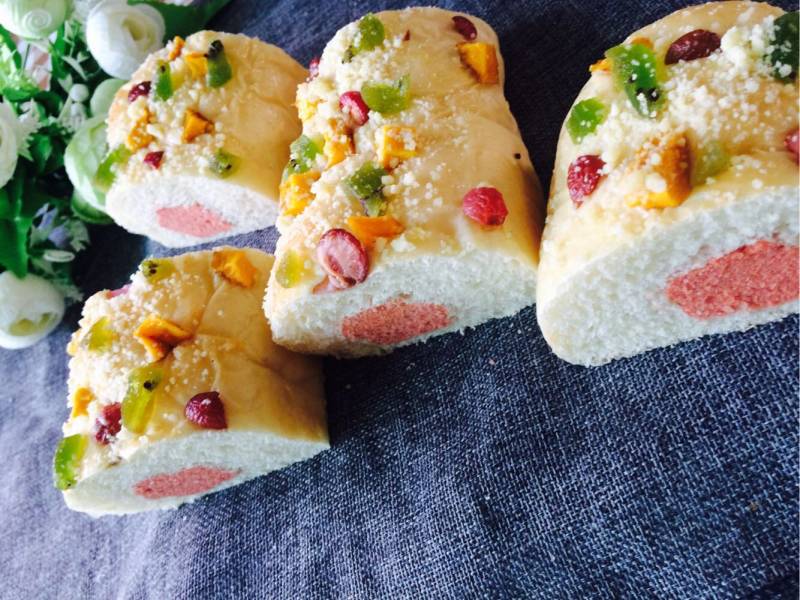
35.成品观赏
小窍门&温馨提示
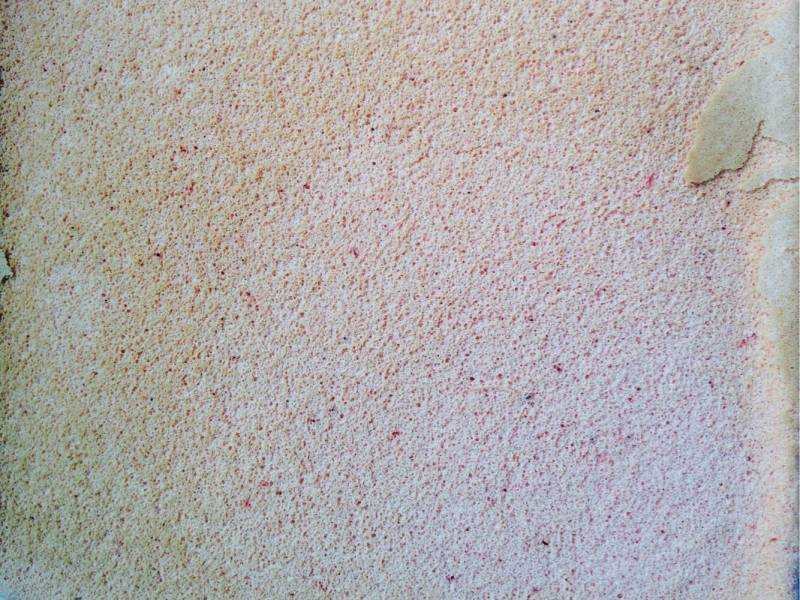
水果和干果要提前切碎。酥粒在发酵面包团的时候就可以做好。黄油软化加糖粉和低筋粉用手混合成颗粒状态即可
TAGS:
烘焙 早餐 其他菜系 低筋粉
免责声明:本站部分文章转载自网络,图文仅供行业学习交流使用,不做任何商业用途。文章仅代表原作者个人观点,其原创性及文章内容中图文的真实性、完整性等未经本站核实,仅供读者参考。
上一篇: 木瓜银耳汤的做法,木瓜银耳汤怎么做,木瓜银耳汤的功效与作用,木瓜银耳汤的做法大全,木瓜银耳汤下奶吗,木瓜银耳汤的功效与作用及禁忌
下一篇: 木瓜鲫鱼汤的做法,木瓜鲫鱼汤怎么做,木瓜鲫鱼汤的功效与作用,木瓜鲫鱼汤的做法,木瓜鲫鱼汤下奶吗,木瓜鲫鱼汤下奶几天有效果
Deprecated: mysql_connect(): The mysql extension is deprecated and will be removed in the future: use mysqli or PDO instead in
/data/haozs.cc/xianguan.php on line
5
Deprecated: mysql_query(): The mysql extension is deprecated and will be removed in the future: use mysqli or PDO instead in
/data/haozs.cc/xianguan.php on line
7
