主料:
低粉,
90克,
鸡蛋,
4个,
黄油,
40克,
紫薯,
4个,
鲜奶油,
400克
辅料:
QQ糖,
2袋,
牛奶,
50克,
酸奶,
2罐
配料:
白糖适量紫薯慕斯蛋糕的做法步骤
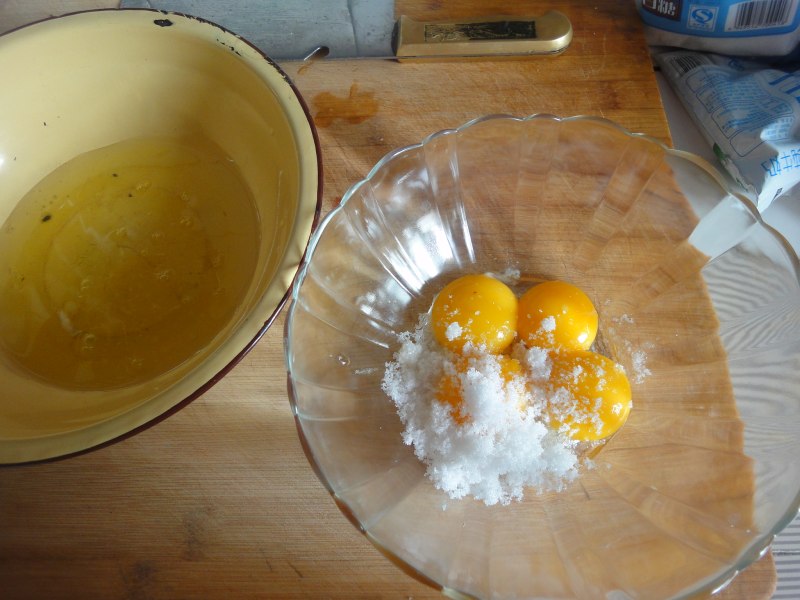
1.准备蛋糕材料蛋黄清分离蛋黄里先放20克白糖
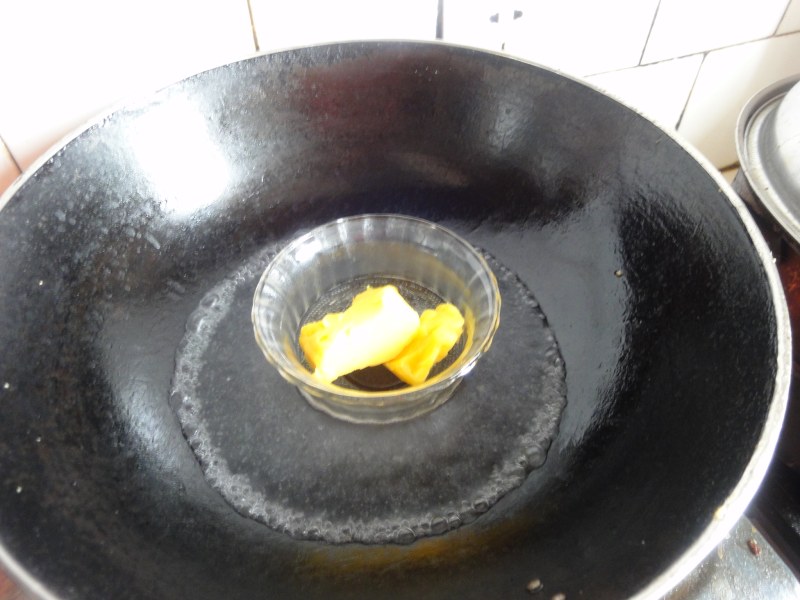
2.黄油隔水融化开
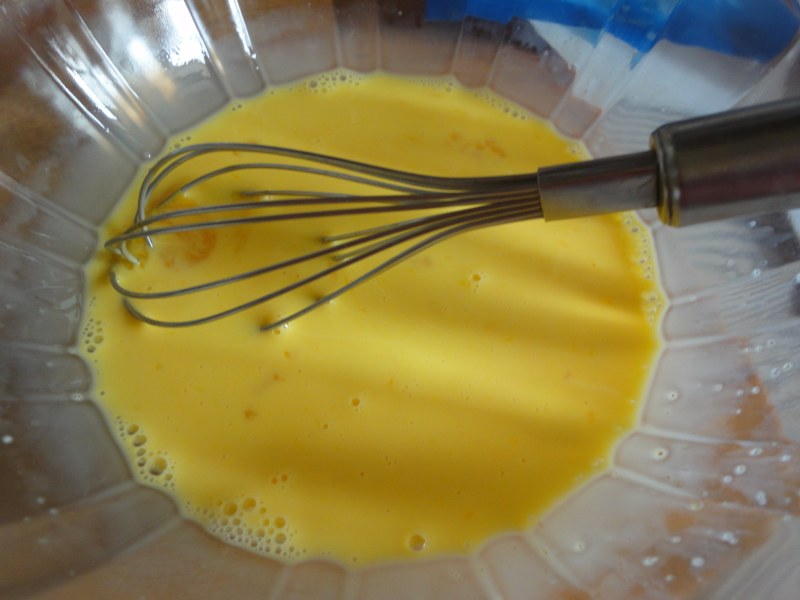
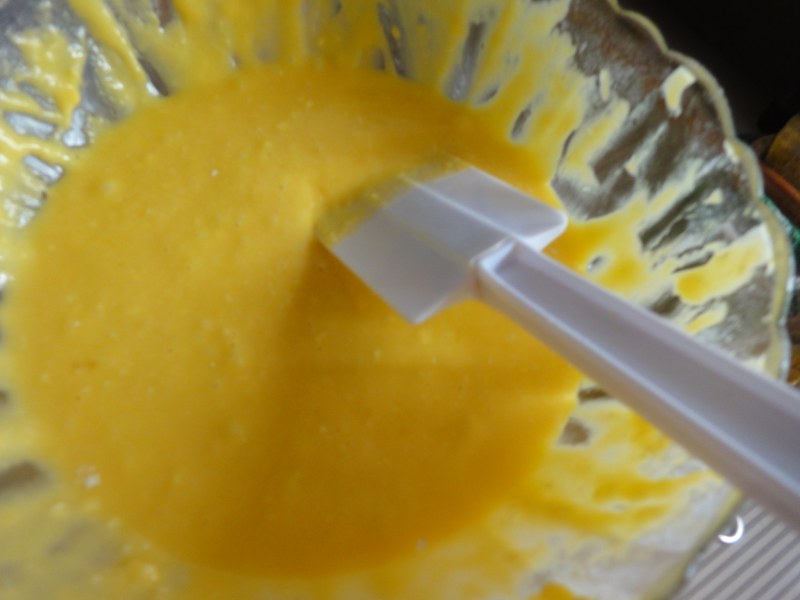
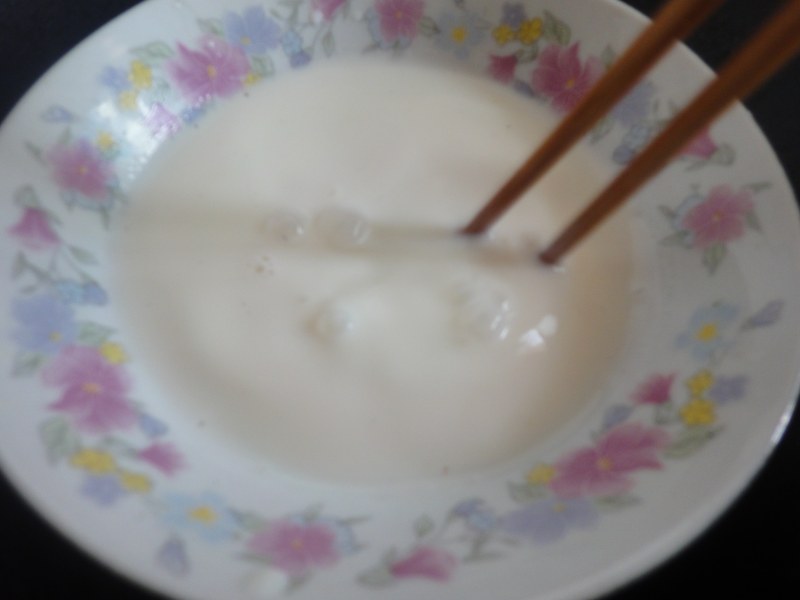
3.蛋黄打散

4.蛋黄打散
5.加入融化的黄油
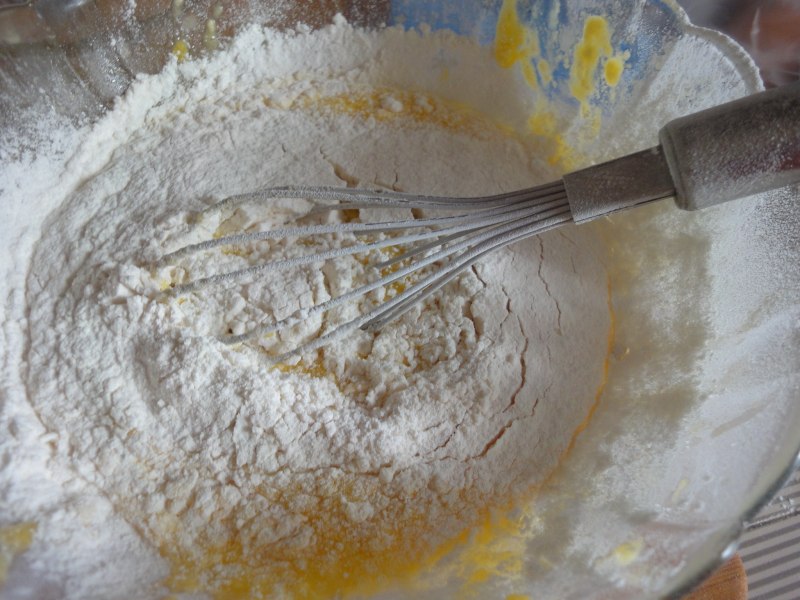
6.加入过筛的低粉
7.拌匀
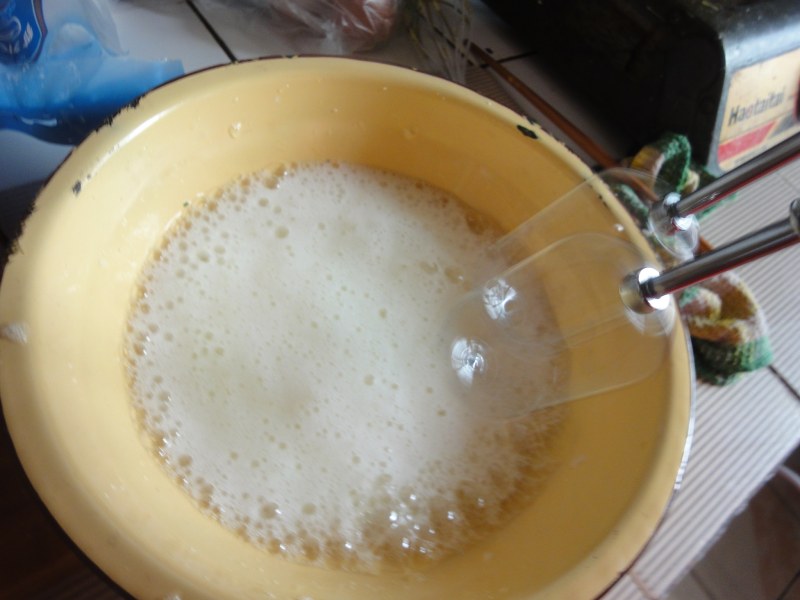
8.打蛋清分3次加糖
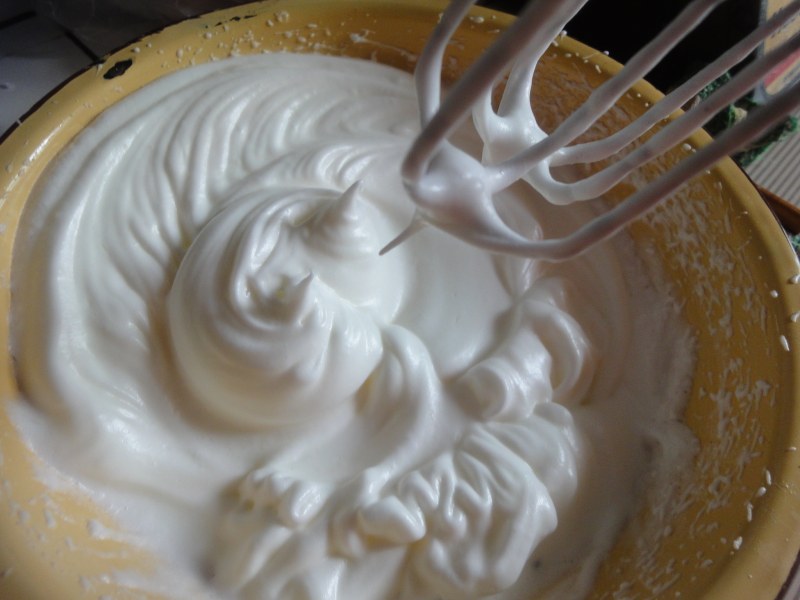
9.打发蛋清
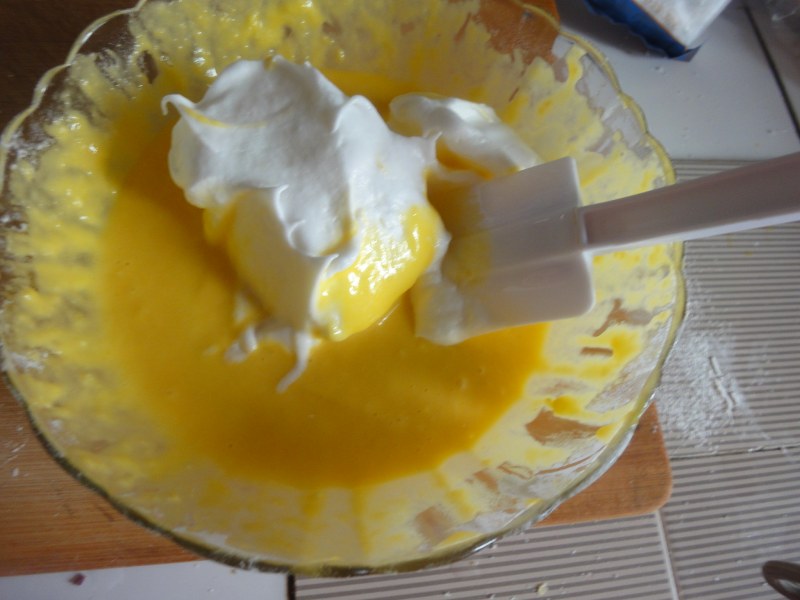
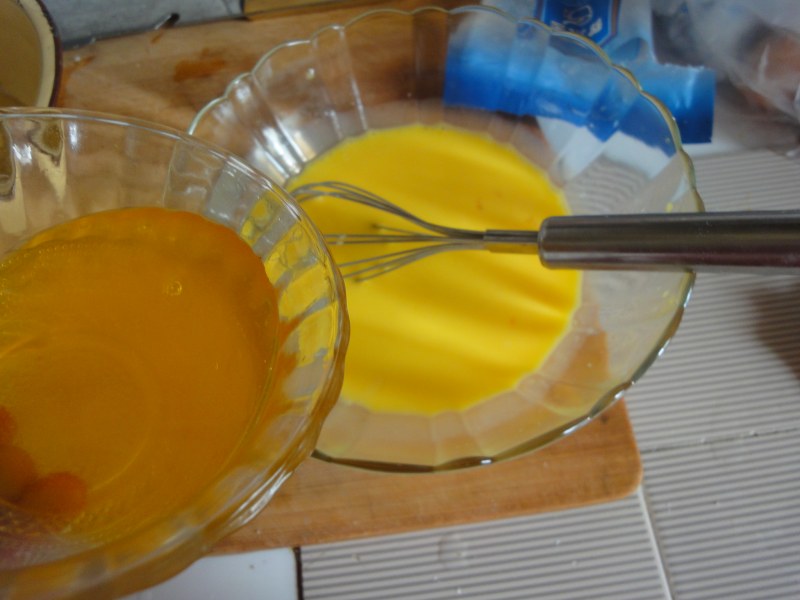
10.分一部分到蛋黄糊里搅拌均匀
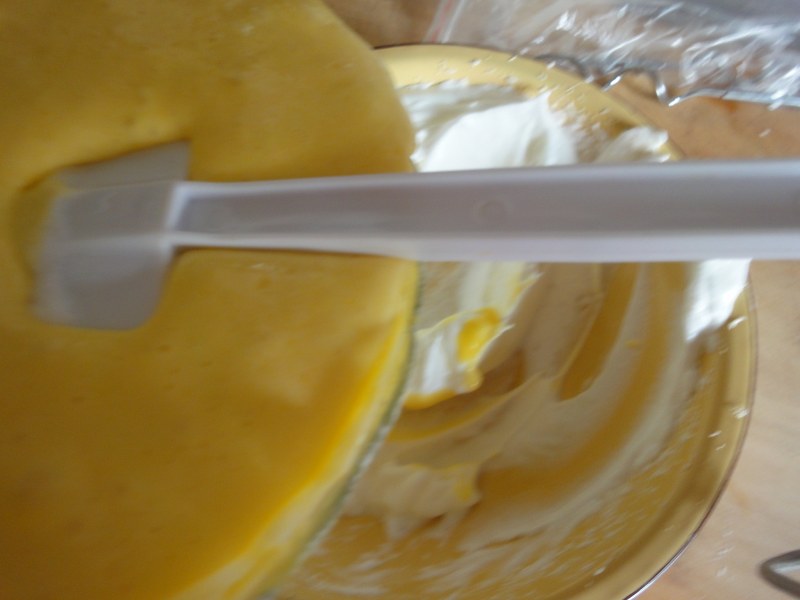
11.在把所有蛋黄糊倒入剩下的蛋白里
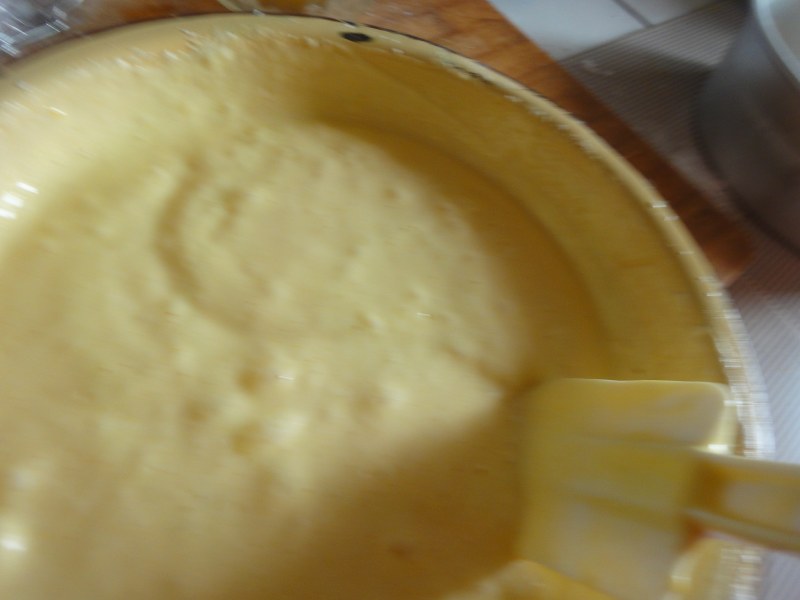
12.搅拌均匀
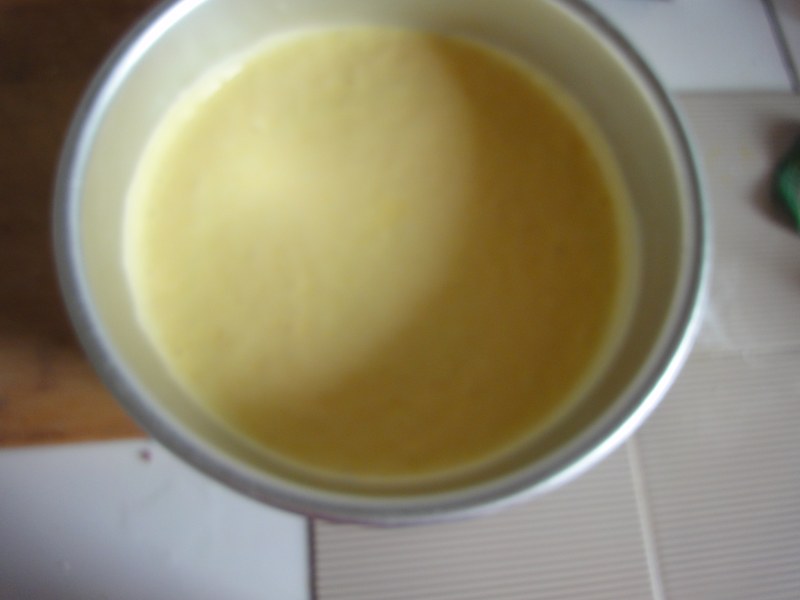
13.装入模具震几下
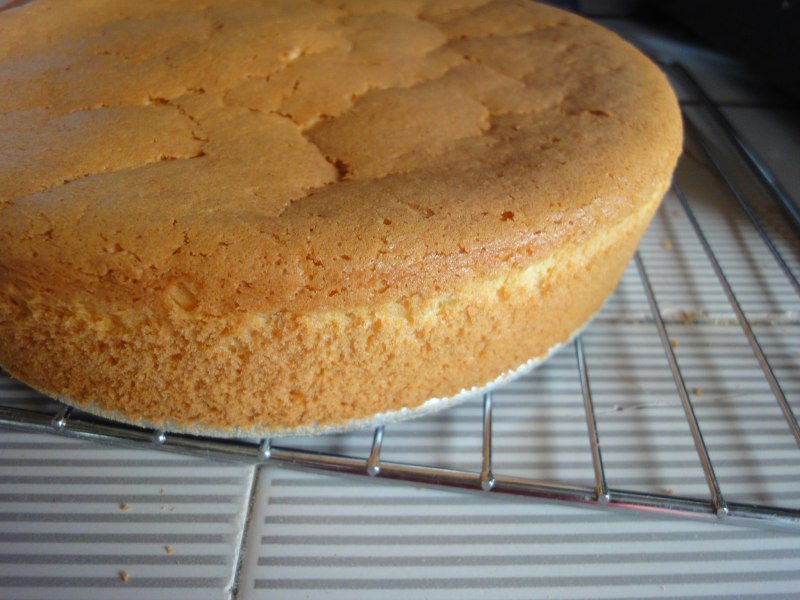
14.进烤箱烤50分钟170度,烤好后放凉脱模备用
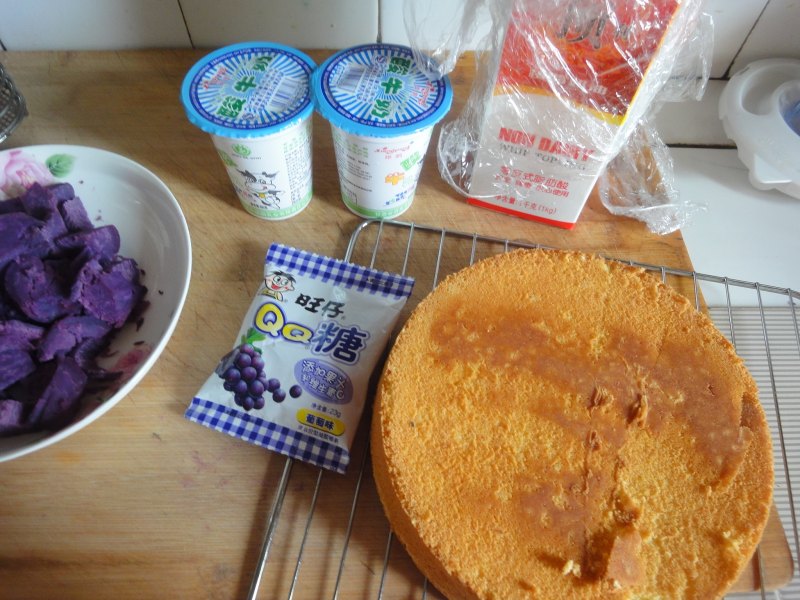
15.准备慕斯糊紫薯我是提前蒸好的(去皮放到蒸锅上蒸熟
16.吉利丁片用凉水泡软备用
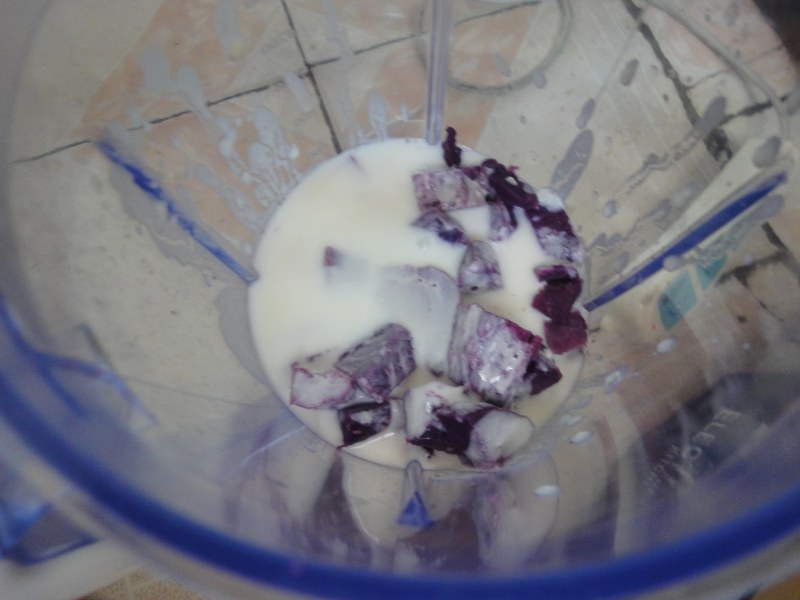
17.紫薯和酸奶放进料理机里
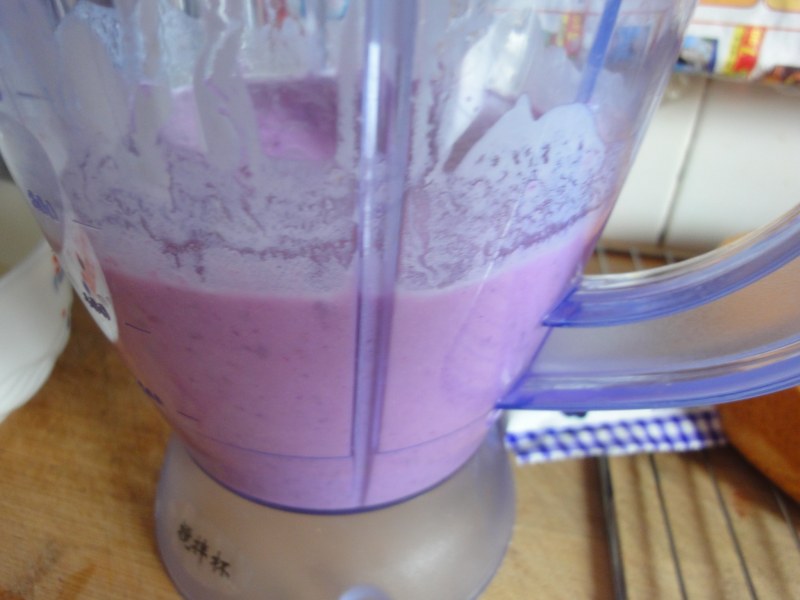
18.打成糊
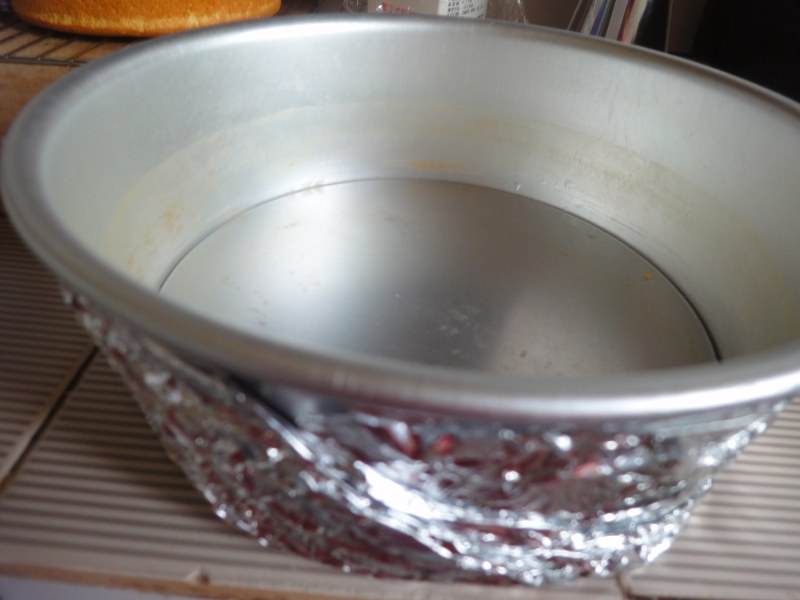
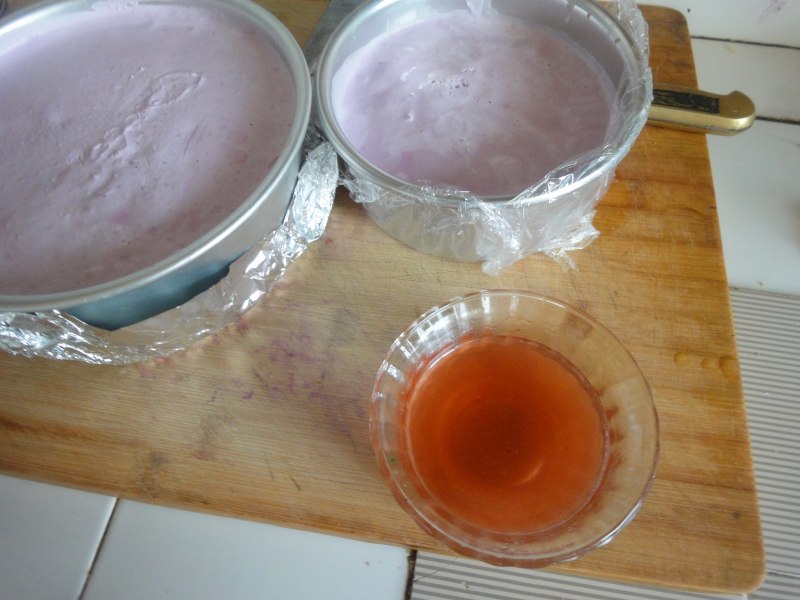
19.我用的是活底蛋糕模所以用锡纸包了模具
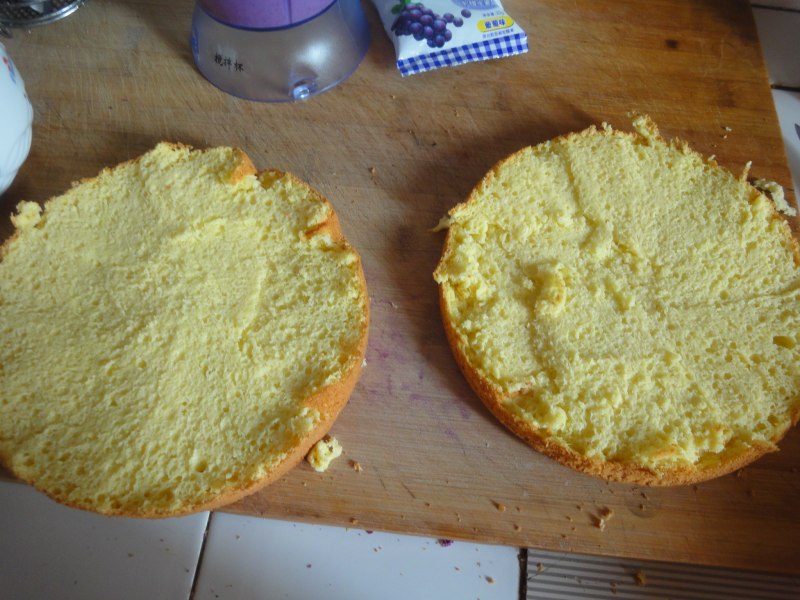
20.蛋糕从中间分成两份
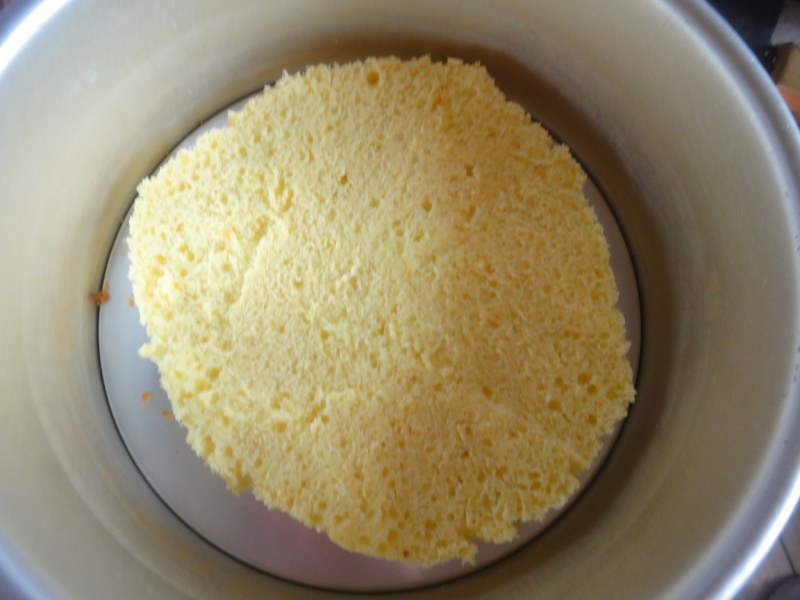
21.把边去掉放到蛋糕模里备用
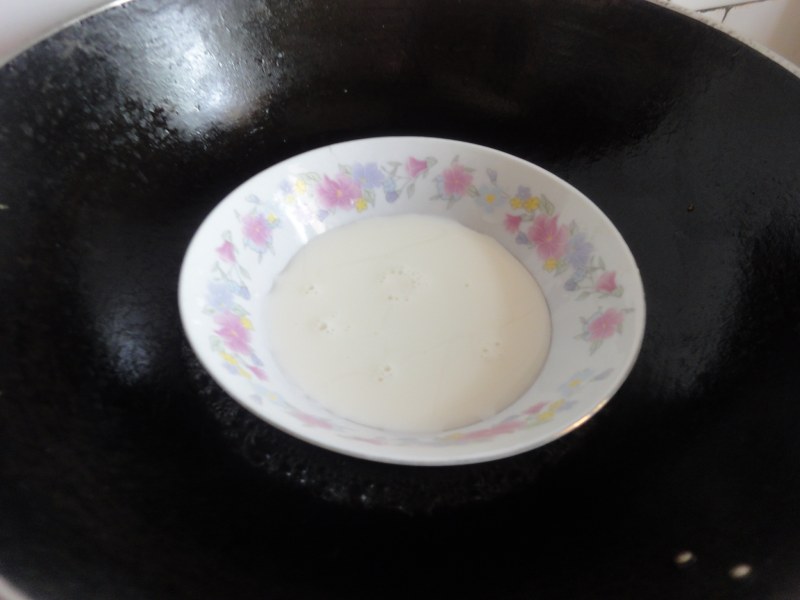
22.牛奶隔水加热
23.放进吉利丁片融化
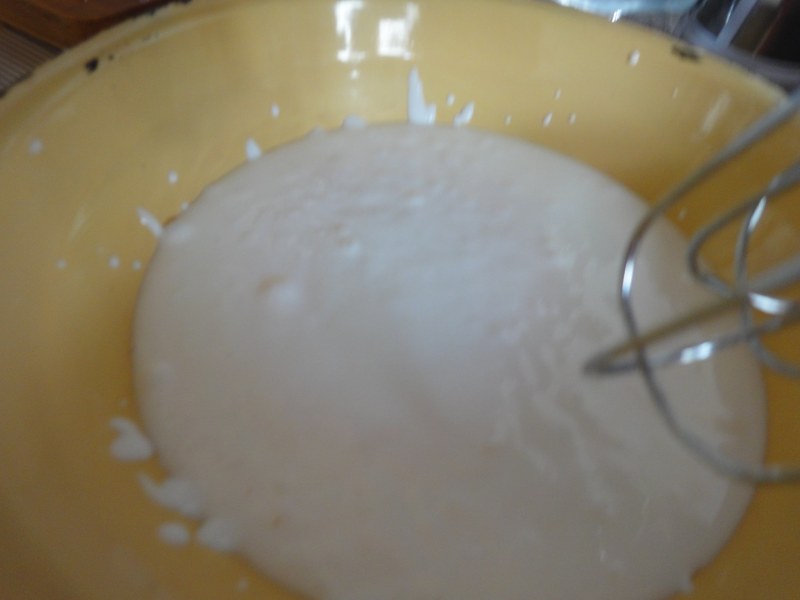
24.开始打奶油(我用的是植物淡奶油所以没加糖)
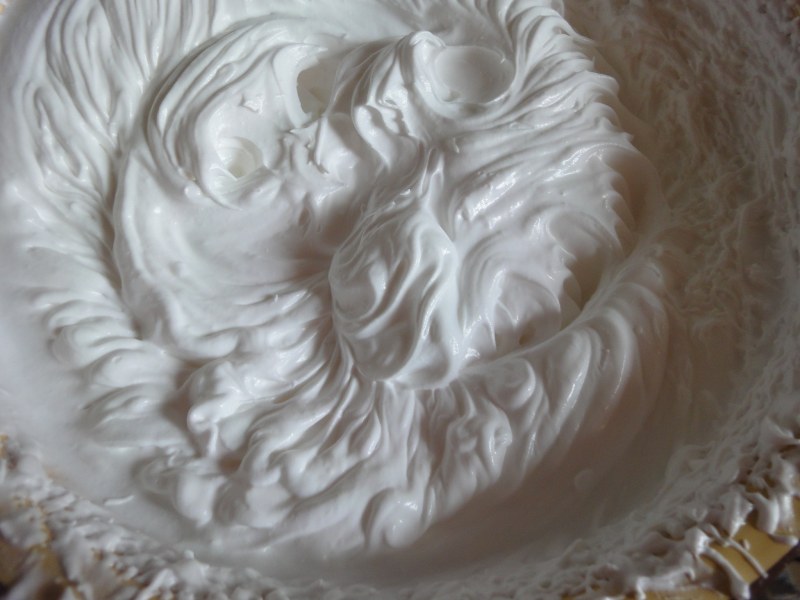
25.奶油打至7分发
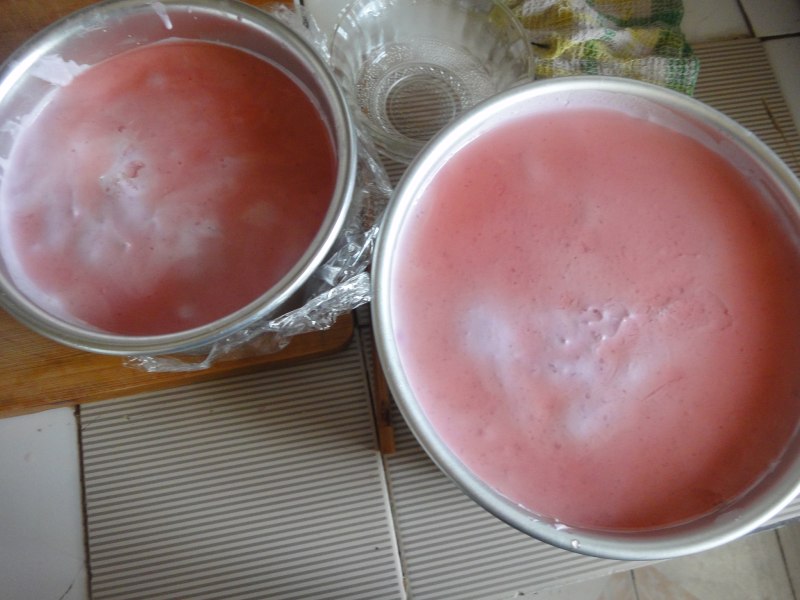
26.将化开的吉利丁液倒入紫薯糊里拌均匀
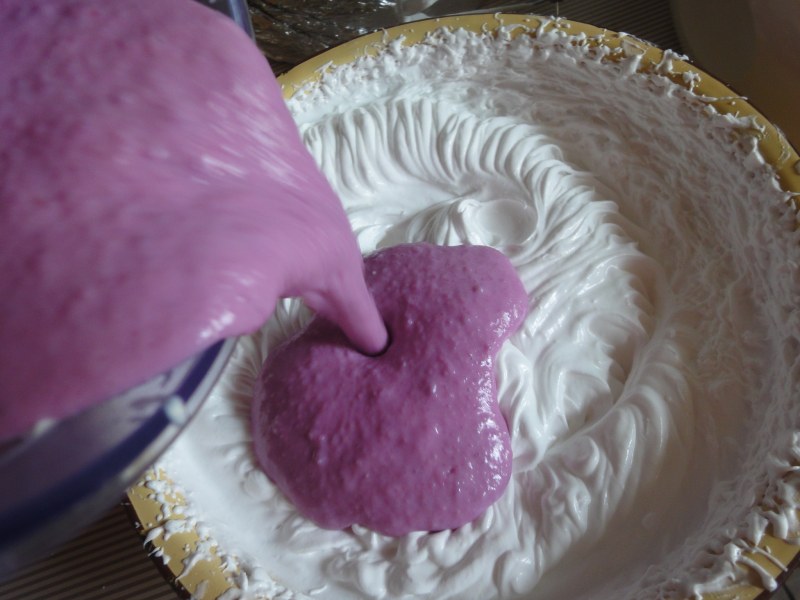
27.在将紫薯糊倒入大发的奶油里拌均匀这样慕斯糊就做好了
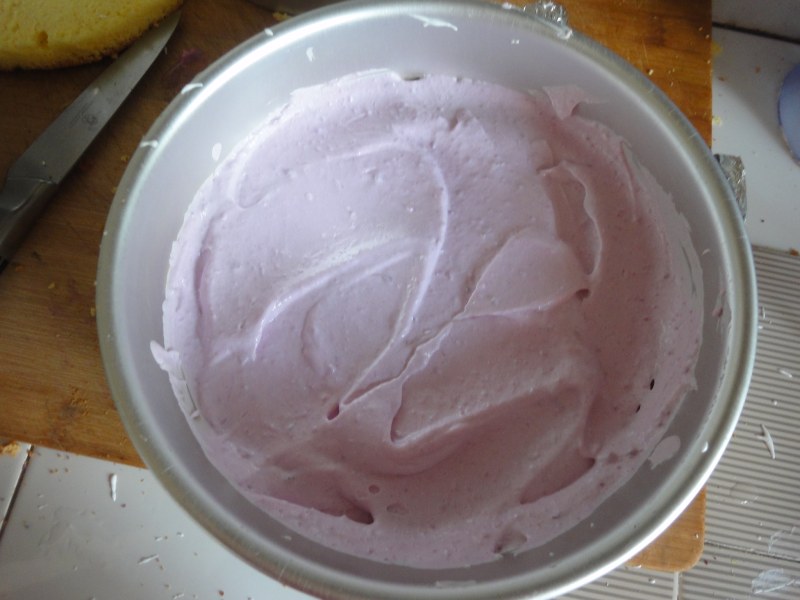
28.把慕斯糊倒入放了蛋糕片备用的模具里抹平
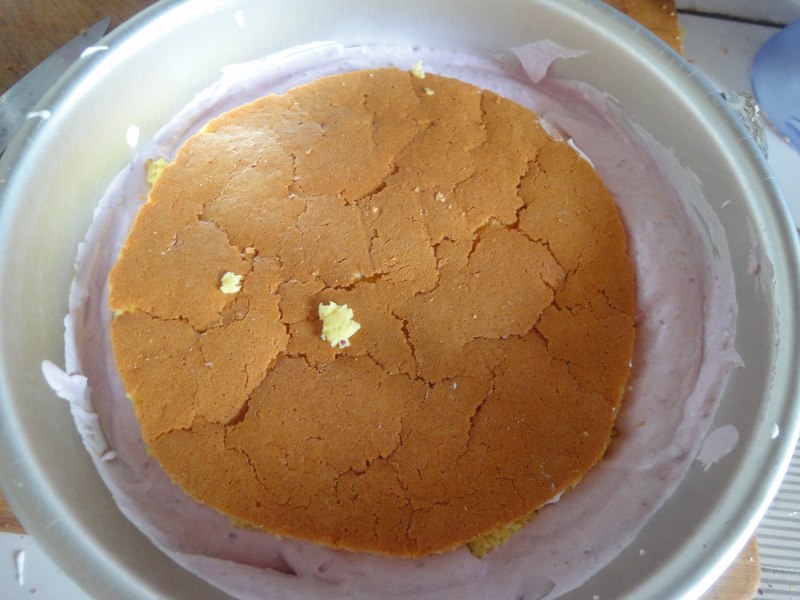
29.在把另一片蛋糕放上
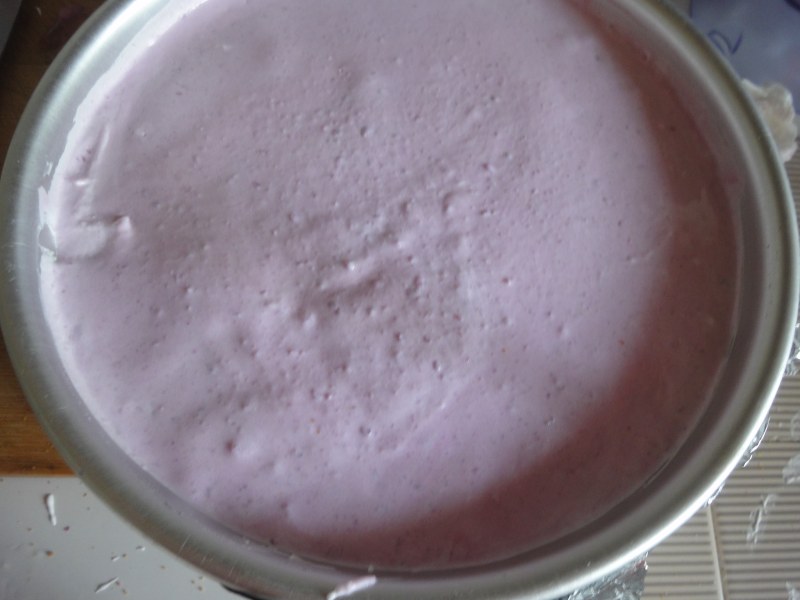
30.在倒入慕斯糊抹平表面进冰箱冷藏4小时以上最好隔夜
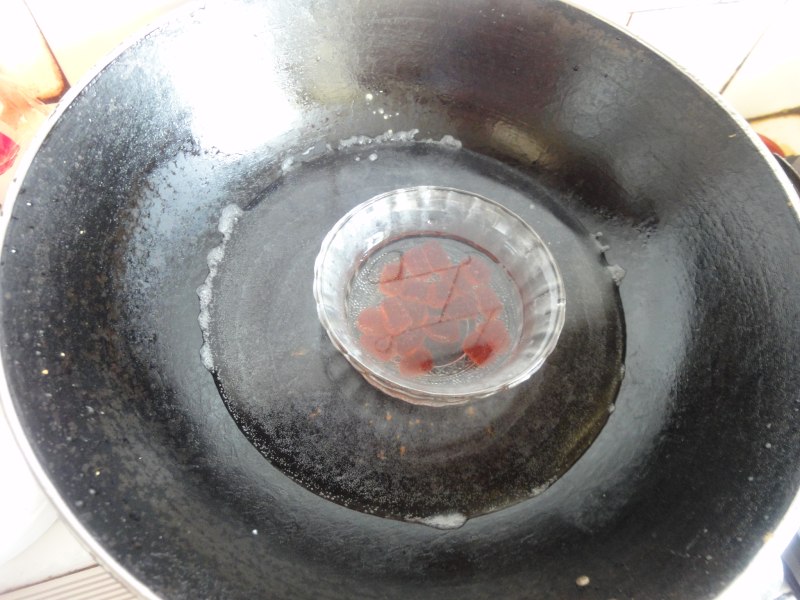
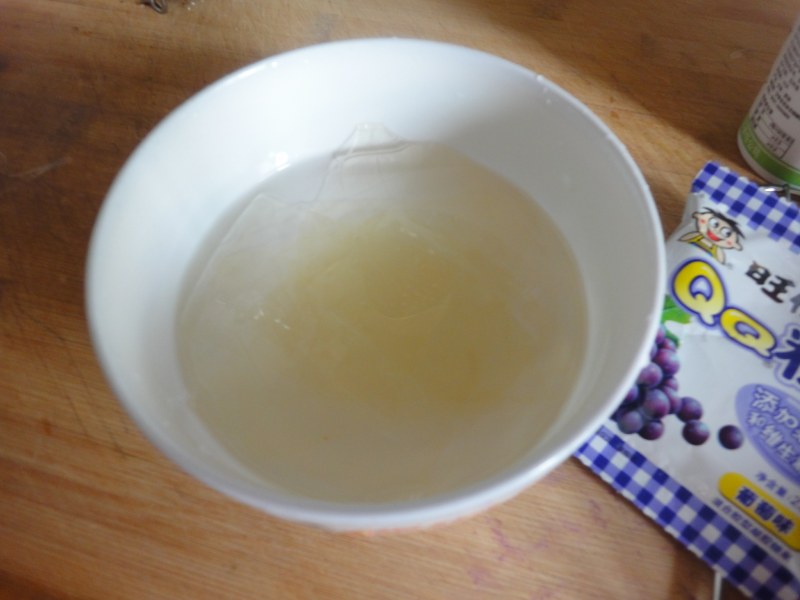
31.QQ糖隔水融化
32.我用剩下的蛋糕边角又做了个小的呵呵
33.等QQ糖液放凉倒在冷藏好的蛋糕上成为镜面果胶,倒上后再进冰箱冷藏至表面凝固
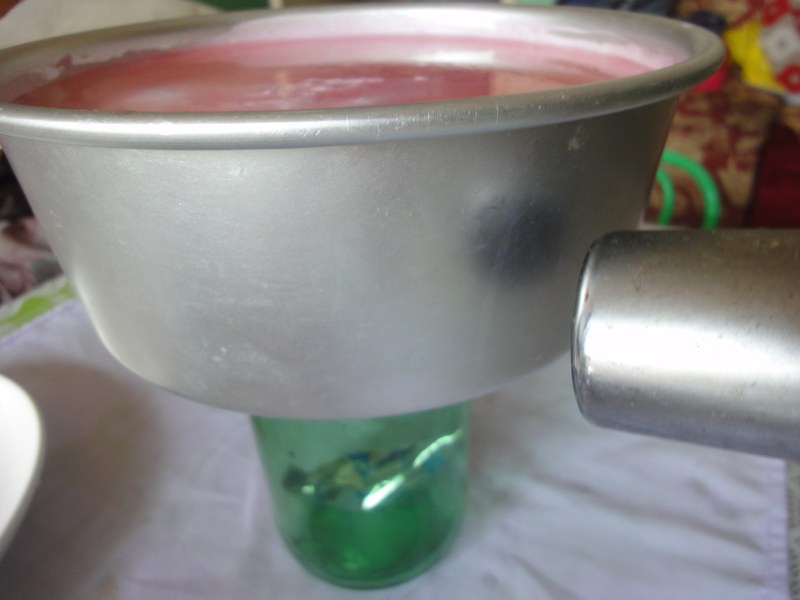
34.脱模时下面放个圆形的东西把蛋糕模具放到上面用电吹风吹一下很容易就脱模了
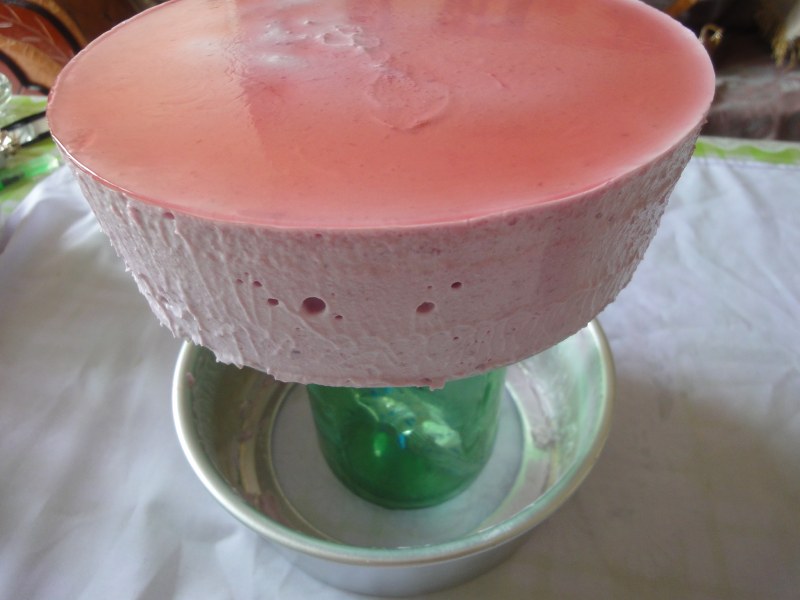
35.脱了模得
小窍门&温馨提示
我用黄油做的蛋糕底我觉得很好吃
TAGS:
糕点 烘焙 其他菜系 低粉
免责声明:本站部分文章转载自网络,图文仅供行业学习交流使用,不做任何商业用途。文章仅代表原作者个人观点,其原创性及文章内容中图文的真实性、完整性等未经本站核实,仅供读者参考。
上一篇: 凤梨酥的做法,凤梨酥怎么做,凤梨酥是哪里的特产,凤梨酥的做法与材料,凤梨酥哪个牌子好吃,凤梨酥的做法
下一篇: 简单裱花生日蛋糕的做法,简单裱花生日蛋糕怎么做,简单裱花生日蛋糕图片,简单裱花生日蛋糕图片大全,简单裱花生日蛋糕教程,简单裱花生日蛋糕怎么做
Deprecated: mysql_connect(): The mysql extension is deprecated and will be removed in the future: use mysqli or PDO instead in
/data/haozs.cc/xianguan.php on line
5
Deprecated: mysql_query(): The mysql extension is deprecated and will be removed in the future: use mysqli or PDO instead in
/data/haozs.cc/xianguan.php on line
7
