主料:
鸡胸肉,
3块
辅料:
蛋清,
2个,
盐适量,
淀粉,
一勺,
白胡椒粉适量天然调味粉,一袋半鸡肉丸子的做法步骤

1.鸡胸肉三片,洗一下。
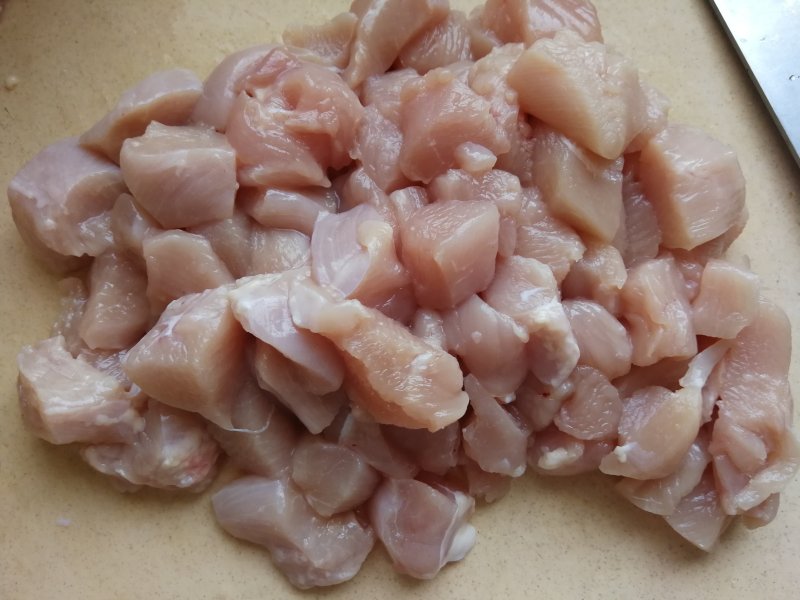
2.切成小丁。
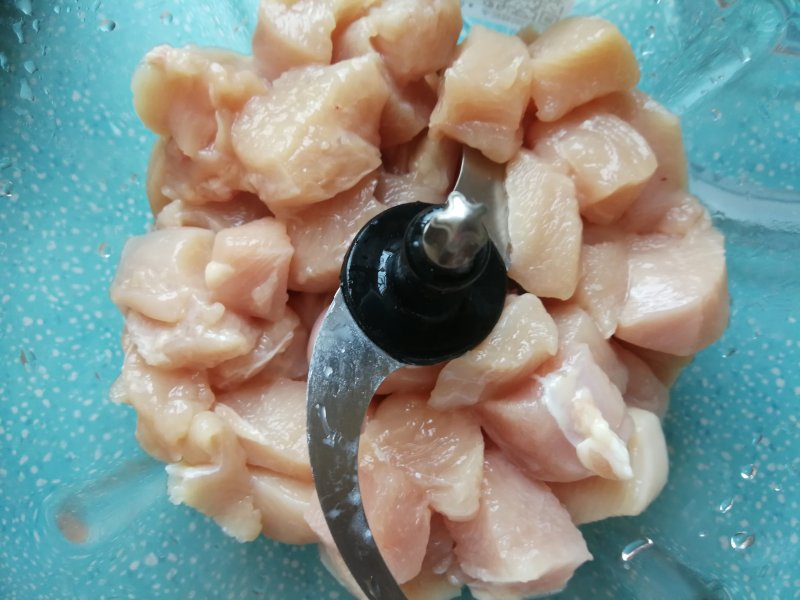
3.放入绞肉机中。
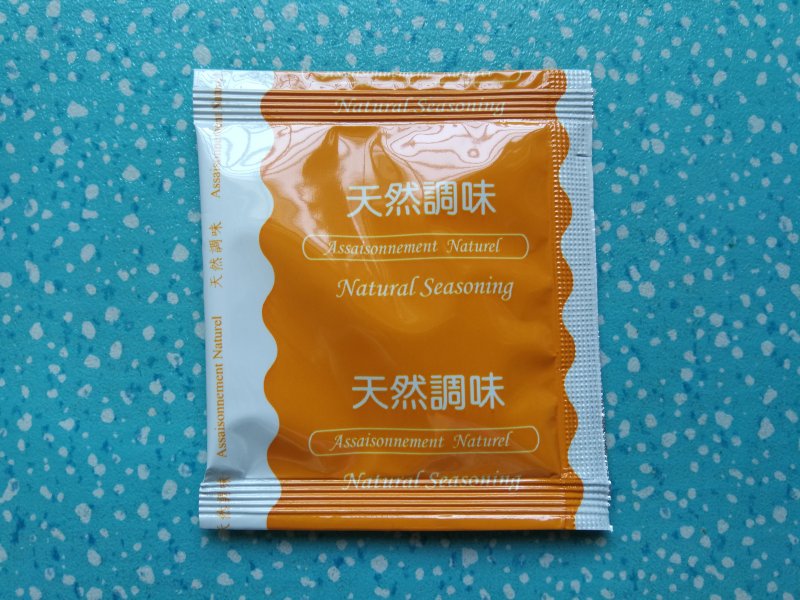
4.天然调味粉。用了一袋半。
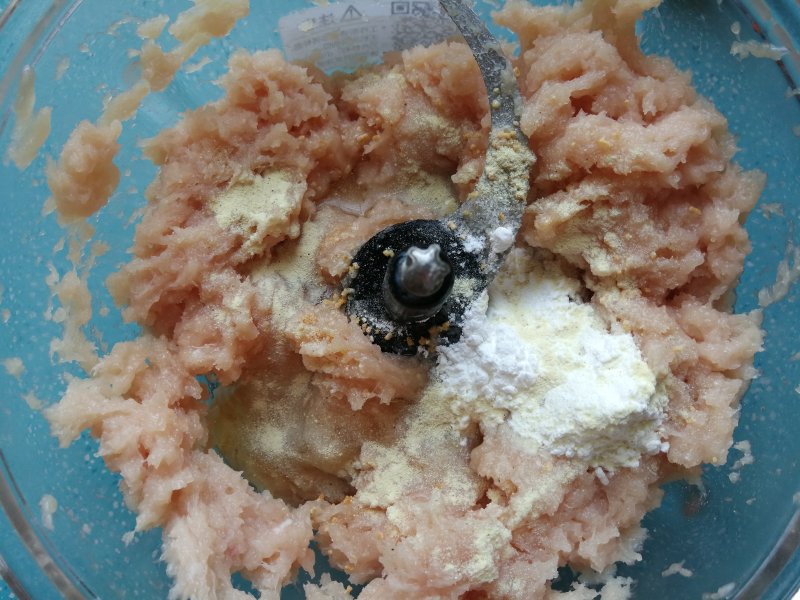
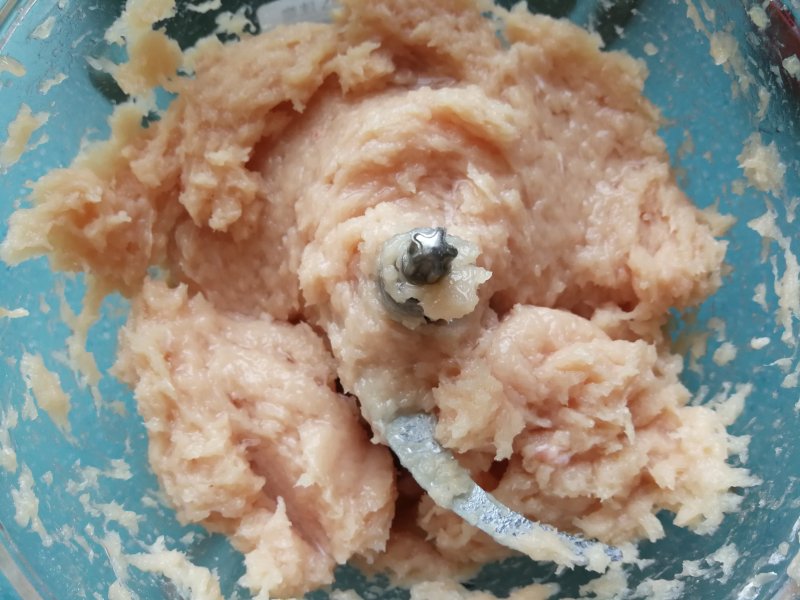
5.绞肉机快,慢档交替工作,先打成肉糜。放入适量盐,一勺玉米淀粉,白胡椒粉,2个蛋清,一袋半天然调味粉。
6.适量清水。这么多的清水,我加了五次。
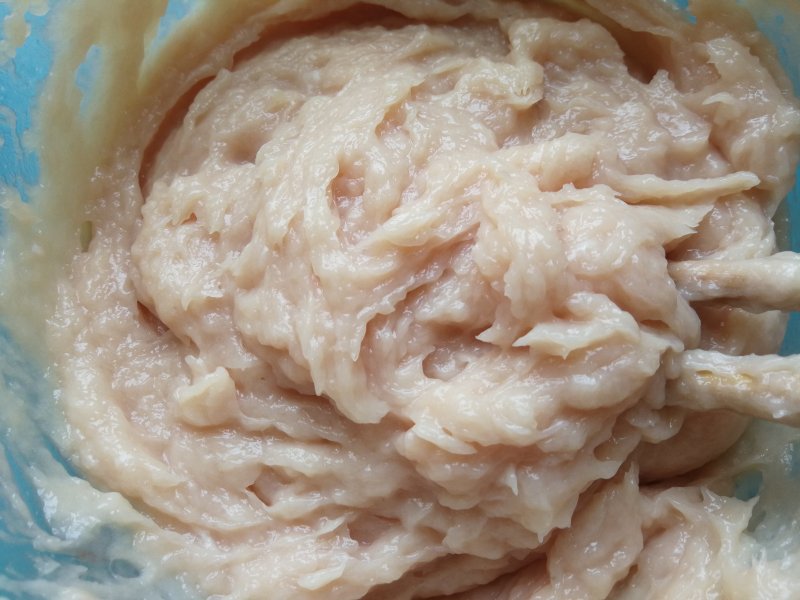
7.启动快慢档,打成肉泥。
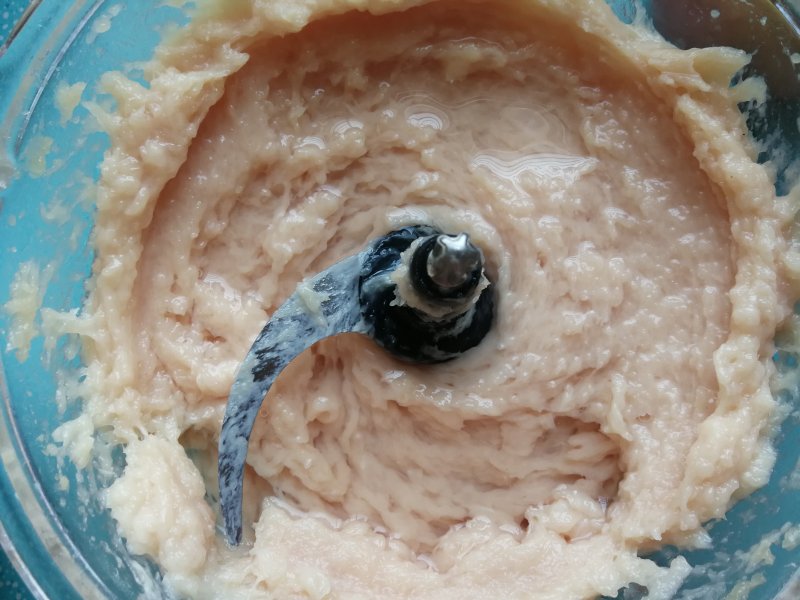
8.倒入清水。
9.继续搅打。如此5次。怕绞肉机长时工作过热,加一次水绞打一次,让电机休息一下会儿。
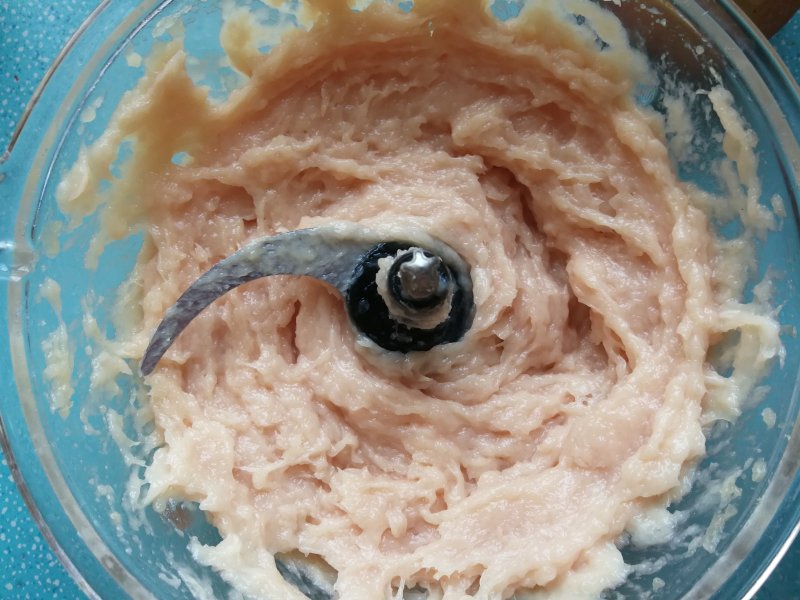
10.小心取下刀片,用筷子顺一个方向搅上劲儿,再用手摔打数下。这样能增加鸡肉的弹性。
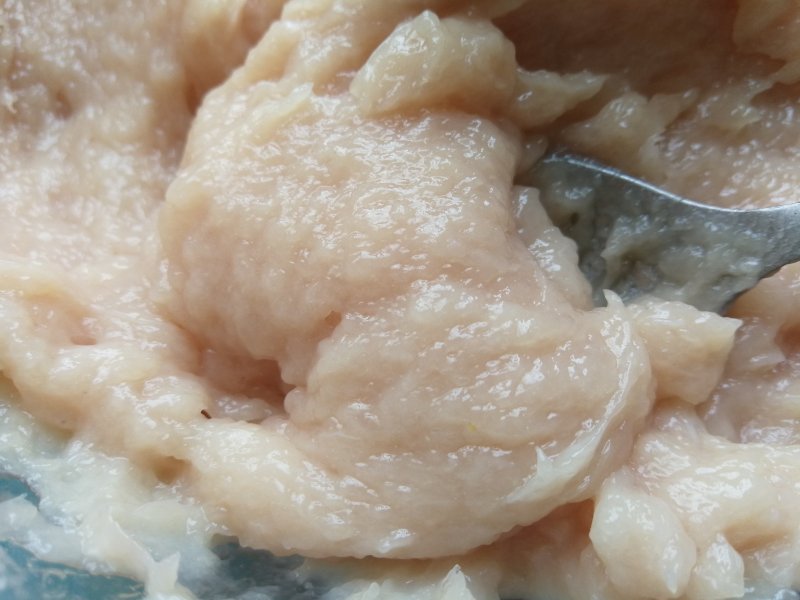
11.此时鸡肉泥光滑细腻,富有光泽。
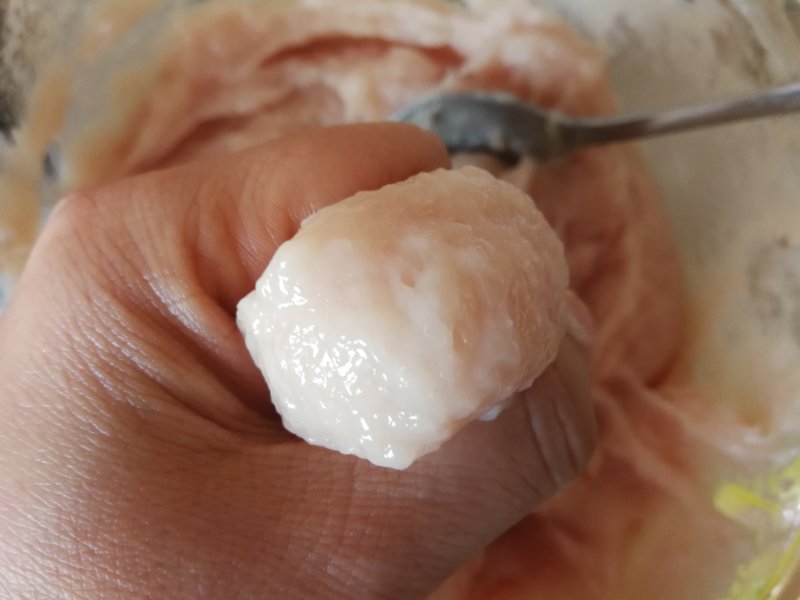
12.用左手挤出肉丸。
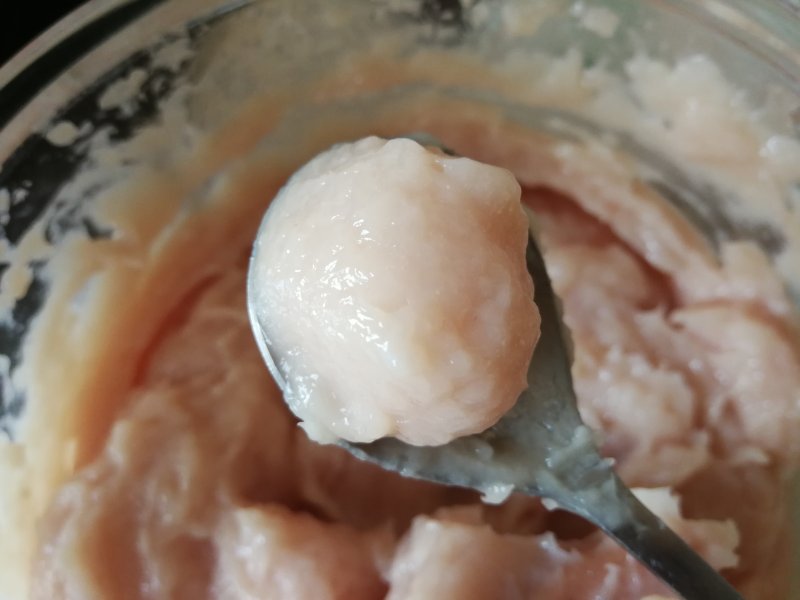
13.右手用小勺轻轻抿下。放入锅内。旁边放半碗清水,勺子可时不时蘸一下清水,防粘,丸子很容易就滑入锅内。
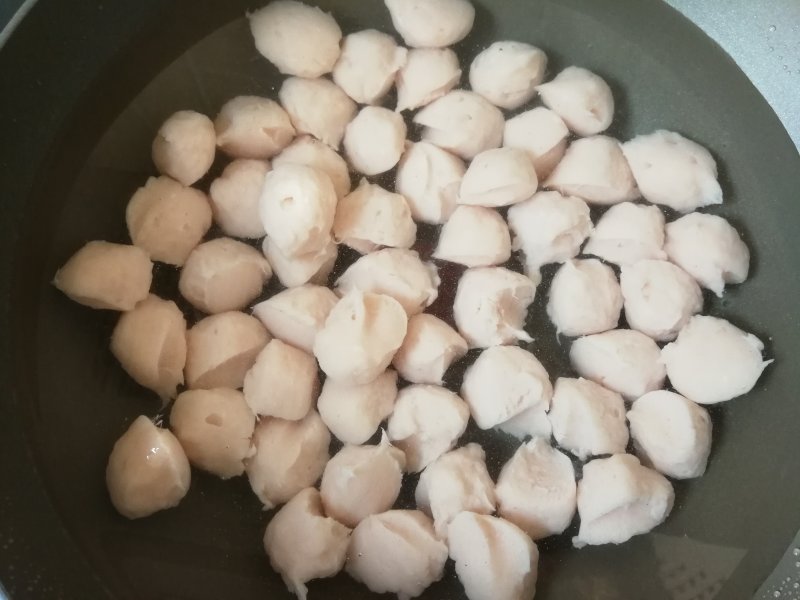
14.锅内适量清水,先不要开火。丸子一个一个放入。
15.开小火。
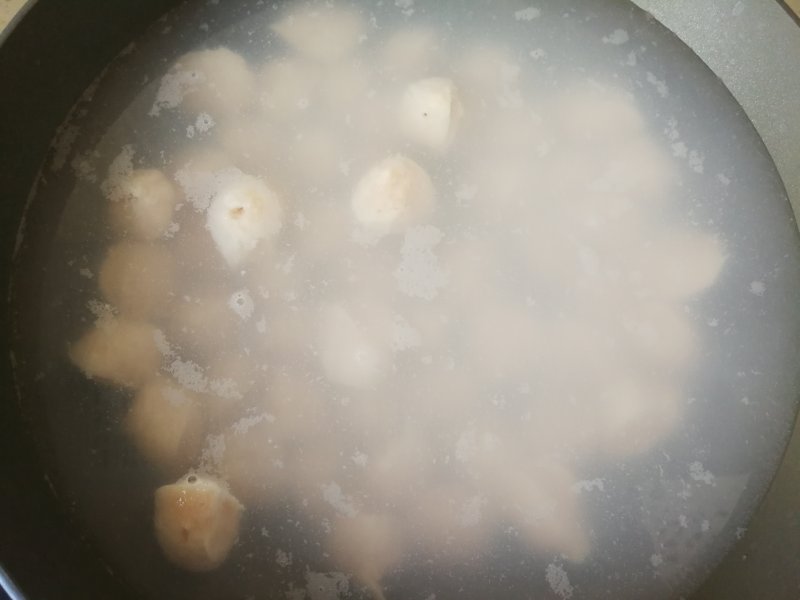
16.四五分钟,丸子陆续浮起。
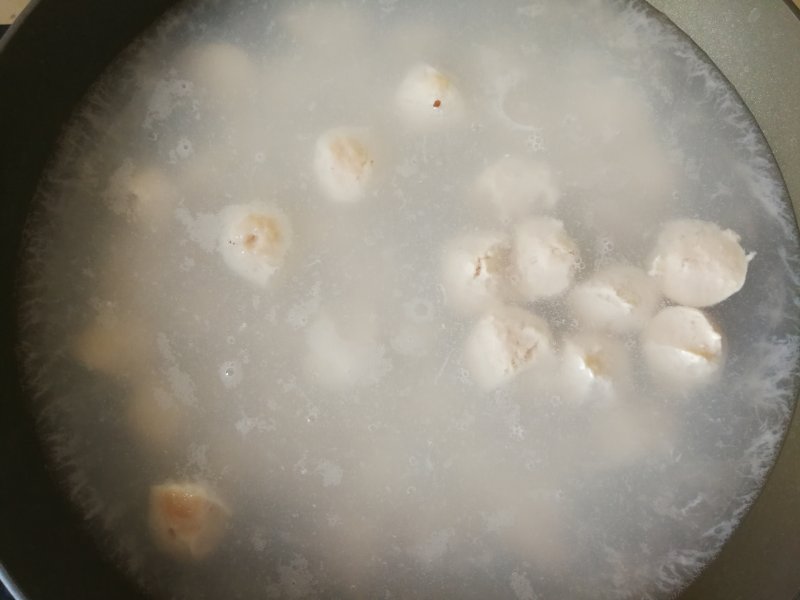
17.约五六分钟,丸子一个一个都浮起来了。
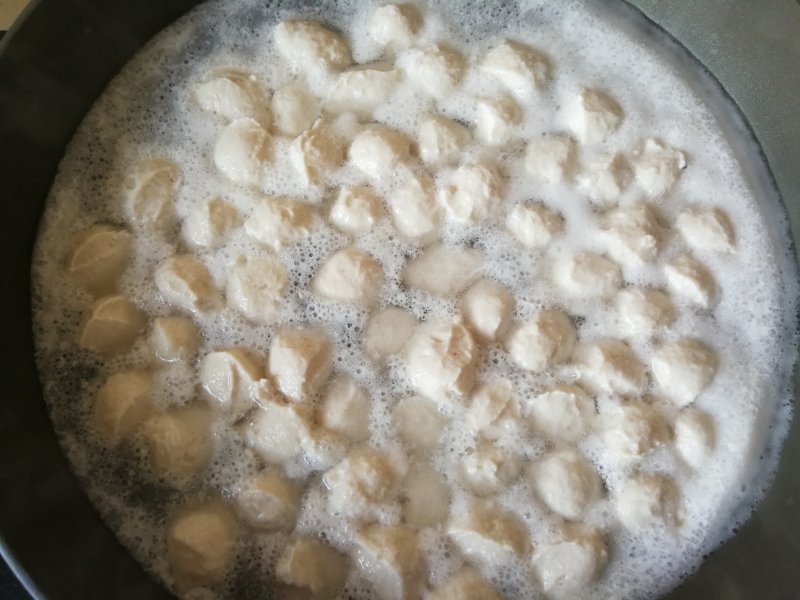
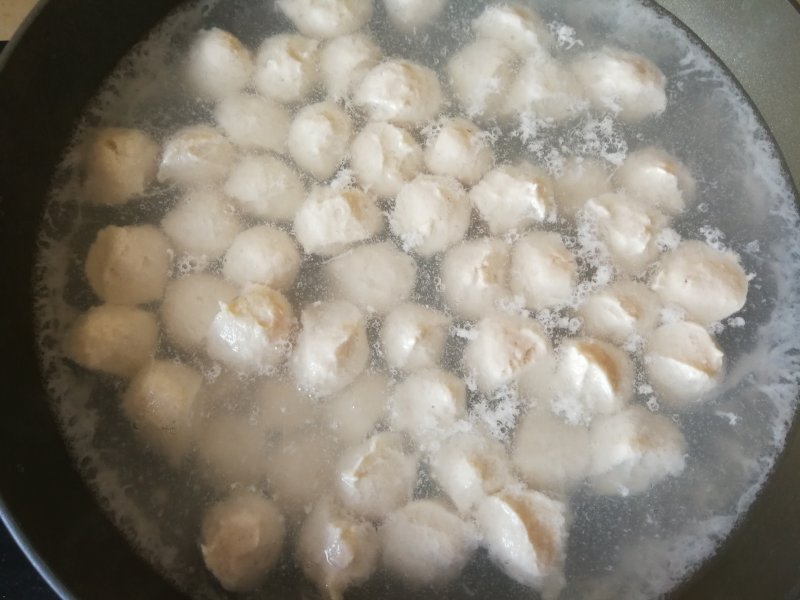
18.待水微微沸腾,关火。
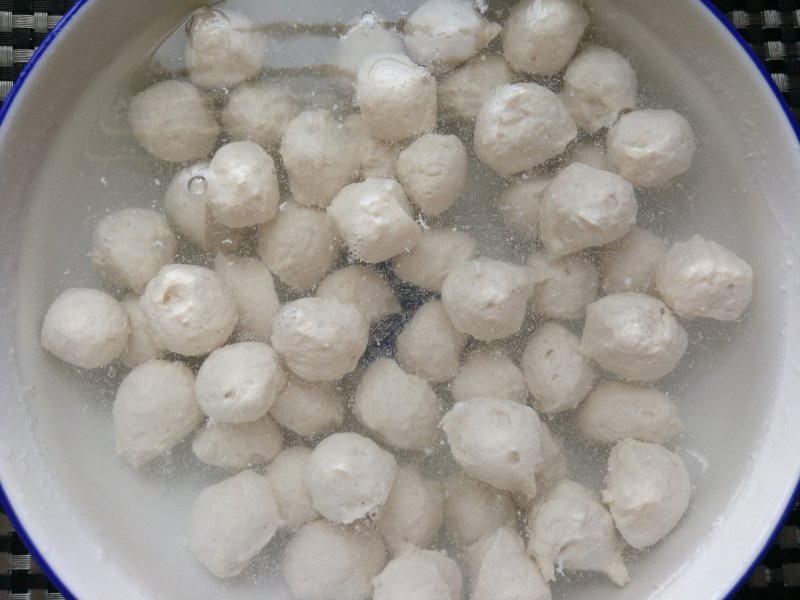
19.捞入冰水中。
20.清洗几次,洗去浮沫。
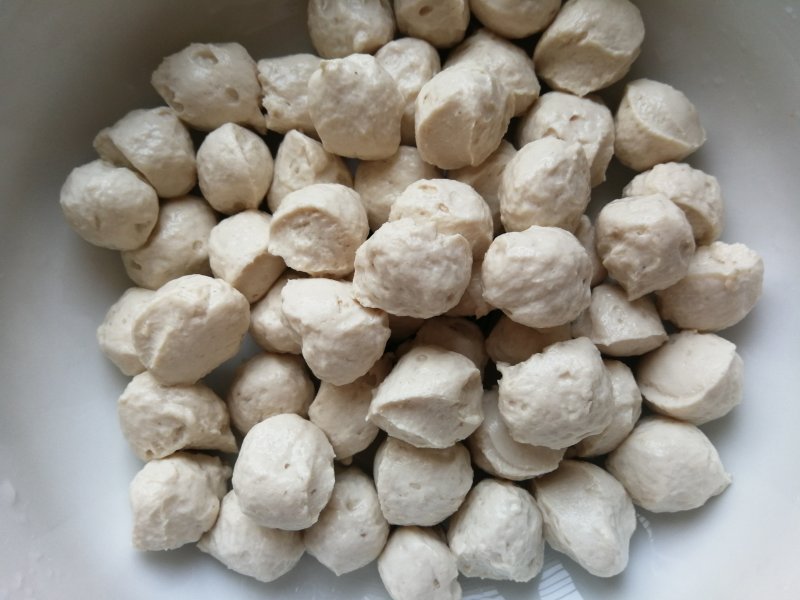
21.漂亮弹润的鸡肉丸就完成了。做火锅,做减脂蔬菜汤,红烧都不错,一次用不了可用保鲜袋分装,冷冻保存。随吃随取。
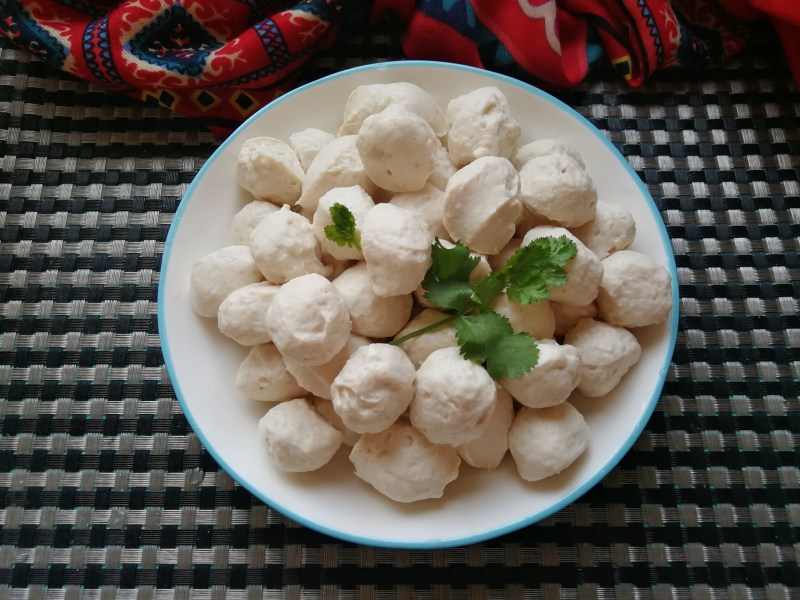
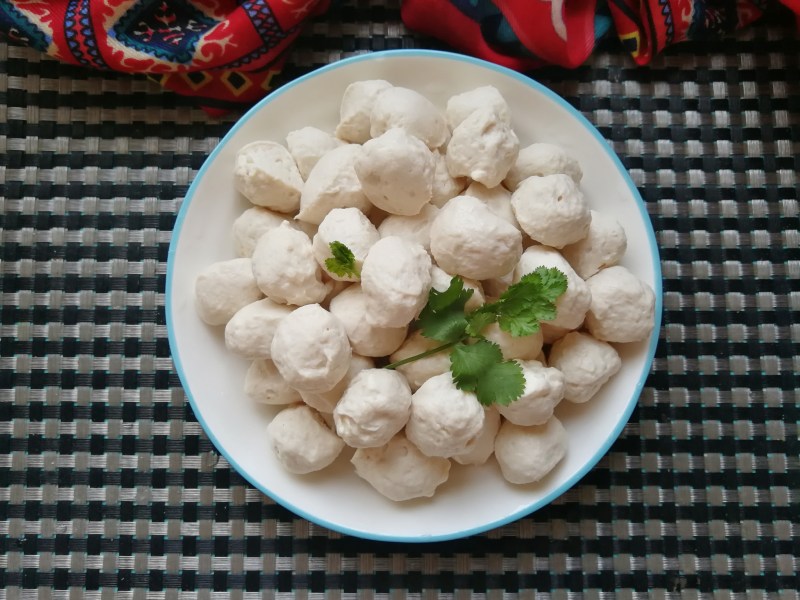
22.成品。
小窍门&温馨提示
丸子多一锅下不完,另起锅倒入清水。重复13到19步骤。
TAGS:
家常菜 私房菜 自制食材 鸡胸肉
免责声明:本站部分文章转载自网络,图文仅供行业学习交流使用,不做任何商业用途。文章仅代表原作者个人观点,其原创性及文章内容中图文的真实性、完整性等未经本站核实,仅供读者参考。
上一篇: 凉拌松花蛋的做法,凉拌松花蛋怎么做,凉拌松花蛋的家常做法,凉拌松花蛋的汁怎么调,凉拌松花蛋放什么调料,凉拌松花蛋需要煮熟吗
下一篇: 草莓天使卷的做法,草莓天使卷怎么做,草莓天使卷泸溪河,草莓天使蛋糕卷,天使卷图片,草莓卷下载
Deprecated: mysql_connect(): The mysql extension is deprecated and will be removed in the future: use mysqli or PDO instead in
/data/haozs.cc/xianguan.php on line
5
Deprecated: mysql_query(): The mysql extension is deprecated and will be removed in the future: use mysqli or PDO instead in
/data/haozs.cc/xianguan.php on line
7
