主料:
挞皮,
13-15个,
鸡蛋,
2个,
细砂糖,
40g烤箱
牛奶,
250ml烤蛋挞的做法步骤
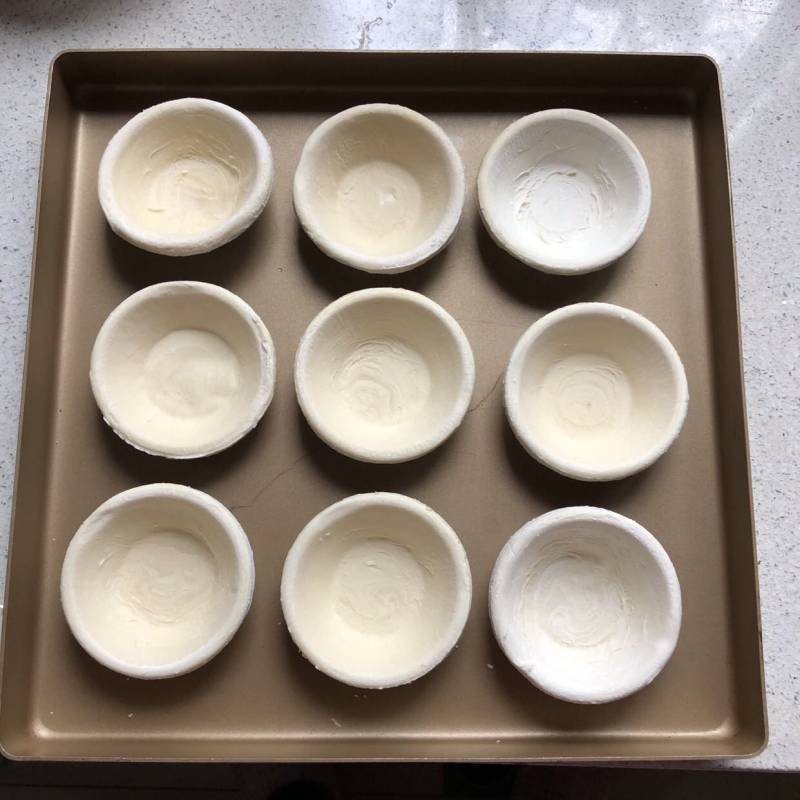
1.挞皮是网购的,先将挞皮室温解冻,大概半小时左右吧。
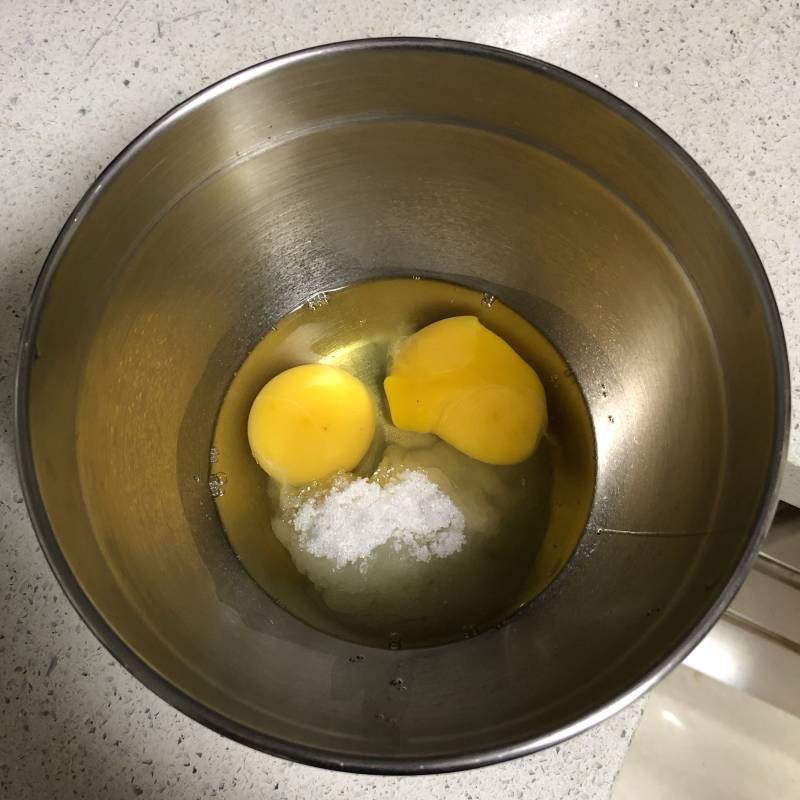
2.烤箱预热200度,鸡蛋加糖。
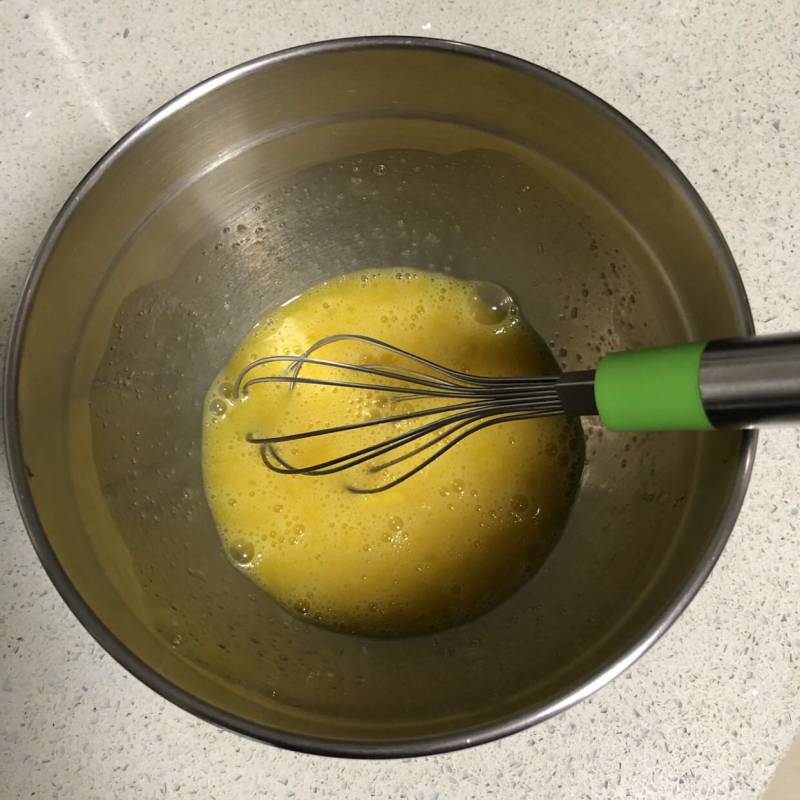
3.用手动搅拌器搅拌均匀。
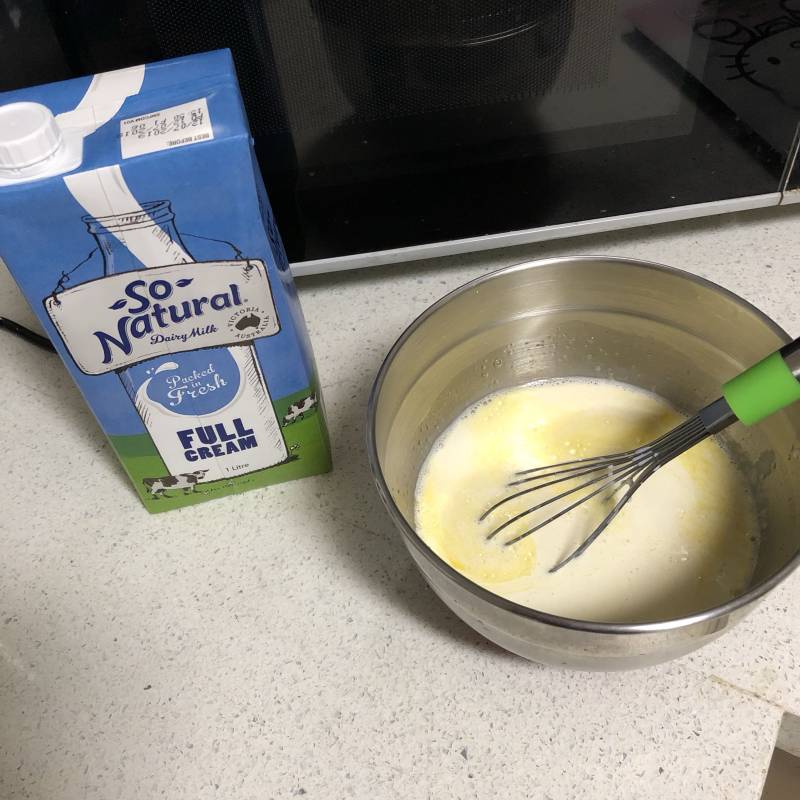
4.再倒入鲜牛奶,再次搅拌均匀。
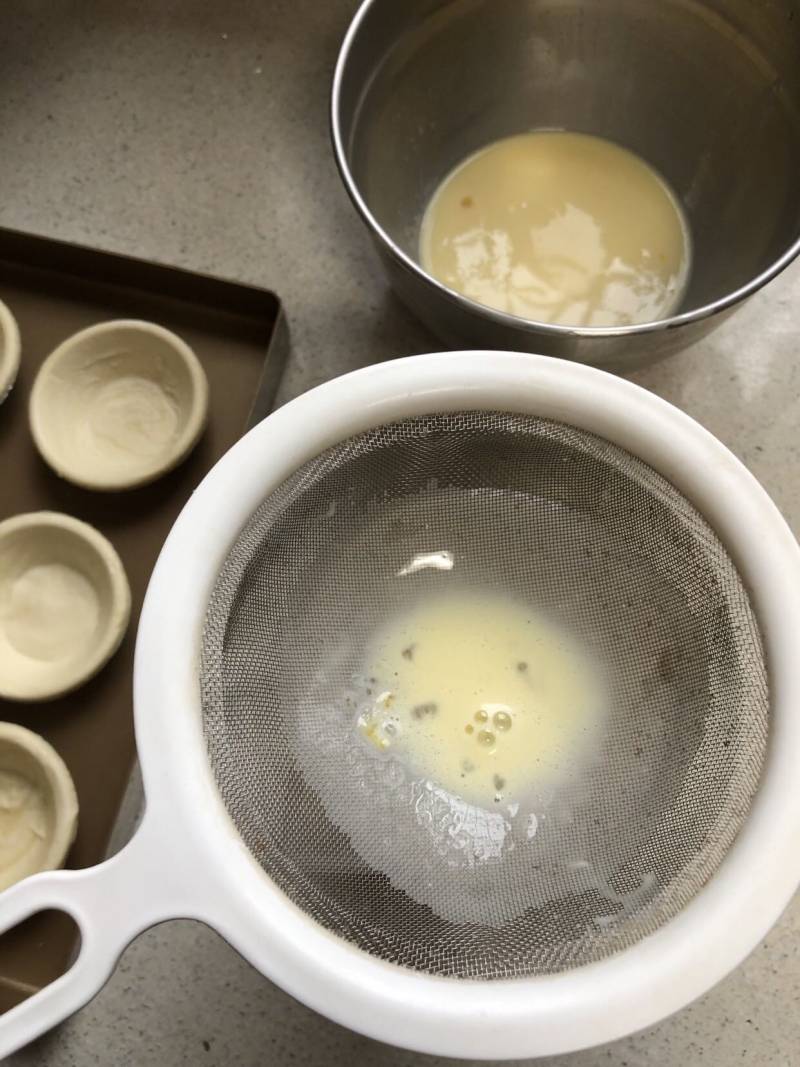
5.把蛋液过滤一遍。
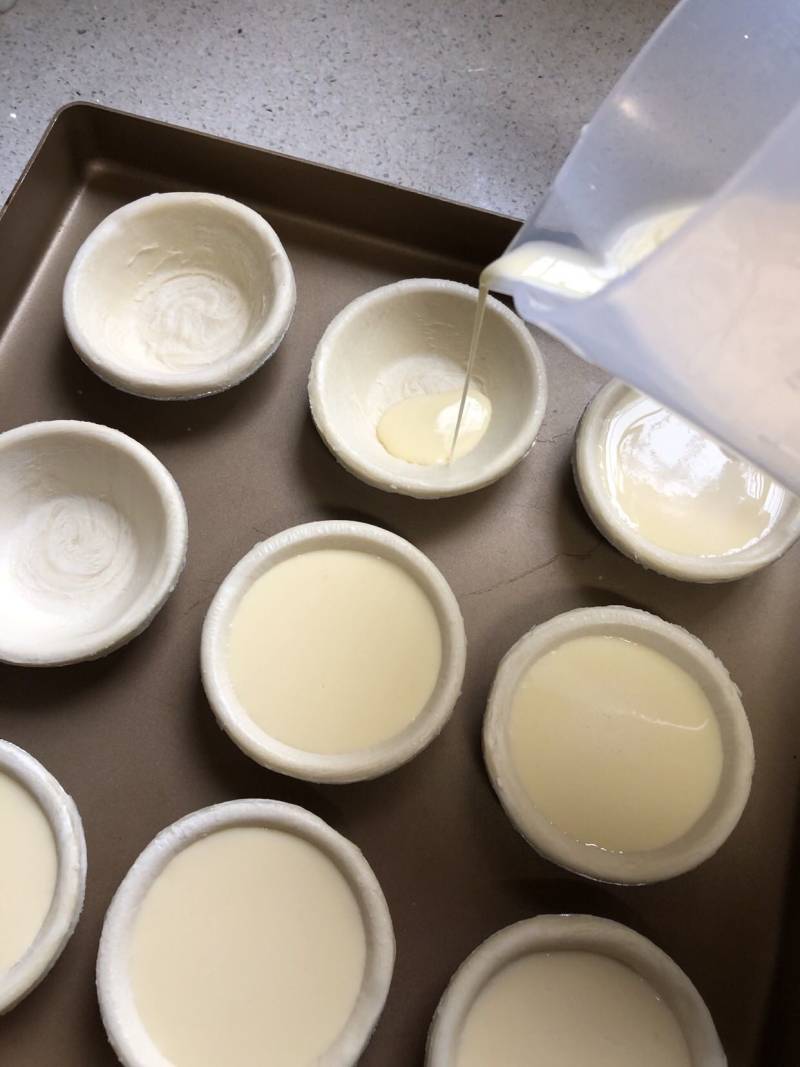
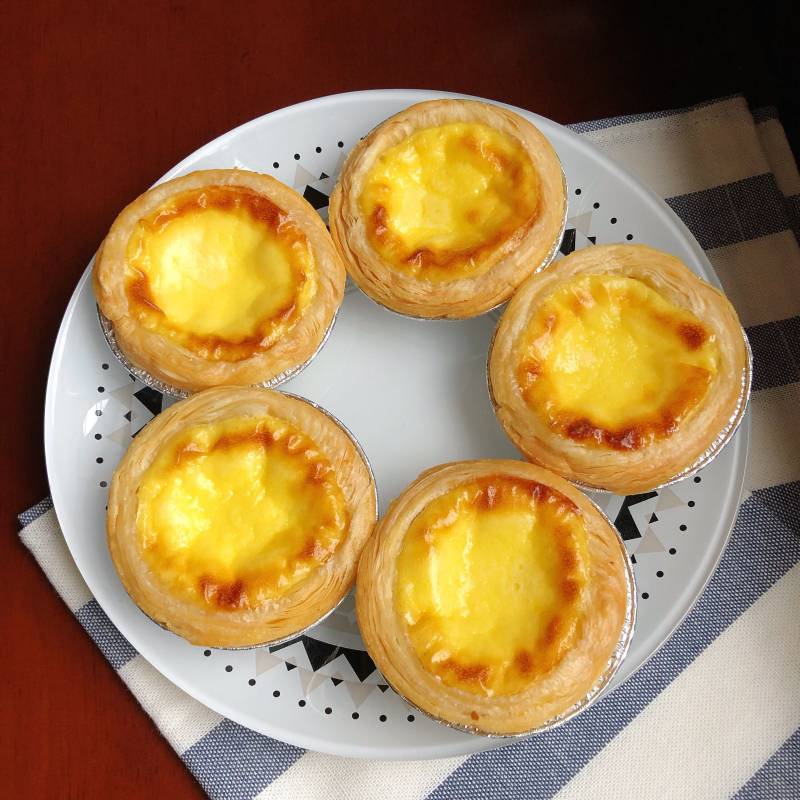
6.倒入挞皮,八九分满。
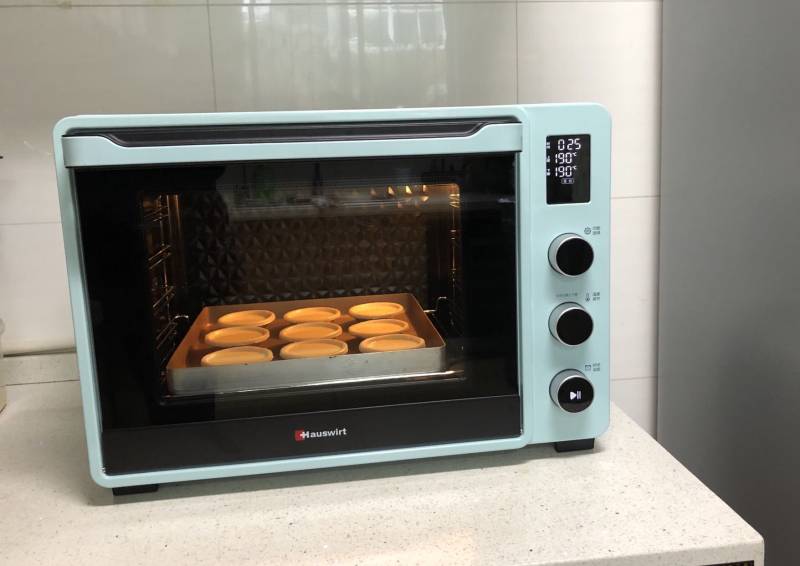
7.送入预热好的烤箱,底层,上下火190度烤25-30分钟!喜欢焦香口感的可以200度烤20分钟。
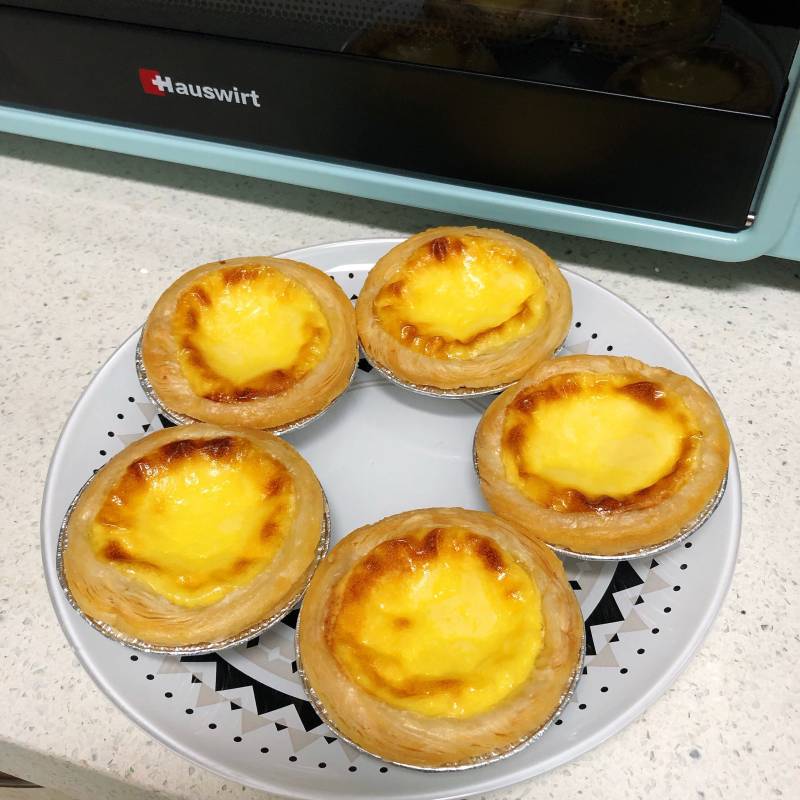
8.奶香四溢啊。
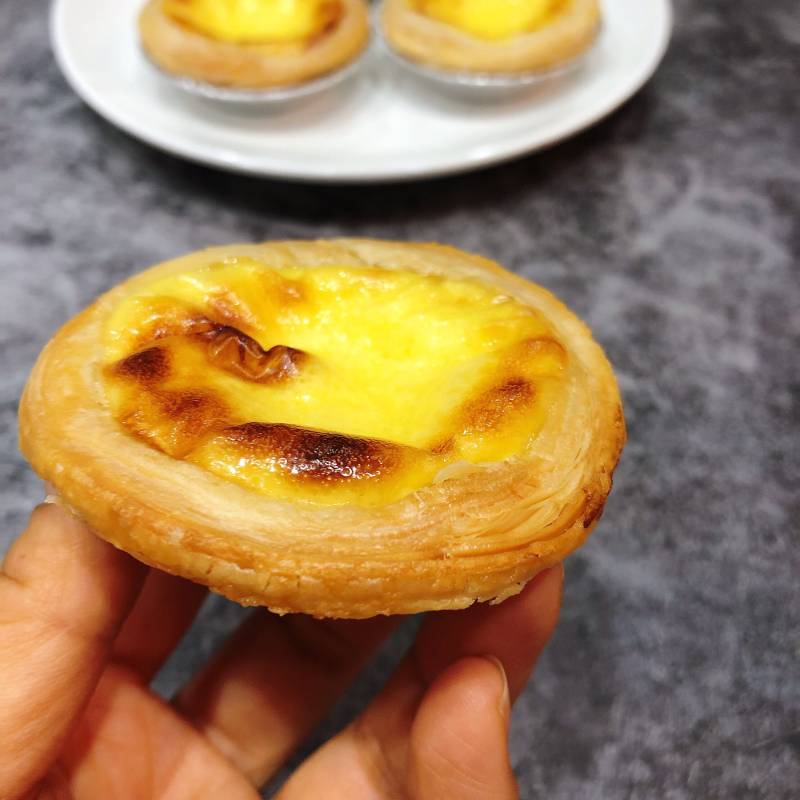
9.层层叠叠好酥脆。
10.喜欢吗?赶快动手试一下哦!
小窍门&温馨提示
1、这个配方我倒的很满,做了13个。
2、可以220ml牛奶+30ml淡奶油,味道也不错哦!
TAGS:
烘焙 下午茶 其他菜系 挞皮
免责声明:本站部分文章转载自网络,图文仅供行业学习交流使用,不做任何商业用途。文章仅代表原作者个人观点,其原创性及文章内容中图文的真实性、完整性等未经本站核实,仅供读者参考。
上一篇: 香蕉蜜豆酥的做法,香蕉蜜豆酥怎么做,香蕉酥做法,烘焙香蕉酥,香蕉酥图片,香酥炸香蕉
下一篇: 懒人版蛋挞的做法,懒人版蛋挞怎么做,懒人版蛋挞怎么做,懒人版蛋挞的家常做法,懒人版蛋挞的做法,不用奶油也不用蛋黄分离,零难度,懒人版蛋挞的做法,不用奶油也不用蛋黄
Deprecated: mysql_connect(): The mysql extension is deprecated and will be removed in the future: use mysqli or PDO instead in
/data/haozs.cc/xianguan.php on line
5
Deprecated: mysql_query(): The mysql extension is deprecated and will be removed in the future: use mysqli or PDO instead in
/data/haozs.cc/xianguan.php on line
7
