主料:
中筋面粉,
150克,
韭菜,
200克,
鸡蛋,
2个
辅料:
开水,
30克,
凉水,
60克,
虾皮,
5克,
食用油适量调料
盐适量,
白糖适量,
蚝油适量韭菜锅贴的做法步骤
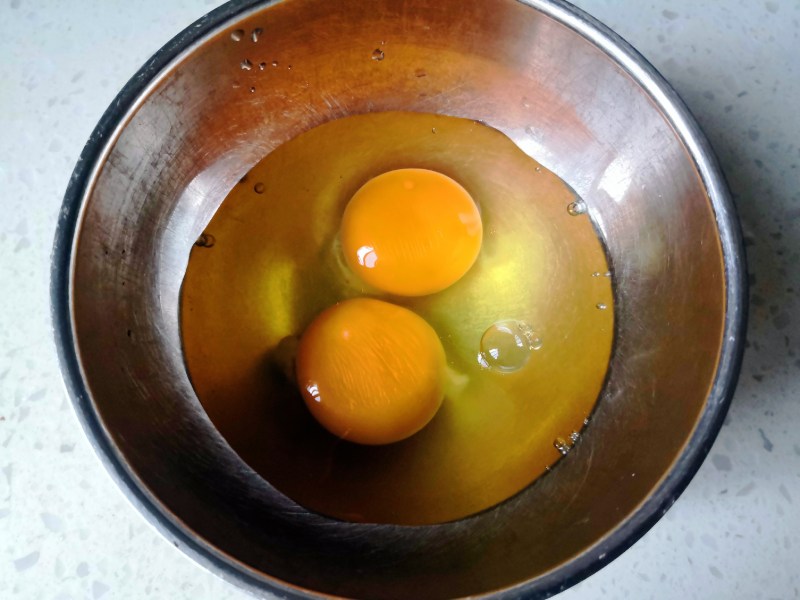
1.将鸡蛋打入碗里。
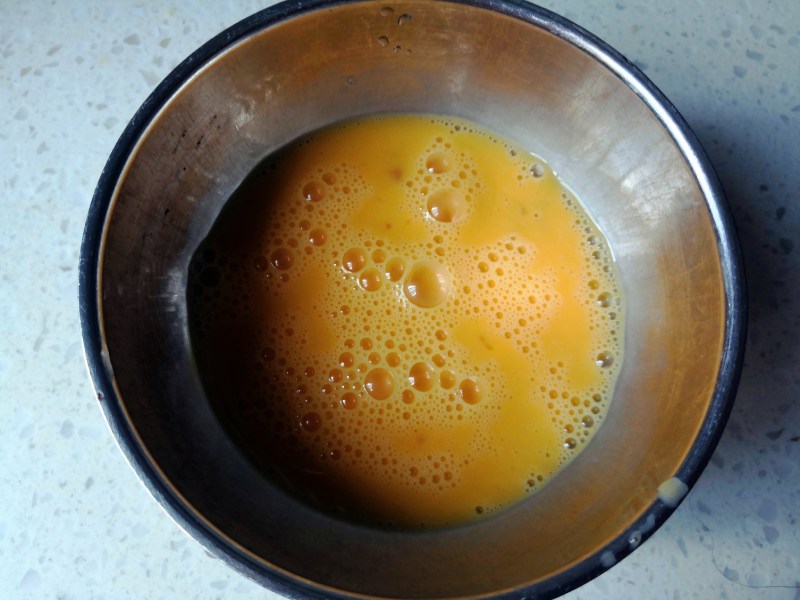
2.打散。
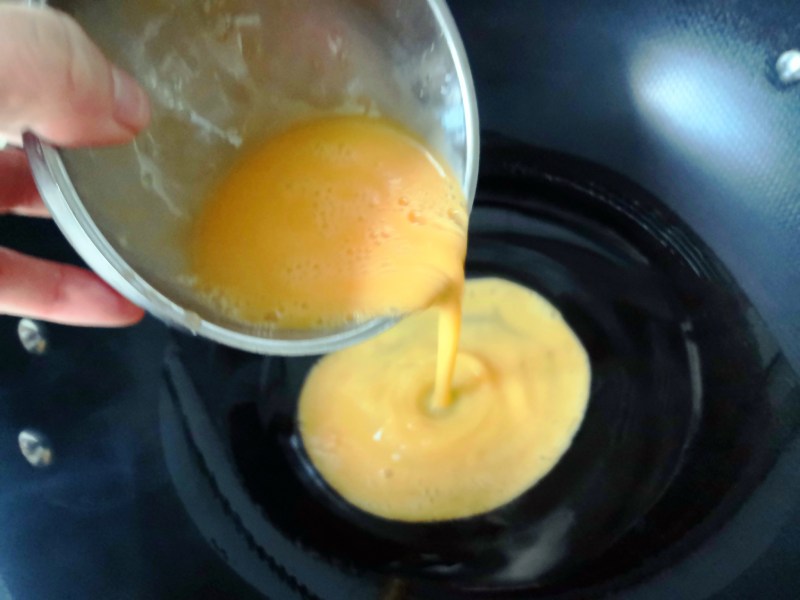
3.锅里放适量油,中火烧热,倒入蛋液。
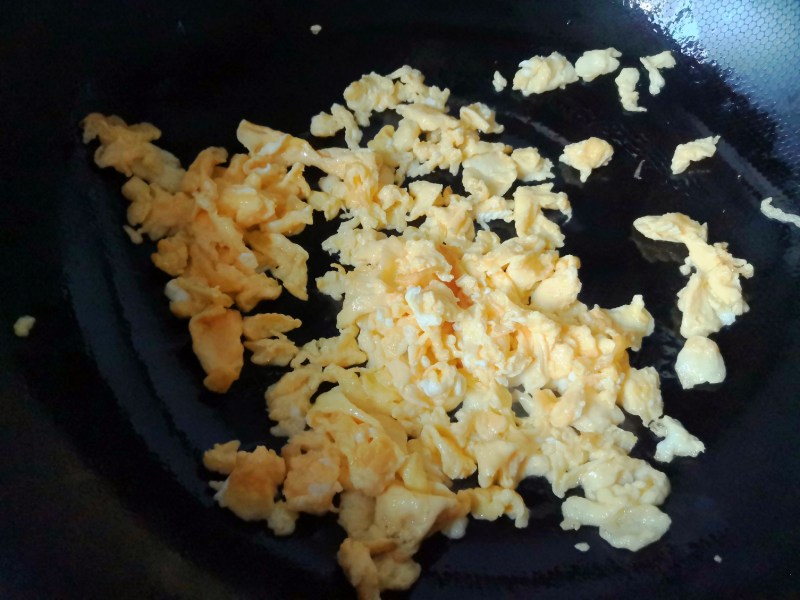
4.用筷子快速划散,转小火。
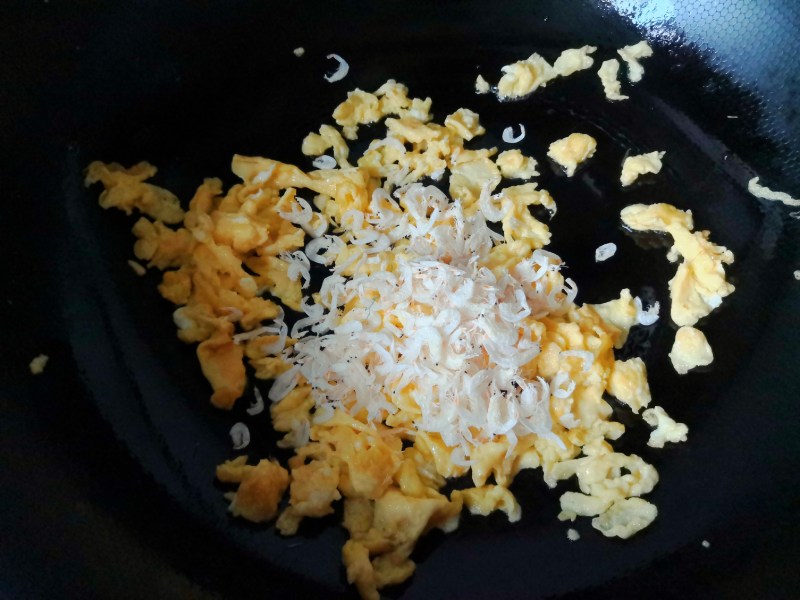
5.加入虾皮。
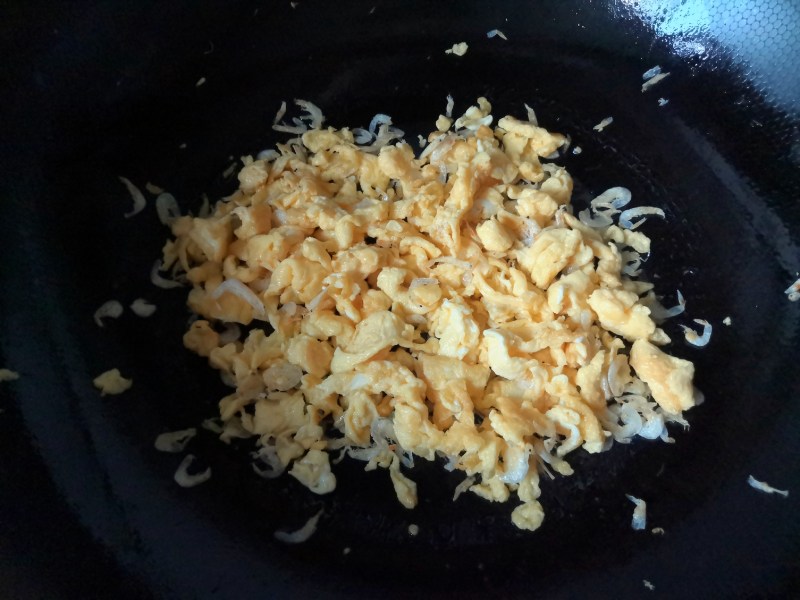
6.翻炒均匀,关火。
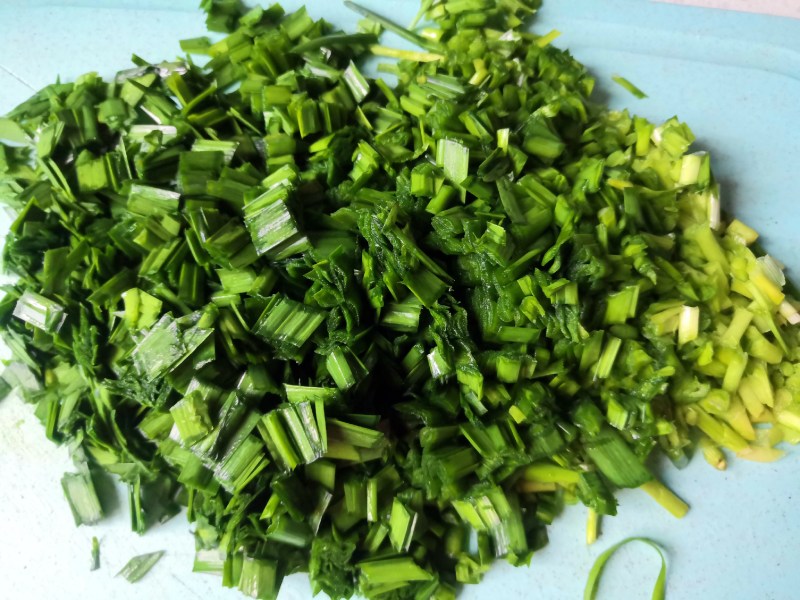
7.韭菜切末。
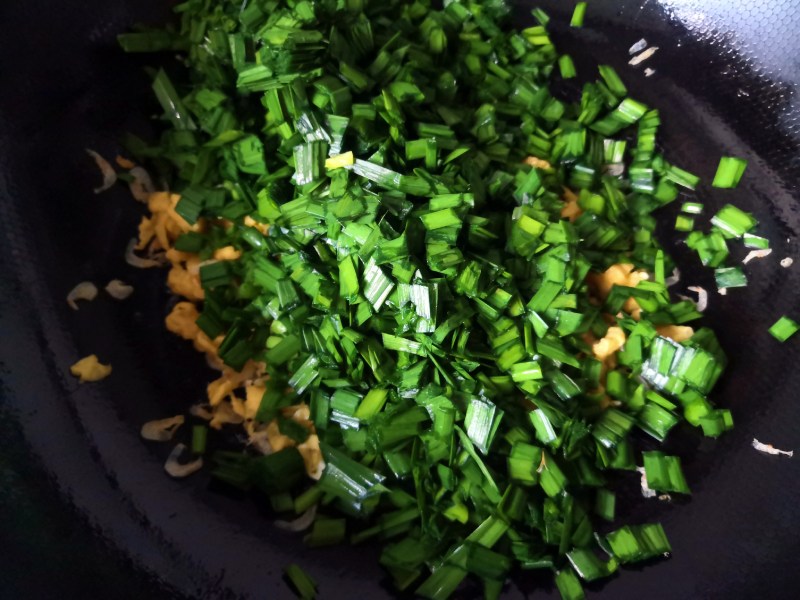
8.倒入锅里,搅拌均匀。
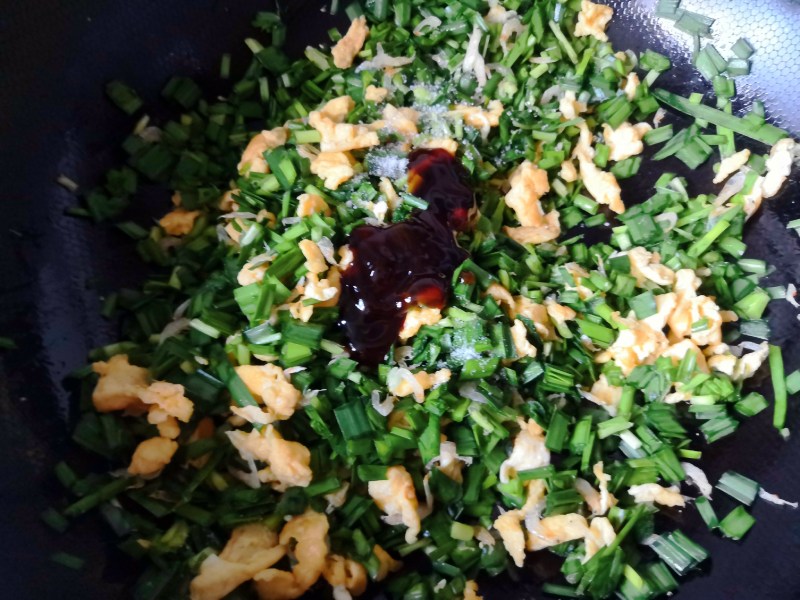
9.加入盐、白糖和耗油,搅拌均匀。

10.加入热油。
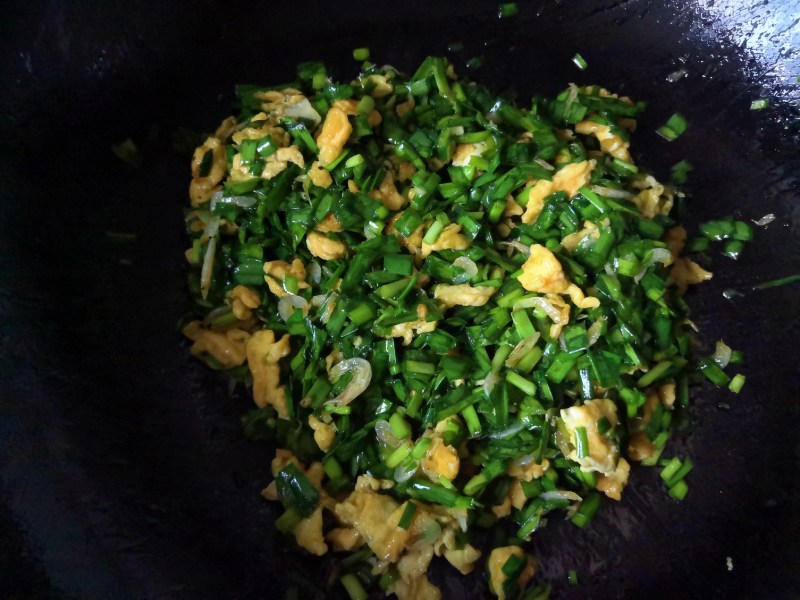
11.搅拌均匀,冷却备用。
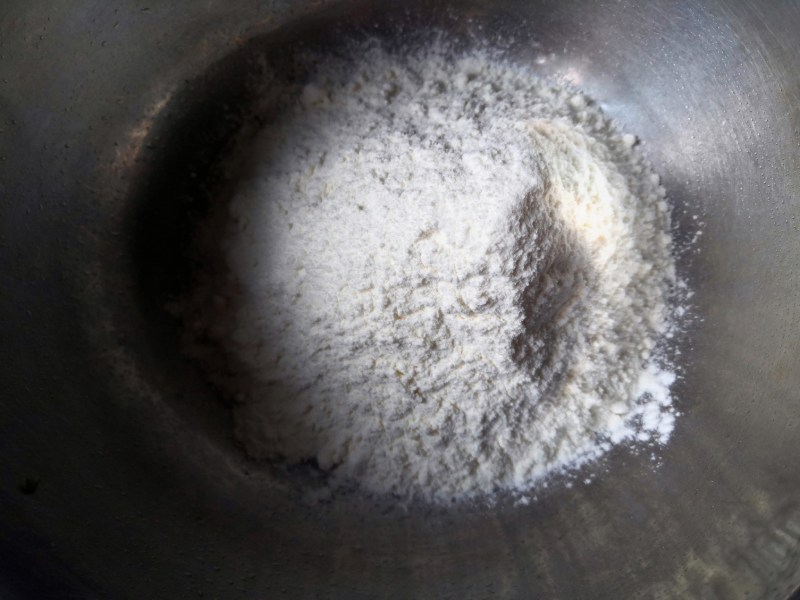
12.面粉倒入盆里,一半加开水,一半加凉水。
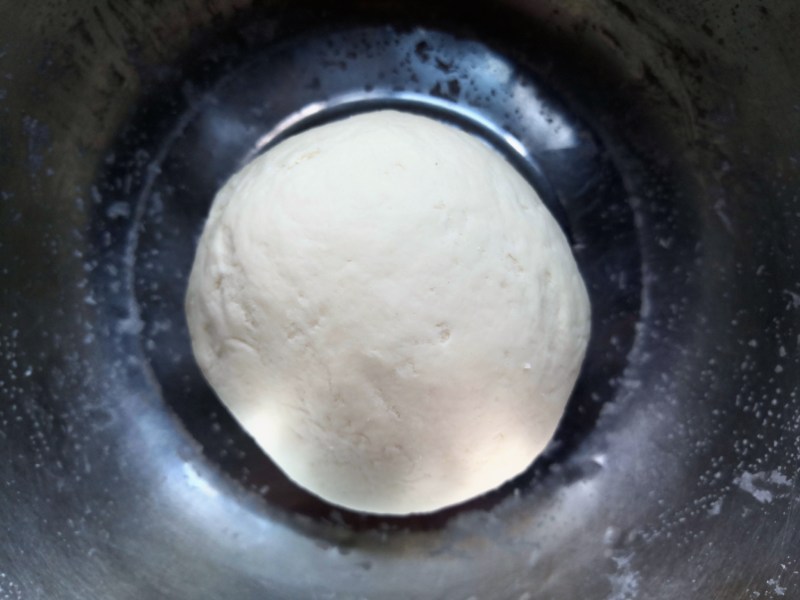
13.揉戌光滑的面团,醒半小时。
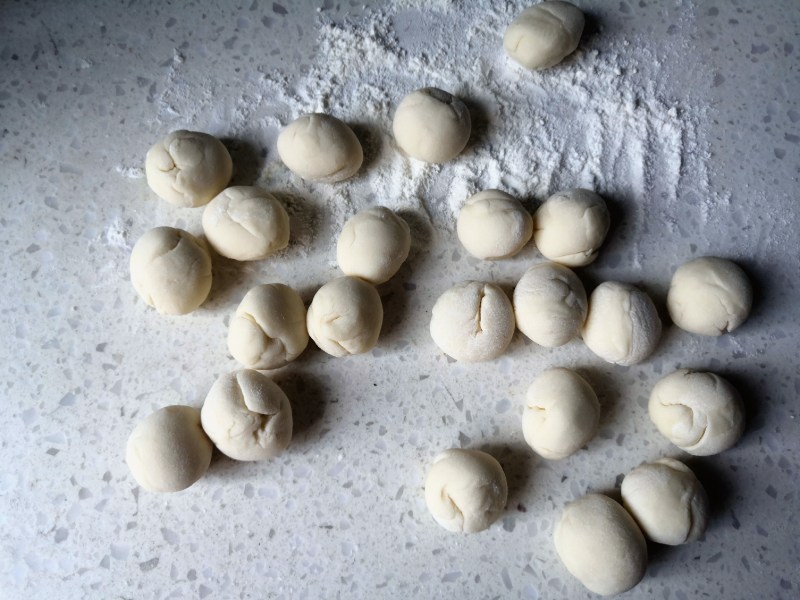
14.分成等量大的小剂子,搓圆。
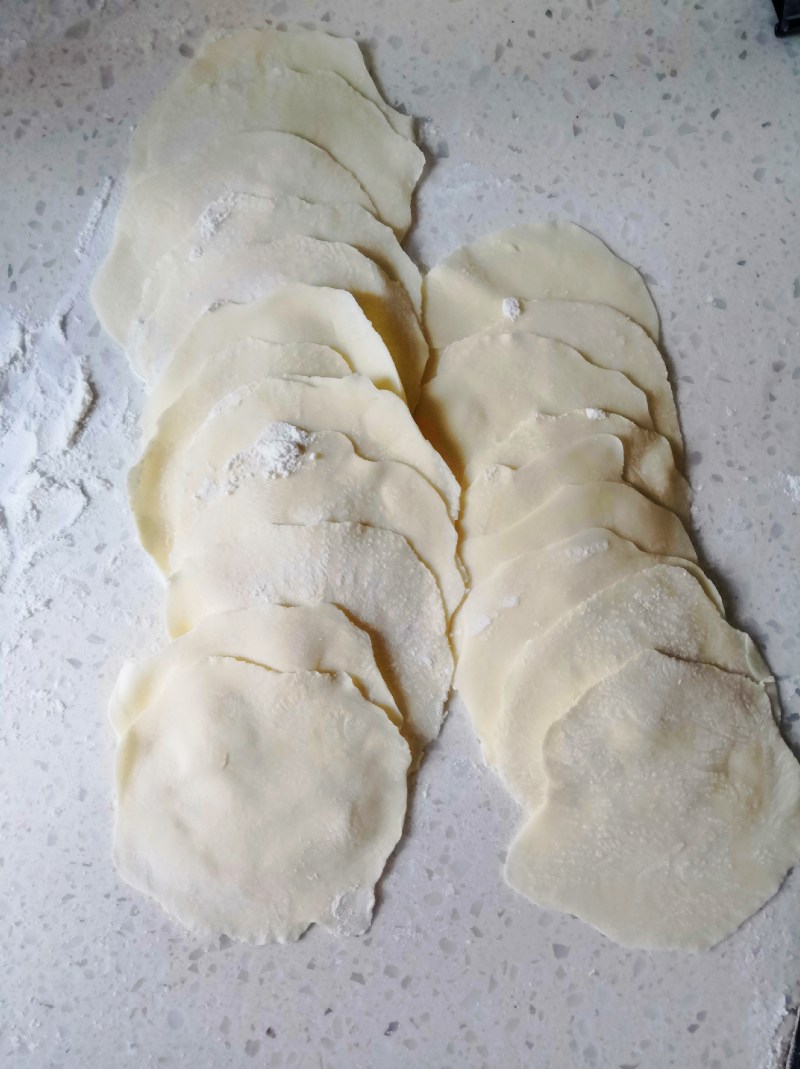
15.逐个擀开。
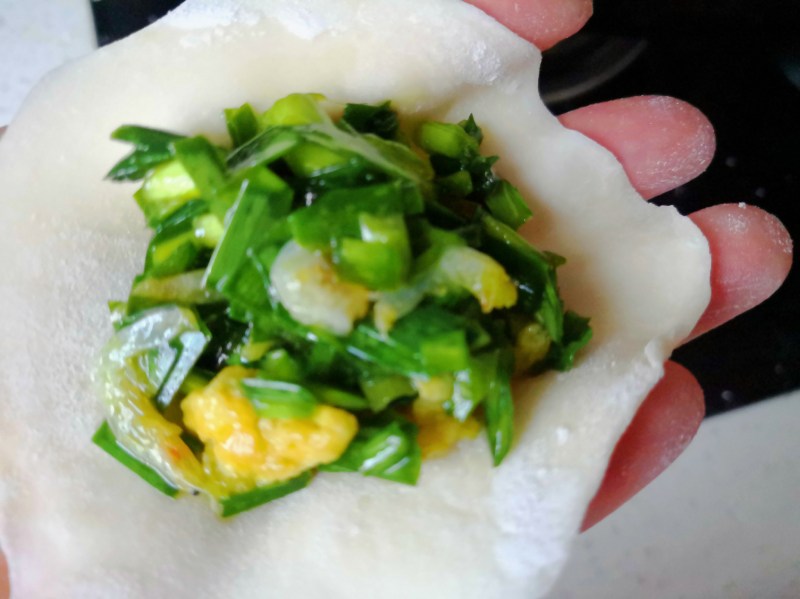
16.放入馅料。
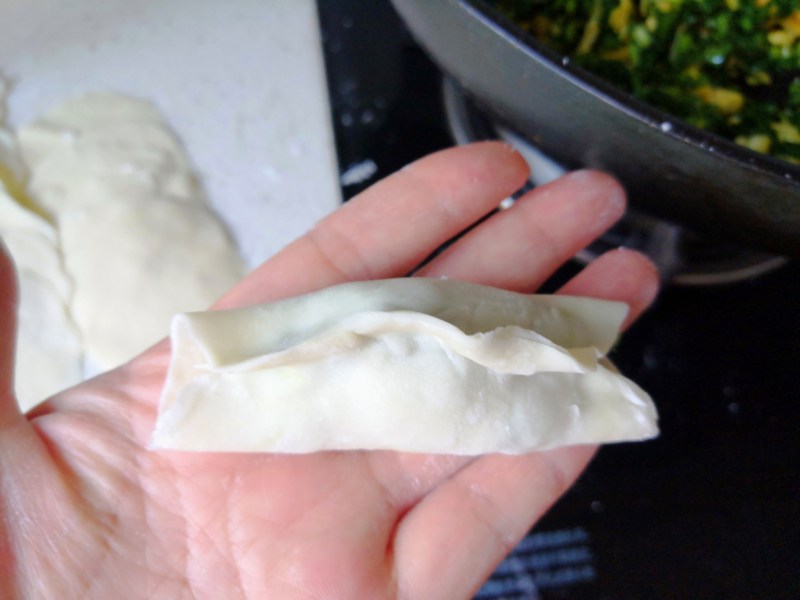
17.中间捏合,两边不用捏。

18.不粘锅里放适量油。
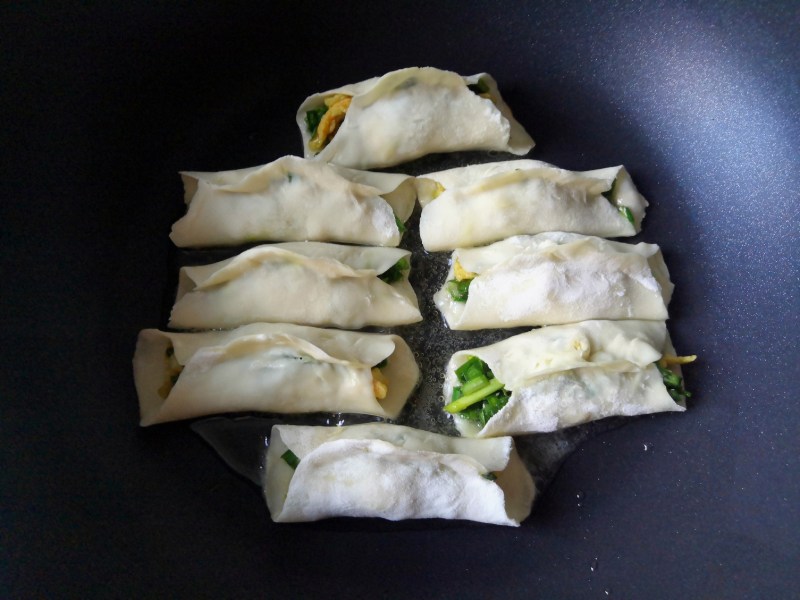
19.摆入锅贴。
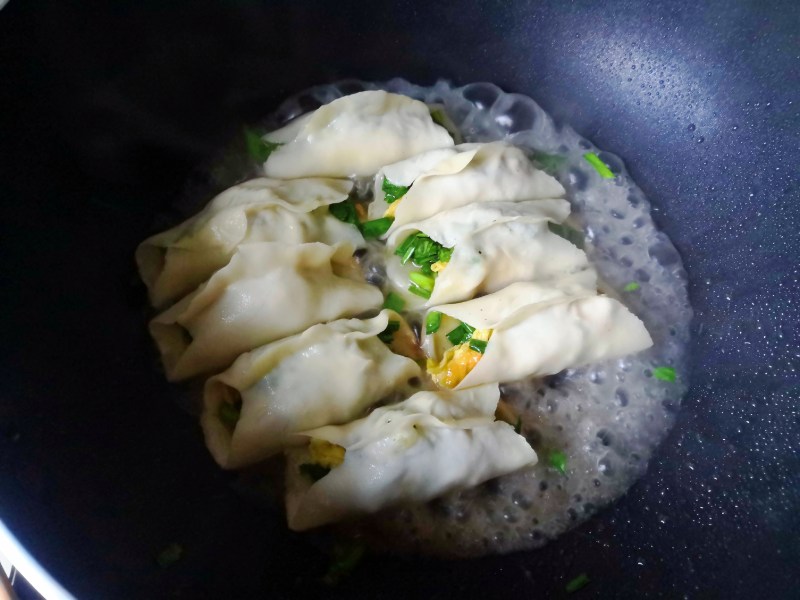
20.小火煎至底部微黄,加入约1厘米高的开水,盖上锅盖,焖一会儿。
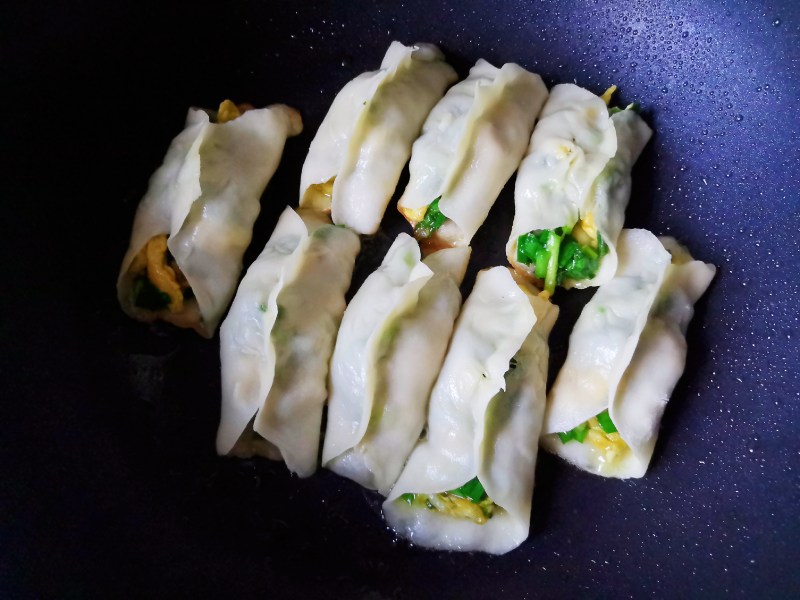
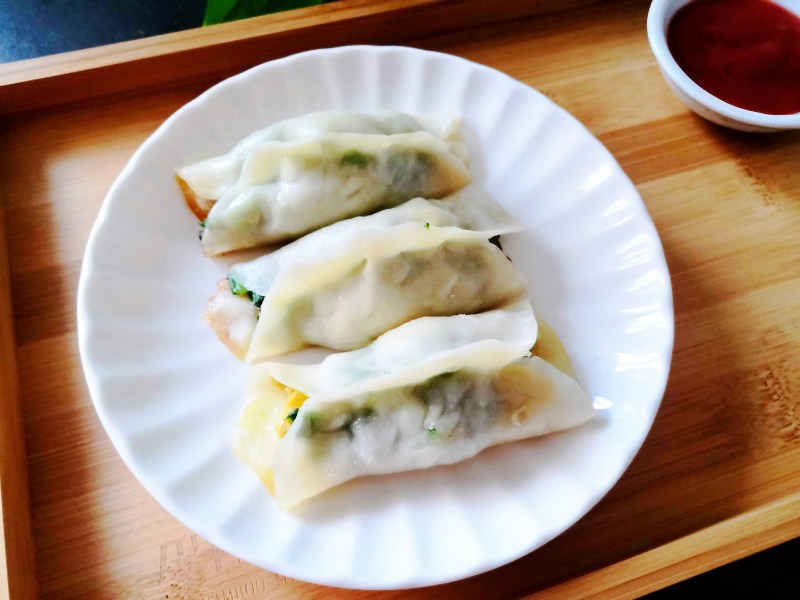
21.等水烧干,锅贴皮呈透明状,即可关火出锅,趁热享用。
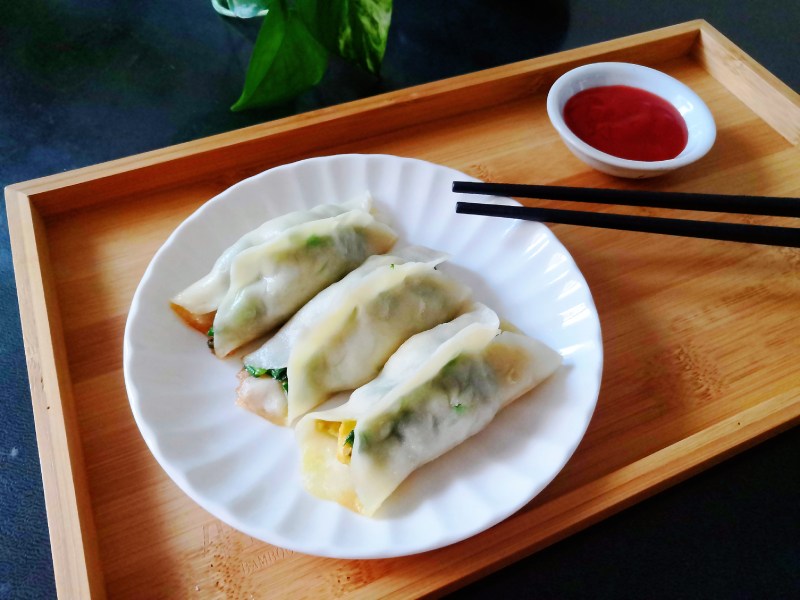
22.成品图。

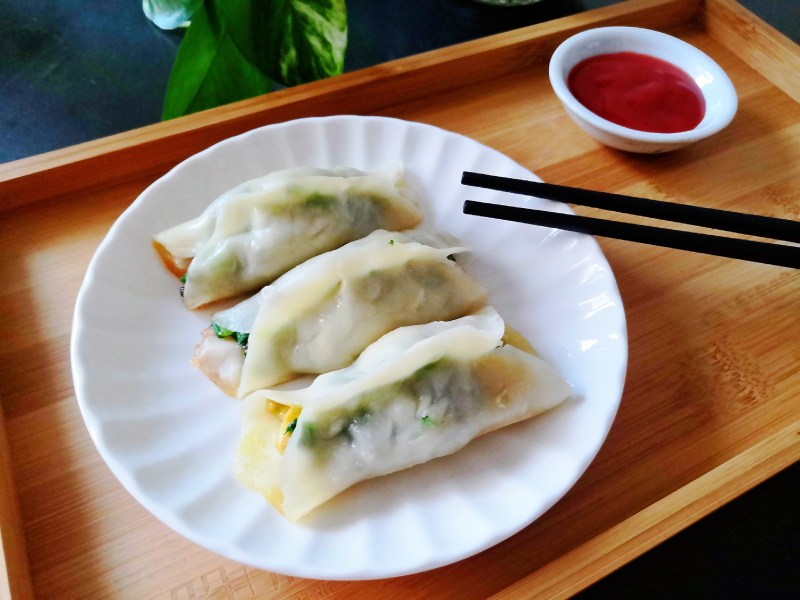
23.成品图。
24.成品图。
25.成品图。
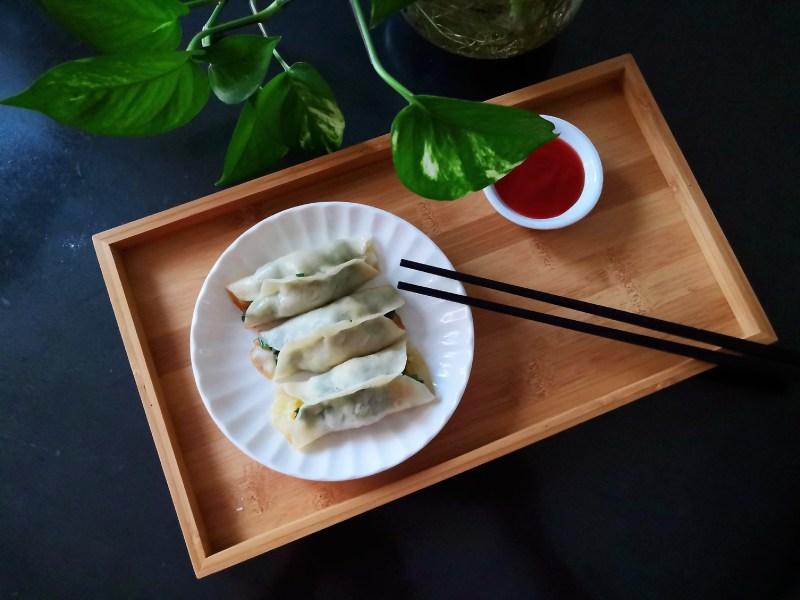
26.成品图。
小窍门&温馨提示
1.根据面粉吸水性调整加水量。
2.面皮尽量擀薄一些更好吃。
3.韭菜馅里加点白糖提鲜,口感更好。
4.虾皮是咸的,不用加过多的盐。
5.用不粘锅好操作。
TAGS:
主食 家常菜 午餐 晚餐 中筋面粉
免责声明:本站部分文章转载自网络,图文仅供行业学习交流使用,不做任何商业用途。文章仅代表原作者个人观点,其原创性及文章内容中图文的真实性、完整性等未经本站核实,仅供读者参考。
上一篇: 白灼基围虾的做法,白灼基围虾怎么做,白灼基围虾的做法,白灼基围虾煮几分钟才煮好,白灼基围虾的蘸料配方,白灼基围虾冷水下锅还是热水下锅
下一篇: 茄汁虾的做法,茄汁虾怎么做,茄汁虾的做法大全,茄汁虾仁最正宗的做法,茄汁虾球,茄汁虾仁
Deprecated: mysql_connect(): The mysql extension is deprecated and will be removed in the future: use mysqli or PDO instead in
/data/haozs.cc/xianguan.php on line
5
Deprecated: mysql_query(): The mysql extension is deprecated and will be removed in the future: use mysqli or PDO instead in
/data/haozs.cc/xianguan.php on line
7
