主料:
低筋面粉,
110克,
细砂糖,
60克,
玉米油,
70克,
鸡蛋,
2个,
奶粉,
30克,
泡打粉,
3.5克
辅料:
凤梨馅适量,
红曲粉,
2.5克双色凤梨夹心甜甜圈的做法步骤
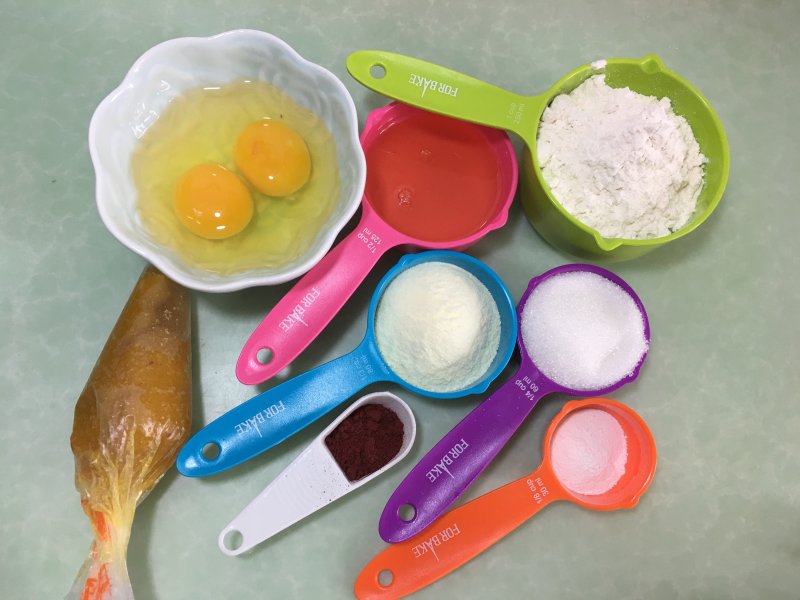
1.准备材料。
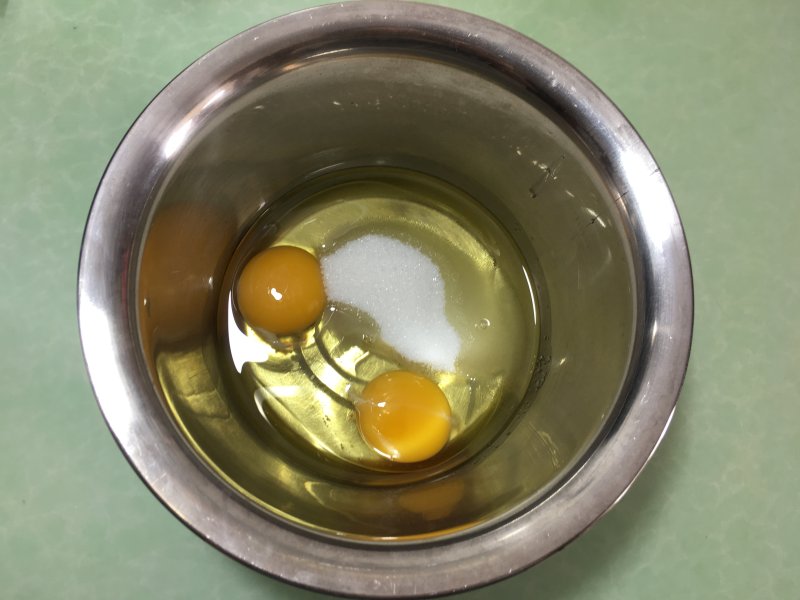
2.将鸡蛋,玉米油,细砂糖倒入一个盆中。
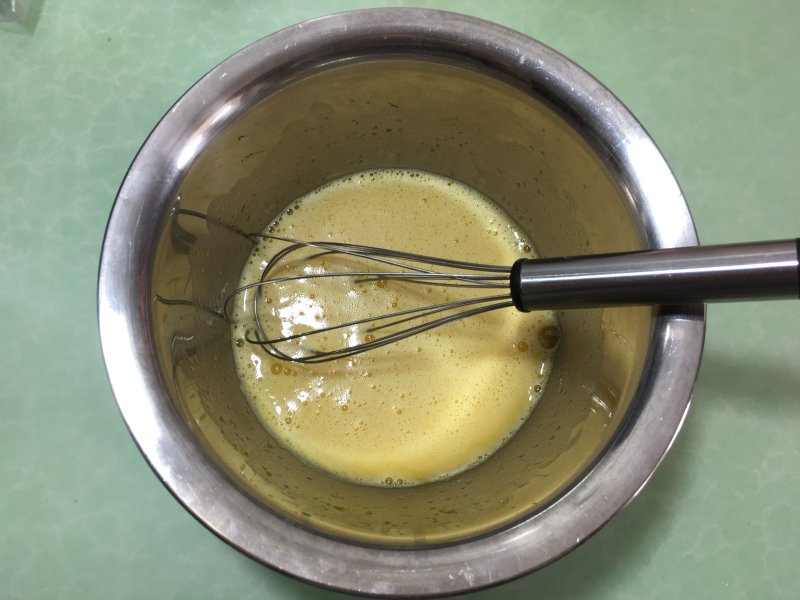
3.用手动打蛋器搅拌均匀。
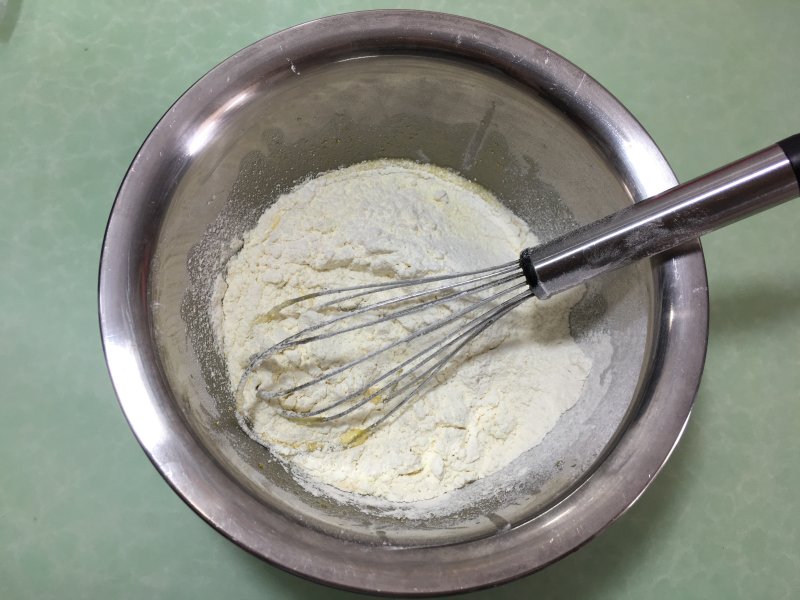
4.筛入低筋面粉,奶粉和泡打粉的混合粉类。
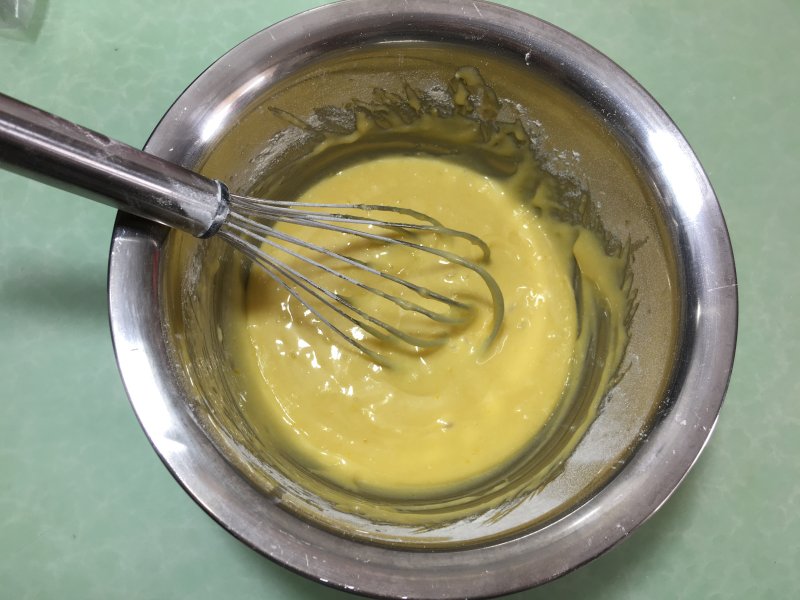
5.用打蛋器搅拌均匀,用“Z”字形搅拌方法。

6.将搅拌好的蛋糕糊平均分成两份,一份加入红曲粉。
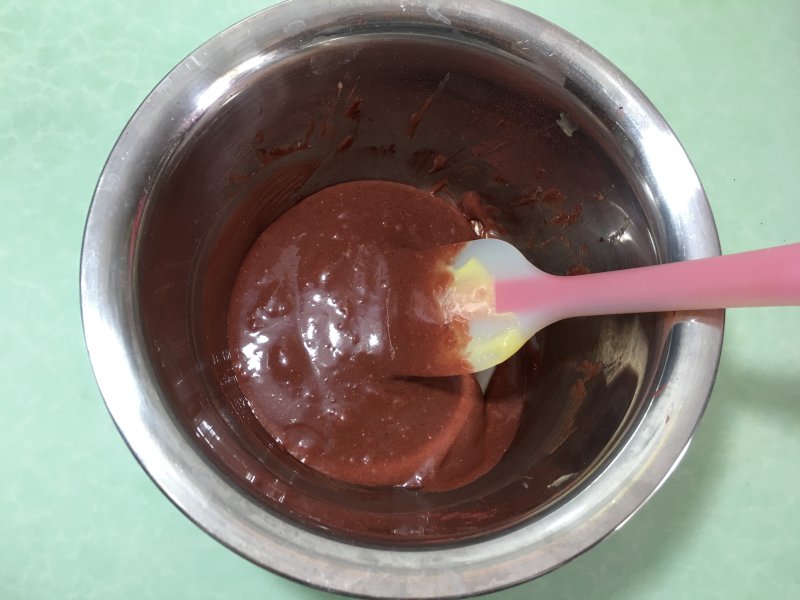
7.然后用硅胶刀搅拌均匀。
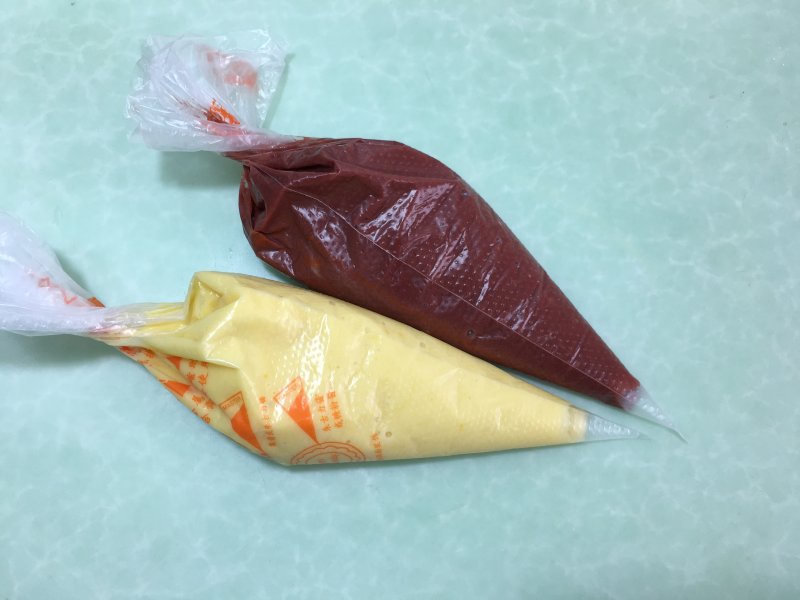
8.将两个颜色的蛋糕液装入两个裱花袋中。
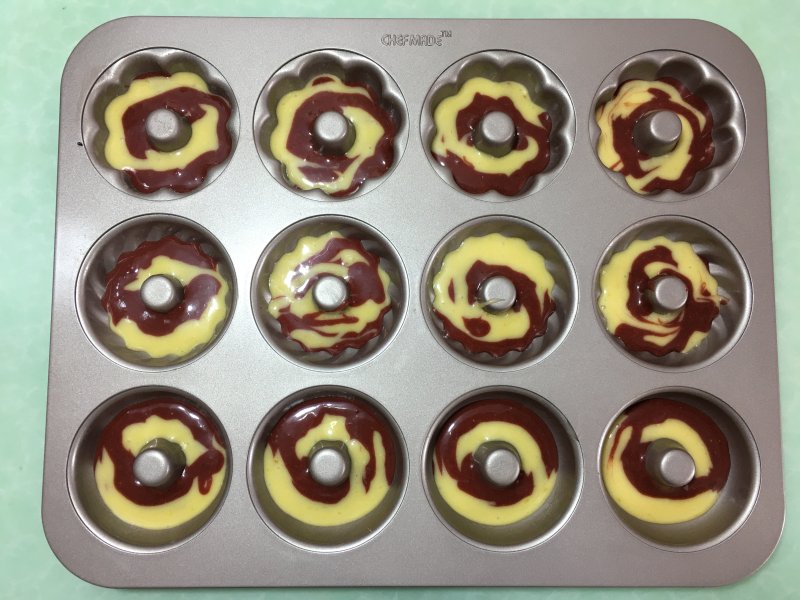
9.同时拿起两个颜色的蛋糕液,同时在模具中挤入一半蛋糕液。
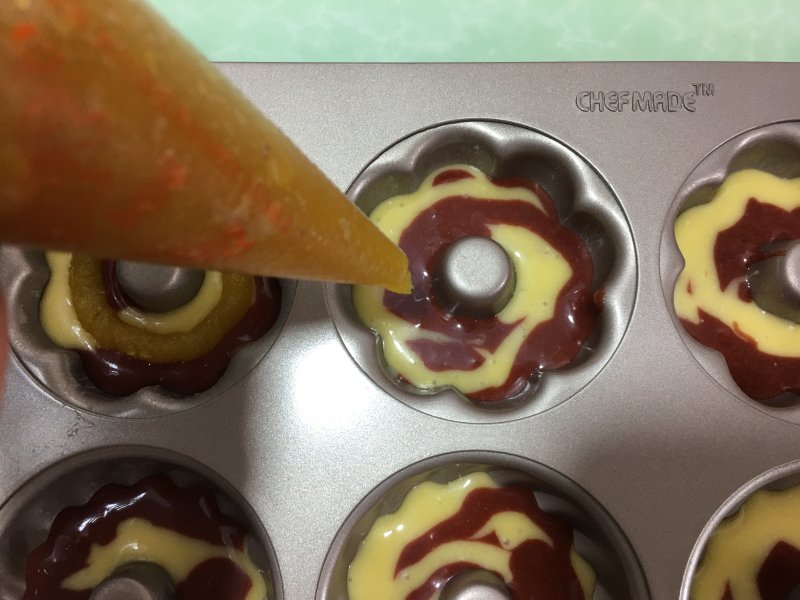
10.然后挤入凤梨馅。
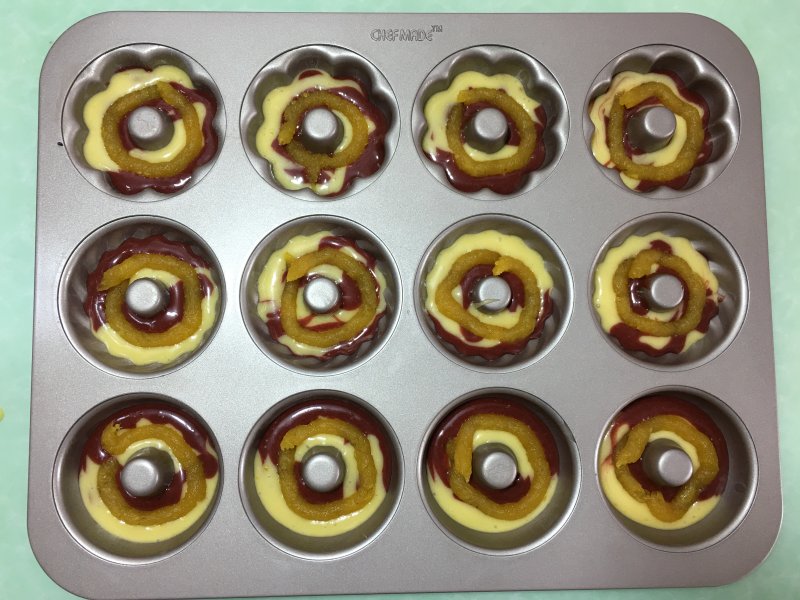
11.注意凤梨馅尽量挤在中间的位置。
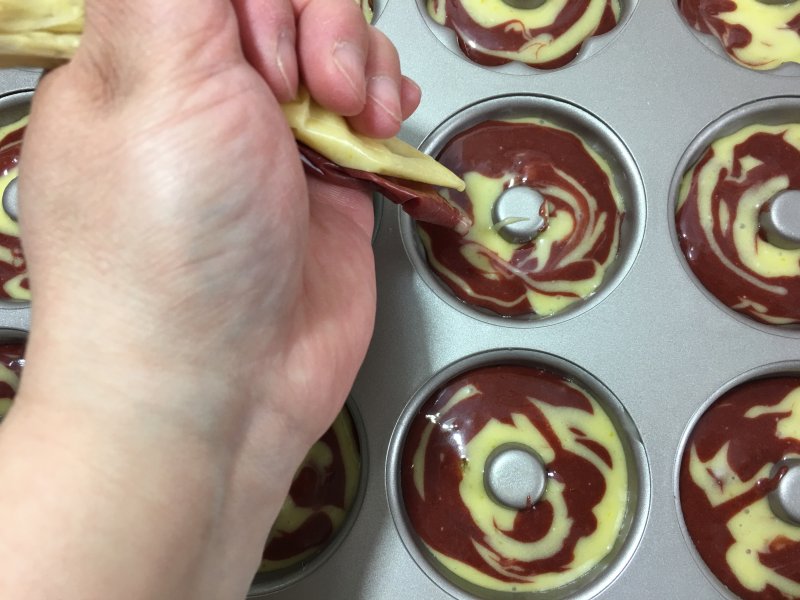
12.然后再挤入剩下的蛋糕液,将凤梨馅盖住。
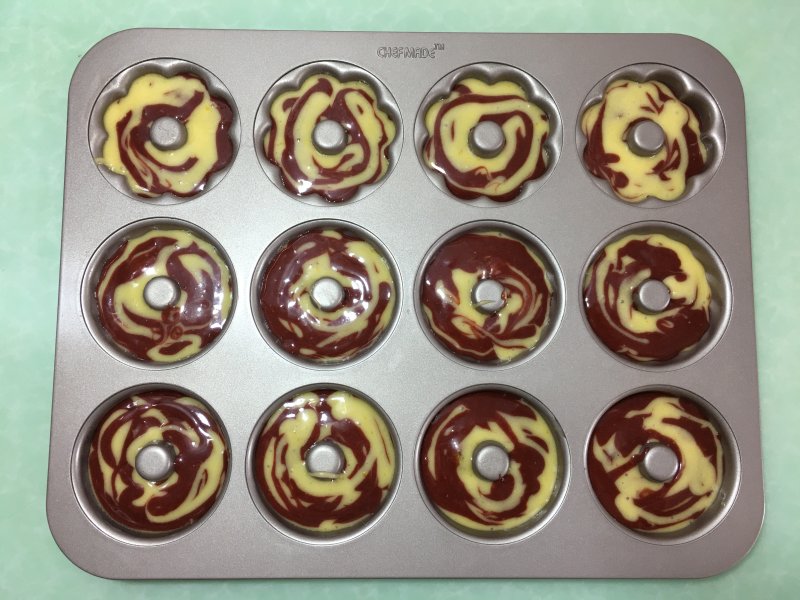
13.这个量正好可以做12个甜甜圈。
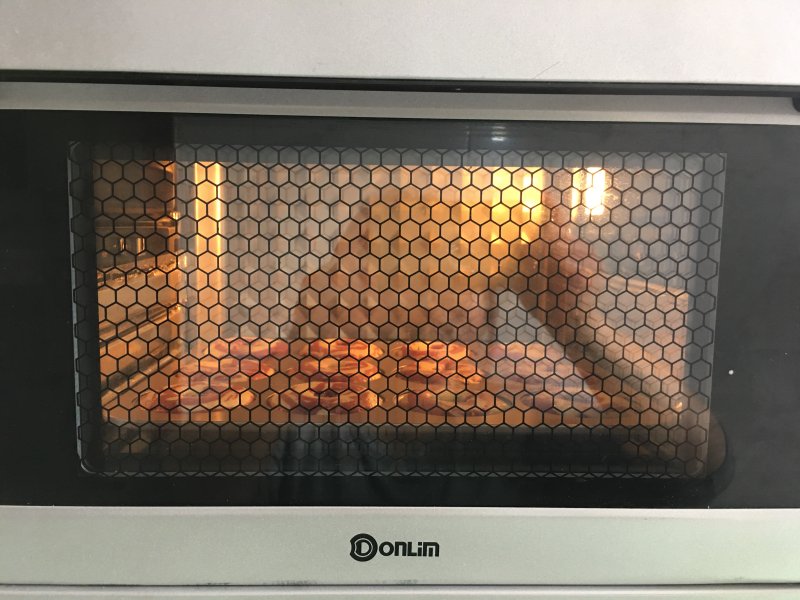
14.将模具放入提前预热的烤箱中进行烘烤,温度为165度,时间为20分钟。
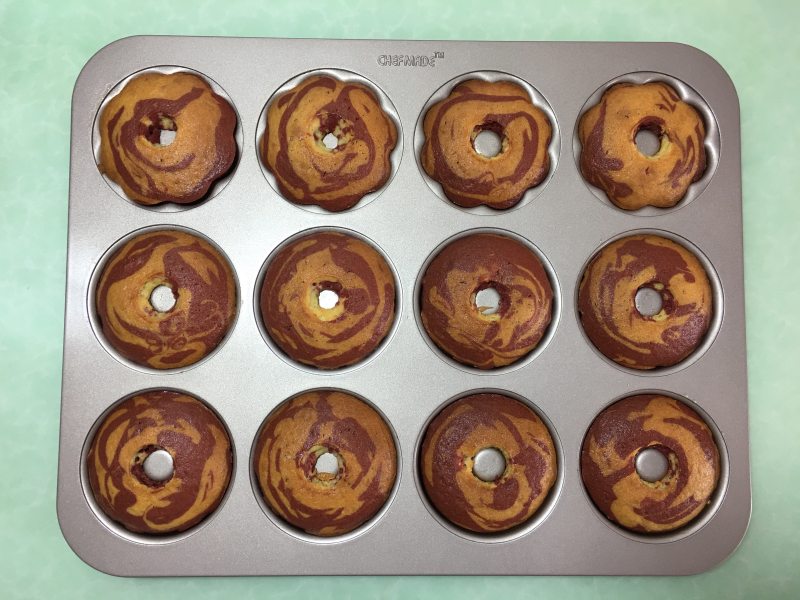
15.烘烤结束后取出模具。
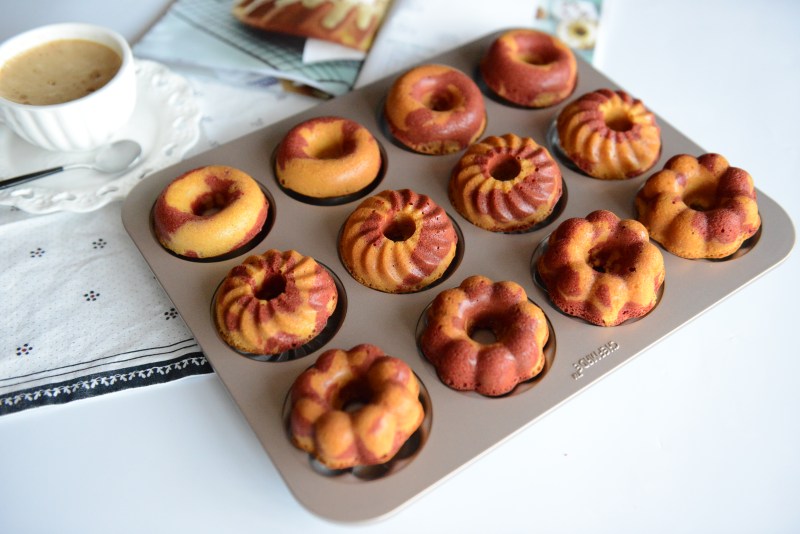
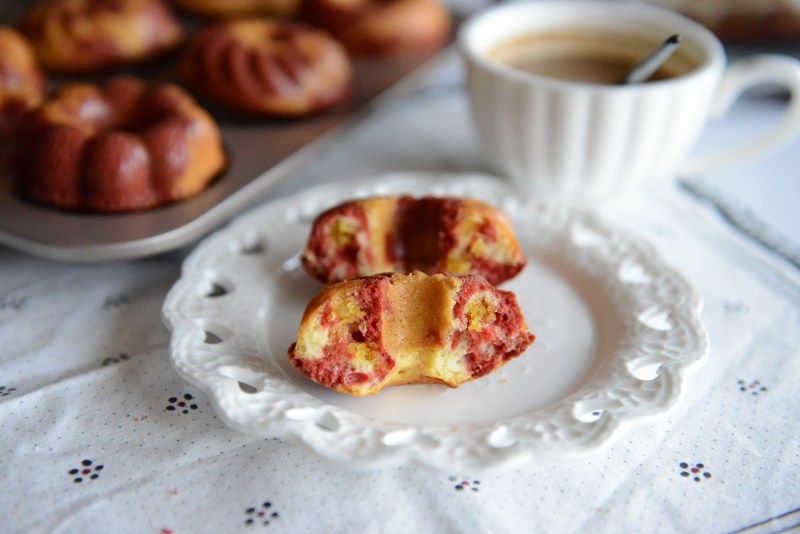
16.成品图。
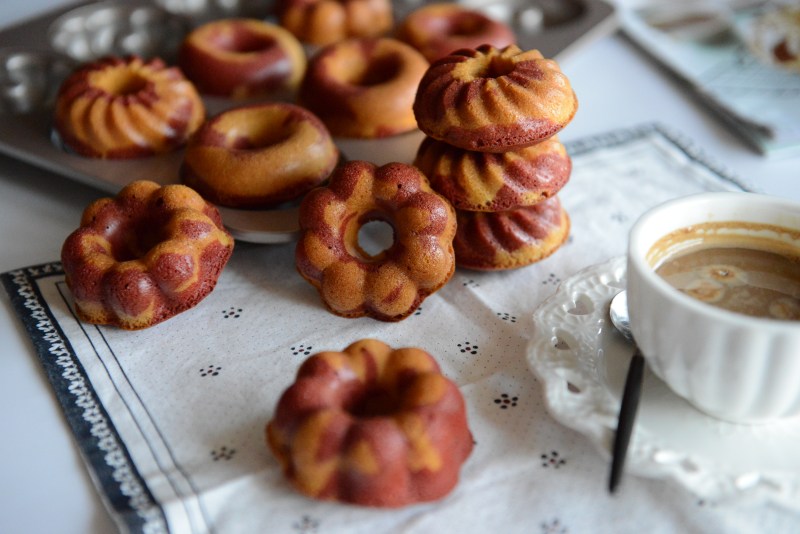
17.展示图
18.展示图。
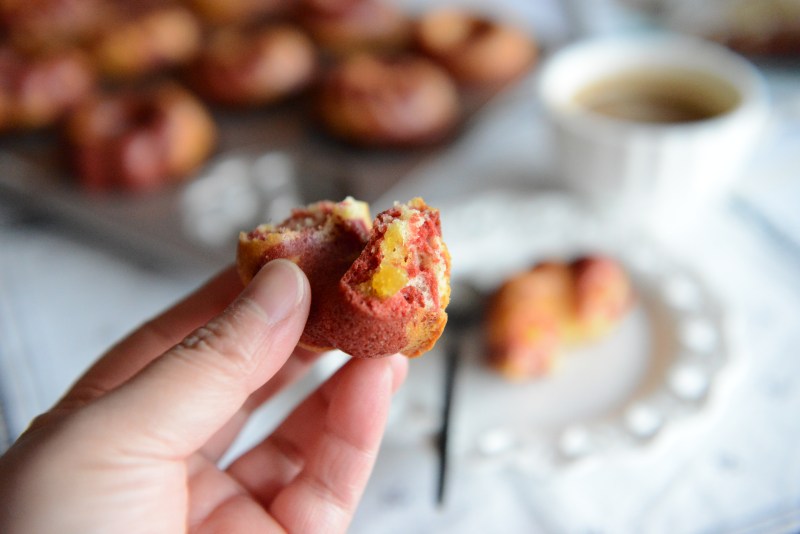
19.展示图。
小窍门&温馨提示
1. 筛入面粉搅拌时不要转圈搅拌,为了避免起筋,可以使用“Z”字型方法搅拌。
2. 挤蛋糕液时两手同时拿着两个颜色的蛋糕液的裱花袋,一起挤入模具中。
3. 凤梨馅也可以换成其它果酱。
TAGS:
烘焙 饮品 其他菜系 低筋面粉
免责声明:本站部分文章转载自网络,图文仅供行业学习交流使用,不做任何商业用途。文章仅代表原作者个人观点,其原创性及文章内容中图文的真实性、完整性等未经本站核实,仅供读者参考。
上一篇: DIY红提果酱
下一篇: 双味瓜条
Deprecated: mysql_connect(): The mysql extension is deprecated and will be removed in the future: use mysqli or PDO instead in
/data/haozs.cc/xianguan.php on line
5
Deprecated: mysql_query(): The mysql extension is deprecated and will be removed in the future: use mysqli or PDO instead in
/data/haozs.cc/xianguan.php on line
7


