主料:
莴笋嫩芽,180g鸡蛋,
2个
辅料:
红椒,
小许,
玫瑰花瓣,
几片调料
大蒜,
1瓣,
食盐,
半克莴笋嫩芽拌鸡蛋的做法步骤
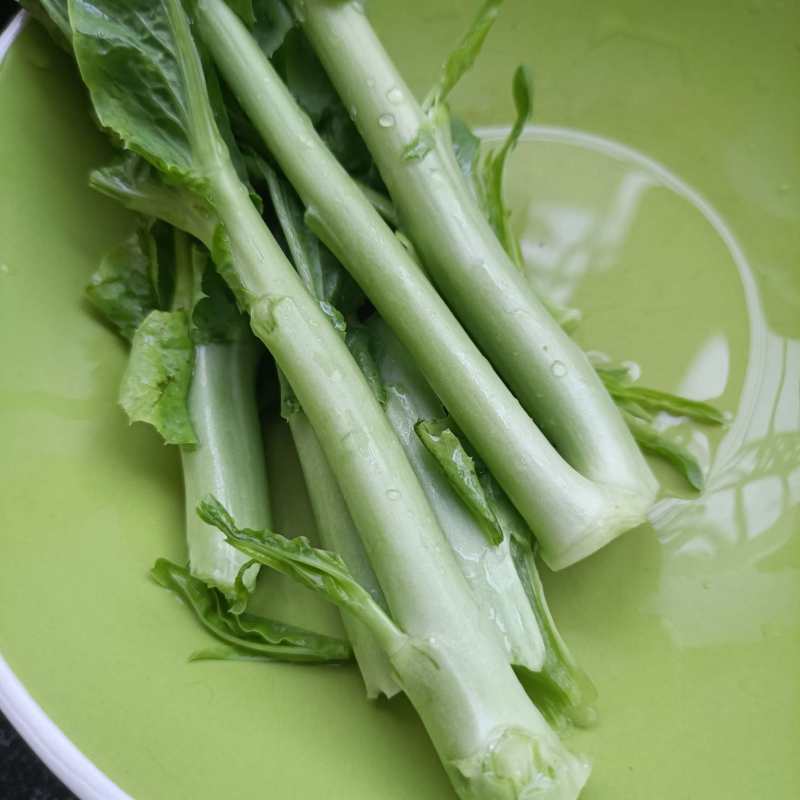
1.莴笋嫩芽洗净。
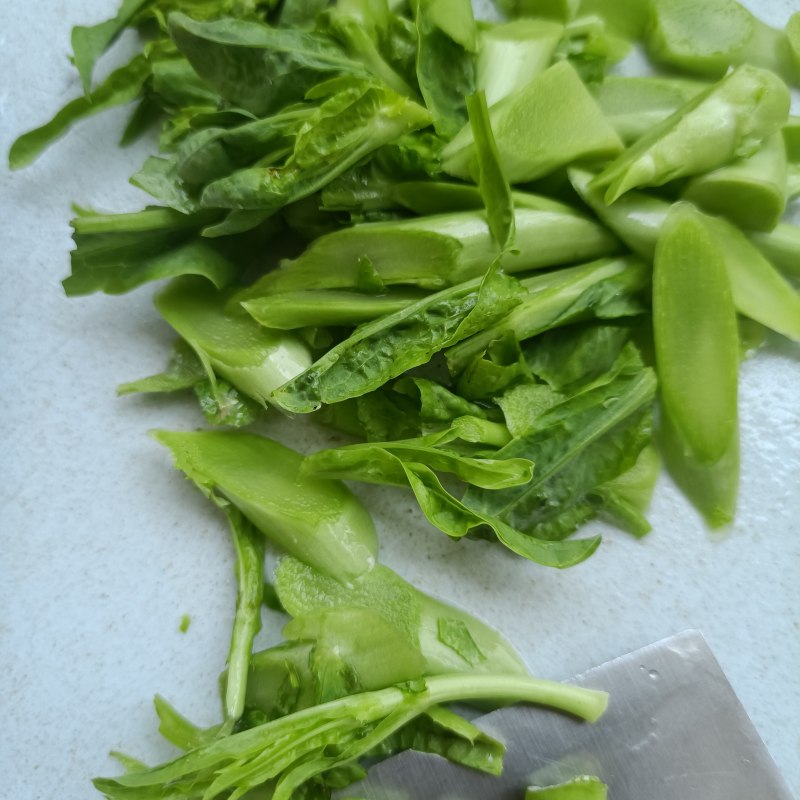
2.改刀。
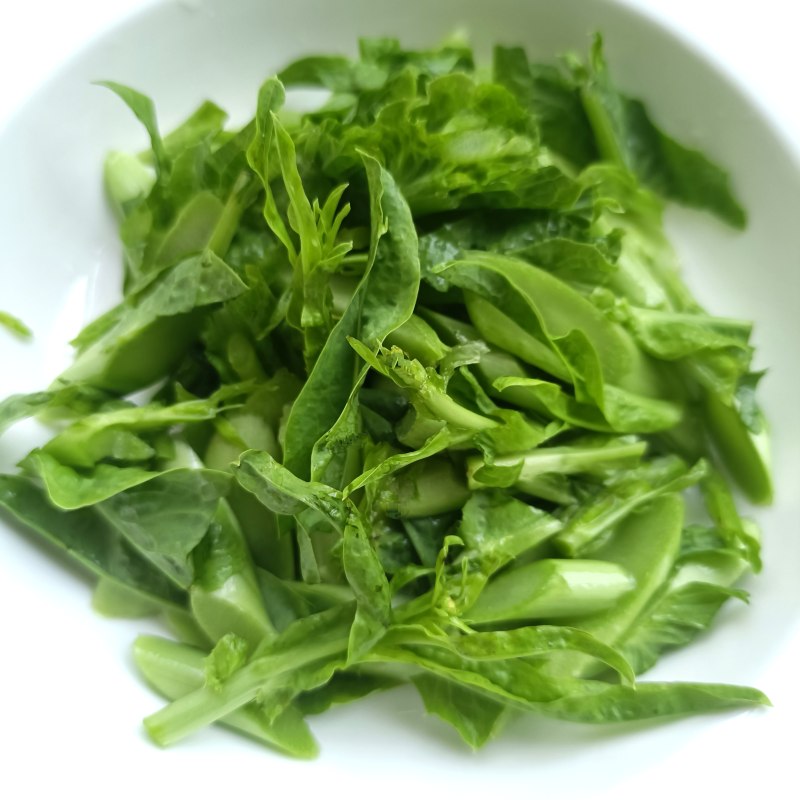
3.装盘。
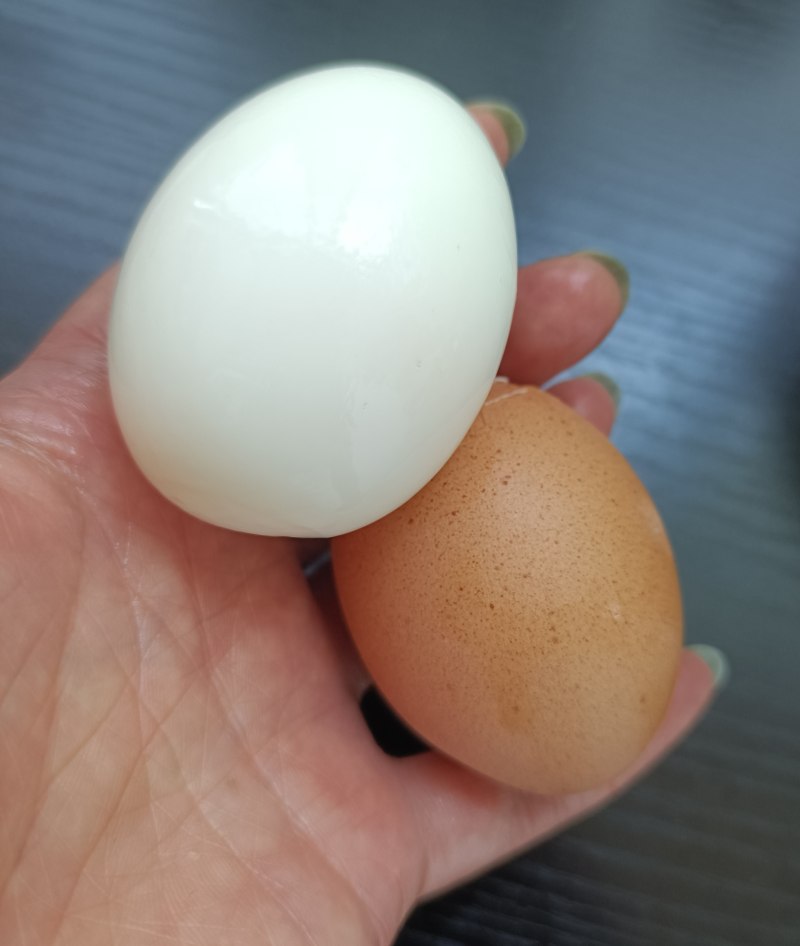
4.鸡蛋煮熟去壳。
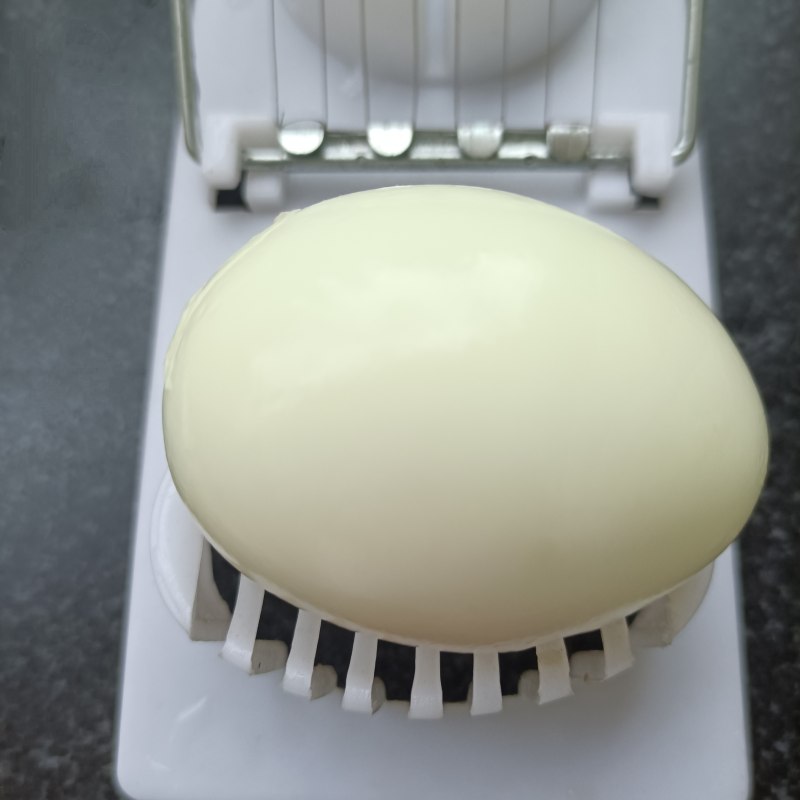
5.放切蛋器上。
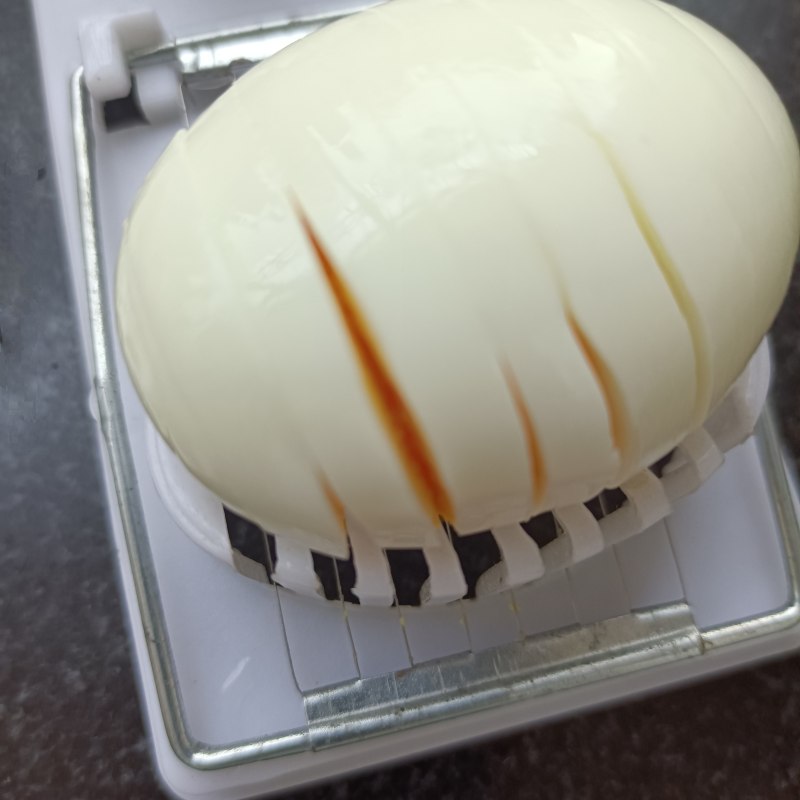
6.切片。
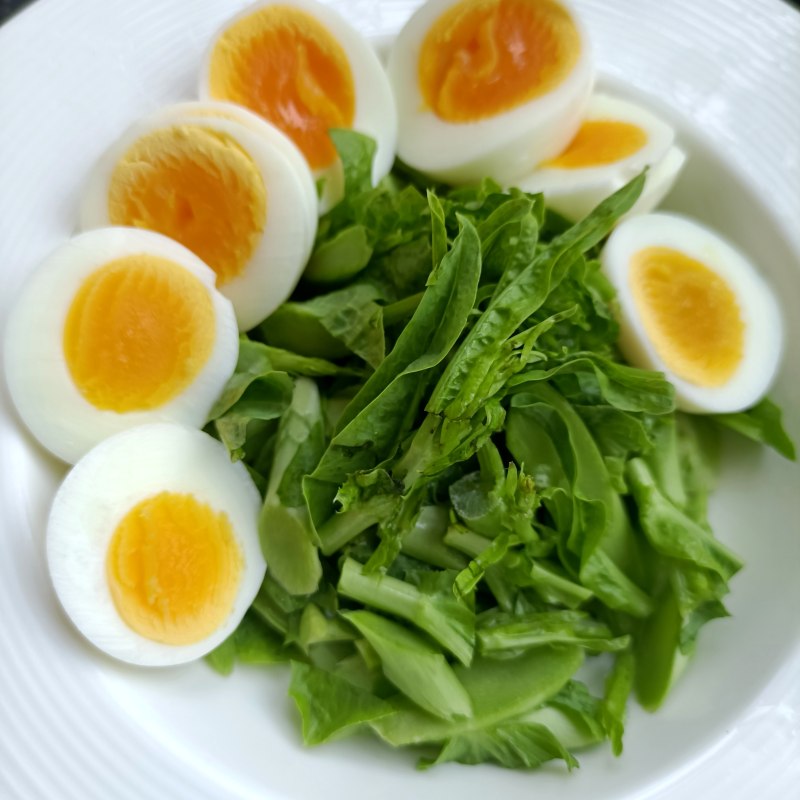
7.摆盘。
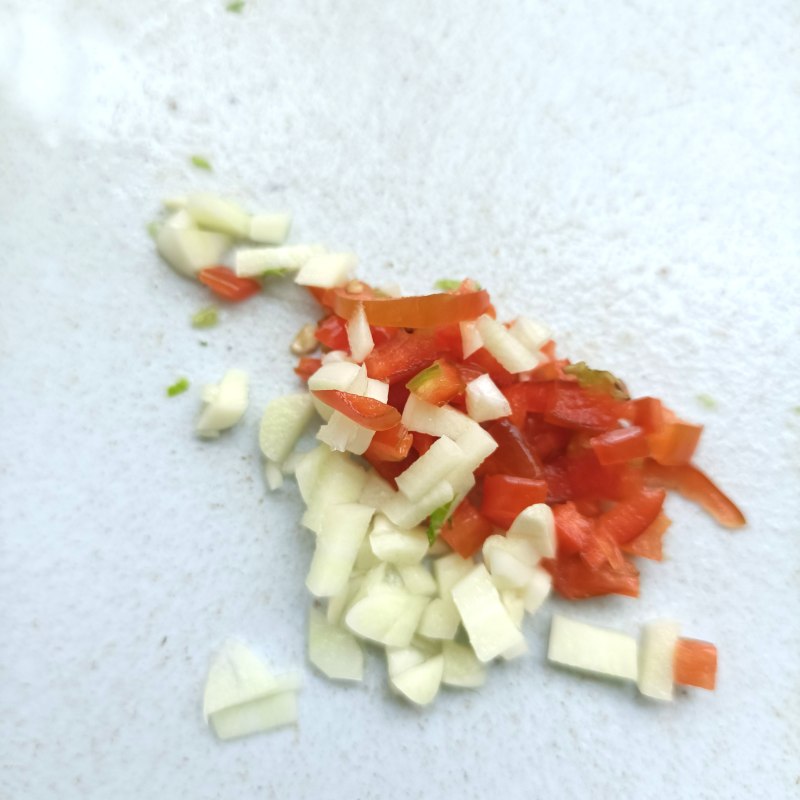
8.红椒大蒜切末。
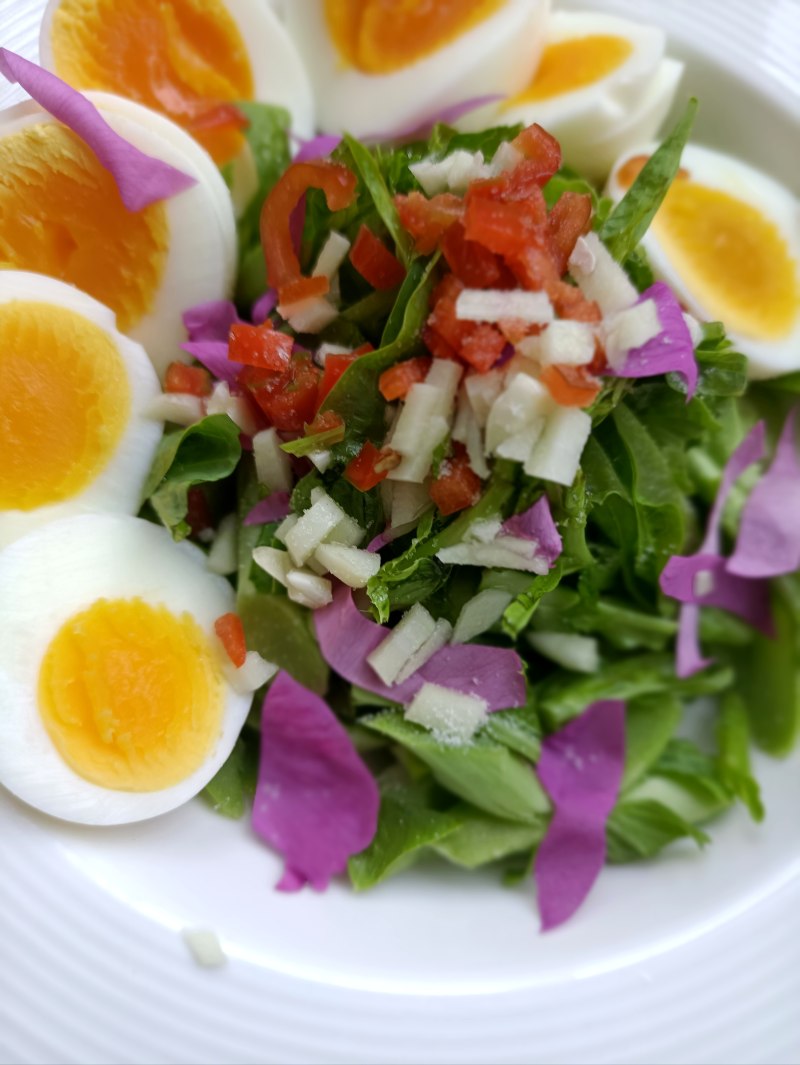
9.放蒜末等,撒食盐。
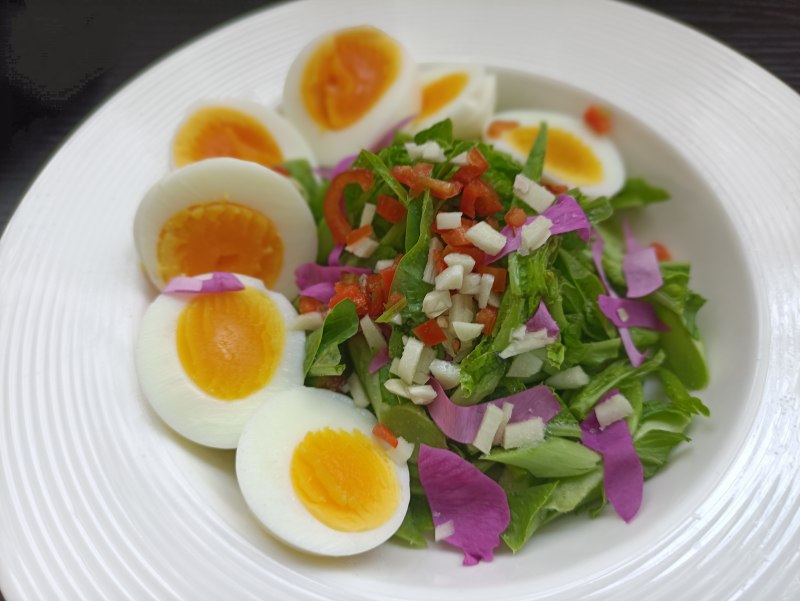
10.成品。
TAGS:
凉菜 家常菜 鸡蛋
免责声明:本站部分文章转载自网络,图文仅供行业学习交流使用,不做任何商业用途。文章仅代表原作者个人观点,其原创性及文章内容中图文的真实性、完整性等未经本站核实,仅供读者参考。
上一篇: 小酥肉
下一篇: 鸡汁翡翠卷
Deprecated: mysql_connect(): The mysql extension is deprecated and will be removed in the future: use mysqli or PDO instead in
/data/haozs.cc/xianguan.php on line
5
Deprecated: mysql_query(): The mysql extension is deprecated and will be removed in the future: use mysqli or PDO instead in
/data/haozs.cc/xianguan.php on line
7


