主料:
莴笋,
一根
辅料:
大蒜适量,
小米辣适量调料
油适量,
盐适量,
糖适量,
米醋适量凉拌莴笋丝的做法步骤
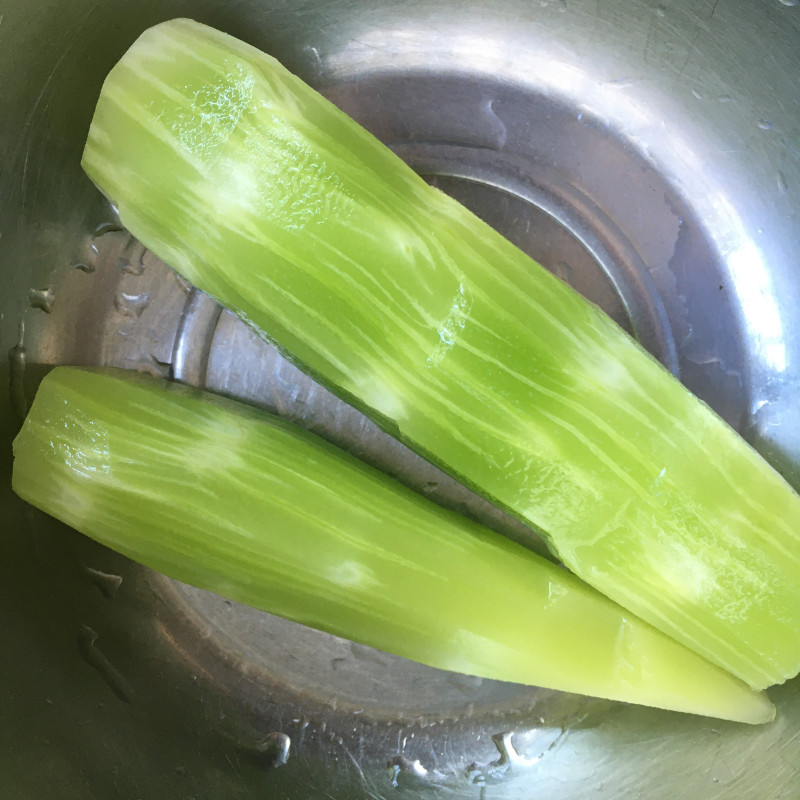
1.莴笋去皮洗净备用。
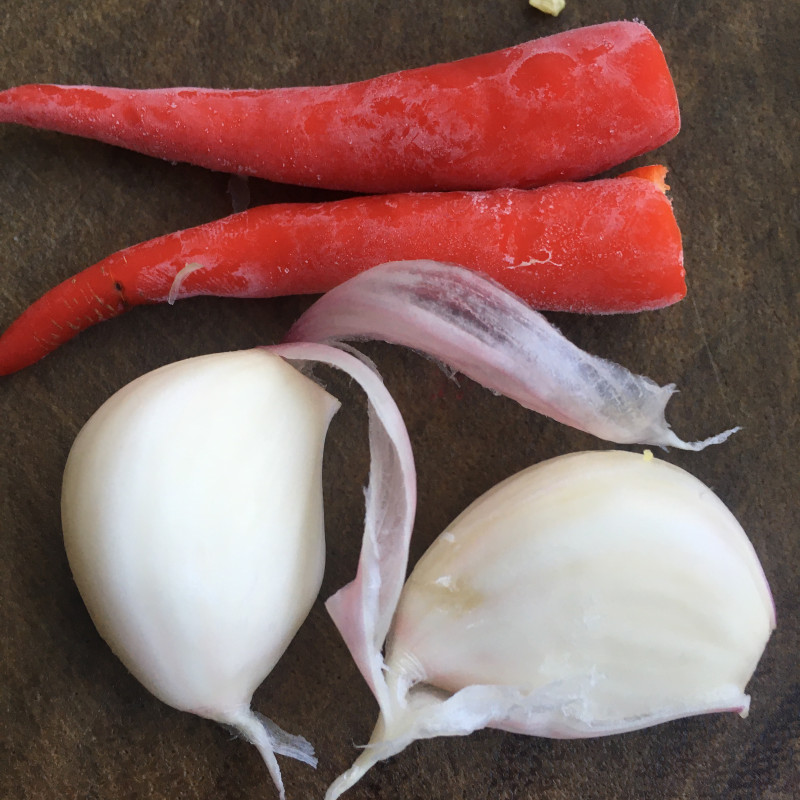
2.小米辣和大蒜洗净切碎。
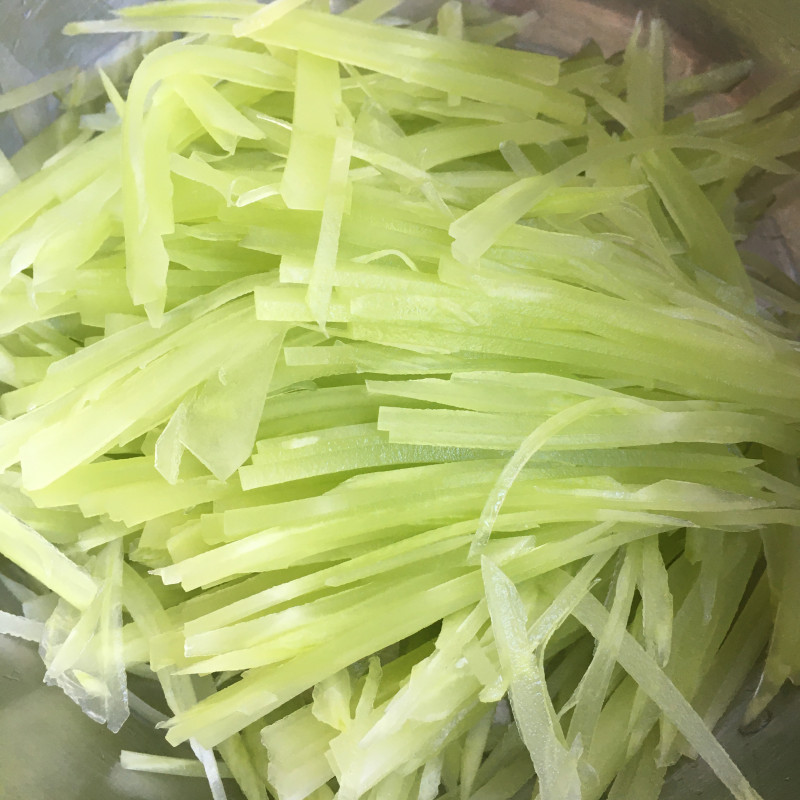
3.莴笋切丝装盘。
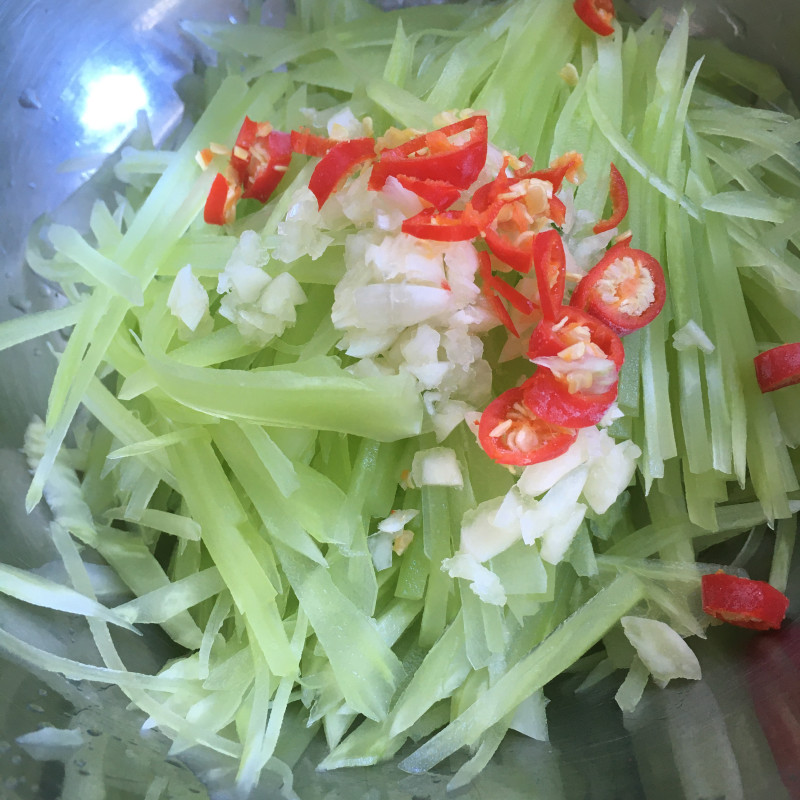
4.放入蒜末和小米辣,用热油淋入激出香味儿。
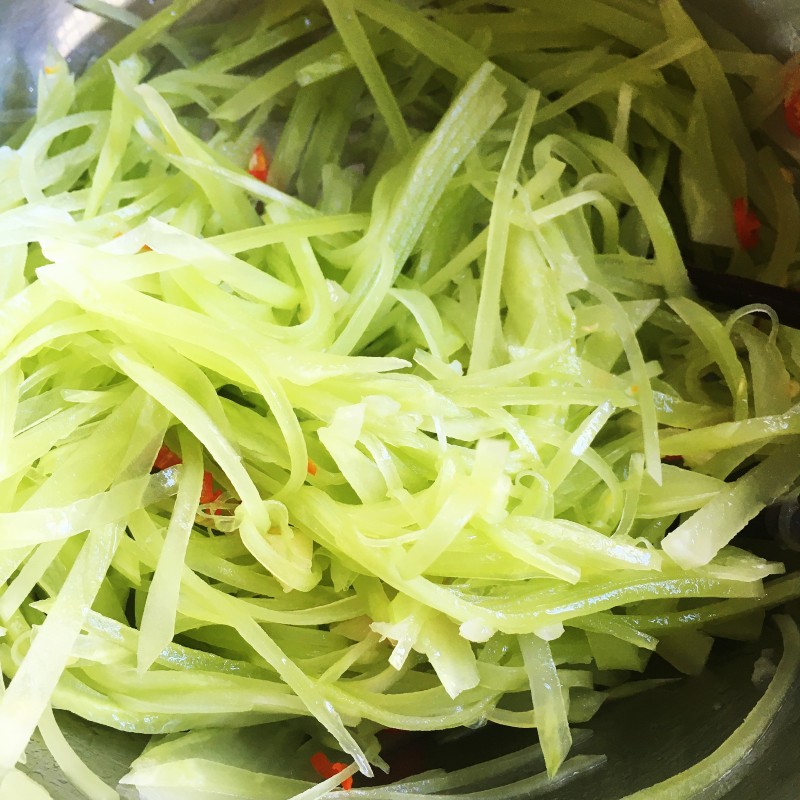
5.加盐,糖,米醋搅拌均匀即可。
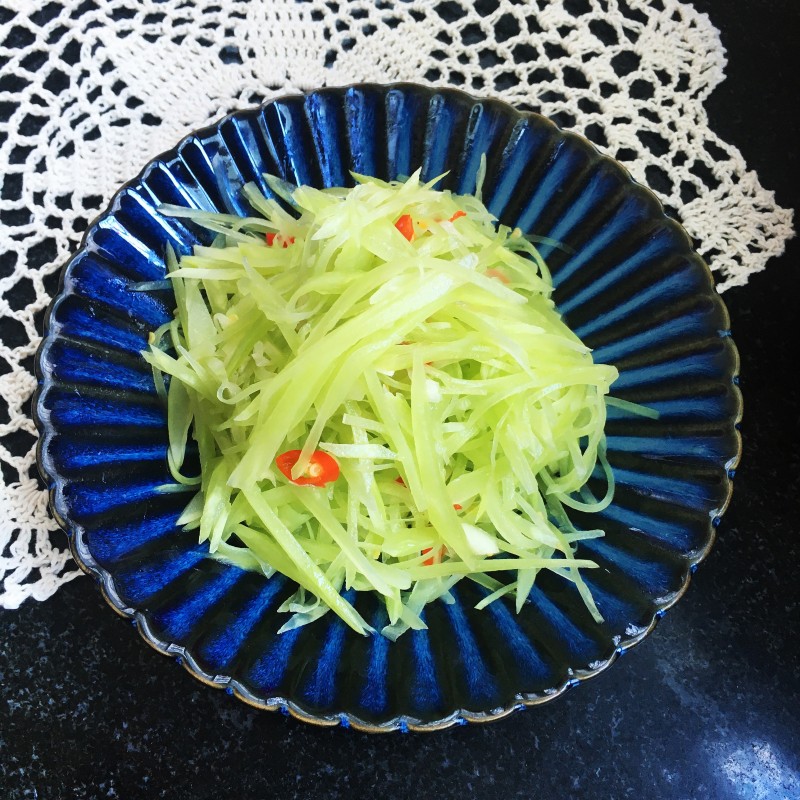
6.时令小菜,完美呈现。
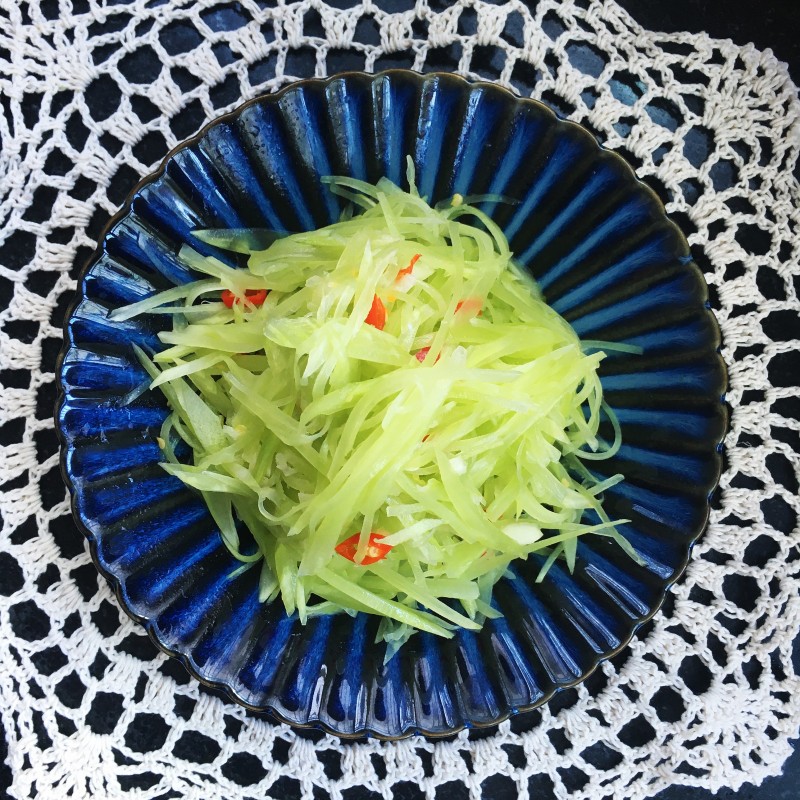
7.成品图。
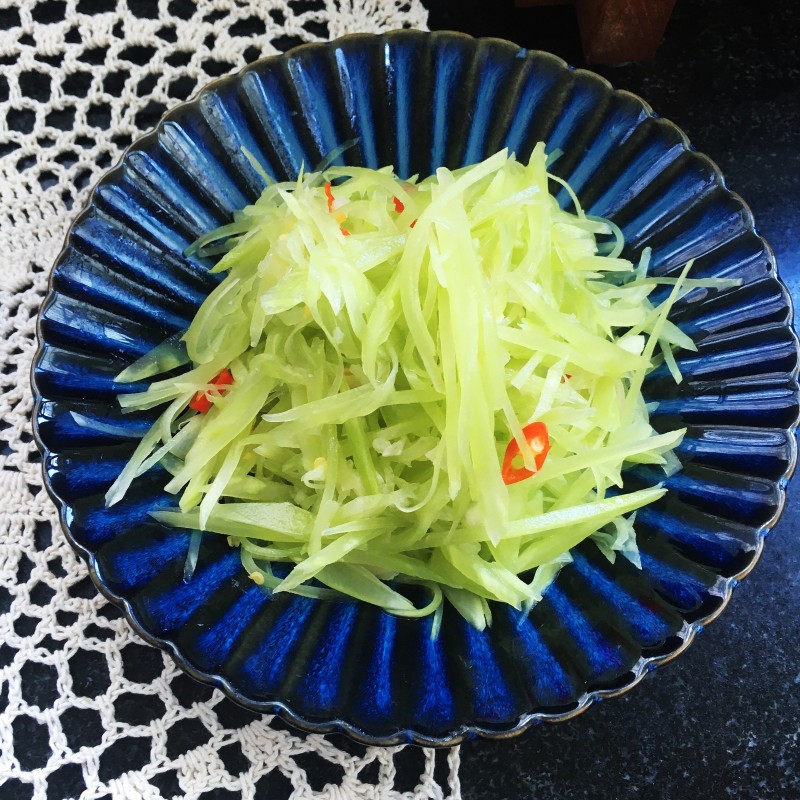
8.成品图。
小窍门&温馨提示
现吃现拌,口感爽脆哦!祝您生活愉快!
TAGS:
凉菜 家常菜 快手菜 下饭菜 午餐 晚餐 莴笋
免责声明:本站部分文章转载自网络,图文仅供行业学习交流使用,不做任何商业用途。文章仅代表原作者个人观点,其原创性及文章内容中图文的真实性、完整性等未经本站核实,仅供读者参考。
上一篇: 油菜炒香菇的做法,油菜炒香菇怎么做,油菜炒香菇怎么做,油菜炒香菇用焯水吗,油菜炒香菇家常做法,油菜炒香菇的做法视频
下一篇: 蒜泥红苋菜的做法,蒜泥红苋菜怎么做,蒜泥红苋菜做法,蒜泥红苋菜图片,蒜泥红苋菜窍门,蒜蓉红苋菜
Deprecated: mysql_connect(): The mysql extension is deprecated and will be removed in the future: use mysqli or PDO instead in
/data/haozs.cc/xianguan.php on line
5
Deprecated: mysql_query(): The mysql extension is deprecated and will be removed in the future: use mysqli or PDO instead in
/data/haozs.cc/xianguan.php on line
7