主料:
鸡蛋,
3个,
白糖,
30克,
牛奶,
40克,
葵花籽油,
30克,
玉米淀粉,
10克,
低筋面粉,
45克
辅料:
食盐,
少许,
柠檬汁,
4滴戚风蛋糕的做法步骤
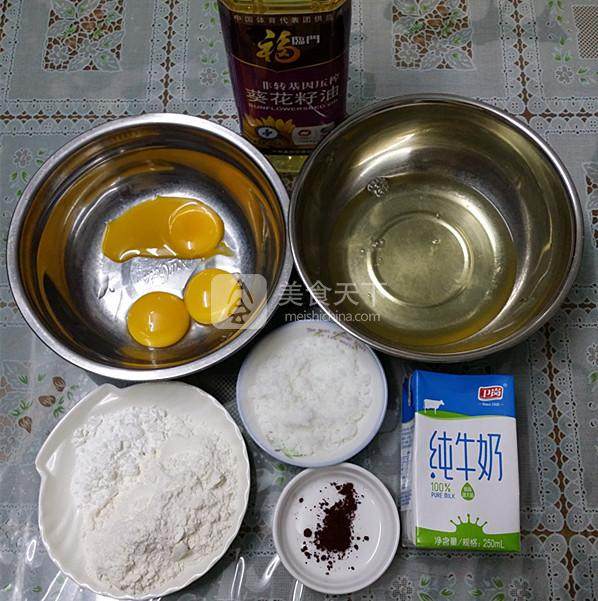
1.准备好相关食材
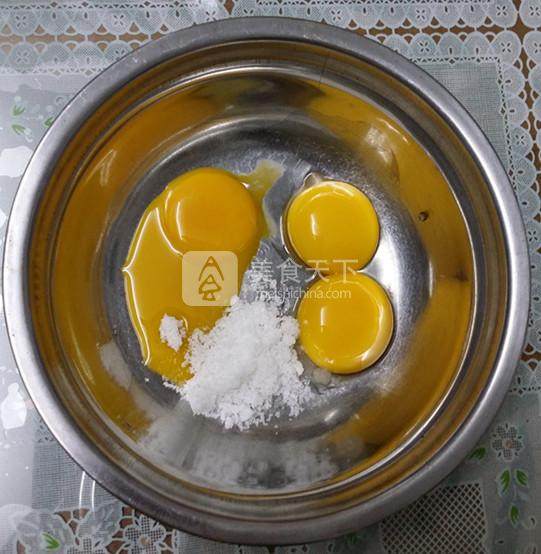
2.蛋黄中:加入10克白糖
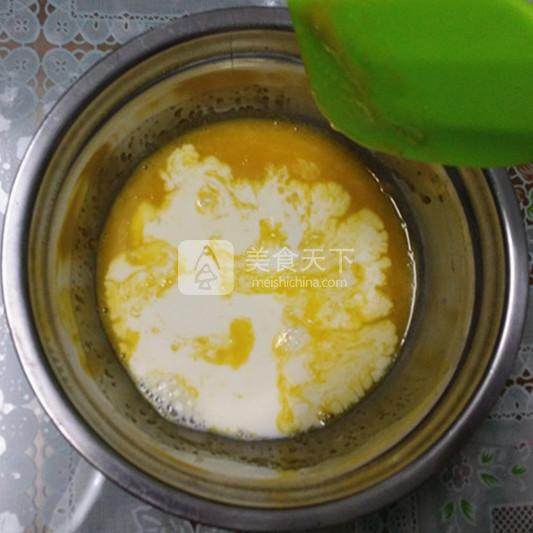
3.拌至溶化后加入牛奶拌均
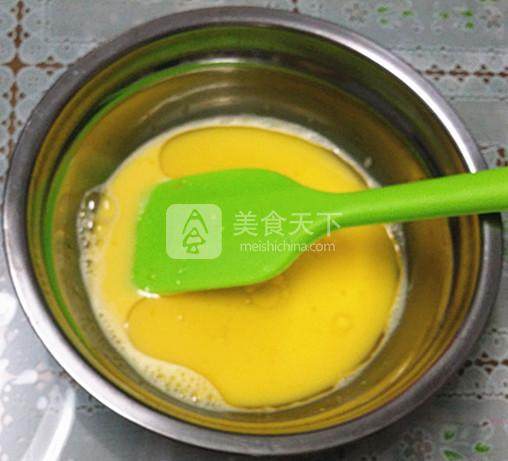
4.加入葵花籽油拌均
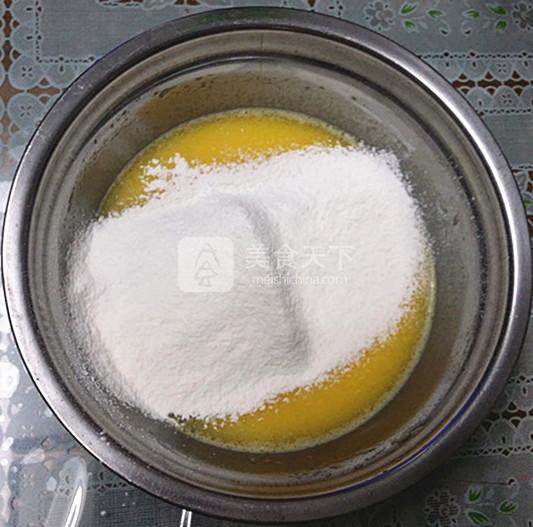
5.加入葵花籽油拌均
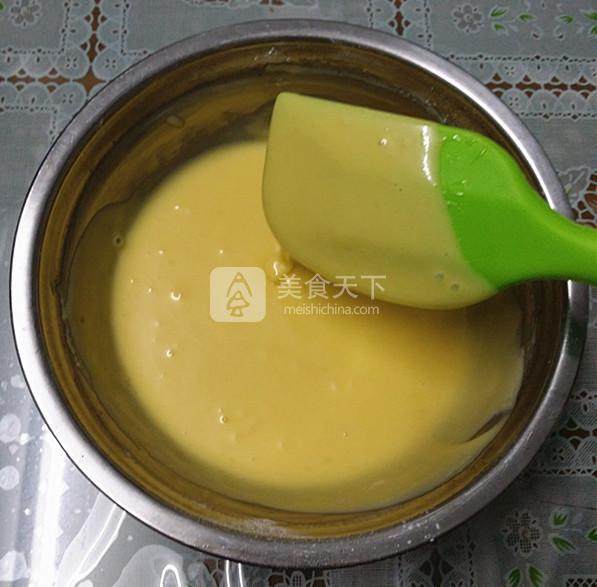
6.用刮刀上下翻拌至浓稠无颗粒
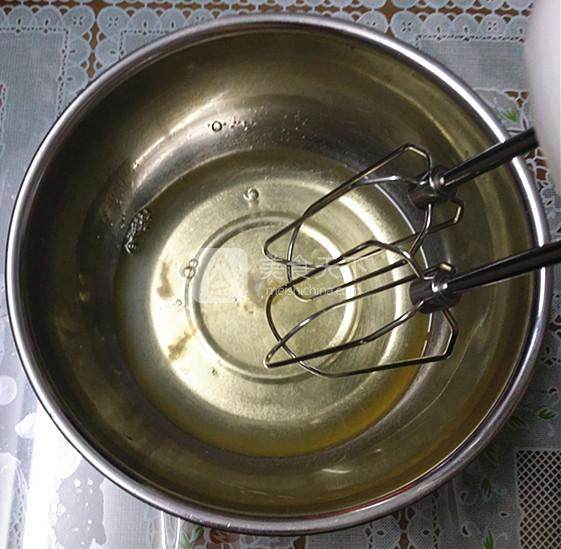
7.蛋清中:加入少许食盐和柠檬汁
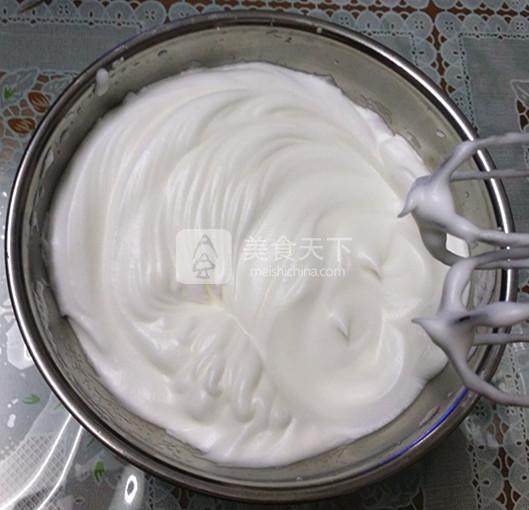
8.分3次加入细砂糖打至硬性发泡
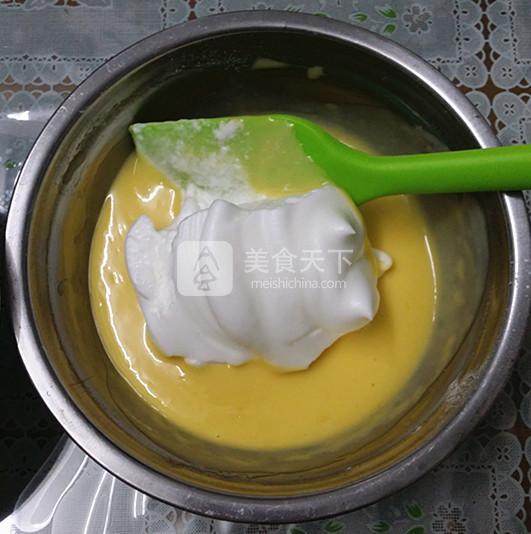
9.取1/3蛋白糊至蛋黄糊中
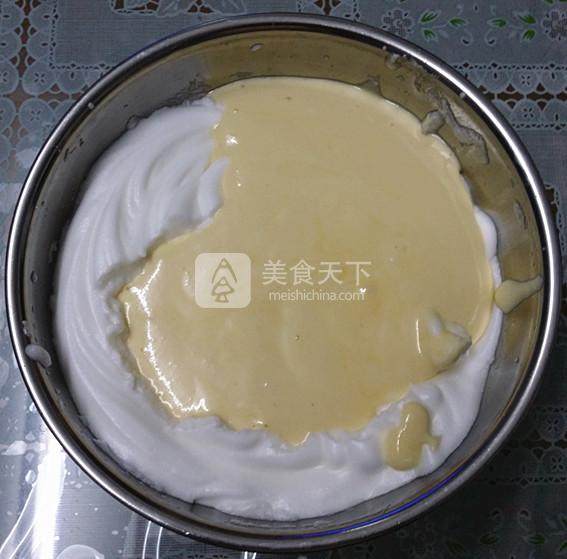
10.拌匀后再全部倒入蛋白糊中
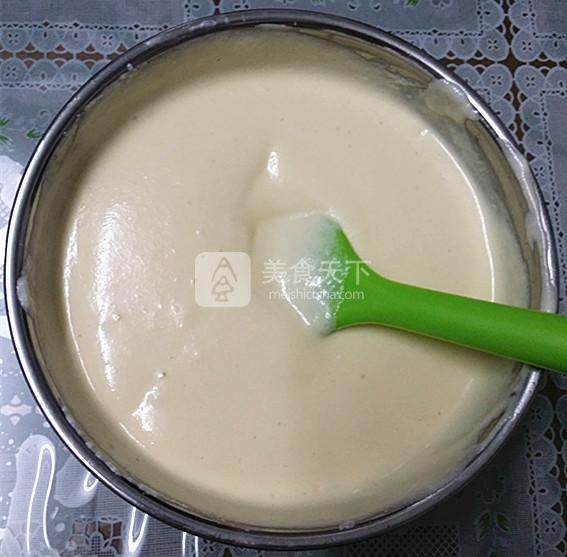
11.用刮刀上下翻拌均匀至浓稠
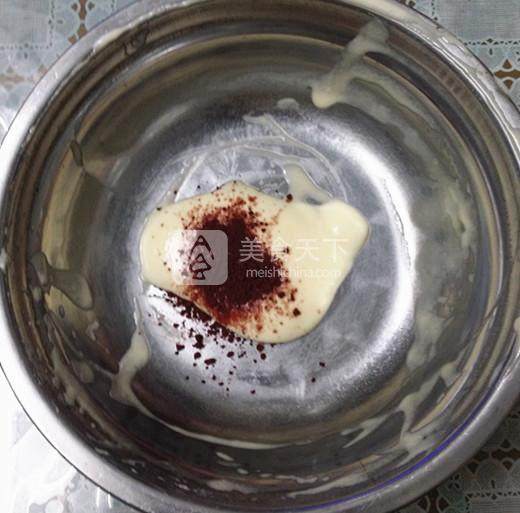
12.取少许蛋糕糊与红曲粉混合成红曲糊并装入裱花袋中
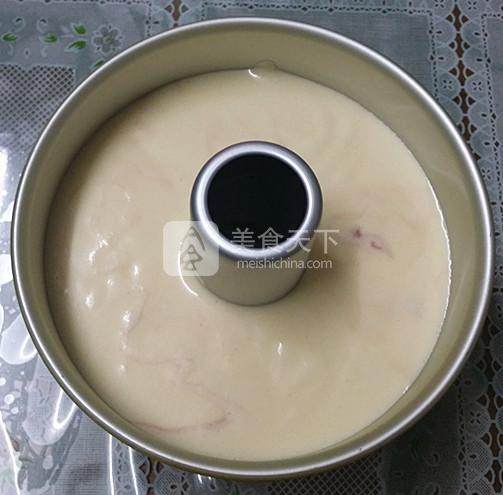
13.其它蛋糕糊倒入模具中,轻震几下震出多余大气泡
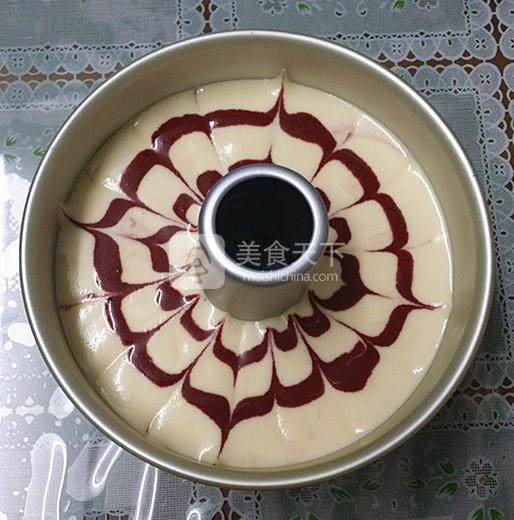
14.蛋糕糊表面用红曲粉勾勒出拉花图案
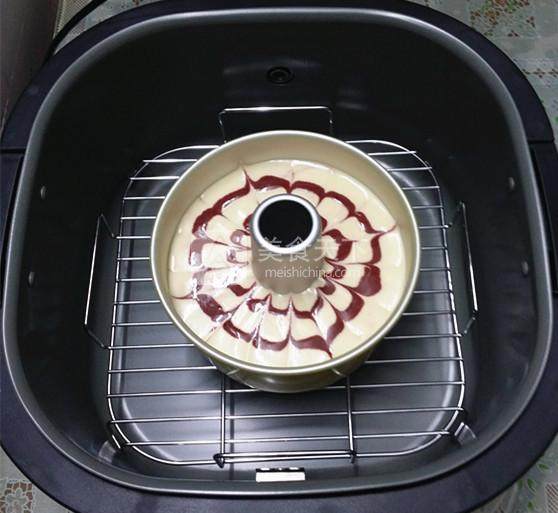
15.放入空气炸锅内
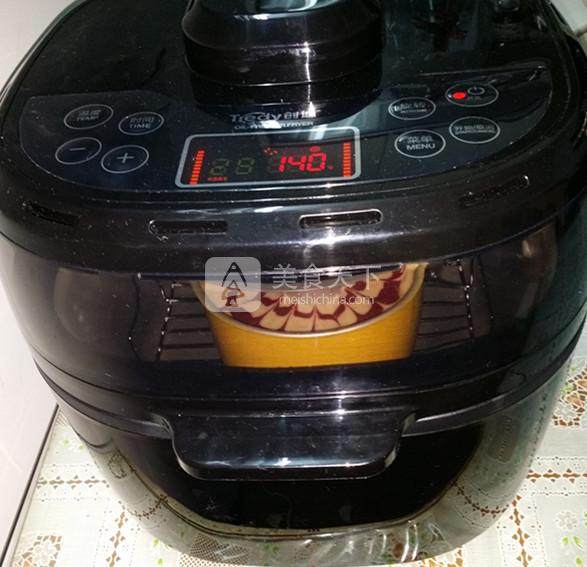
16.设定:自选菜单/140℃/ 30分钟
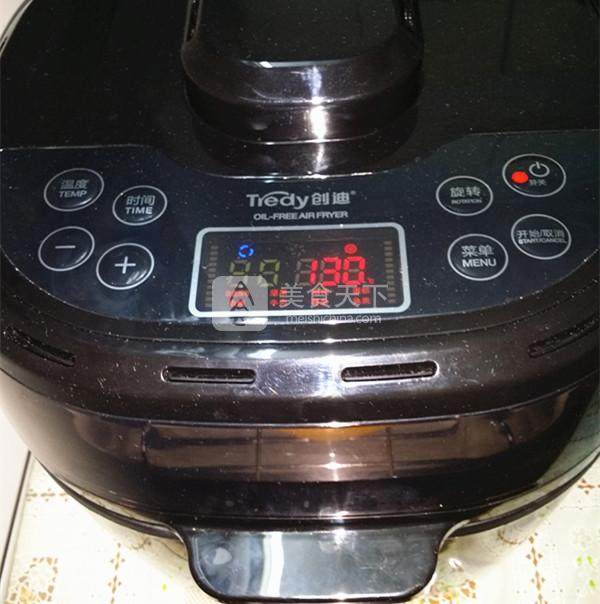
17.下调至130℃ ,继续烤30分钟
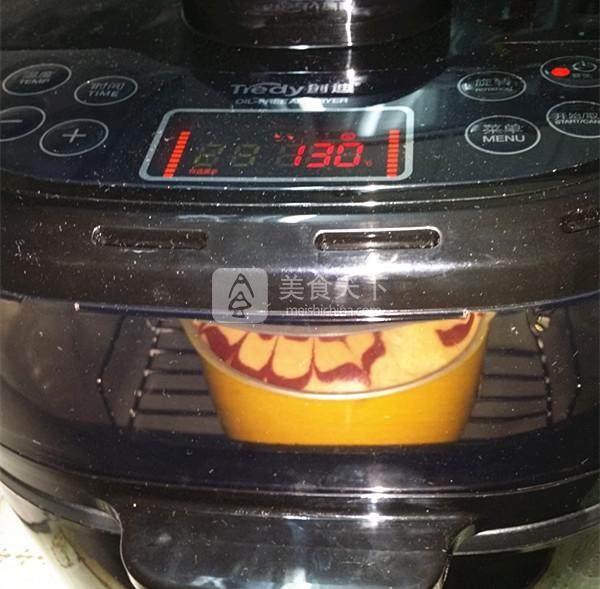
18.当蛋糕表面成金黄色即可关闭电源
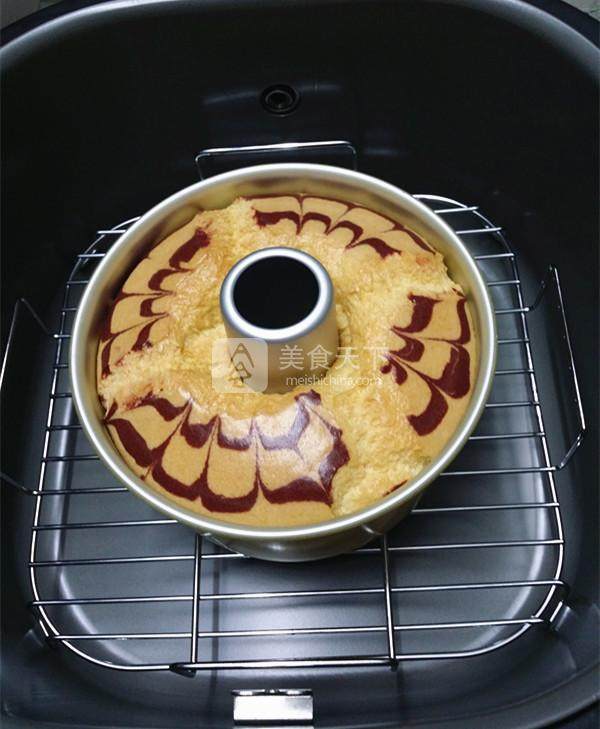
19.加盖继续闷5分钟
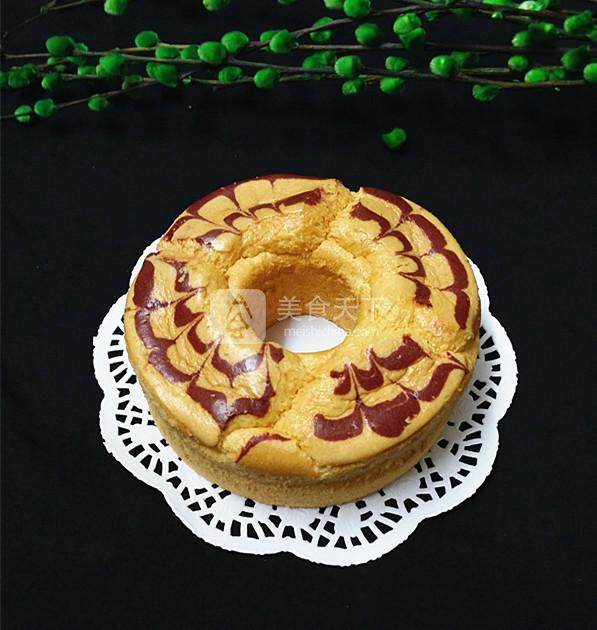
20.凉后脱模
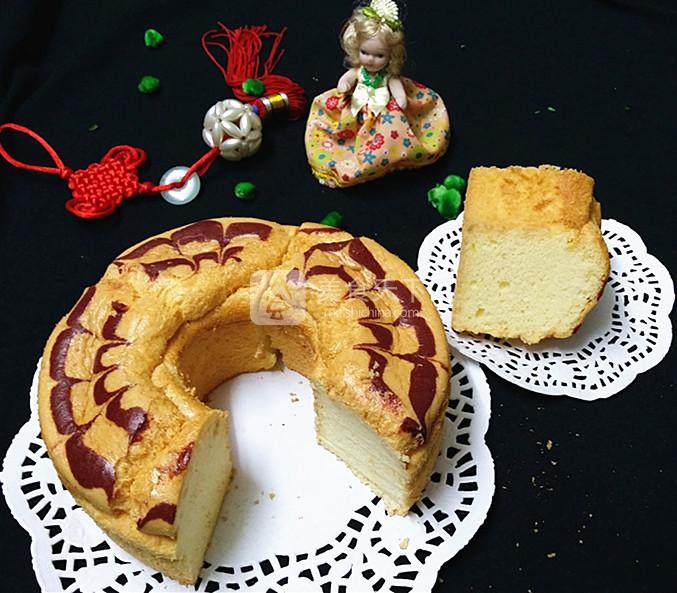
21.切看蛋糕,内部组织也很细腻呢
小窍门&温馨提示
1、按正常戚风蛋糕流程操作即可;
2、空气炸锅不需提前预热可直接放入烤;
3、每台炸锅跟烤箱一样功率大小不同,所提供的时间和温度仅供参考。
TAGS:
烘焙 儿童 其他菜系 生日 鸡蛋
免责声明:本站部分文章转载自网络,图文仅供行业学习交流使用,不做任何商业用途。文章仅代表原作者个人观点,其原创性及文章内容中图文的真实性、完整性等未经本站核实,仅供读者参考。
上一篇: 香卤豆干的做法,香卤豆干怎么做,香卤豆干怎么做好吃,香卤豆干热量,香卤豆干的热量高吗,香卤豆干茄脯
下一篇: 抹茶草莓戚风三文治的做法,抹茶草莓戚风三文治怎么做,戚风三明治,草莓吐司三明治,草莓芝士三明治,可可抹茶戚风
Deprecated: mysql_connect(): The mysql extension is deprecated and will be removed in the future: use mysqli or PDO instead in
/data/haozs.cc/xianguan.php on line
5
Deprecated: mysql_query(): The mysql extension is deprecated and will be removed in the future: use mysqli or PDO instead in
/data/haozs.cc/xianguan.php on line
7


