主料:
鸡蛋,
3粒,
普通面粉,
60克
辅料:
牛奶,
50ml,
塔塔粉,
1/4小匙,
香草精,
1/2小匙烘焙食用色素适量芝士奶油陷,150克
配料:
细砂糖,
70克,
沙拉油,
30克芝士奶油蛋糕卷的做法步骤
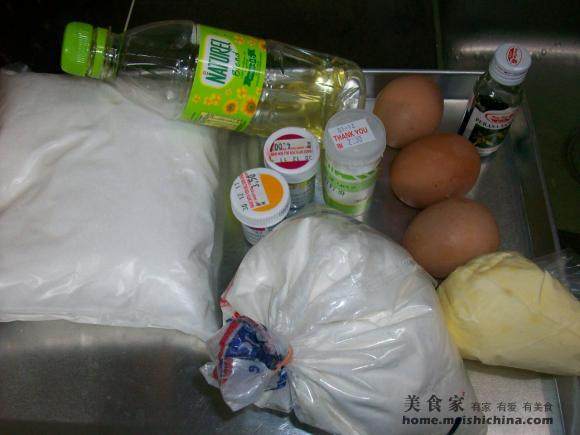
1.备好所有材料。
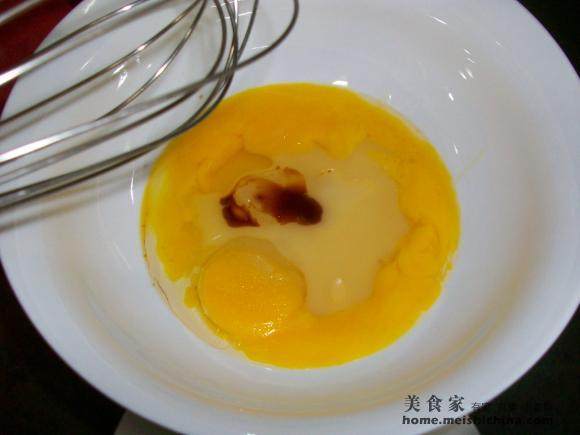
2.将幼糖及香草精加入。
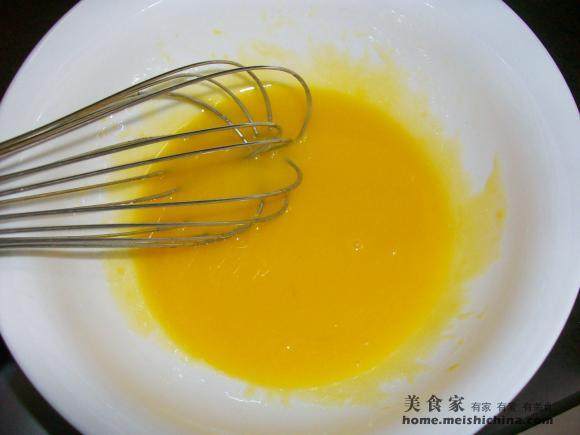
3.蛋黄混合均匀。
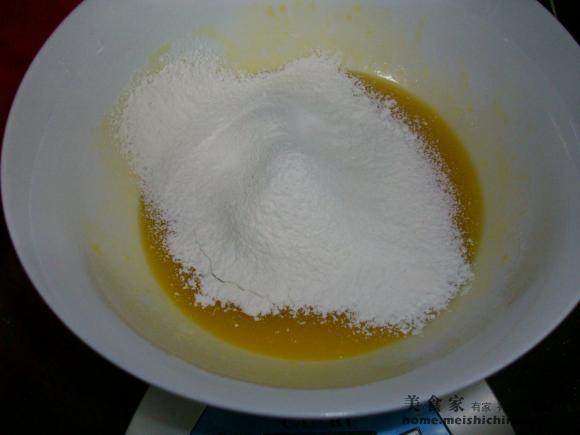
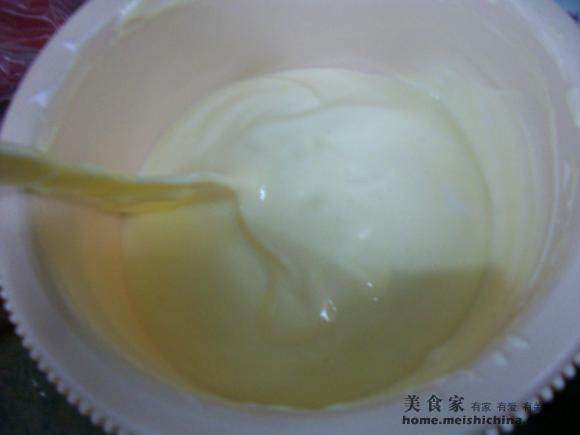
4.轻轻拌入筛过的面粉将面糊混合拌匀不要有颗粒。
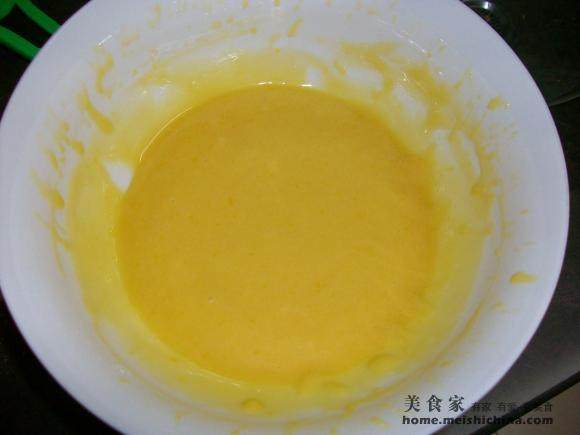
5.接着加入牛奶及油拌均。 (一样一样分次加入)备用。
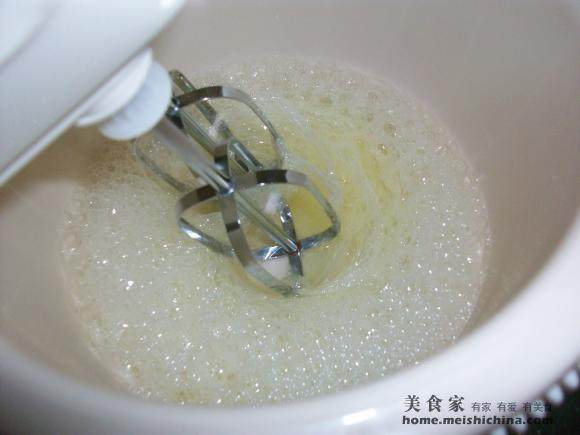
6.将蛋白和塔塔粉打至起泡。
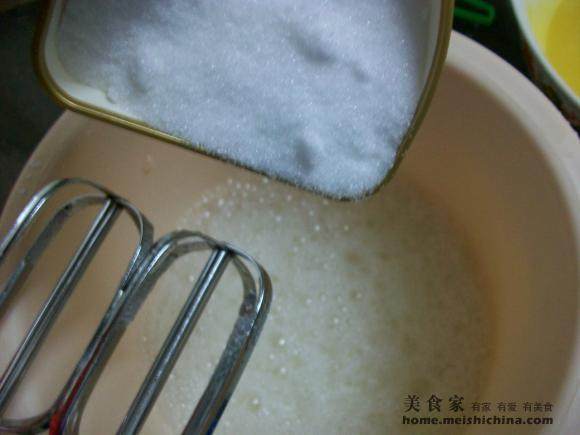
7.分两次加入幼糖。
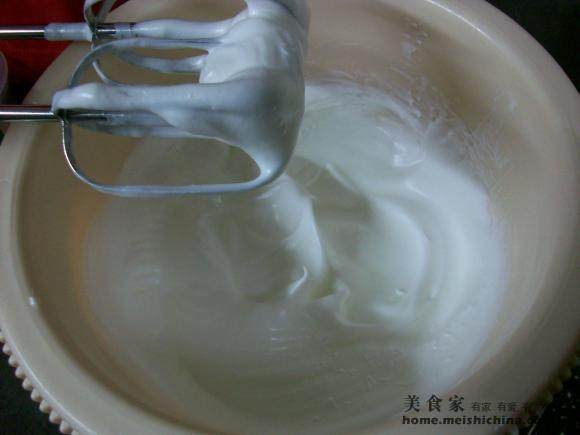
8.打至硬性发泡。
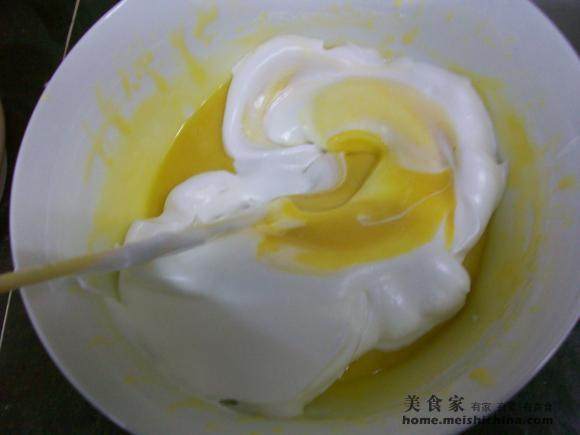
9.将一半的蛋白倒入蛋黄面糊里从下捞轻压的方式搅拌。
10.最后整份的面糊倒入另一半的蛋白里以同样的方式搅拌到面糊完全均匀。
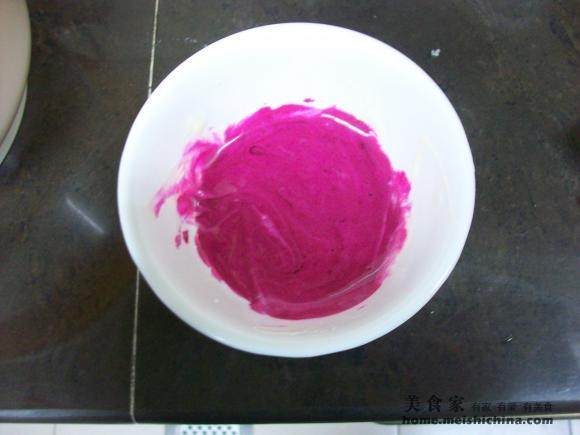
11.拿一点面糊调入色素拌均。
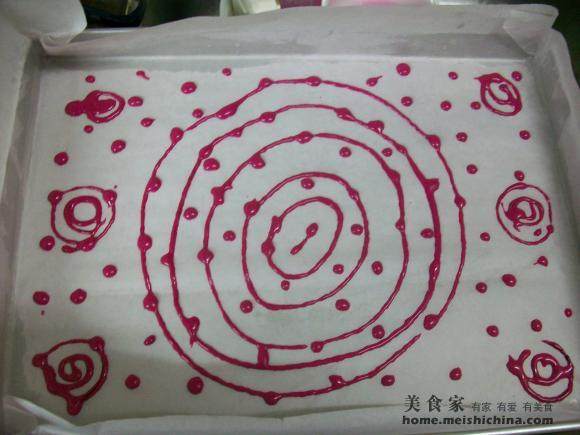
12.随意画自己个人喜爱的图案在已经铺上烤纸的烤盘里。
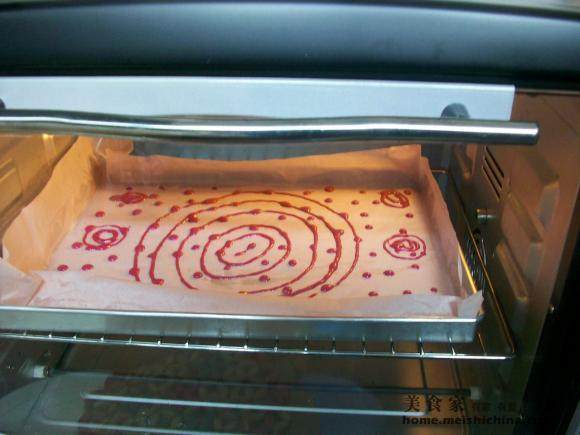
13.放入于预热的烤箱。150度,5分钟转上下火。取出。
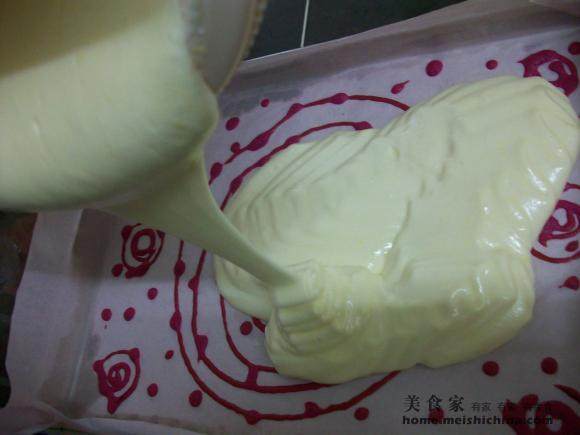
14.将剩余的面糊倒入烤盘里抹平。
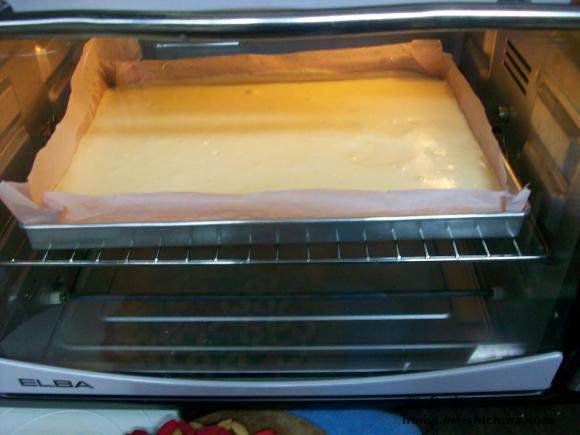
15.把蛋糕放入烤箱预热190-200度,烤10-15分钟。
(个人烤箱温度不同,注意调整温度和时间)
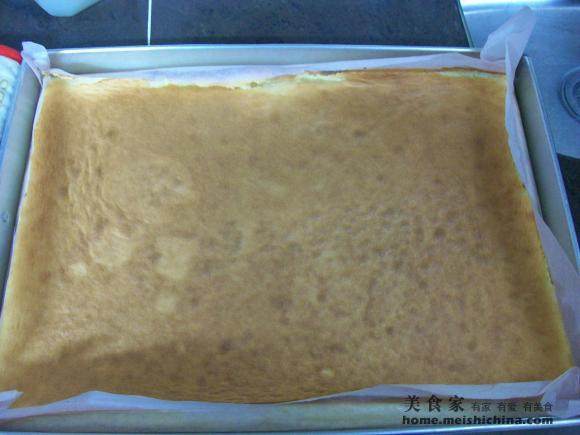
16.将烤好的蛋糕翻面。去掉油纸冷切。
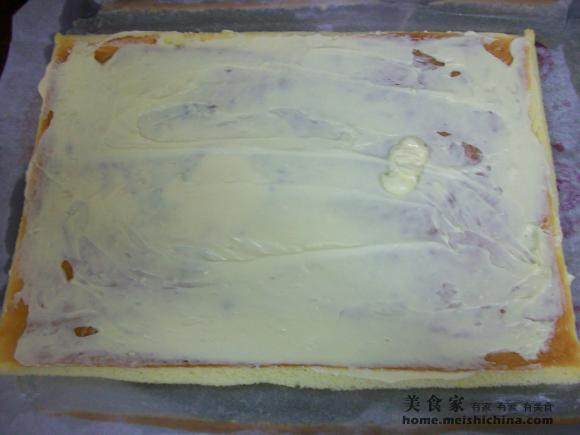
17.把奶油抹在蛋糕体上。
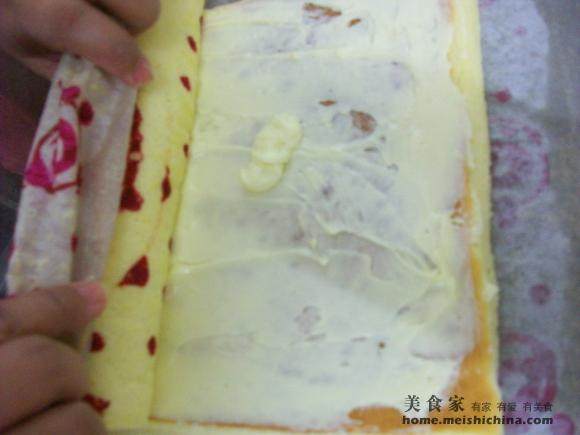
18.从窄的那一边收纸拉起向前卷即可。
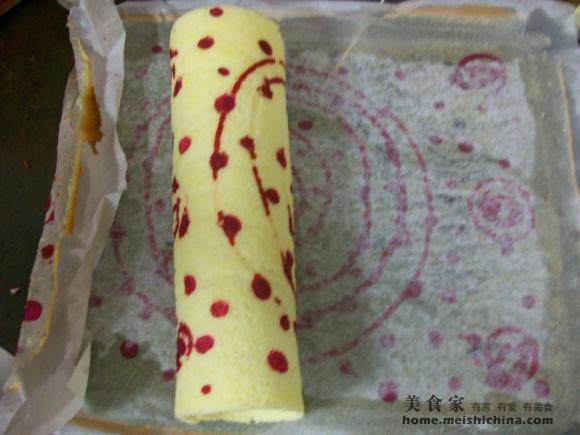
19.放入冰箱冷藏1个小时可取出切块。
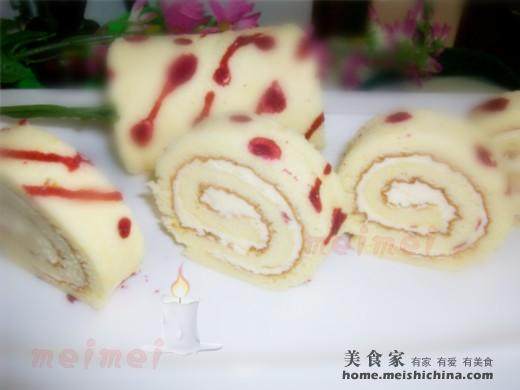
20.成品图@@要不要也来一块。
TAGS:
烘焙 儿童 下午茶 奶油蛋糕 其他菜系 鸡蛋
免责声明:本站部分文章转载自网络,图文仅供行业学习交流使用,不做任何商业用途。文章仅代表原作者个人观点,其原创性及文章内容中图文的真实性、完整性等未经本站核实,仅供读者参考。
上一篇: 芝麻一口酥
下一篇: 花样面食之信任之美
Deprecated: mysql_connect(): The mysql extension is deprecated and will be removed in the future: use mysqli or PDO instead in
/data/haozs.cc/xianguan.php on line
5
Deprecated: mysql_query(): The mysql extension is deprecated and will be removed in the future: use mysqli or PDO instead in
/data/haozs.cc/xianguan.php on line
7
