主料:
黄豆粉适量
辅料:
白砂糖,
30g,
奶油,
450g蛋糕片
鸡蛋,
5个,
豆浆,
65g,
低粉,
65g,
白砂糖,
30g,
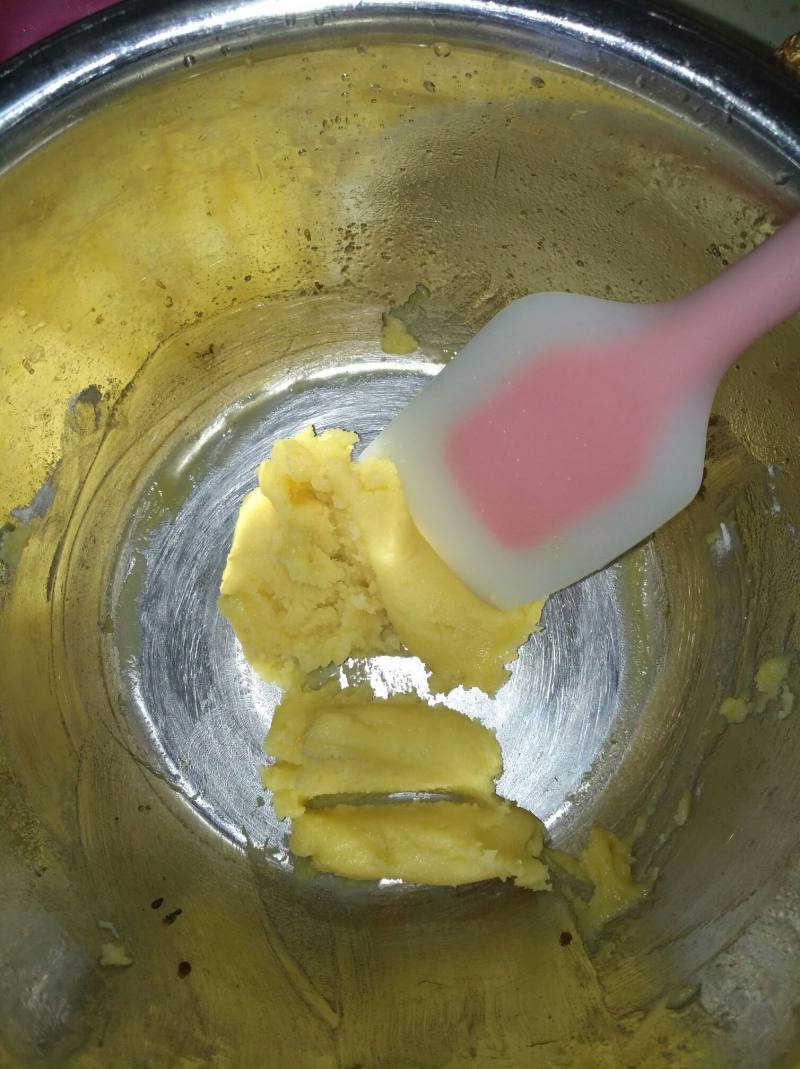
黄油,
50g奶油豆乳
奶油,
100ml,
豆浆,
200块,
白砂糖,
30g,
蛋黄,
2个,
玉米淀粉,
10g日式豆乳盒子蛋糕的做法步骤

1.黄油50g,低粉65g,豆浆65g。

2.4个鸡蛋蛋黄蛋白分离。

3.黄油隔水融化。
4.加入低粉搅拌。

5.加入豆浆搅拌。

6.加入1个全蛋液搅拌。

7.加入4个蛋黄搅拌。

8.蛋白分三次加入白砂糖打发。

9.将三分之一蛋白倒入蛋糊中上下翻转。

10.再将蛋糊倒入蛋白中上下翻转。

11.烤盘铺上油纸,倒入面糊160度烤20分钟。

12.烤好的蛋糕片放凉备用。

13.2个蛋黄加入糖、玉米淀粉搅拌均匀。

14.豆浆加热至沸腾后倒入蛋糊中,边倒边搅拌。

15.小火加热,不停搅拌,加热至粘稠。

16.放入打发的奶油搅拌均匀。

17.奶油豆乳就完成了。

18.奶油加入糖打发至有纹路即可。
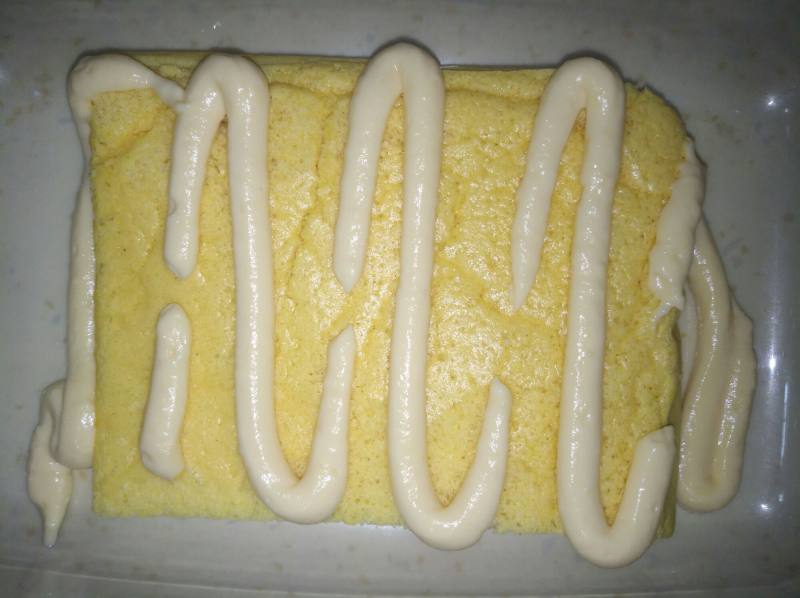
19.一层蛋糕片,一层奶油豆乳。

20.一层奶油。

21.一层黄豆粉。

22.一层蛋糕片。

23.一层蛋糕片,一层奶油豆乳,一层奶油,一层黄豆粉,一层蛋糕片,一层奶油豆乳,一层奶油,一层黄豆粉。

24.成品图。

25.成品图成品图。

26.成品图。

27.成品图。

28.成品图。

29.成品图。

30.成品图。
TAGS:
烘焙 早餐 下午茶 其他菜系 黄豆粉
免责声明:本站部分文章转载自网络,图文仅供行业学习交流使用,不做任何商业用途。文章仅代表原作者个人观点,其原创性及文章内容中图文的真实性、完整性等未经本站核实,仅供读者参考。
上一篇: 老式面包的做法,老式面包怎么做,老式面包的做法和配方,老式面包图片,老式面包配方及烘培方法,老式面包热量
下一篇: 全麦糖三角
Deprecated: mysql_connect(): The mysql extension is deprecated and will be removed in the future: use mysqli or PDO instead in
/data/haozs.cc/xianguan.php on line
5
Deprecated: mysql_query(): The mysql extension is deprecated and will be removed in the future: use mysqli or PDO instead in
/data/haozs.cc/xianguan.php on line
7
