主料:
低粉,
90克,
鸡蛋,
5个,
老南瓜,
150克
辅料:
玉米油,
50克,
白糖,
80克,20克入南瓜泥+60克入蛋白,
柠檬汁,
5ml南瓜戚风蛋糕的做法步骤
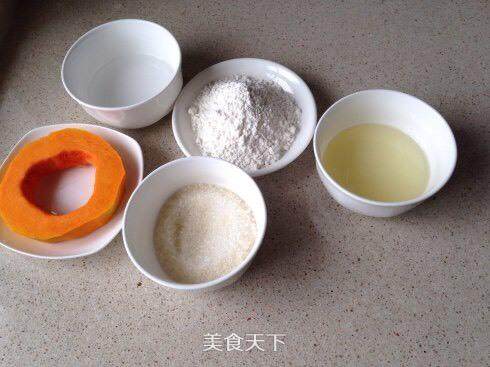
1.原材料
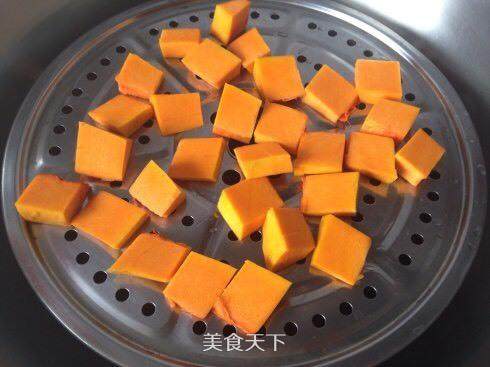
2.南瓜切小块,入蒸锅蒸熟
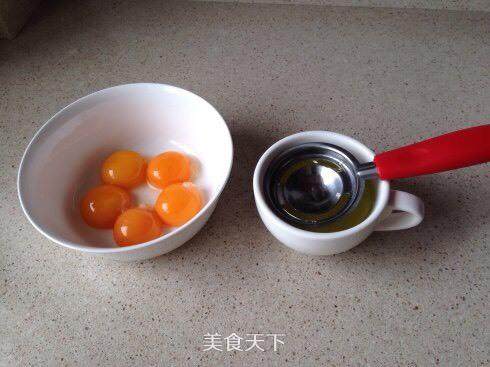
3.鸡蛋分离(工具保证无油无水)
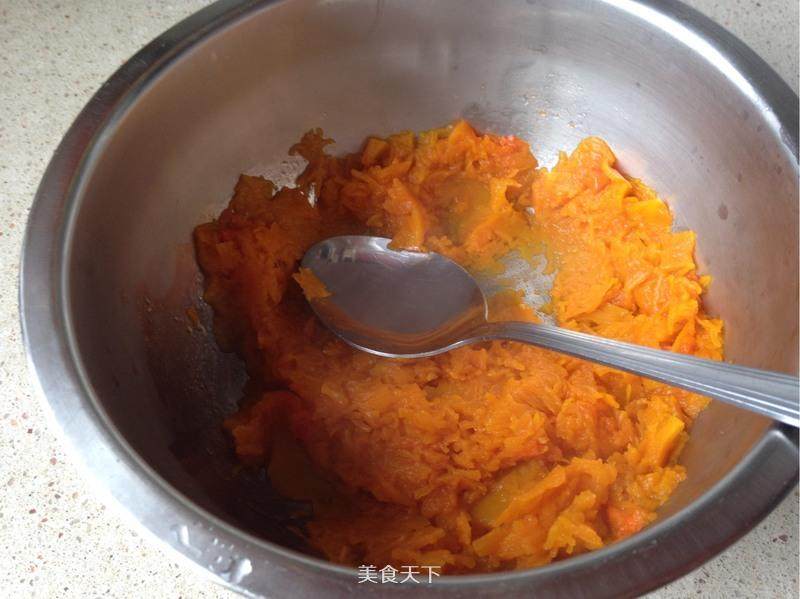
4.蒸好的南瓜取出,乘热压成泥状
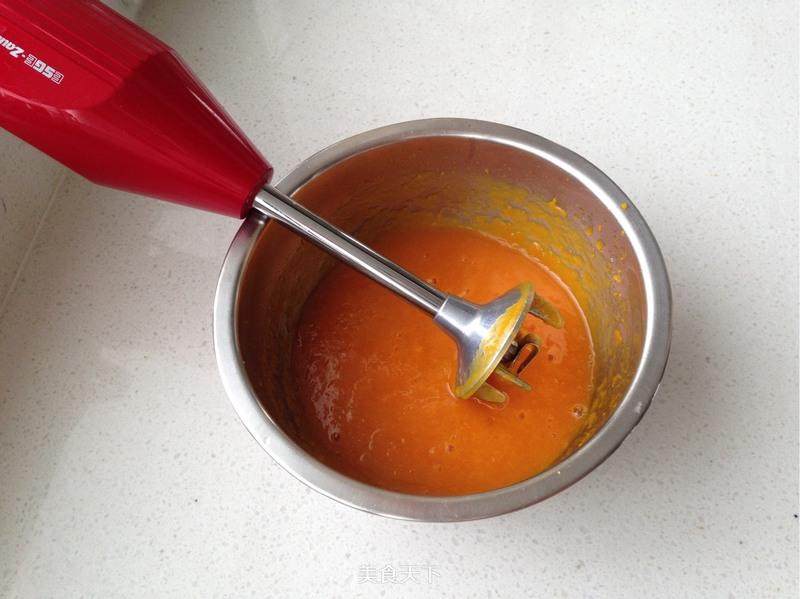
5.我担心不够细腻,用食物料理机搅了20秒
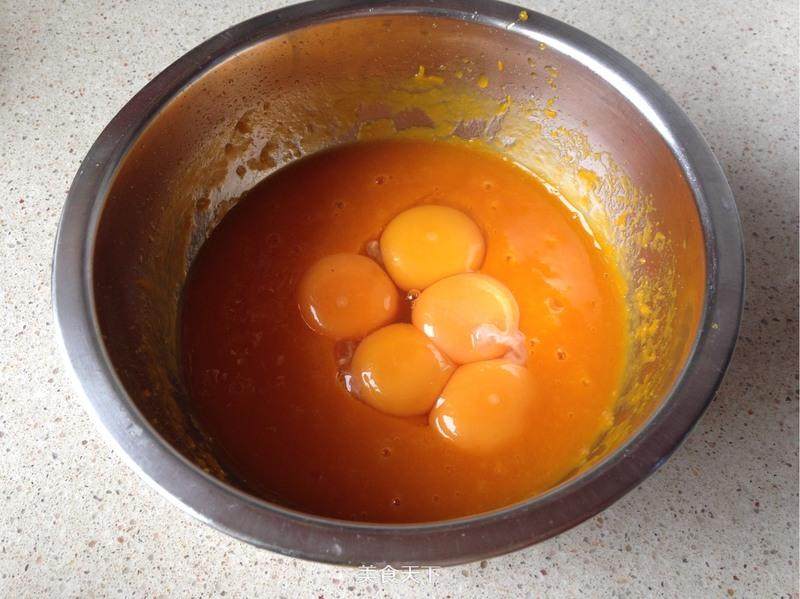
6.南瓜泥加入5粒蛋黄搅匀,加入20克白糖搅匀,加入玉米油搅拌均匀(最后一步多搅拌一会儿,至油完全融合)
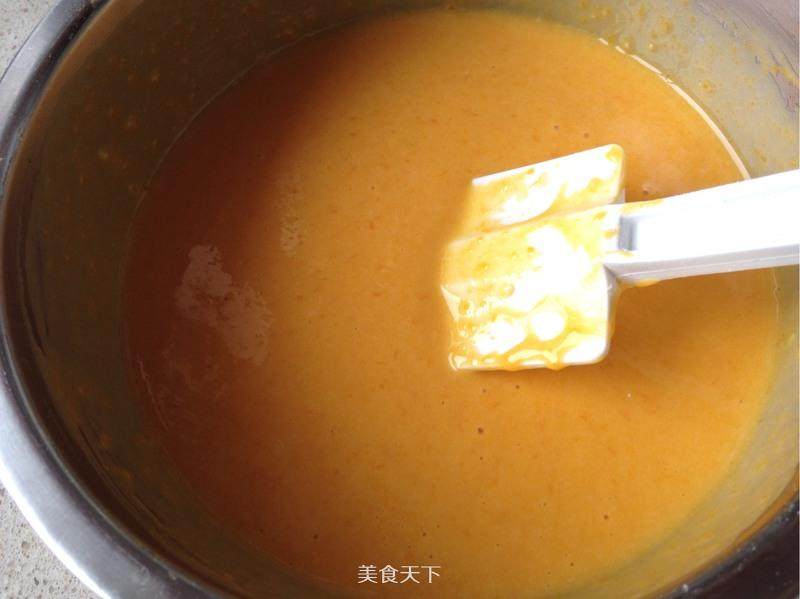
7.南瓜含有大量水分,无需加水或奶
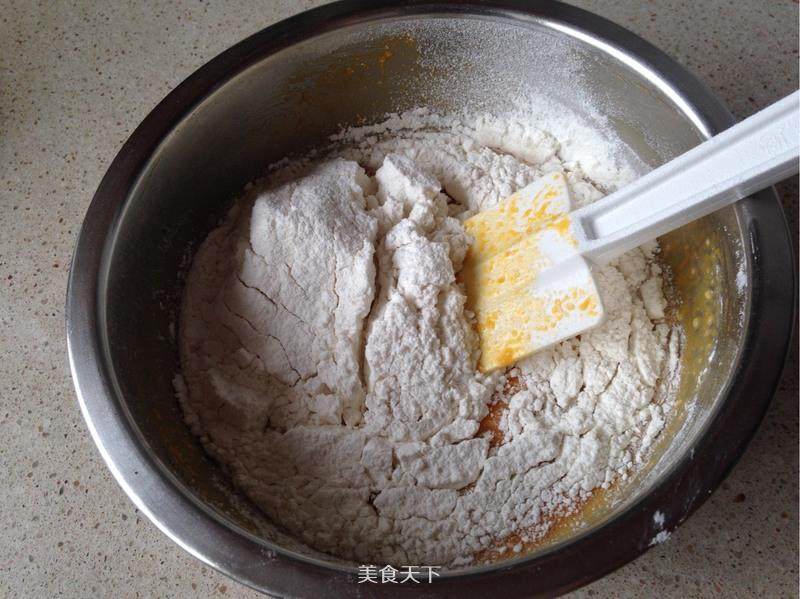
8.筛入低粉,拌至无颗粒、细腻顺滑备用
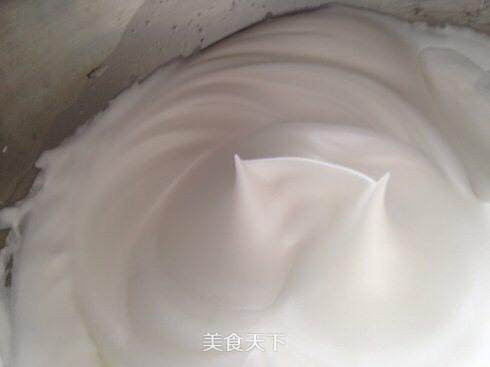
9.打发蛋白霜:蛋清内滴几滴柠檬汁,用电动打蛋器打至粗泡状态,加入剩下白糖的1/3,打至细腻的泡沫,再加入1/3糖,继续打至起纹路状态,把剩下的糖加入,继续打至干性发泡;(干性发泡:打蛋头从蛋白霜中拉起,有直立不倒的尖角)蛋白霜打好了
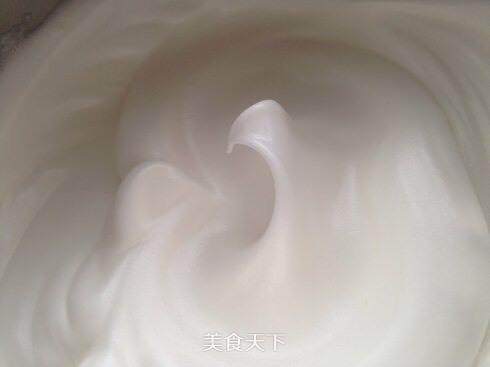
10.这张弯钩图是湿性发泡,需继续打一会
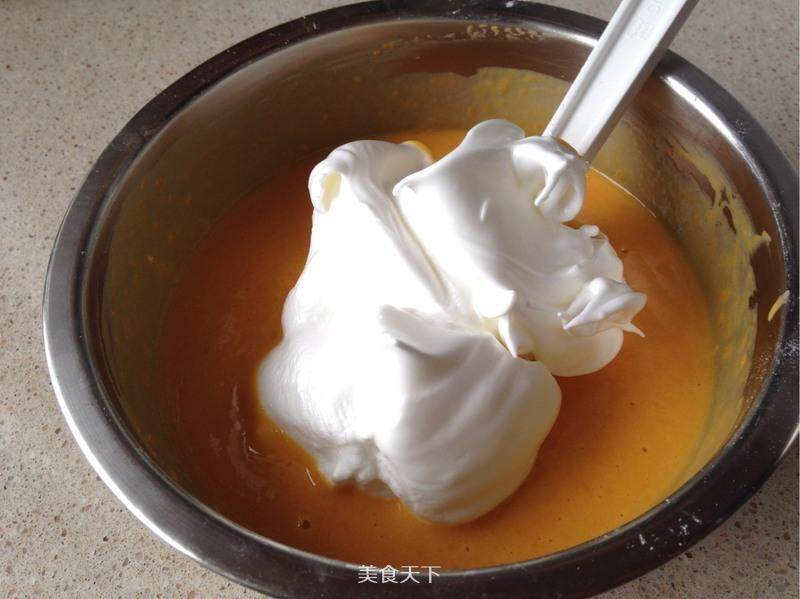
11.烤箱预热140度。混合蛋白霜和蛋黄糊:取三分之一蛋白霜入蛋黄糊翻拌均匀
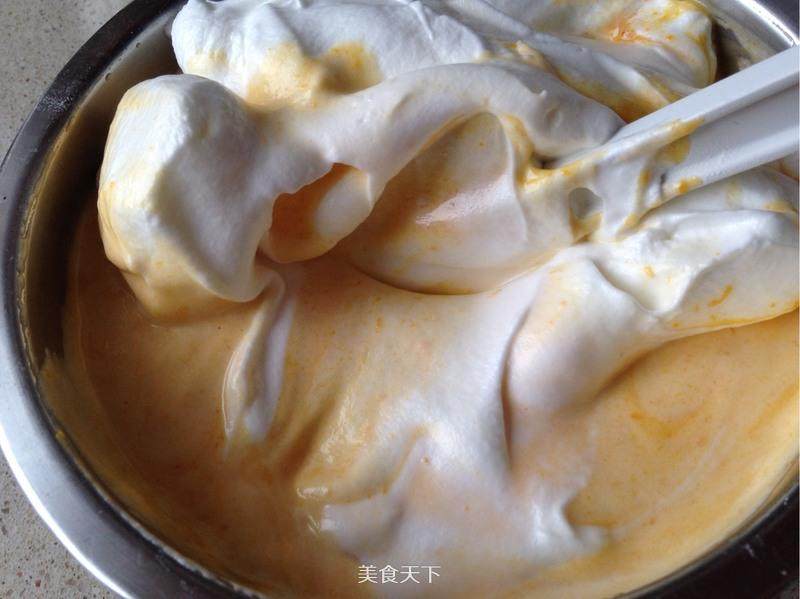
12.再取剩下的一半拌匀,
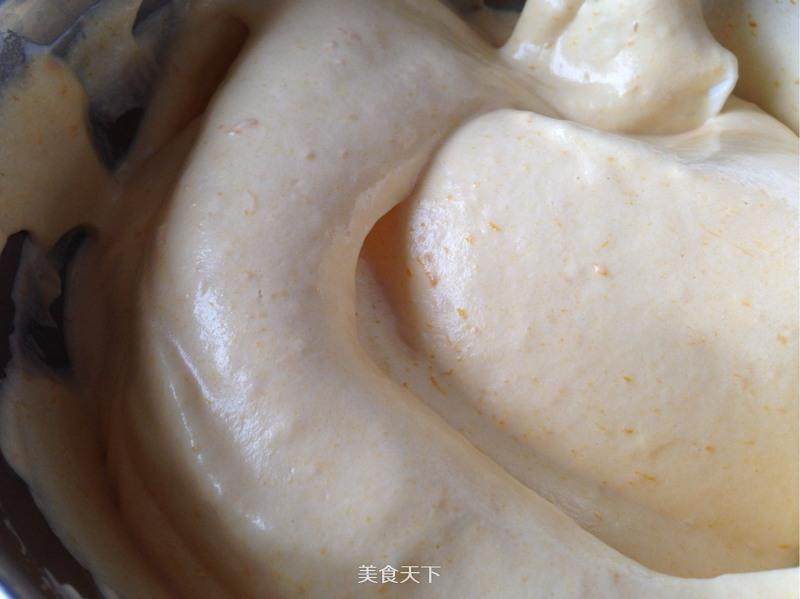
13.最后将所有蛋白霜混合均匀至细腻顺滑
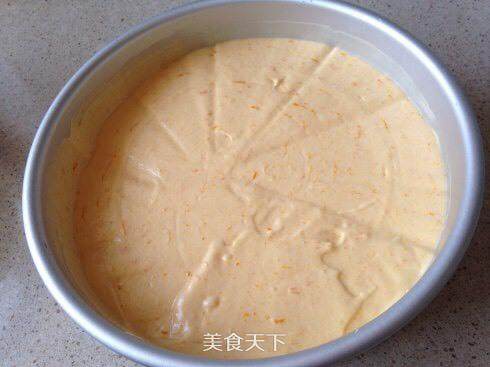
14.倒入模具,抹平表面,端起在灶台上轻磕几下,震出气泡
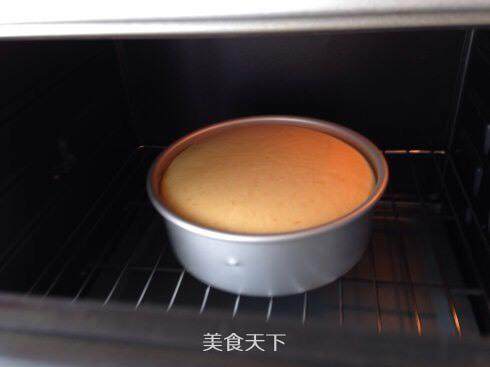
15.送入预热好的烤箱,下层/上下火/140度/40分钟 ,180度10分钟上色,喜欢颜色深一些180度可以15分钟(根据各家烤箱实际温度哈)
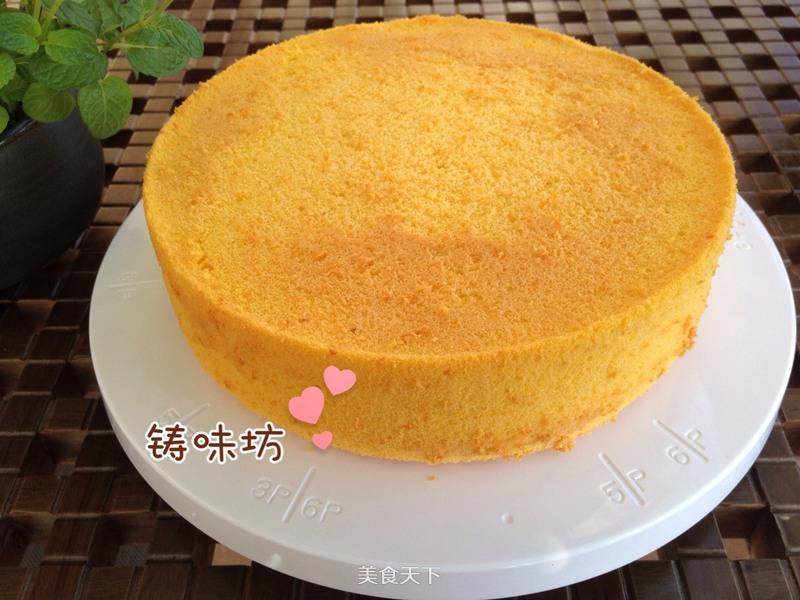
16.从烤箱取出蛋糕,在桌面上重摔几下,震出里面的热气,立即倒扣,晾凉脱模
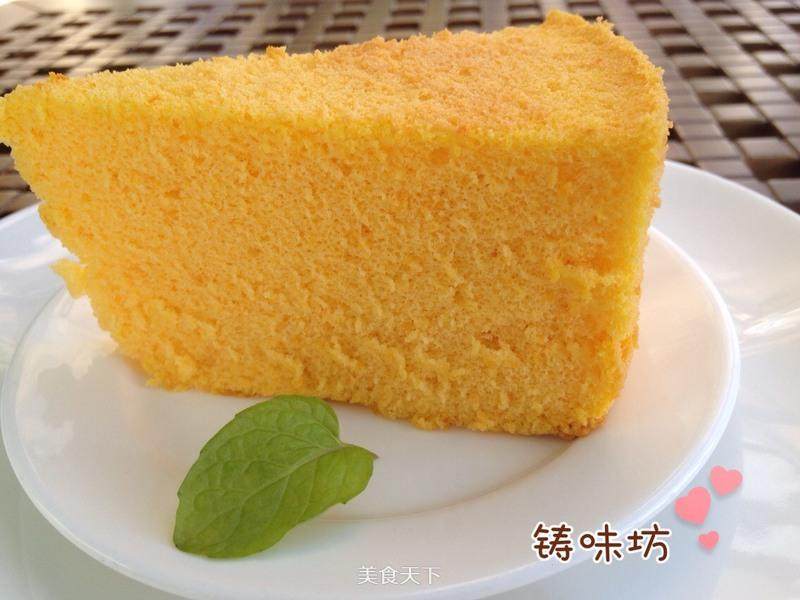
17.细腻、香甜………!
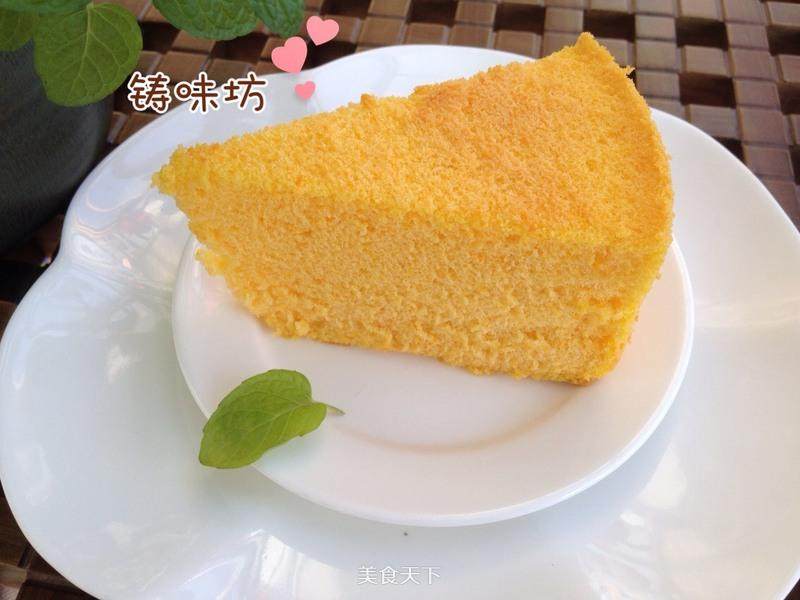
18.视觉和味觉的双重诱惑!
TAGS:
烘焙 戚风蛋糕 其他菜系 低粉
免责声明:本站部分文章转载自网络,图文仅供行业学习交流使用,不做任何商业用途。文章仅代表原作者个人观点,其原创性及文章内容中图文的真实性、完整性等未经本站核实,仅供读者参考。
上一篇: 牛肉萝卜汤
下一篇: 槐花戚风蛋糕的做法,槐花戚风蛋糕怎么做,槐花戚风蛋糕怎么做,槐花戚风蛋糕图片大全,槐花蛋糕怎么做,槐花鸡蛋糕
Deprecated: mysql_connect(): The mysql extension is deprecated and will be removed in the future: use mysqli or PDO instead in
/data/haozs.cc/xianguan.php on line
5
Deprecated: mysql_query(): The mysql extension is deprecated and will be removed in the future: use mysqli or PDO instead in
/data/haozs.cc/xianguan.php on line
7


