主料:
佛手瓜,
1个,
黑木耳适量,
鸡蛋,
1个
辅料:
生抽适量,
蚝油适量,
盐适量,
植物油适量佛手木耳炒鸡蛋的做法步骤
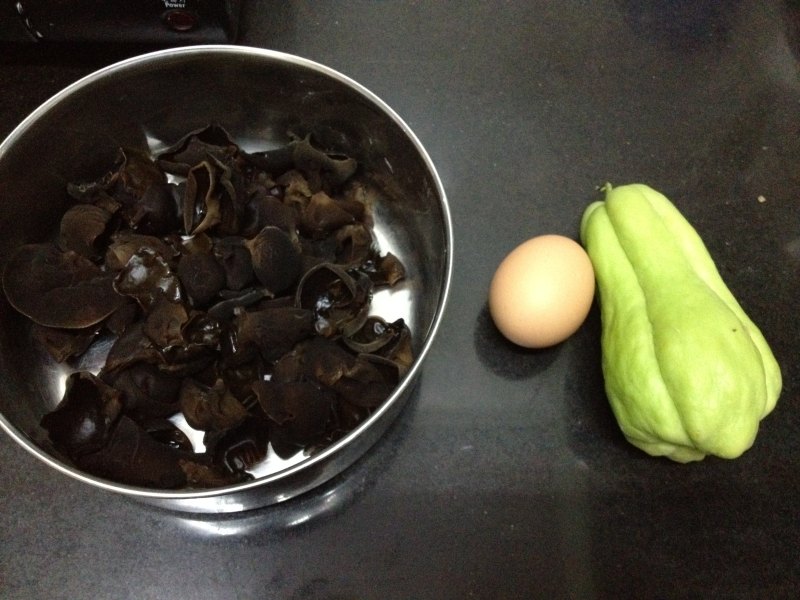
1.食材准备。
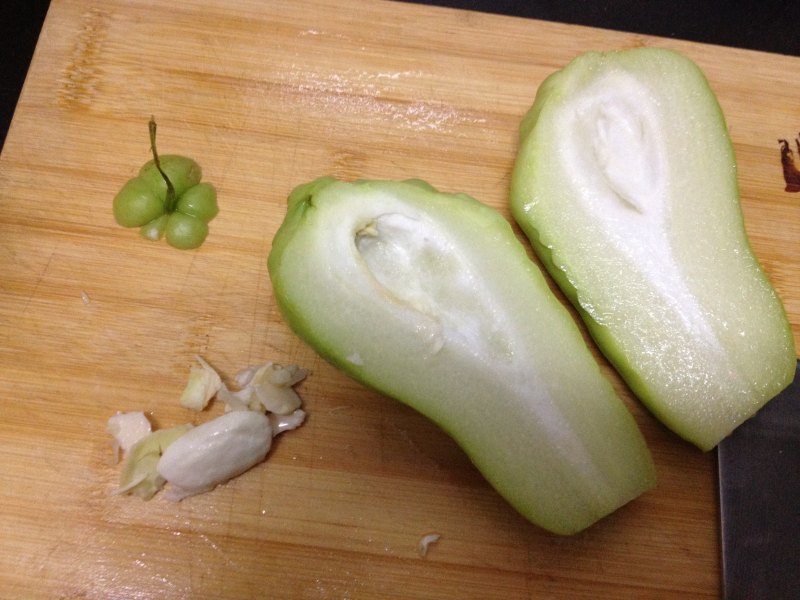
2.佛手瓜洗净,去蒂后对切,取出瓜籽。
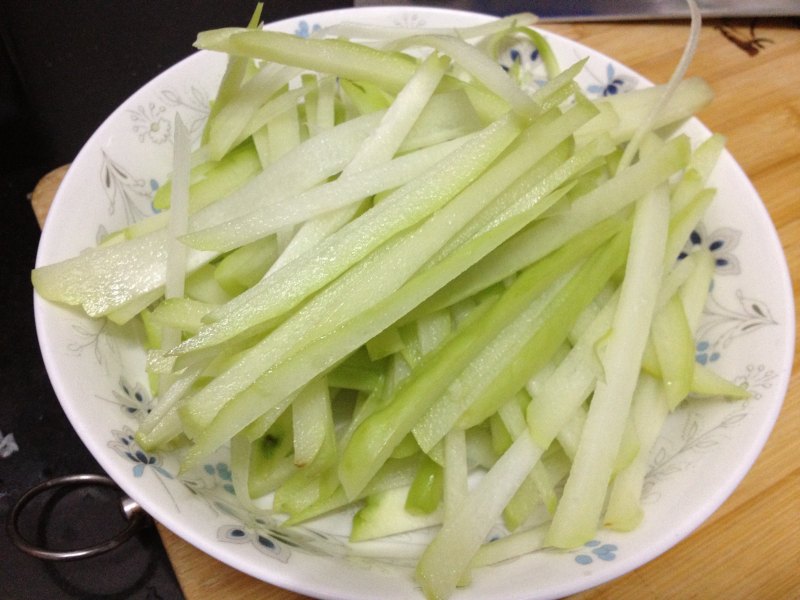
3.将佛手瓜切丝。
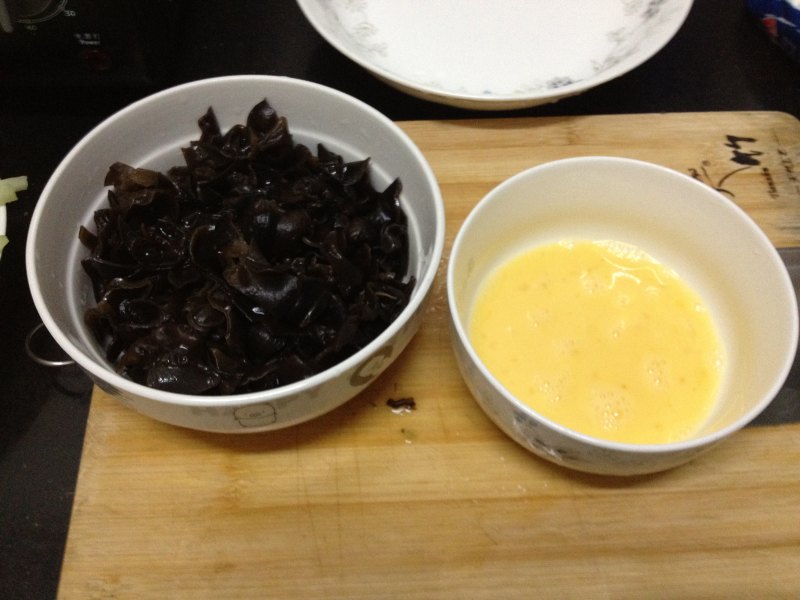
4.黑木耳泡发洗净切丝,鸡蛋打散。
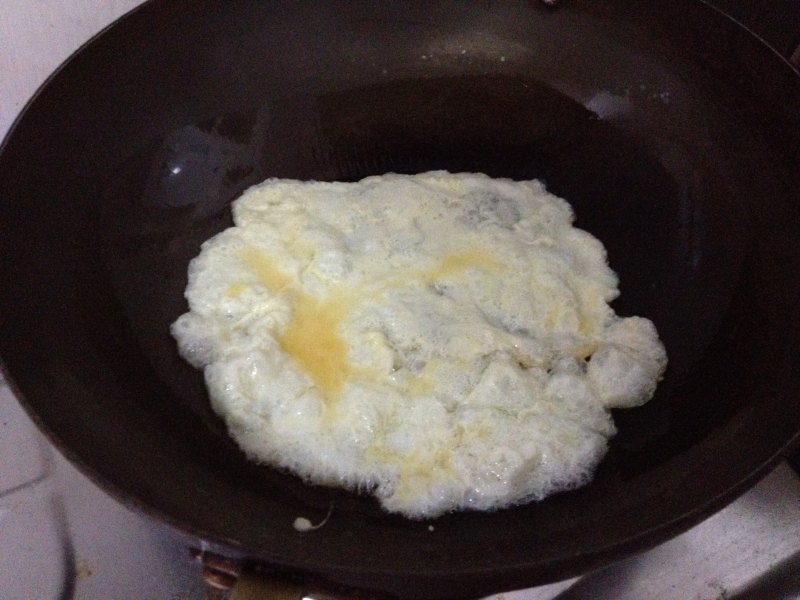
5.锅内油烧热,加入鸡蛋,煎出蛋香后起锅。
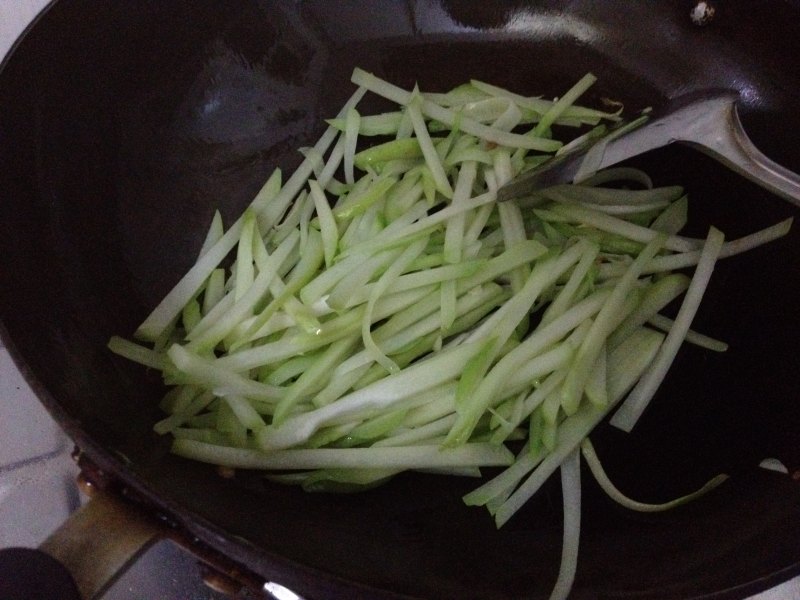
6.下入佛手瓜丝,翻炒,加少量盐,炒至佛手瓜有点发软。
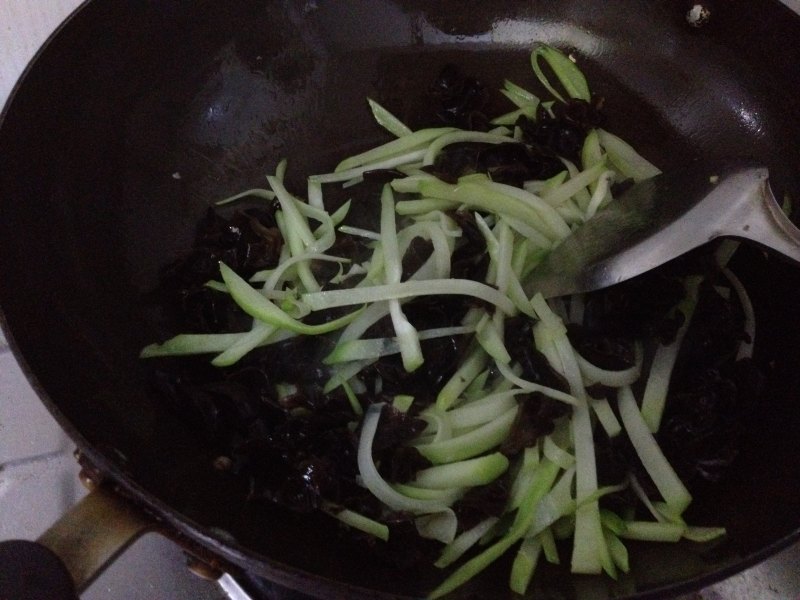
7.下入木耳翻炒至有噼叭声。
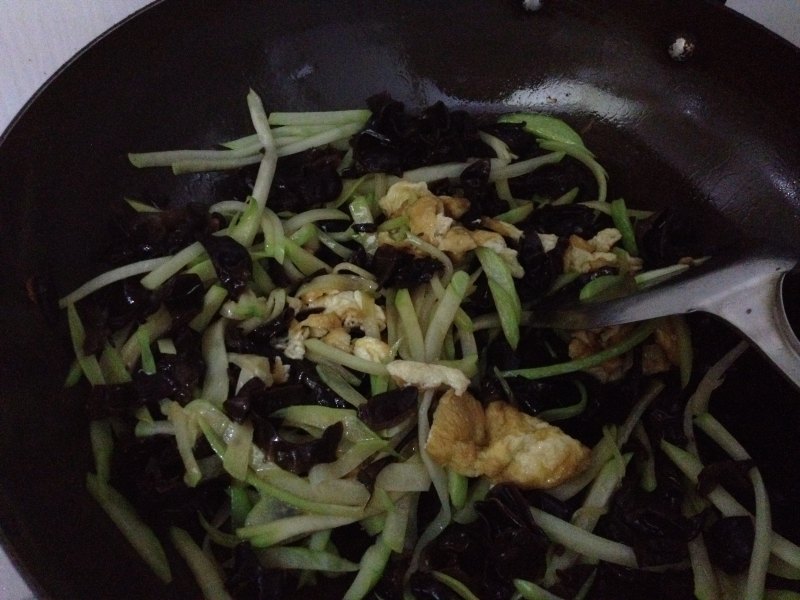
8.下入鸡蛋,加生抽、蚝油,炒匀后起锅。
小窍门&温馨提示
1、炒佛手瓜时,加点盐,可以让佛手瓜更入味,但不能放太多,因为后面还要放生抽和蚝油。
2、佛手瓜炒至断生,就是刚有点软时就好,此时的佛手瓜口感很脆。
TAGS:
热菜 家常菜 秋季食谱 佛手瓜
免责声明:本站部分文章转载自网络,图文仅供行业学习交流使用,不做任何商业用途。文章仅代表原作者个人观点,其原创性及文章内容中图文的真实性、完整性等未经本站核实,仅供读者参考。
上一篇: 佛手瓜炒虾球的做法,佛手瓜炒虾球怎么做,佛手瓜炒虾仁,佛手瓜炒虾仁的做法窍门,佛手瓜炒虾的做法大全,佛手瓜炒河虾
下一篇: 胡萝卜炒佛手瓜
Deprecated: mysql_connect(): The mysql extension is deprecated and will be removed in the future: use mysqli or PDO instead in
/data/haozs.cc/xianguan.php on line
5
Deprecated: mysql_query(): The mysql extension is deprecated and will be removed in the future: use mysqli or PDO instead in
/data/haozs.cc/xianguan.php on line
7


