主料:
猪蹄,
2个
辅料:
红腐乳汁适量葱适量,
姜适量,
蒜适量,
八角适量,
干辣椒适量,
高度白酒适量,
食用油适量,
香油适量,
冰糖适量,
白糖适量,
盐适量腐乳猪蹄的做法步骤
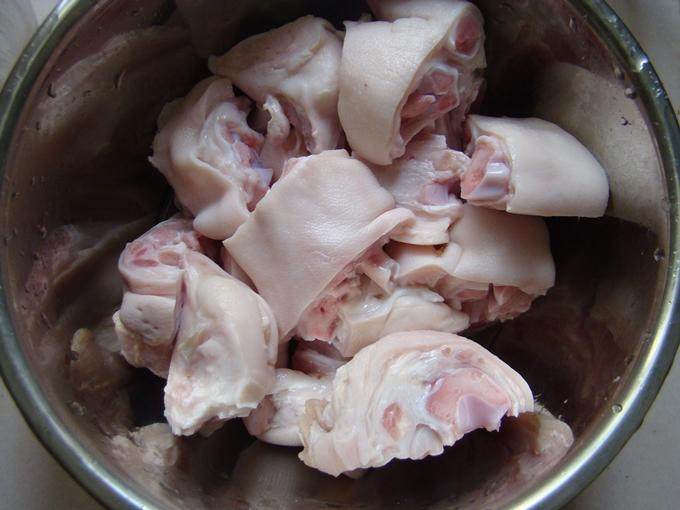
1.猪蹄洗净斩成块。
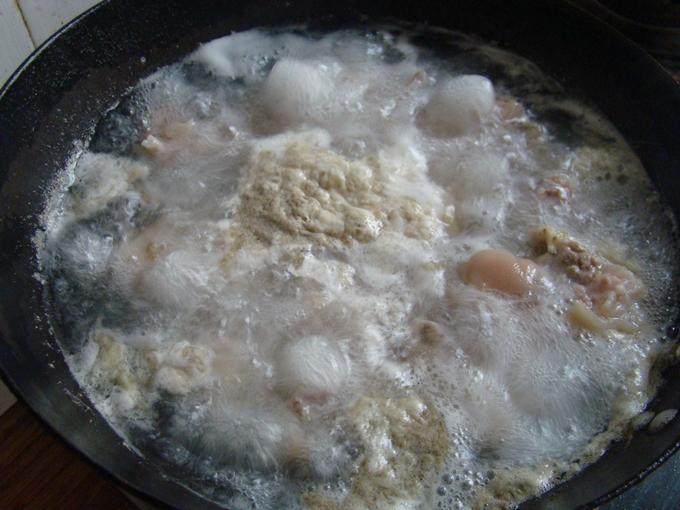
2.凉水下锅焯去血沫和杂质。
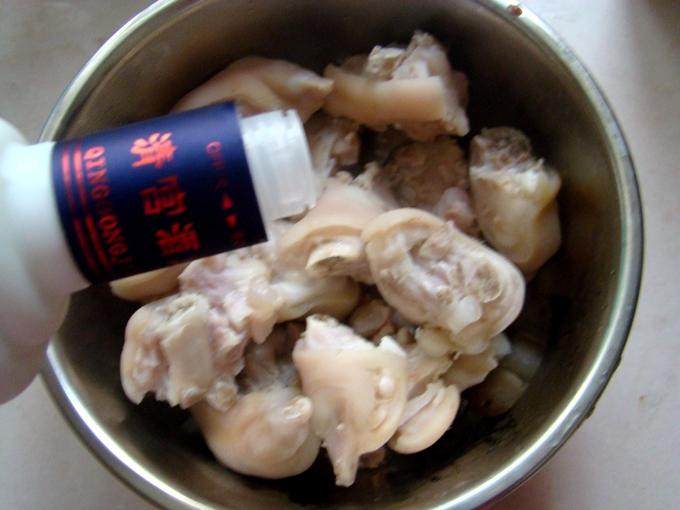
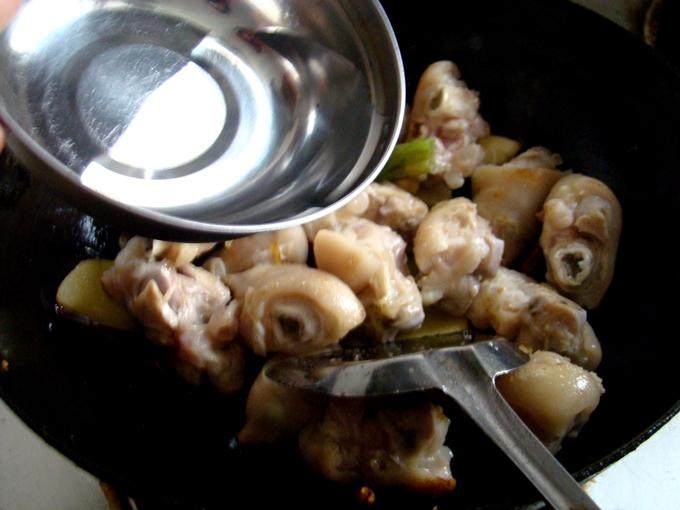
3.捞出后加入高度白酒拌匀去腥 。
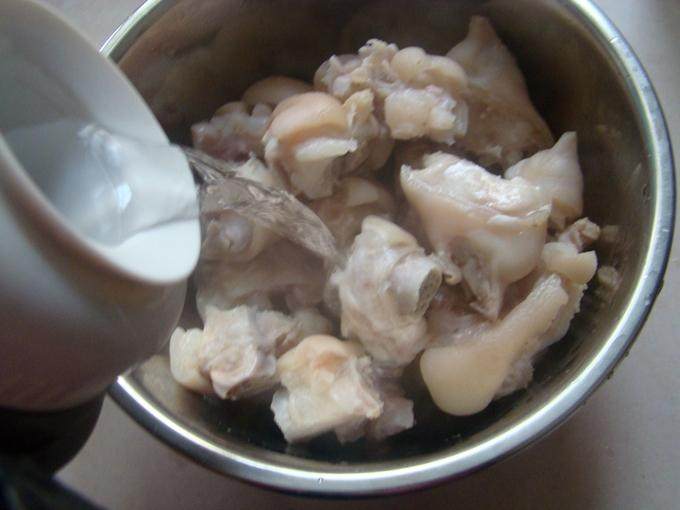
4.加入开水再次清洗。
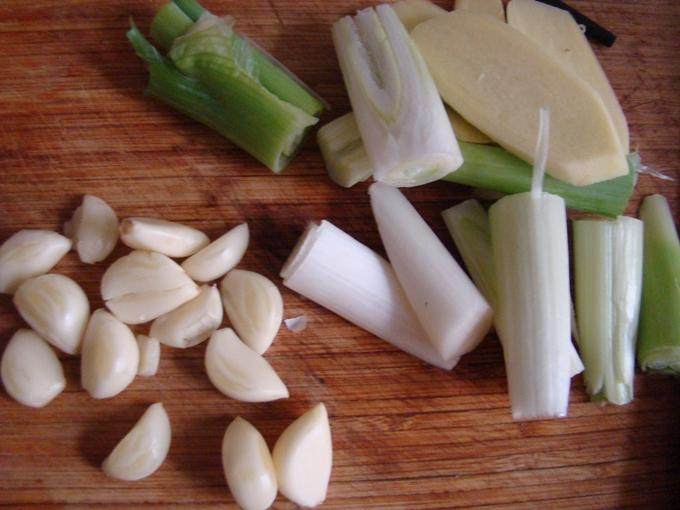
5.葱切段,姜切片,蒜瓣压裂。
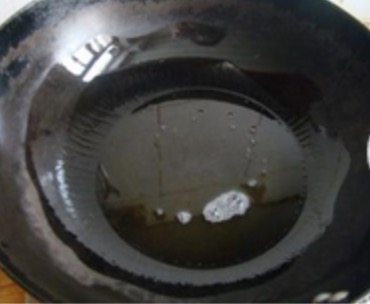
6.炒锅上火,下入少许食用油和香油(1:1)。
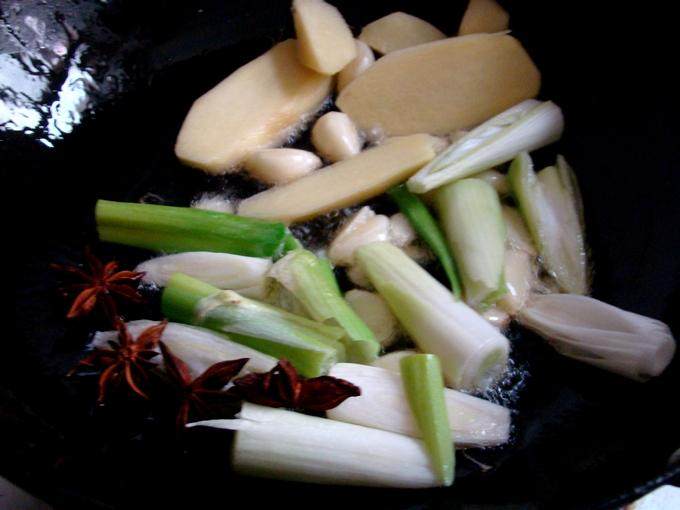
7.下入葱姜蒜和八角煸炒。
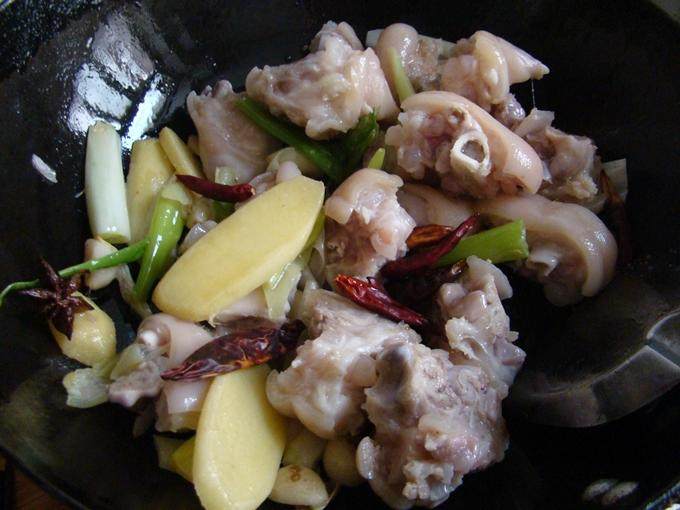
8.煸出香味后转大火,下入猪蹄和干辣椒翻炒。
9.待猪蹄颜色变黄时,烹入小半碗白酒。
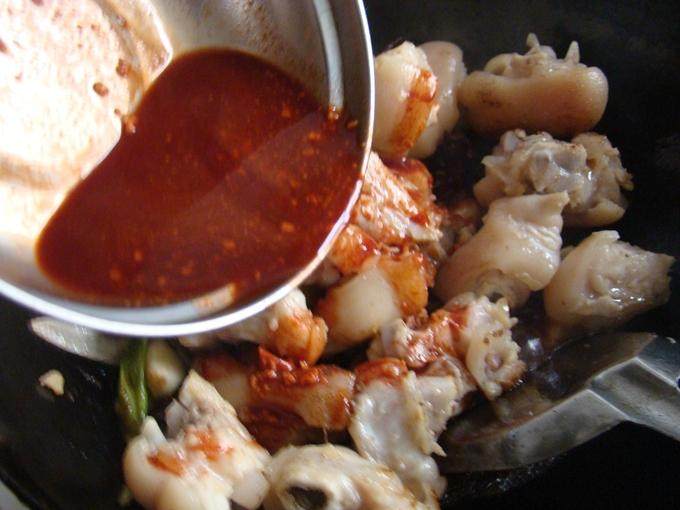
10.下入红腐乳汁炒至上色。(腐乳汁的量约为猪蹄的1/10)
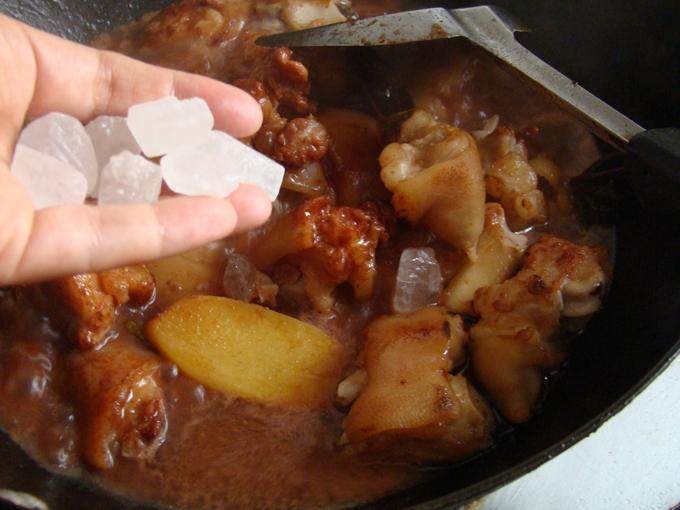
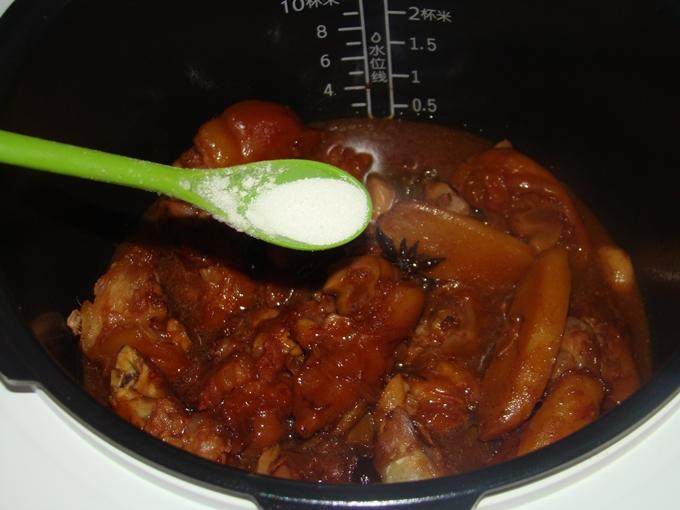
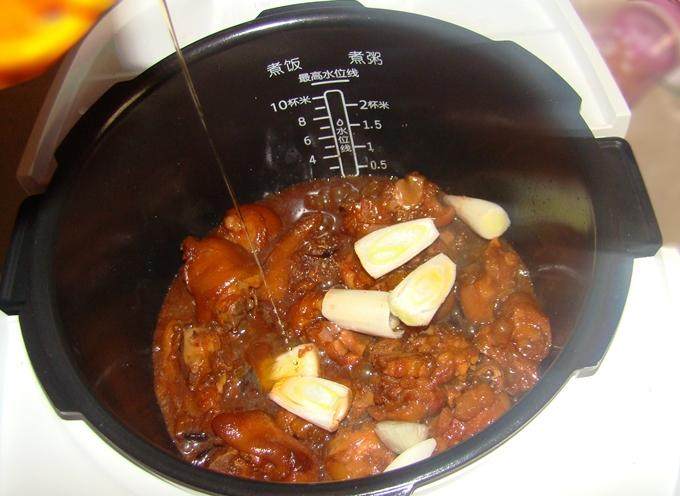
11.加入适量开水烧开,加冰糖和少许白糖提亮增鲜。
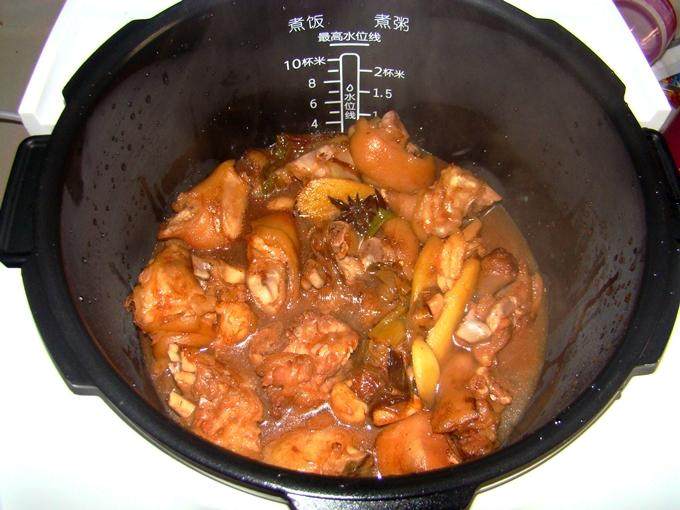
12.盛入苏泊尔鲜呼吸电压力锅内胆。
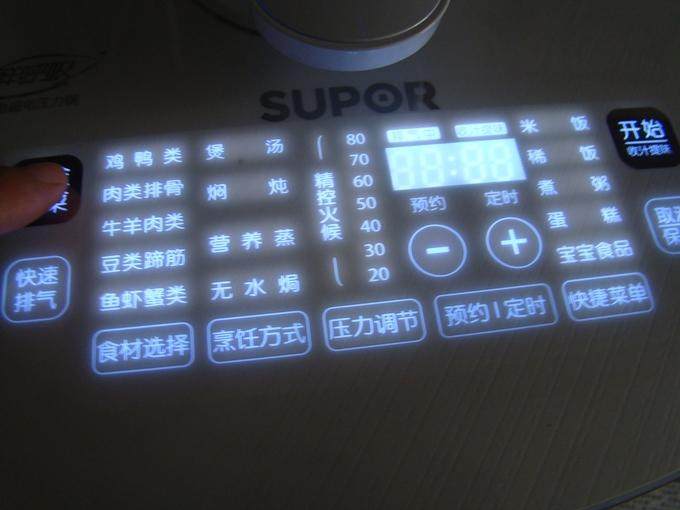
13.盖合锅盖,接通电源,轻触任一触摸按键,点亮屏幕。
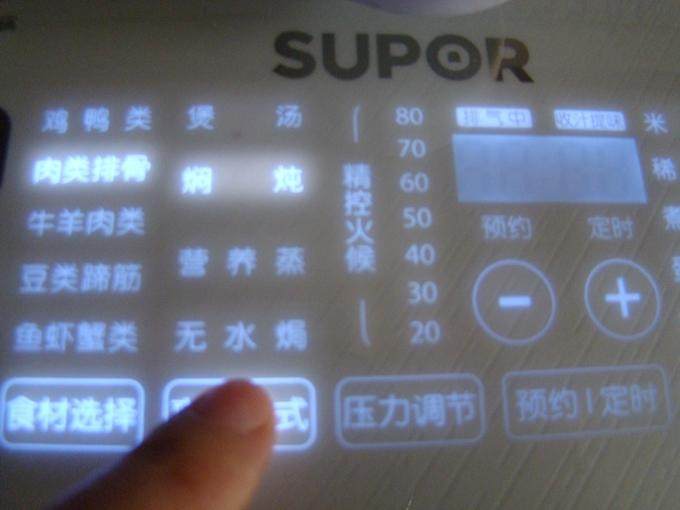
14.选择“食材选择”至“肉类排骨”灯亮。选择“烹饪方式”至“焖炖”灯亮。
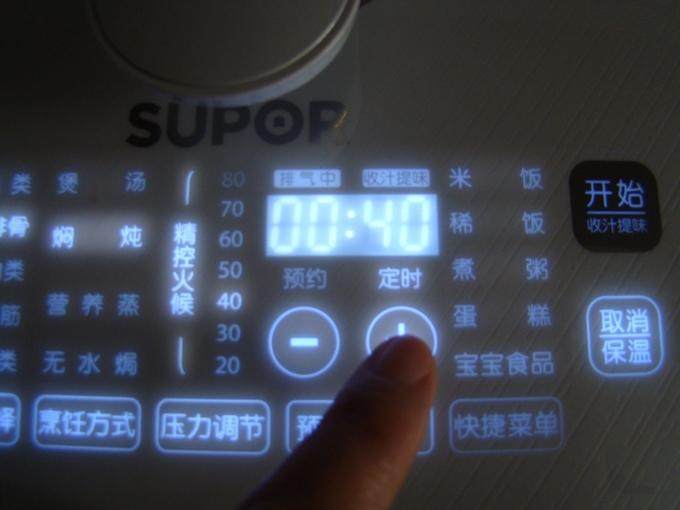
15.选择“压力调节”至“40”灯亮。选择“预约/定时”至“定时”灯亮,选择“+”至显示“00:40”。

16.选择“开始/收汁提味”烹饪开始。
17.烹饪完成电压力锅排气结束后,收汁提味:将开合旋钮到“开”的位置,按“开始/收汁提味”键,按开盖按钮将锅盖打开收汁。此时调入少许盐。
18.最后出锅时,加入少许葱段,淋入少许香油即可。
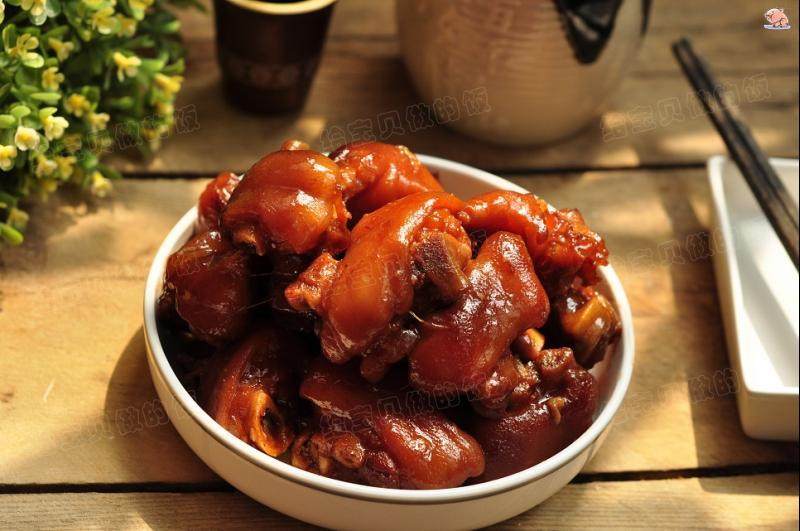
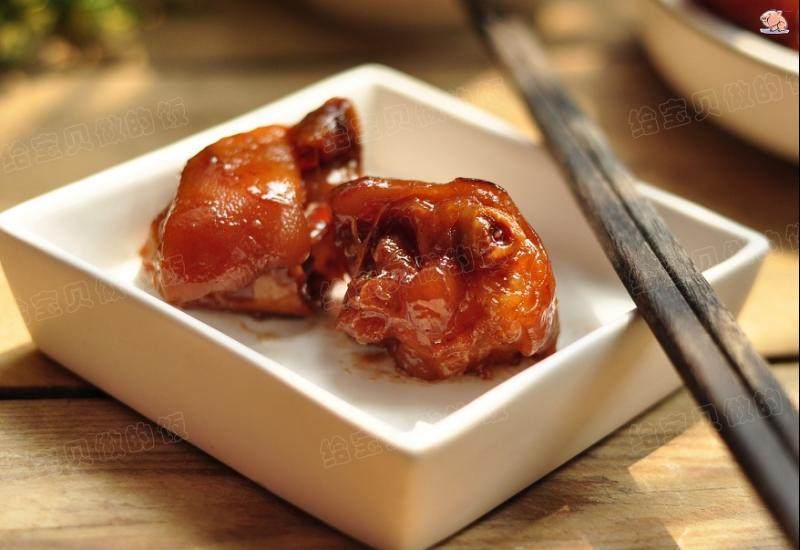
19.成品图
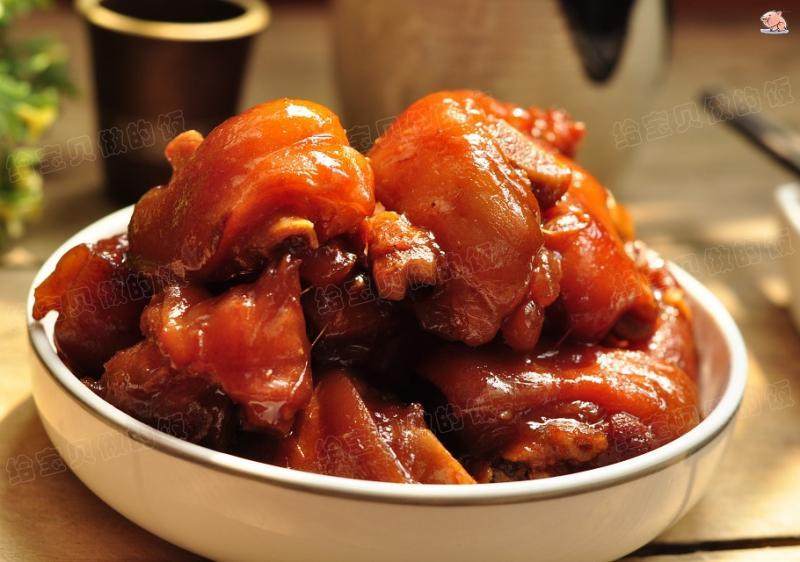
20.成品图
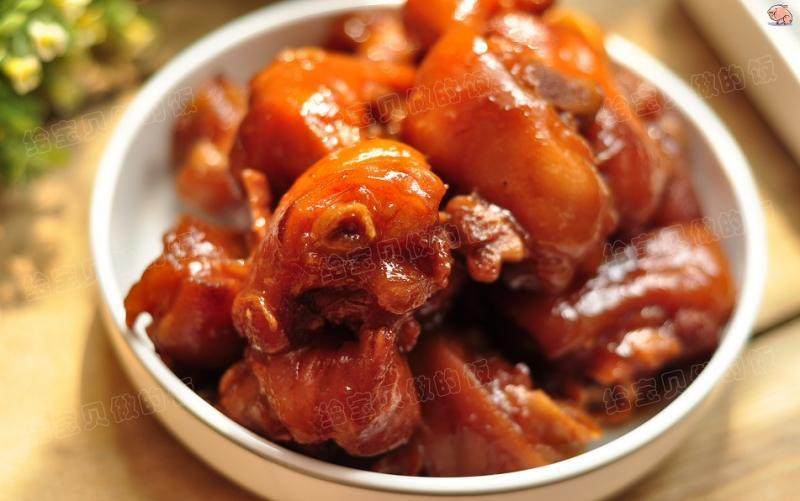
21.成品图
22.成品图

23.成品图
TAGS:
家常菜 猪蹄
免责声明:本站部分文章转载自网络,图文仅供行业学习交流使用,不做任何商业用途。文章仅代表原作者个人观点,其原创性及文章内容中图文的真实性、完整性等未经本站核实,仅供读者参考。
上一篇: 烤生蚝的做法,烤生蚝怎么做,烤生蚝的蒜蓉料配方,烤生蚝需要多长时间,烤生蚝的做法,烤生蚝的做法 烤箱几分钟
下一篇: 蚝油排骨的做法,蚝油排骨怎么做,蚝油排骨的家常做法,蚝油排骨煲仔饭,蚝油排骨电饭锅,蚝油排骨汤
Deprecated: mysql_connect(): The mysql extension is deprecated and will be removed in the future: use mysqli or PDO instead in
/data/haozs.cc/xianguan.php on line
5
Deprecated: mysql_query(): The mysql extension is deprecated and will be removed in the future: use mysqli or PDO instead in
/data/haozs.cc/xianguan.php on line
7
