主料:
丝瓜,
两条,
干贝,
数粒,
大蒜头,
四瓣,
红剁椒适量
辅料:
淀粉适量,
蚝油适量,
盐适量,
生抽适量蒜泥干贝丝瓜盅的做法步骤
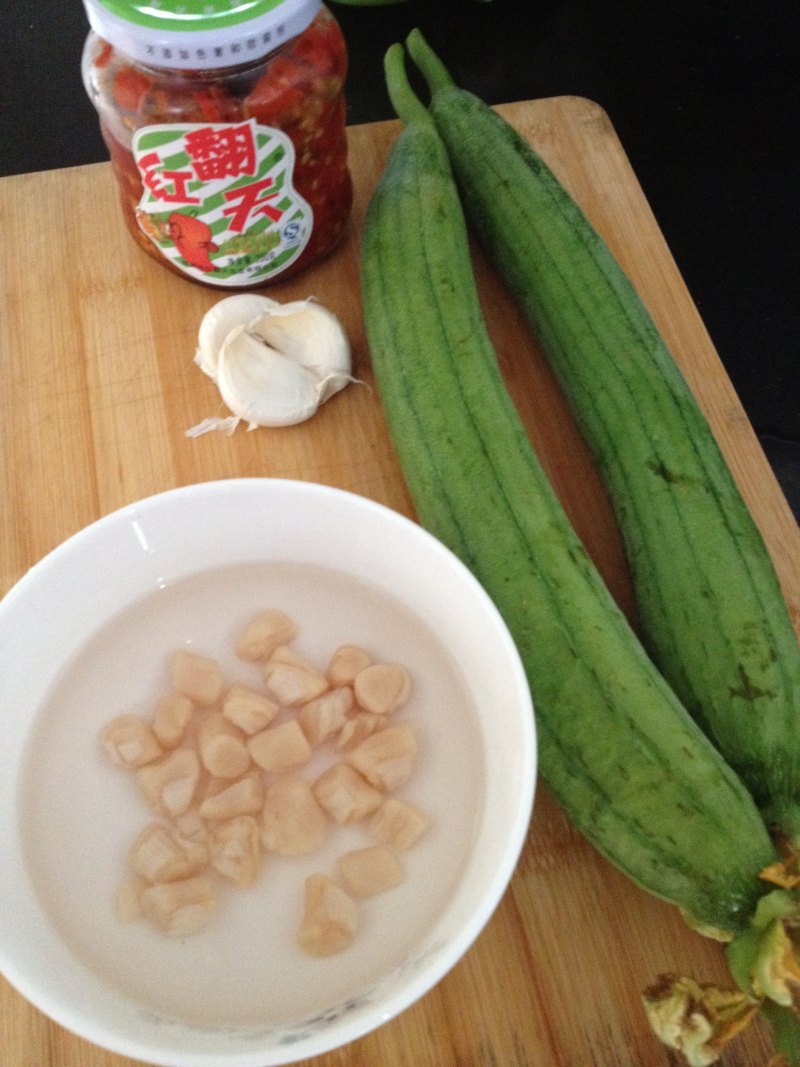
1.材料准备:丝瓜,大蒜头,剁椒,泡发好的干贝(提前一晚上泡好的)
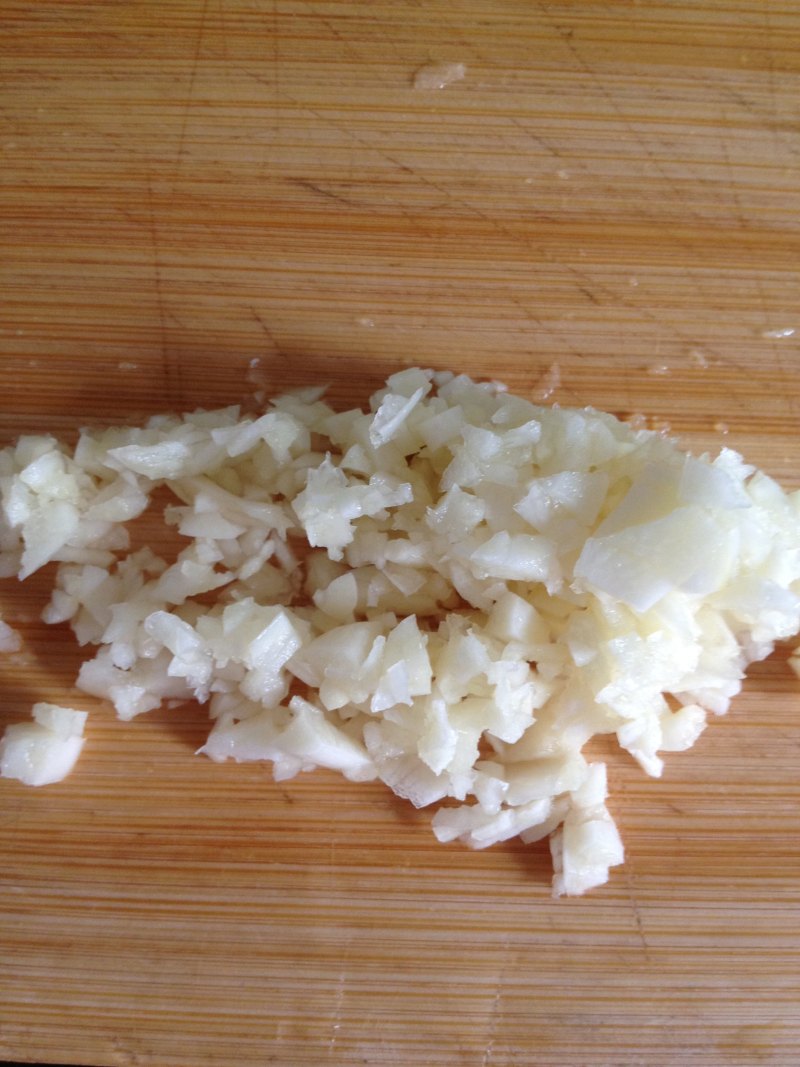
2.先将大蒜头剥皮,剁成泥,让它在空气中充分氧化
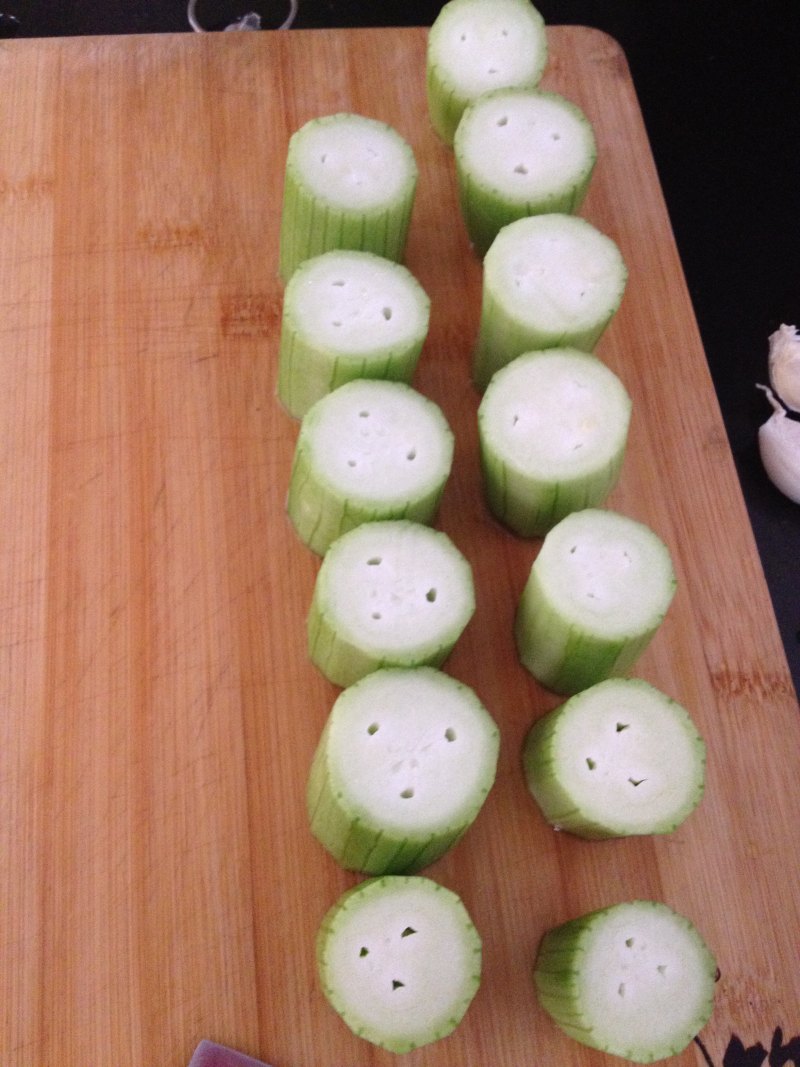
3.丝瓜去皮切成小段
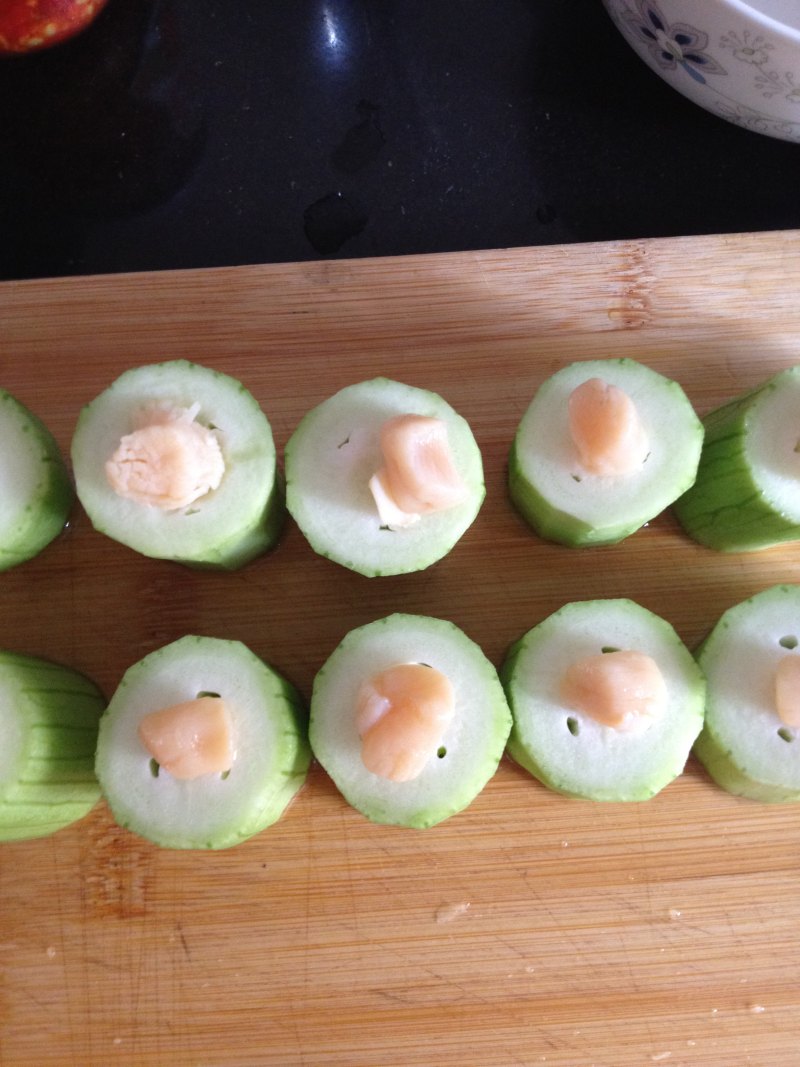
4.往每个丝瓜段上放上一粒泡好的干贝
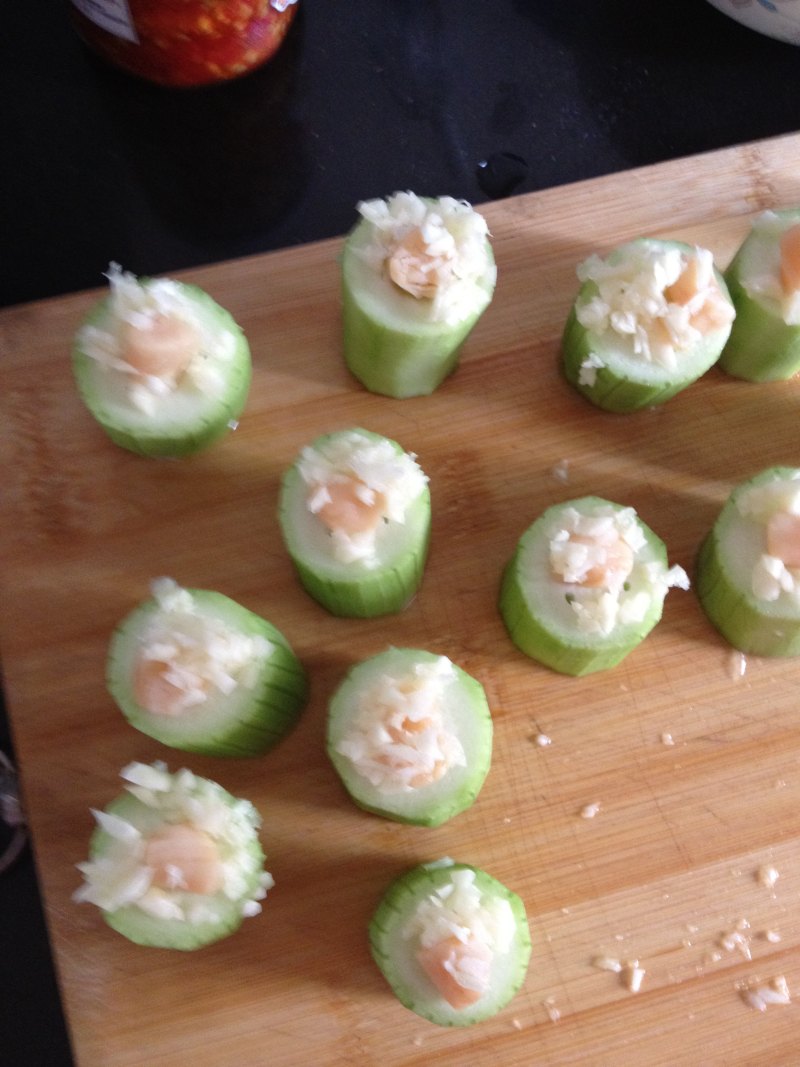
5.再放上一些蒜泥
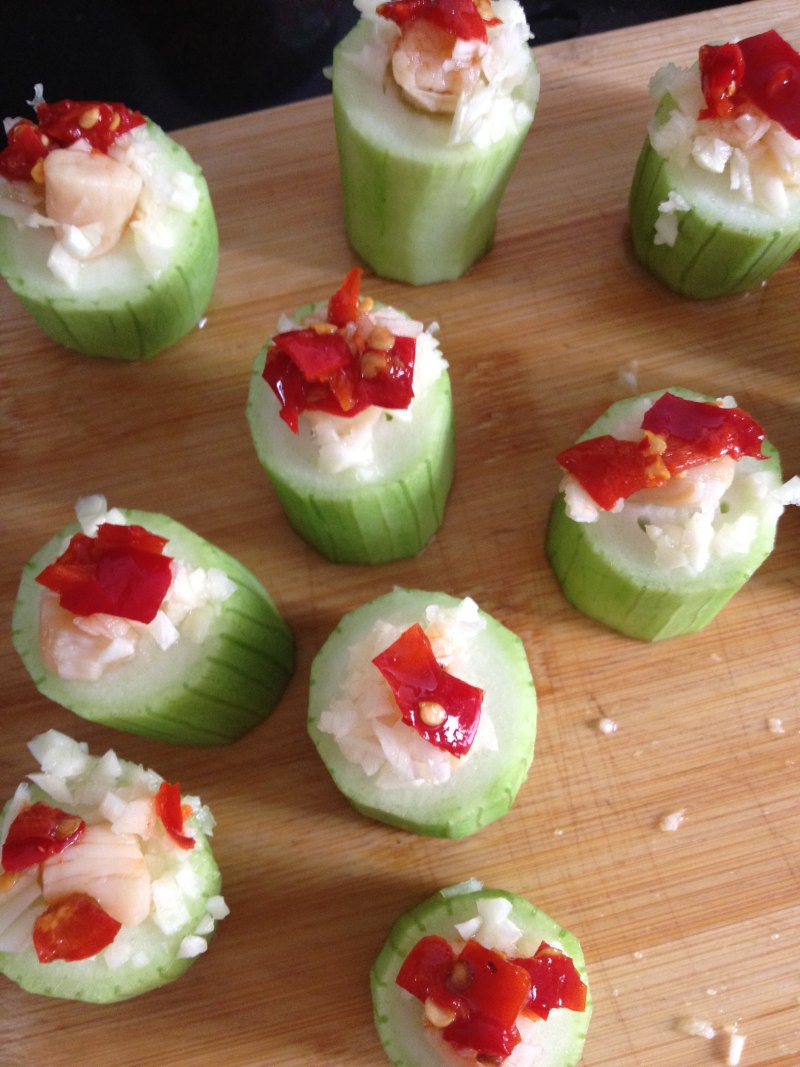
6.最后点上几片剁椒
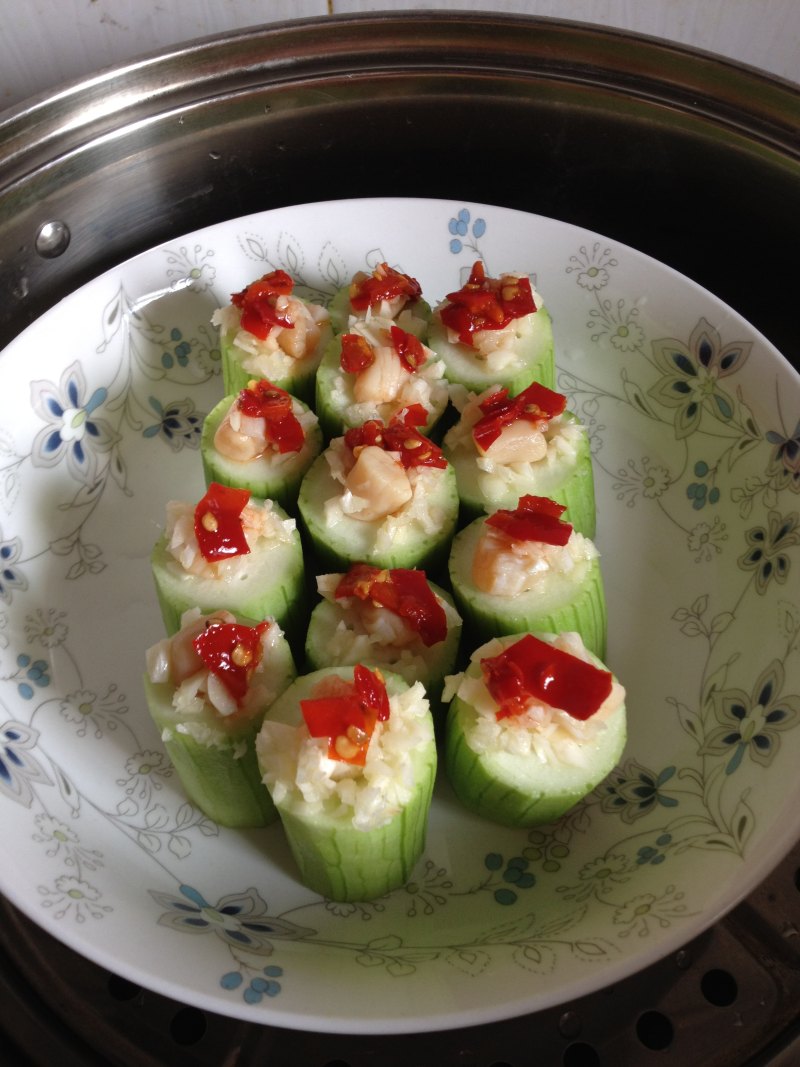
7.装盘放入蒸锅中蒸三到五分钟,我这次蒸得有点过了,直接导致丝瓜变软塌了下去
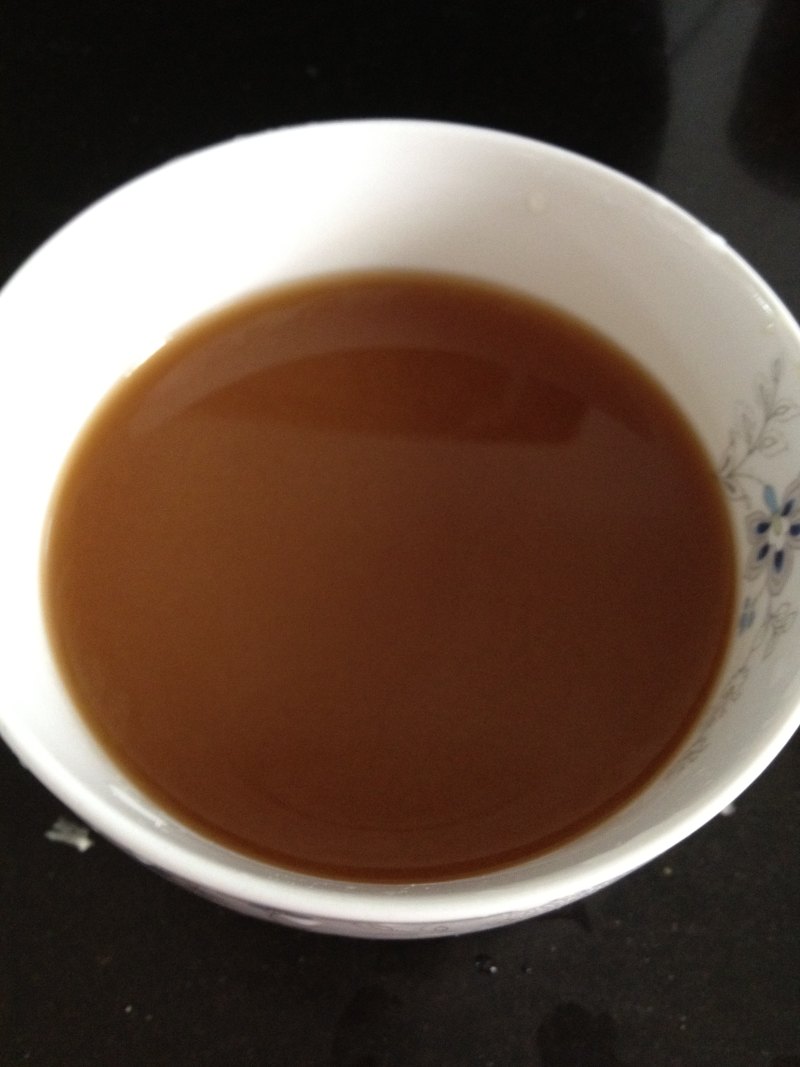
8.再将淀粉,盐,生抽和蚝油调成半小碗芡料
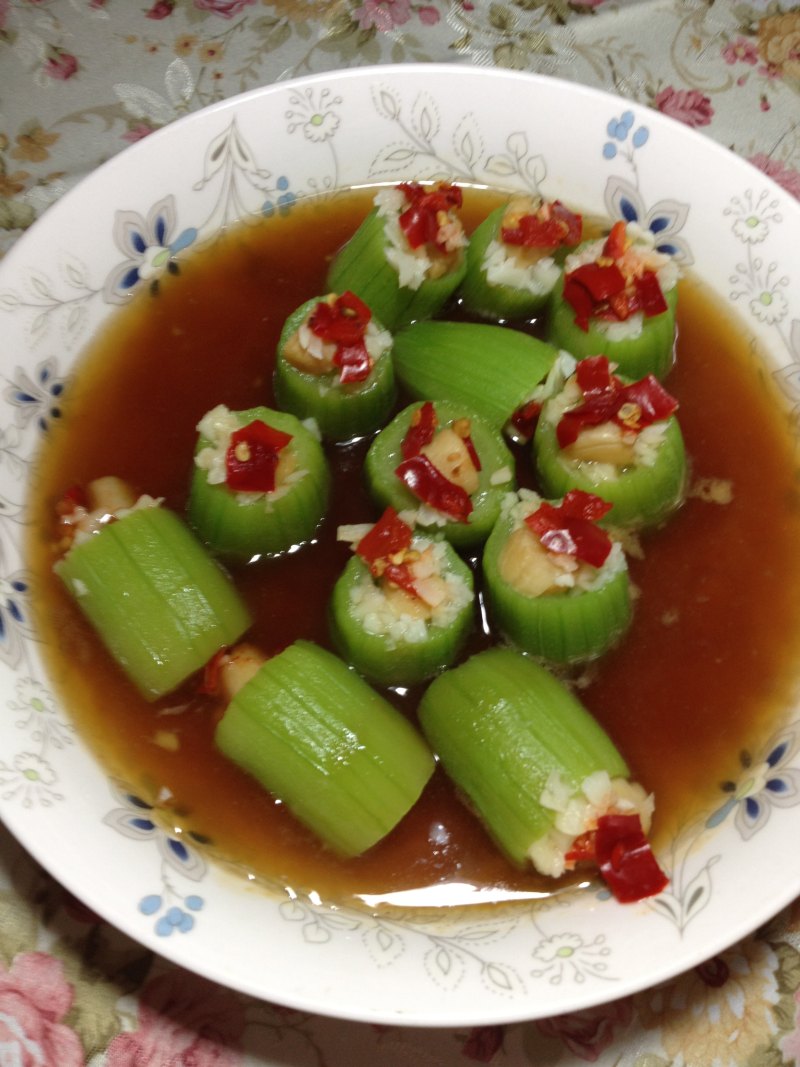
9.将芡料熬好后浇在蒸好的丝瓜好,这样就OK啦
小窍门&温馨提示
1、蒸丝瓜的时间不宜过长,3到5分钟就够了,以瓜表面绿色变深为准。
2、浇芡汁的时候,最好沿着碗边倒,不要直接倒在丝瓜上,以免把丝瓜盅上的蒜泥和剁椒冲走,影响美观。
TAGS:
热菜 家常菜 秋季食谱 丝瓜
免责声明:本站部分文章转载自网络,图文仅供行业学习交流使用,不做任何商业用途。文章仅代表原作者个人观点,其原创性及文章内容中图文的真实性、完整性等未经本站核实,仅供读者参考。
上一篇: 海米烧冬瓜的做法,海米烧冬瓜怎么做,海米烧冬瓜的做法,海米烧冬瓜怎么做,海米烧冬瓜图片,海米烧冬瓜的营养价值
下一篇: 干贝豆腐汤的做法,干贝豆腐汤怎么做,干贝豆腐汤的做法,干贝豆腐汤的营养价值,干贝豆腐汤图片,干贝豆腐汤叫法
Deprecated: mysql_connect(): The mysql extension is deprecated and will be removed in the future: use mysqli or PDO instead in
/data/haozs.cc/xianguan.php on line
5
Deprecated: mysql_query(): The mysql extension is deprecated and will be removed in the future: use mysqli or PDO instead in
/data/haozs.cc/xianguan.php on line
7
