主料:
鸡蛋,
99克,
低筋面粉,
33克,
白糖,
17克,
牛奶,
16克,
豆沙馅,
30克
辅料:
白醋,
2滴,
盐,
0.5克爱心豆沙小蛋糕的做法步骤
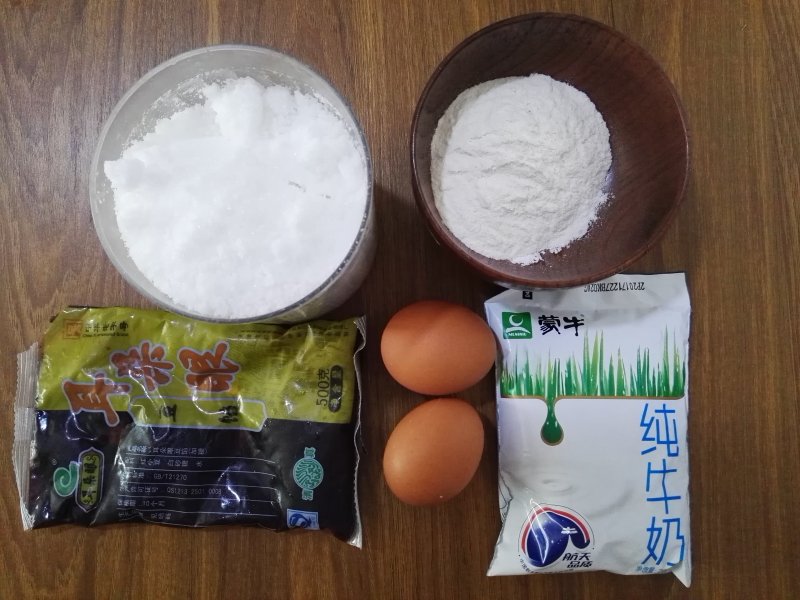
1.原料:低筋面粉、鸡蛋、白糖、牛奶、豆沙。
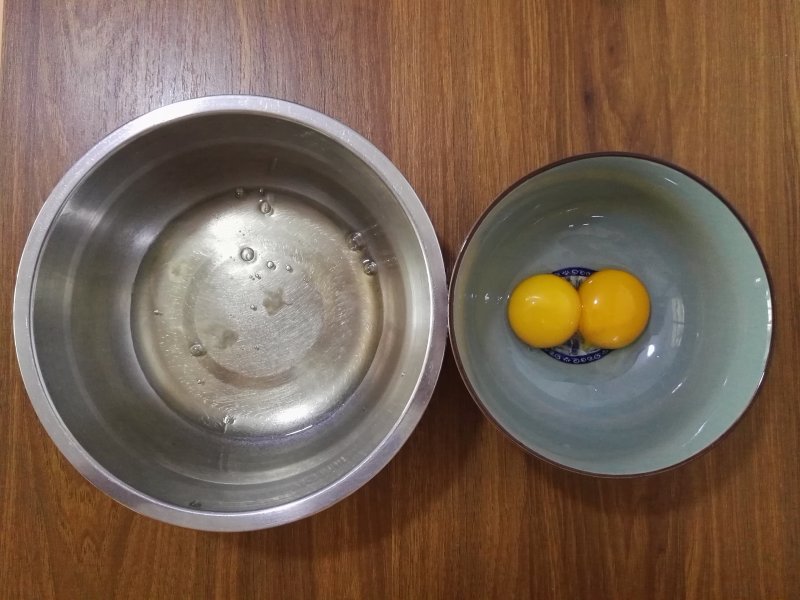
2.将鸡蛋的蛋白与蛋黄分离。
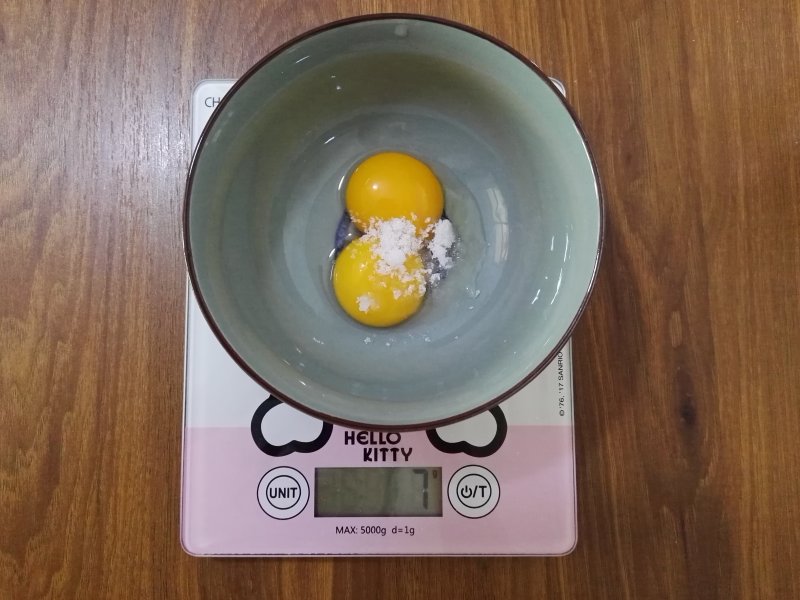
3.蛋黄中加7克白糖,用刮刀搅拌均匀。
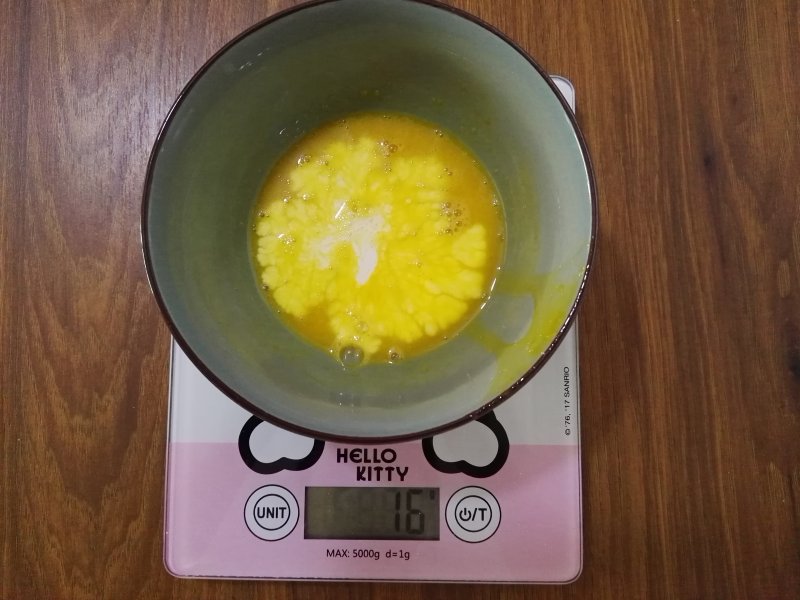
4.加入牛奶,再次搅拌均匀。
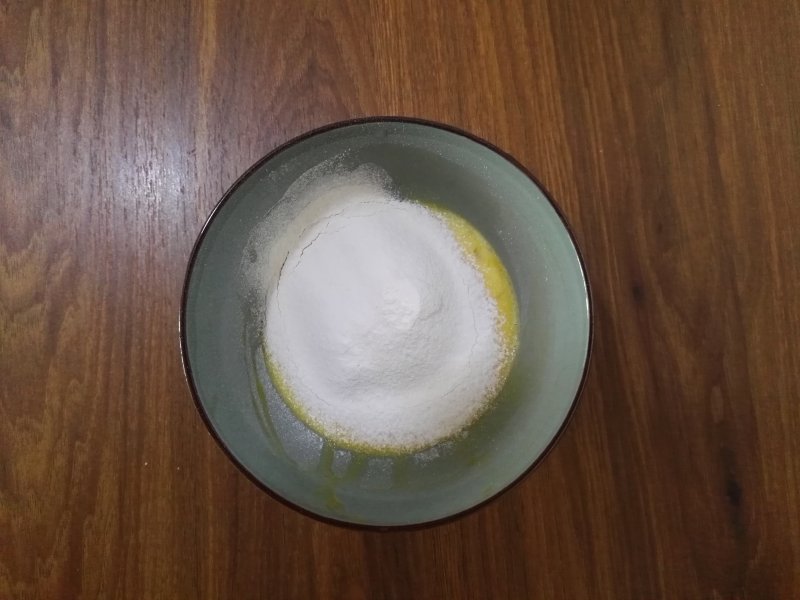
5.加入过筛的低筋面粉,搅拌均匀备用。
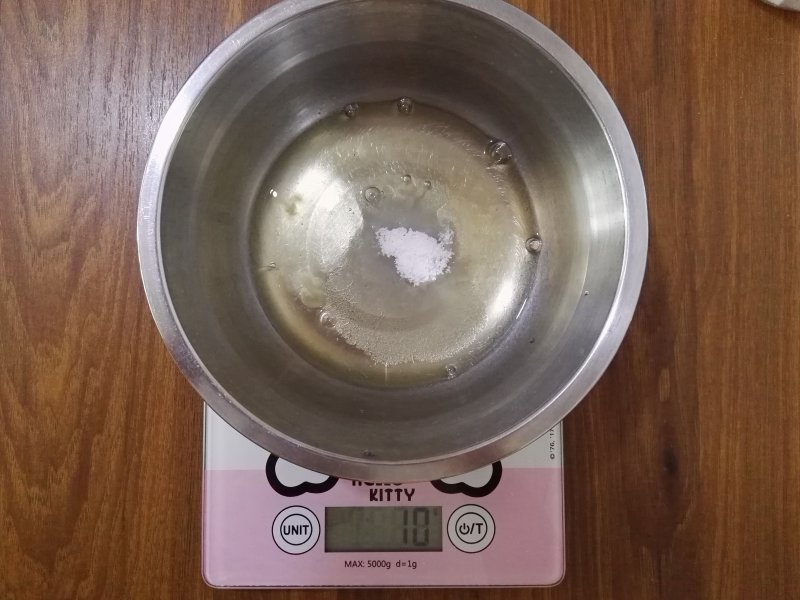
6.蛋白中加入白糖。
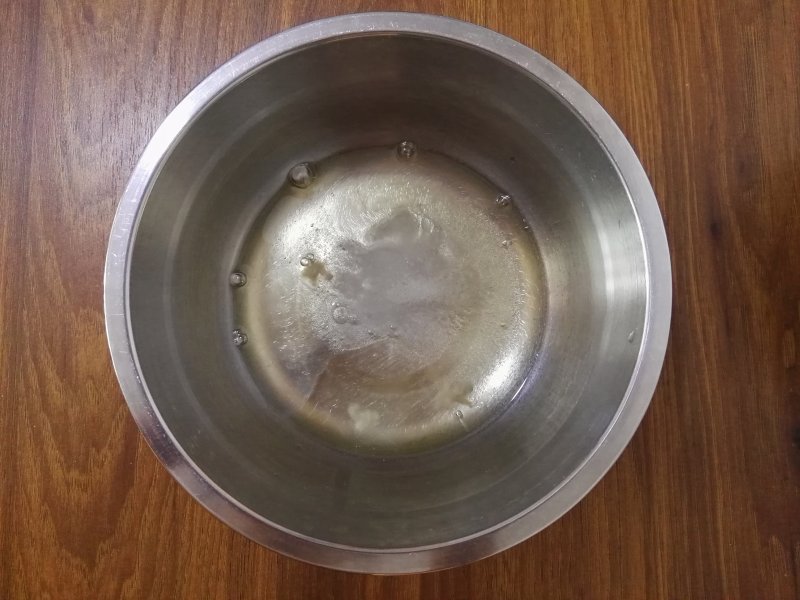
7.加入白醋和盐。
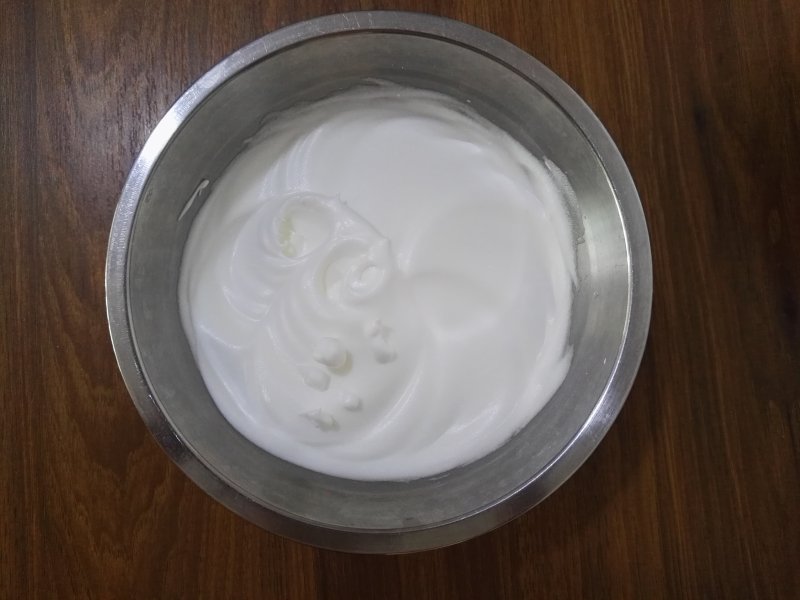
8.用电动打蛋器将蛋白打成硬性发泡的状态。
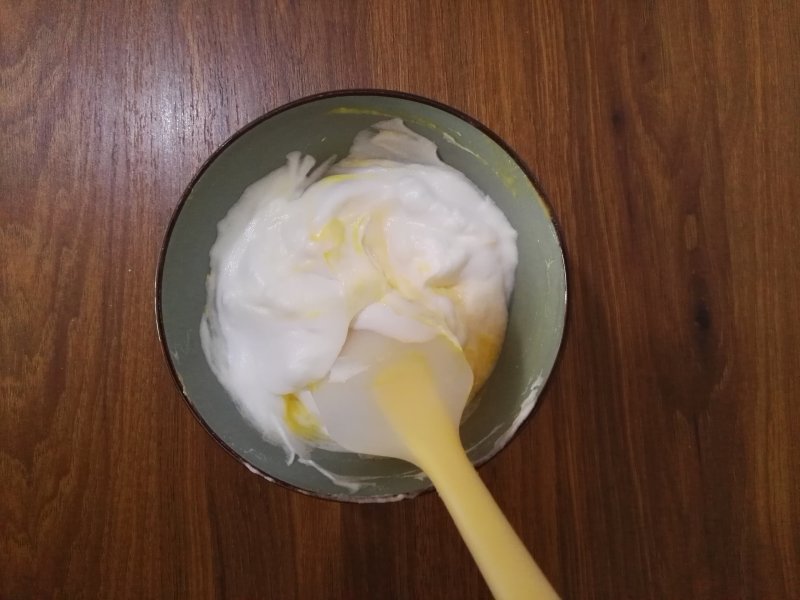
9.将三分之一的蛋白加到蛋黄糊中,搅拌均匀。
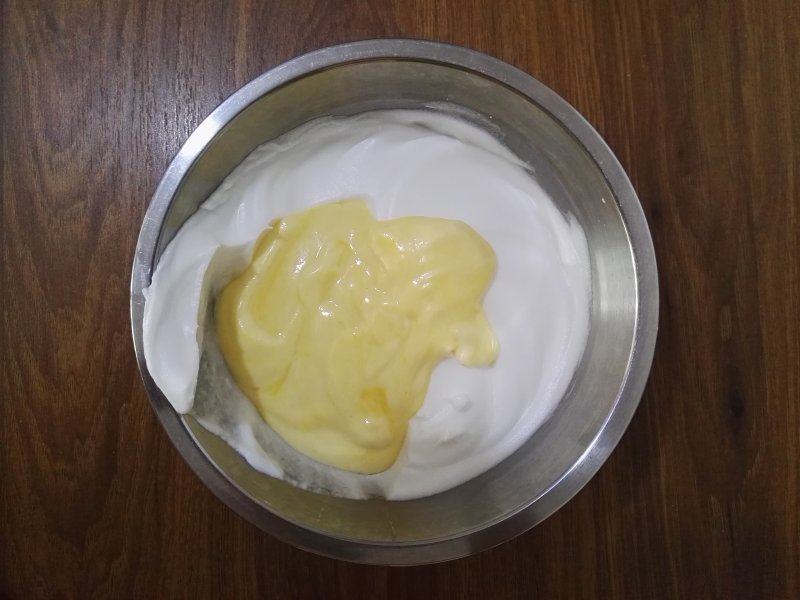
10.再将蛋黄糊倒回剩余的蛋白中,用翻拌的手法搅拌均匀。
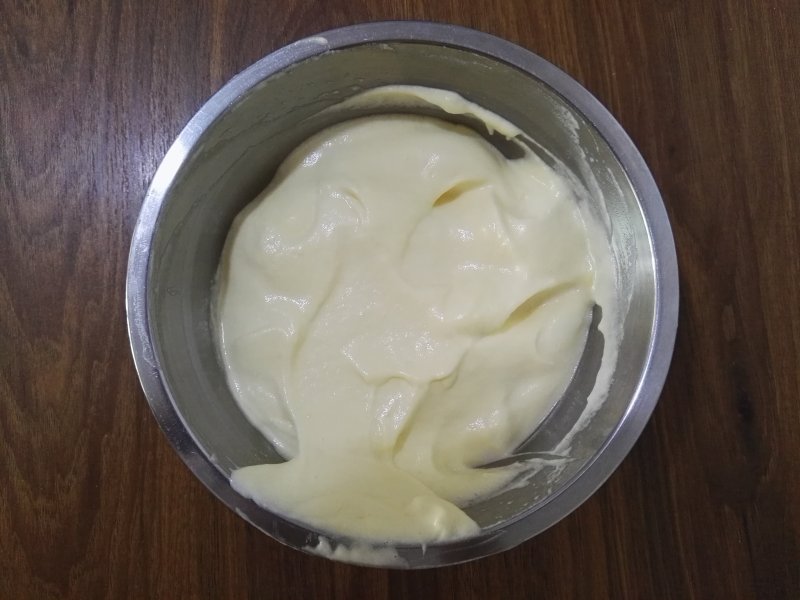
11.这是拌好的蛋糊。
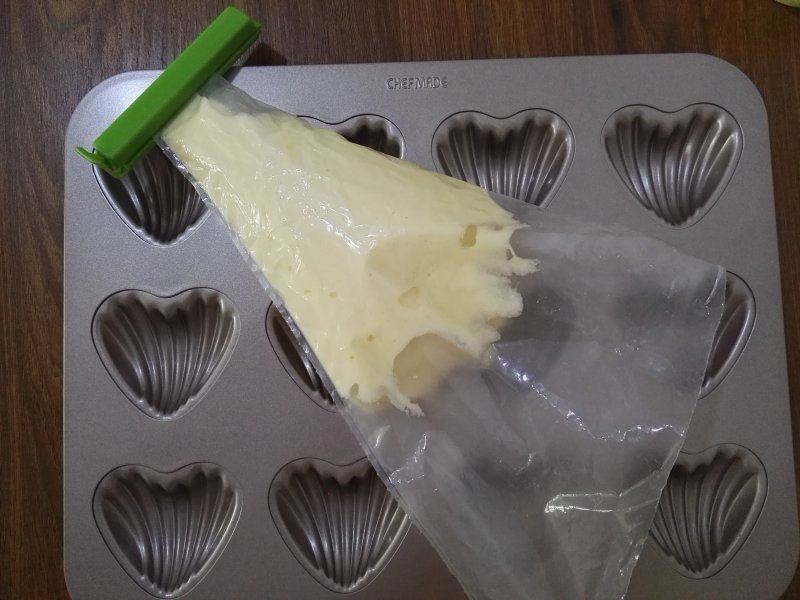
12.将蛋糊装入装花袋中,这时烤箱预热上火175度,下火170度。
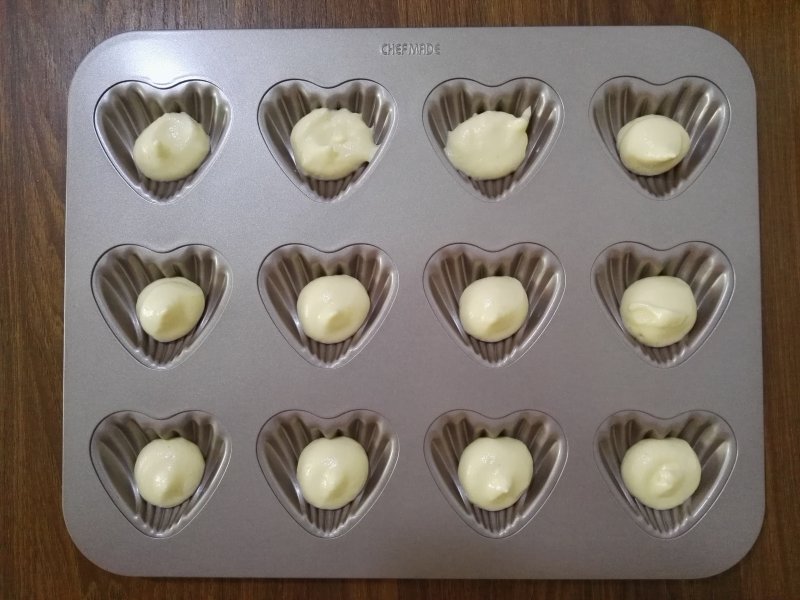
13.挤入心形的学厨模具里,先挤一点。
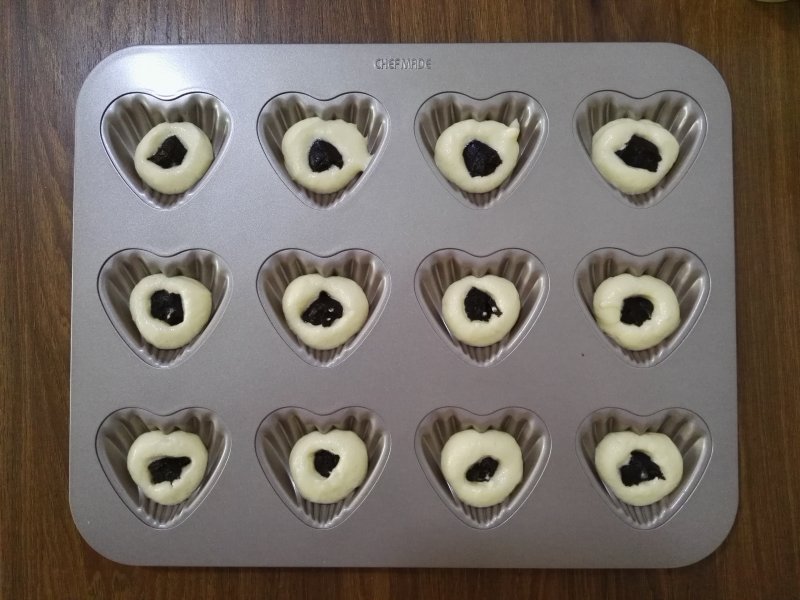
14.再将豆沙馅挤在蛋糊上。
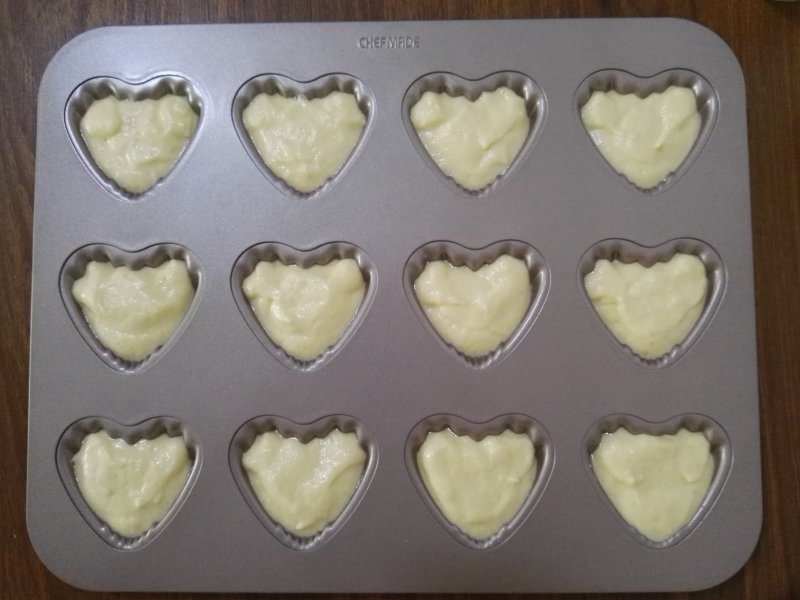
15.最后再挤入蛋糊,将豆沙馅覆盖,模具在桌面上震几下,消除气泡,放入烤箱,烤12分钟,表面上色均匀,呈金黄色即可。因为是戚风做法,出炉倒扣,晾凉即可。
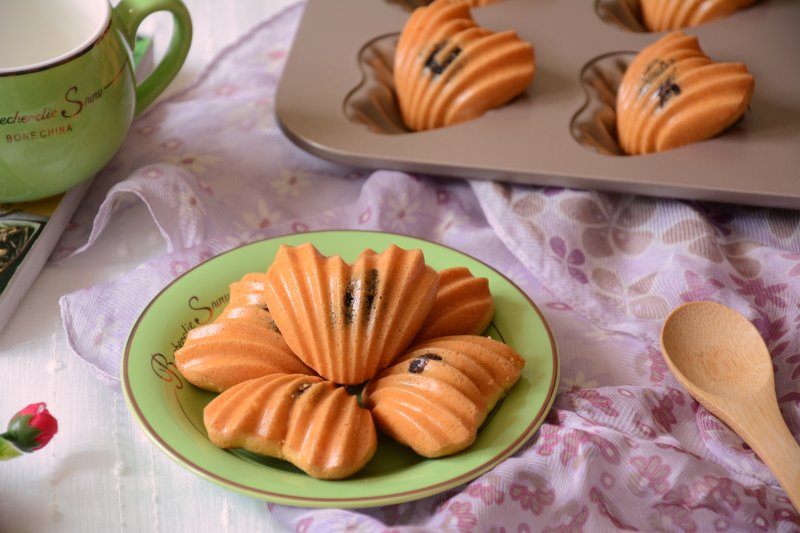
16.迷人的、甜蜜蜜的爱心豆沙小蛋糕做好啦。
小窍门&温馨提示
1、烤箱温度的设置要根据自家的特性来设置哦。
2、搅拌面糊的时候,要用翻拌的手法,不要划圈,否则会使面糊消泡。
3、戚风蛋糕出炉后要倒扣。
4、这款模具,我没有摸油。
TAGS:
烘焙 早餐 下午茶 其他菜系 鸡蛋
免责声明:本站部分文章转载自网络,图文仅供行业学习交流使用,不做任何商业用途。文章仅代表原作者个人观点,其原创性及文章内容中图文的真实性、完整性等未经本站核实,仅供读者参考。
上一篇: 柿子馒头的做法,柿子馒头怎么做,柿子馒头怎么做好吃,柿子馒头的制作方法过程,柿子馒头的做法视频,柿子馒头为什么不蓬松
下一篇: 红烧肉的做法,红烧肉怎么做,红烧肉的做法,红烧肉的做法 家常,红烧肉怎么做才能软烂而不油腻,红烧肉的做法 最正宗的做法视频
Deprecated: mysql_connect(): The mysql extension is deprecated and will be removed in the future: use mysqli or PDO instead in
/data/haozs.cc/xianguan.php on line
5
Deprecated: mysql_query(): The mysql extension is deprecated and will be removed in the future: use mysqli or PDO instead in
/data/haozs.cc/xianguan.php on line
7


