主料:
蛋挞皮,
11只,
鸡蛋,
2只,
牛奶,
100g,
白糖,
20g
辅料:
椰果罐头,200g椰香蛋挞的做法步骤
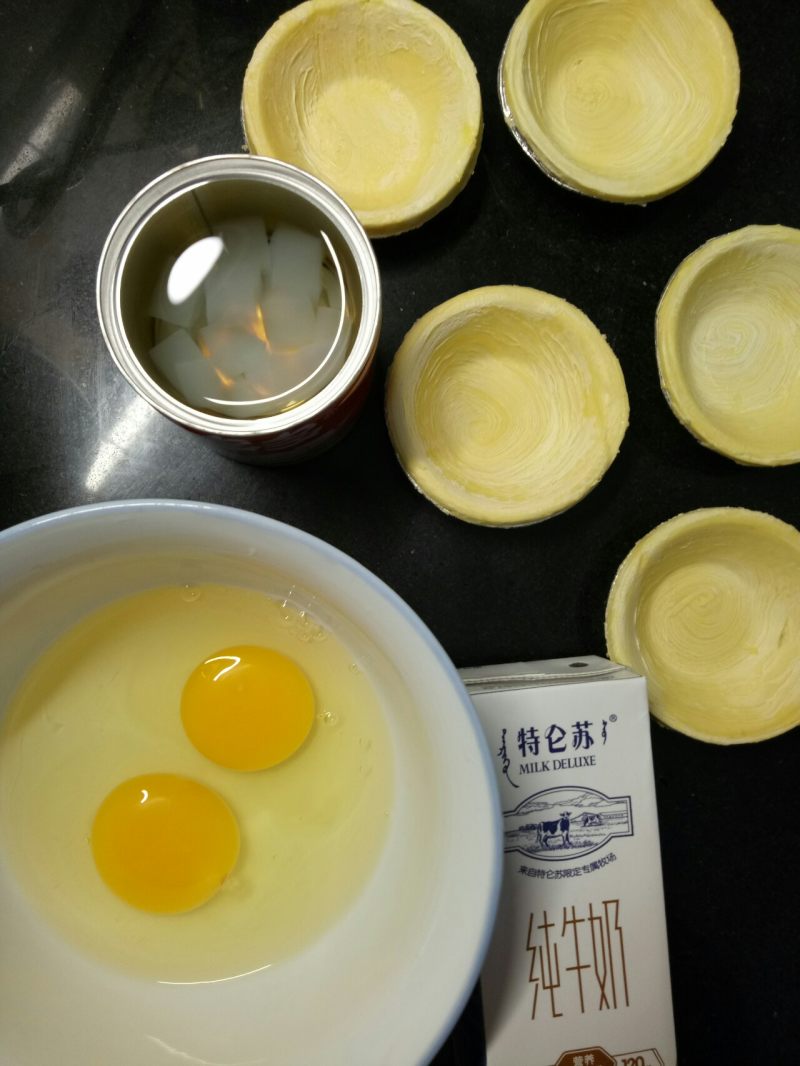
1.食材图,冷冻的蛋挞皮提前拿出来室温软化。
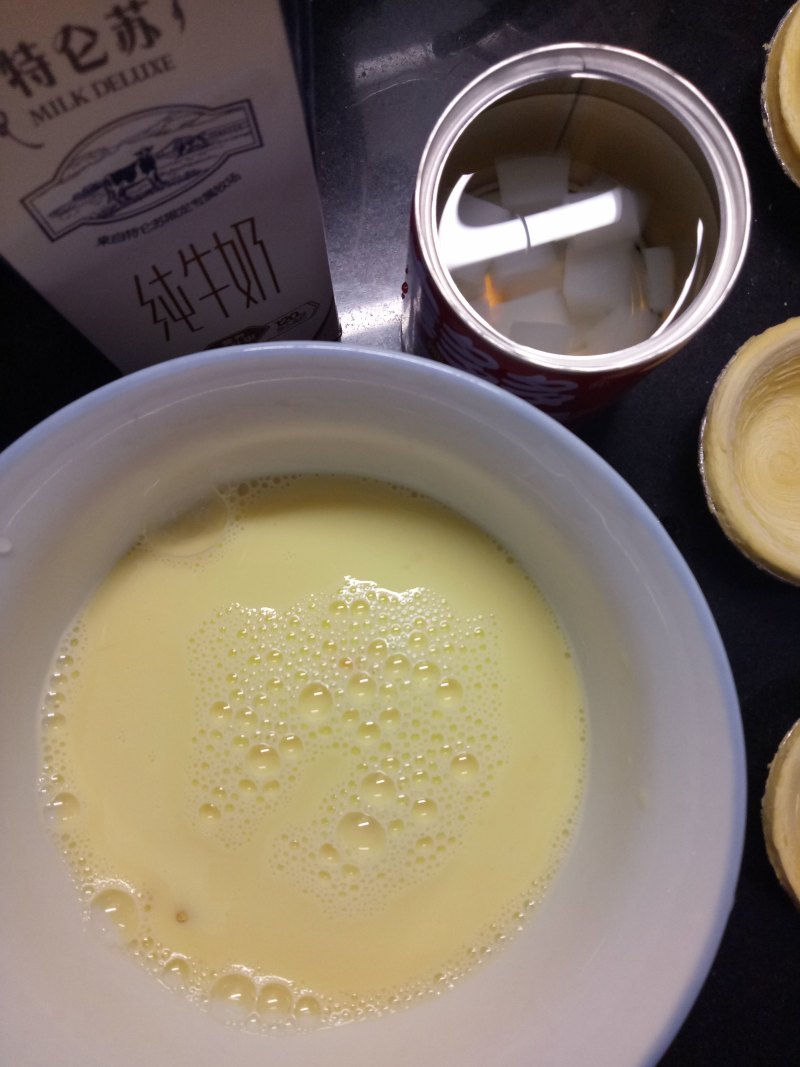
2.鸡蛋打散加牛奶,椰果罐头汁(50克),白糖搅匀。
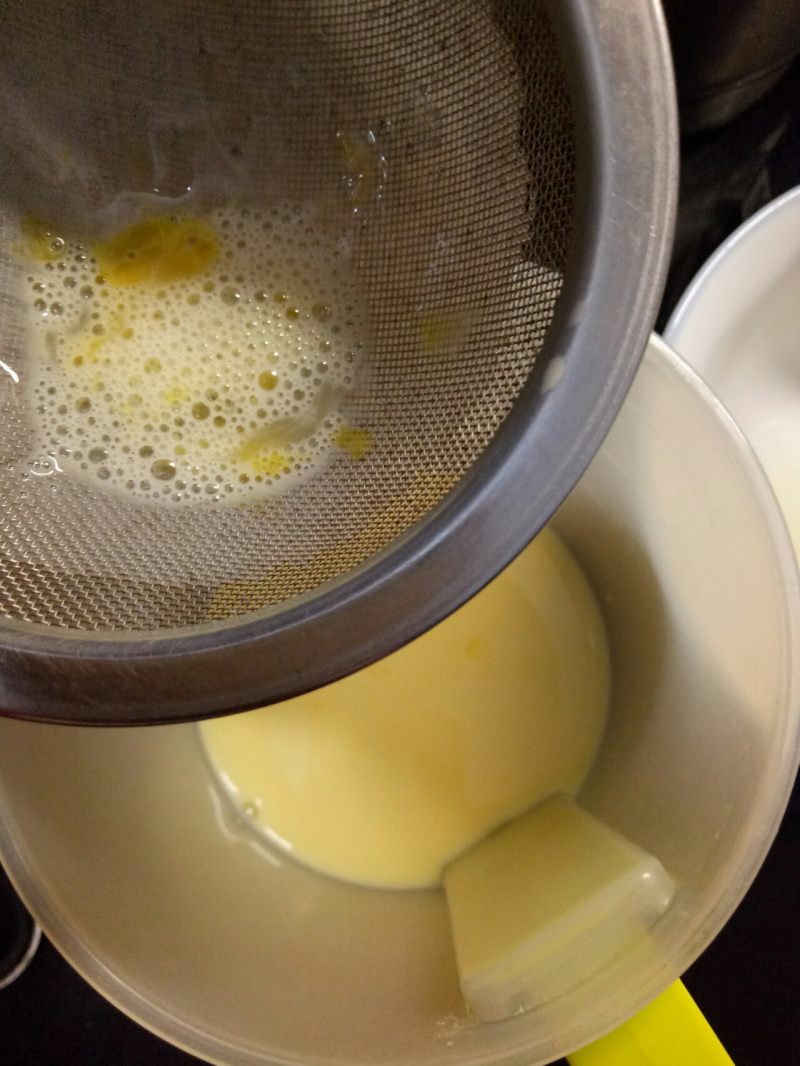
3.用滤网过滤一遍。
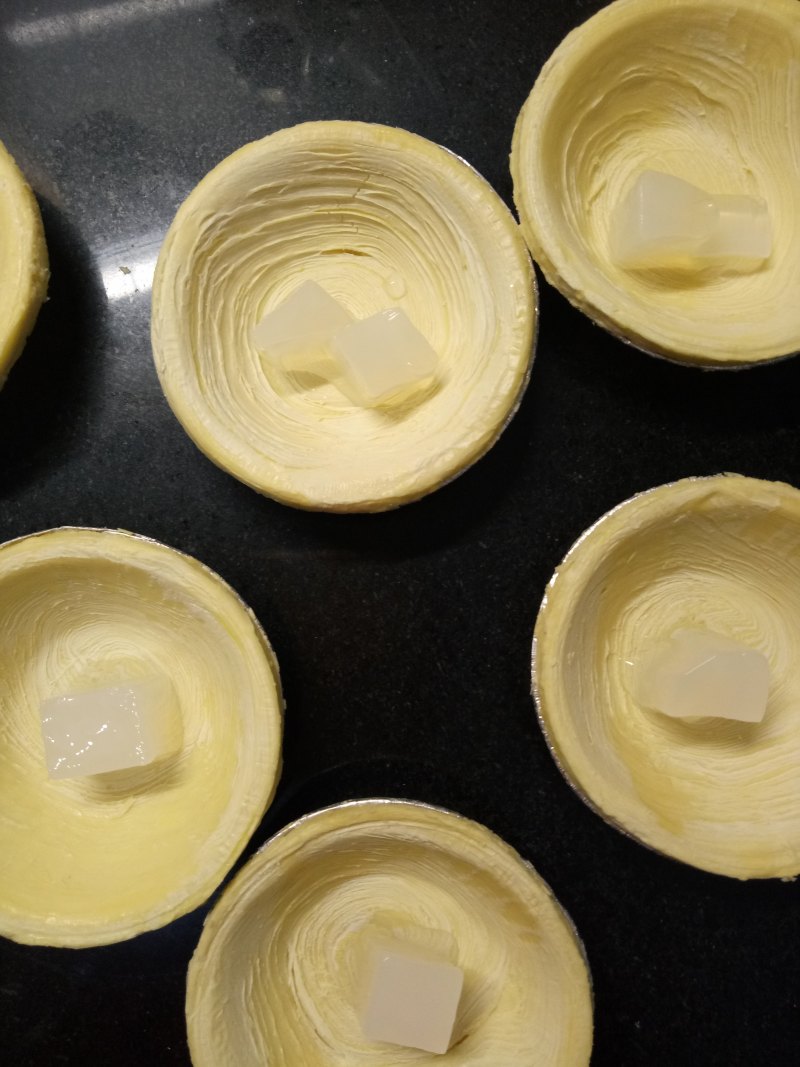
4.挞皮里先放入椰果。
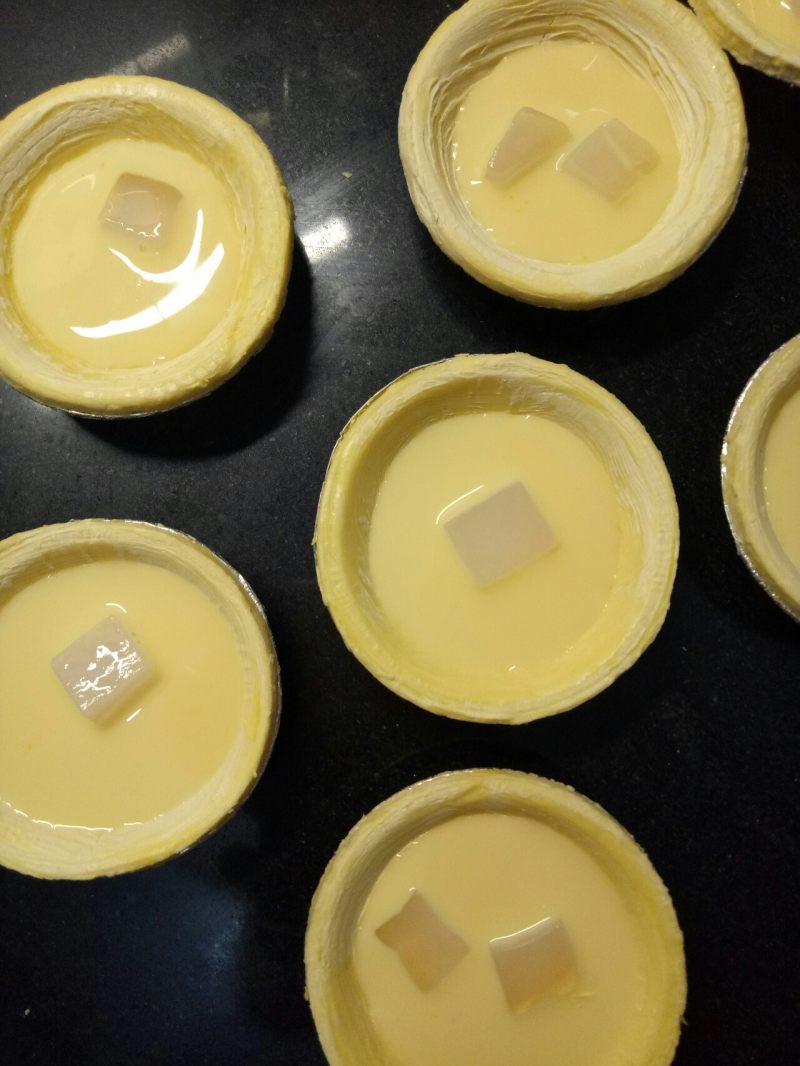
5.倒入蛋液八分满。
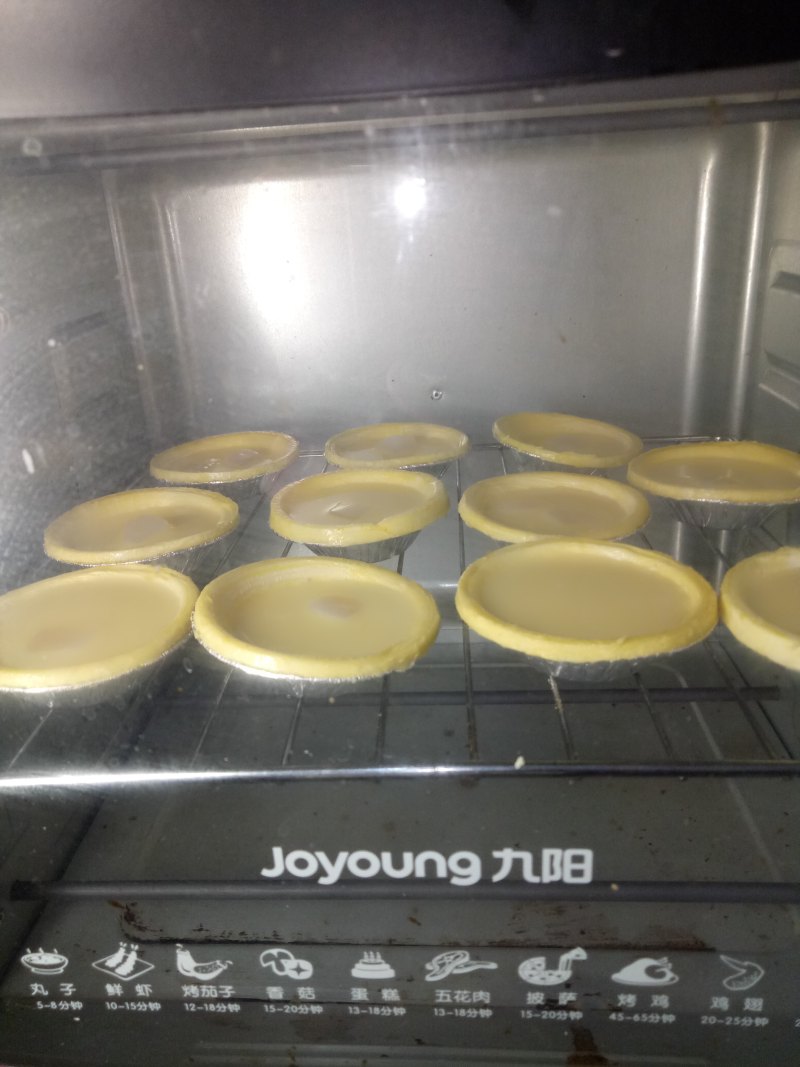
6.烤箱中层,180度至200度,25分钟左右,依自己家的烤箱脾气酌情加减。
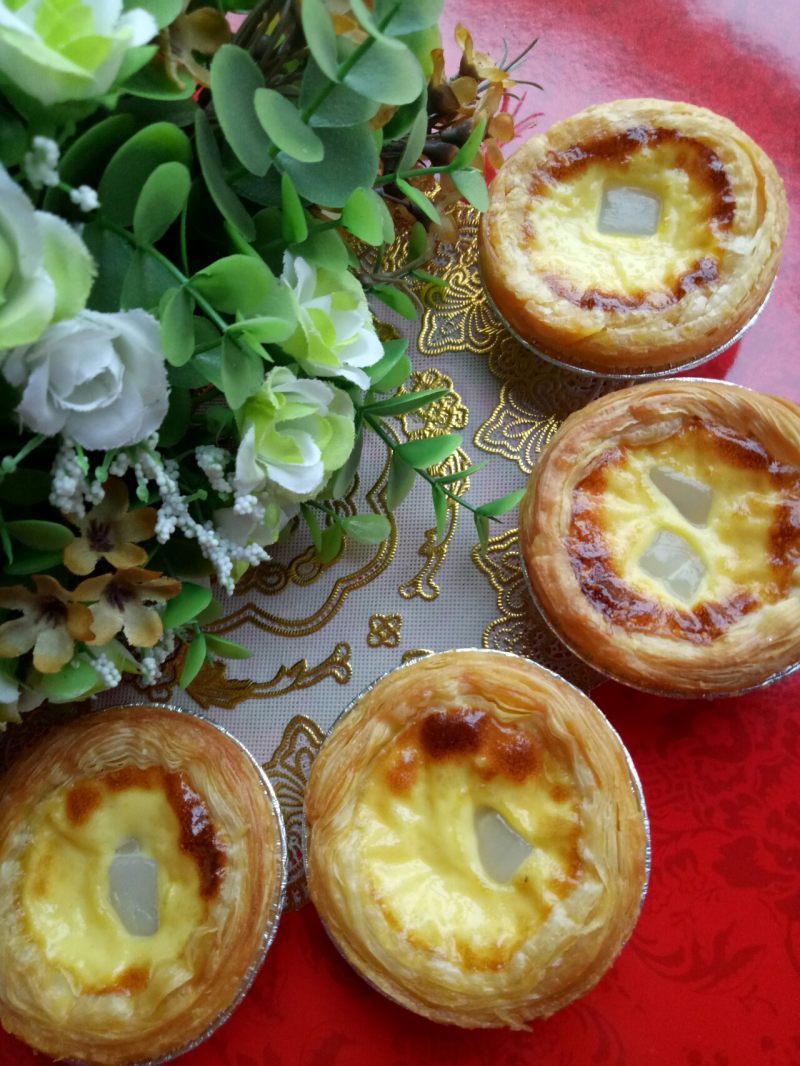
7.成品图。
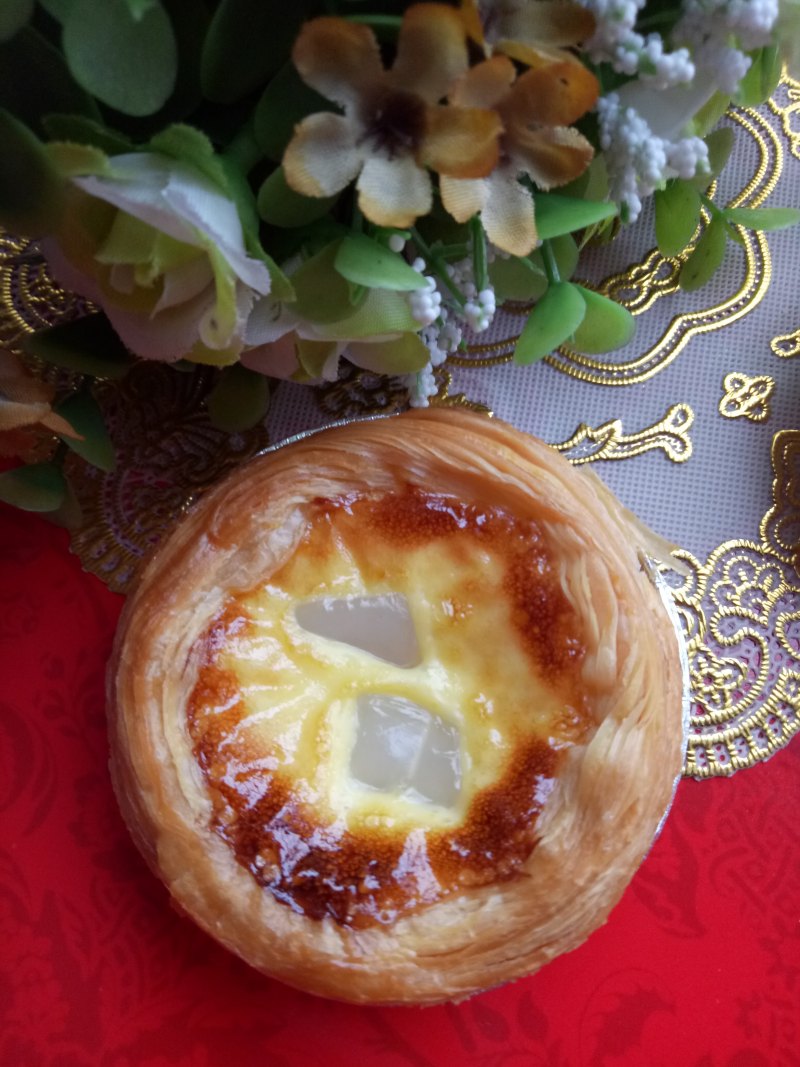
8.成品图。
小窍门&温馨提示
家里有椰蓉的在过滤后的蛋液里加些椰蓉,味道会更好。
TAGS:
烘焙 其他菜系 蛋挞皮
免责声明:本站部分文章转载自网络,图文仅供行业学习交流使用,不做任何商业用途。文章仅代表原作者个人观点,其原创性及文章内容中图文的真实性、完整性等未经本站核实,仅供读者参考。
上一篇: 老虎菜的做法,老虎菜怎么做,老虎菜怎么拌好吃,老虎菜是什么菜,老虎菜原创,老虎菜原创 再次成功突破小可爱的底线
下一篇: 芝士红薯酥的做法,芝士红薯酥怎么做,芝士红薯酥制作方法,芝士红薯酥热量,芝士红薯酥冷了还能吃吗,芝士红薯酥用熟芝麻还是生芝麻
Deprecated: mysql_connect(): The mysql extension is deprecated and will be removed in the future: use mysqli or PDO instead in
/data/haozs.cc/xianguan.php on line
5
Deprecated: mysql_query(): The mysql extension is deprecated and will be removed in the future: use mysqli or PDO instead in
/data/haozs.cc/xianguan.php on line
7


