主料:
油麦菜,
1棵鱼罐头,1盒
辅料:
蒜头,
1个
配料:
盐适量,
糖适量,
胡椒粉适量豆鼓油麦菜的做法步骤
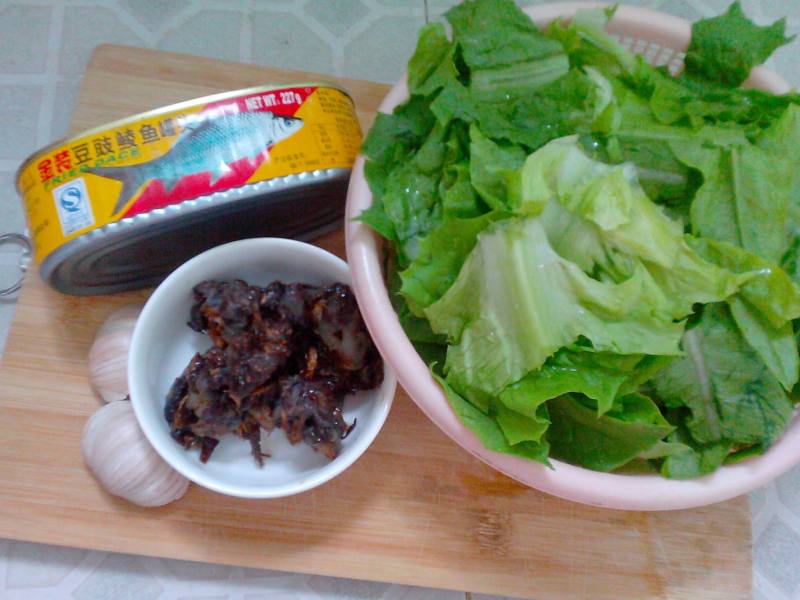
1.准备好油麦菜,清洗干净折成5厘米左右的长段,豆鼓鲮鱼罐头一盒,超市就有的卖。
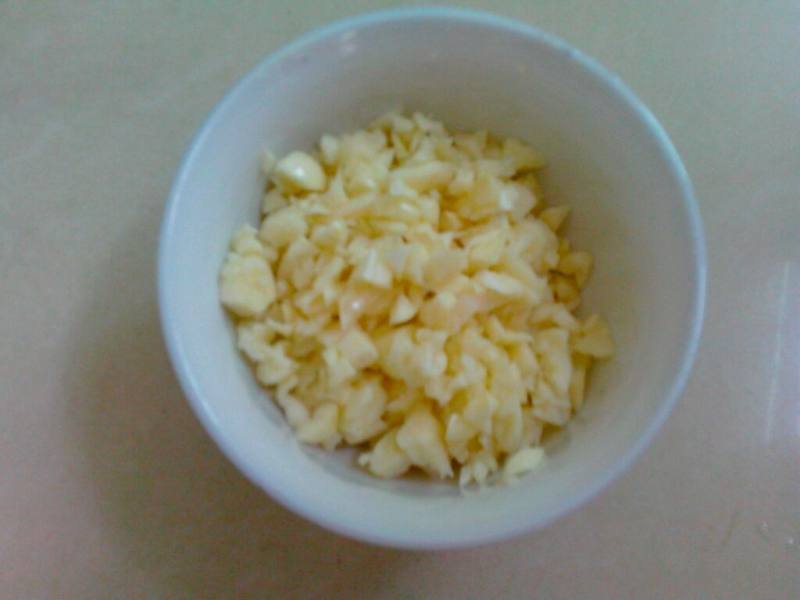
2.蒜头切末备用
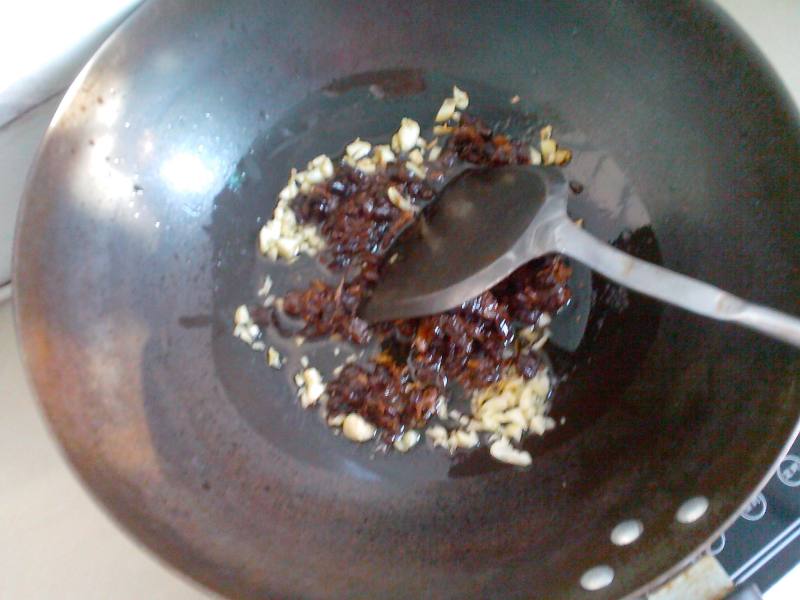
3.起油锅,油温6成热时爆香蒜末,接着放入豆鼓炒香后盛气待用
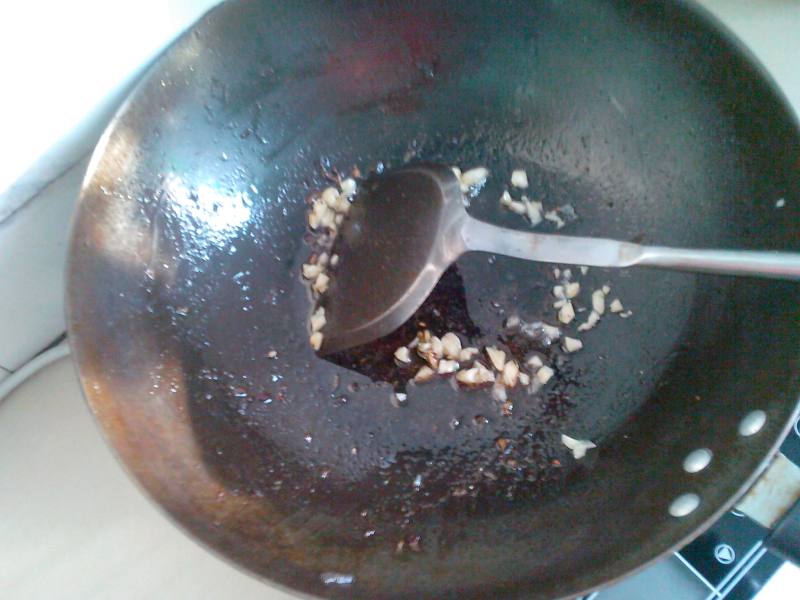
4.锅中留底油,放入剩余的蒜末炒香
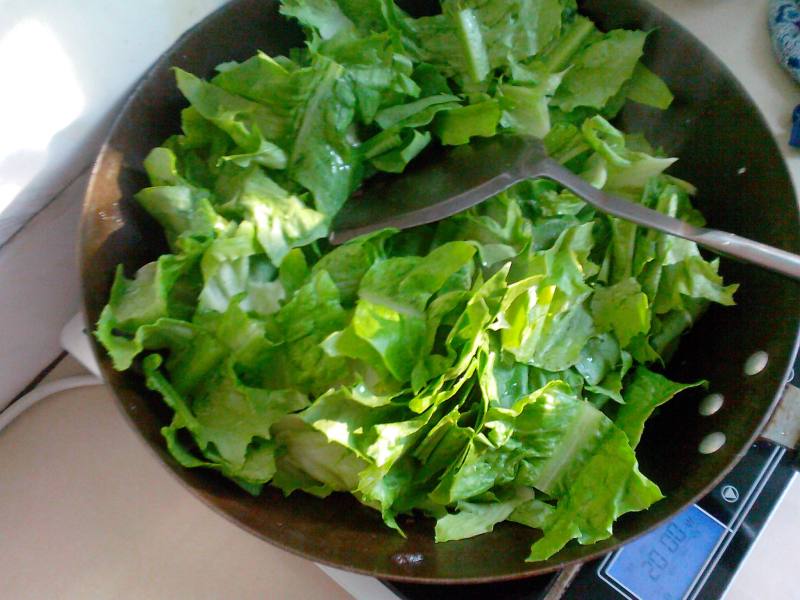
5.紧接着放入油麦菜进行翻炒
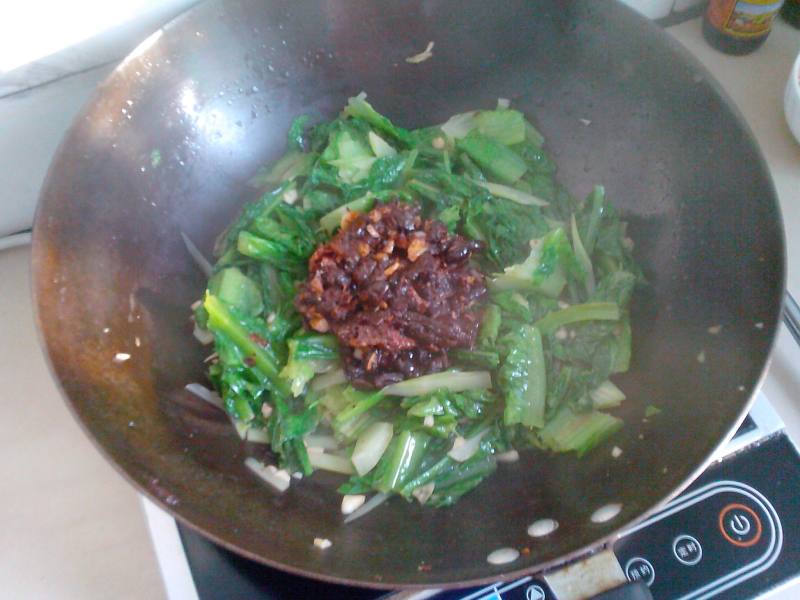
6.微炒一下马上放入事先爆香的豆鼓
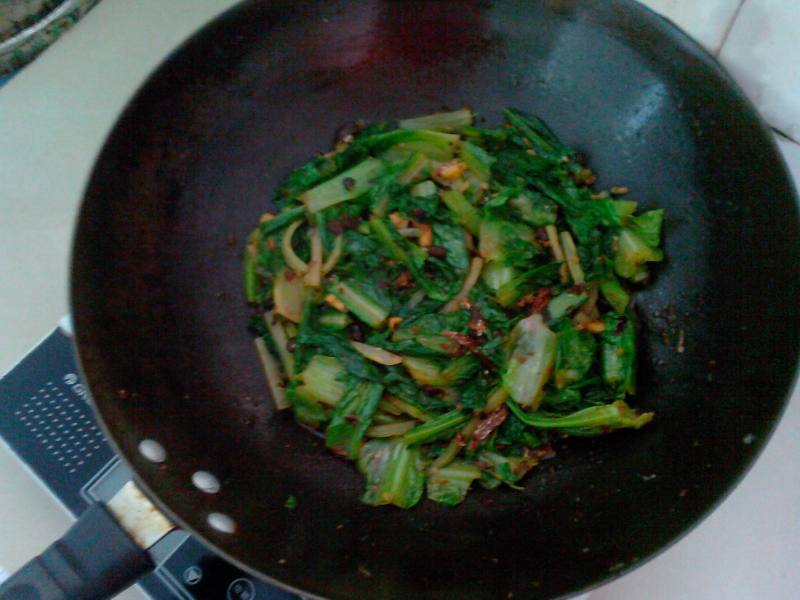
7.添加少许盐、糖和胡椒粉调味即可
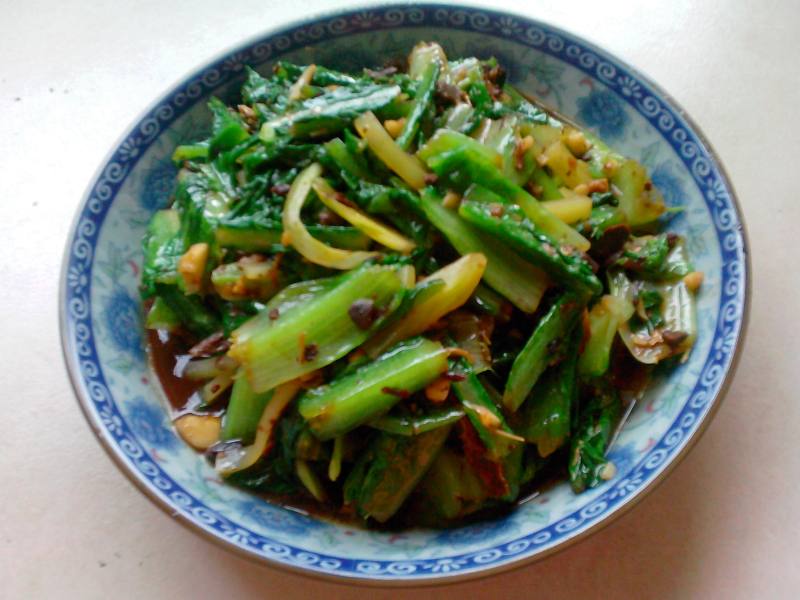
8.炒好的豆鼓油麦菜出锅装盘即可开吃咯,跟平时蒜泥炒的不太一样,但一样的好吃呢!
小窍门&温馨提示
1.豆鼓鲮鱼本身就有咸味,再放盐的时要注意,咸了就不好吃了。
2.油麦菜炒到七分熟就可以出锅了,以免营养成分流失,这样才有脆感。
TAGS:
热菜 油麦菜
免责声明:本站部分文章转载自网络,图文仅供行业学习交流使用,不做任何商业用途。文章仅代表原作者个人观点,其原创性及文章内容中图文的真实性、完整性等未经本站核实,仅供读者参考。
上一篇: 豆鼓鲮鱼油麦菜的做法,豆鼓鲮鱼油麦菜怎么做,豆鼓鲮鱼油麦菜怎么烧,豆鼓鲮鱼油麦菜怎么读,豆鼓鲮鱼油麦菜凉拌,豆鼓鲮鱼油麦菜是不是广东名菜
下一篇: 蒜子油麦菜的做法,蒜子油麦菜怎么做,蒜子油麦菜热量,油麦菜 蒜,蒜蓉油麦菜,蒜末油麦菜的家常做法
Deprecated: mysql_connect(): The mysql extension is deprecated and will be removed in the future: use mysqli or PDO instead in
/data/haozs.cc/xianguan.php on line
5
Deprecated: mysql_query(): The mysql extension is deprecated and will be removed in the future: use mysqli or PDO instead in
/data/haozs.cc/xianguan.php on line
7


