主料:
韭菜,
一把,
粉丝适量,
鸡蛋,
一个,
饺子皮适量
辅料:
盐适量,
生抽适量,
十三香适量,
虾皮适量韭菜鸡蛋锅贴的做法步骤
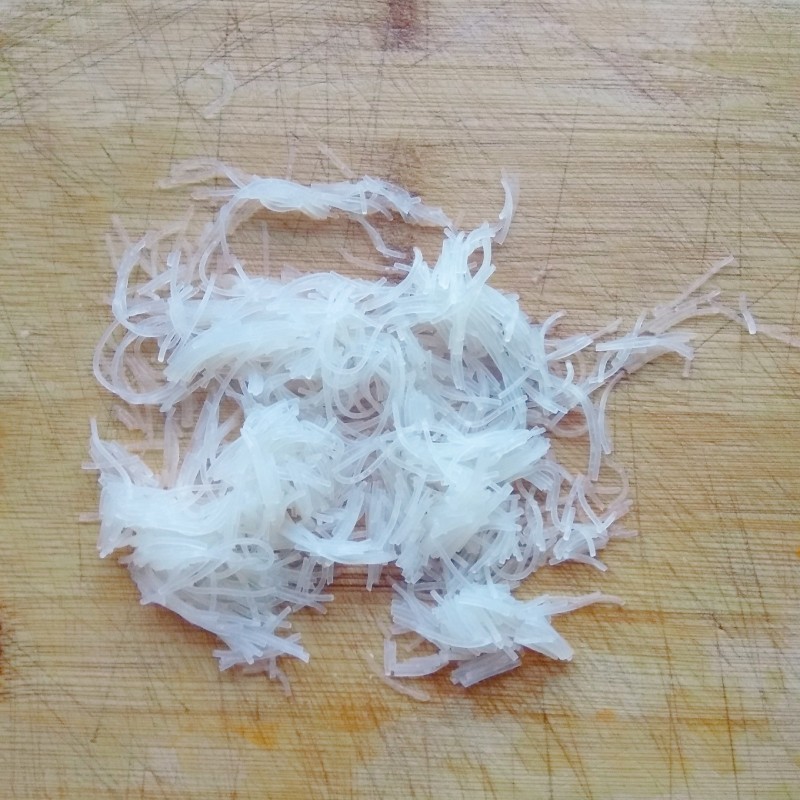
1.粉丝提前泡软,切碎
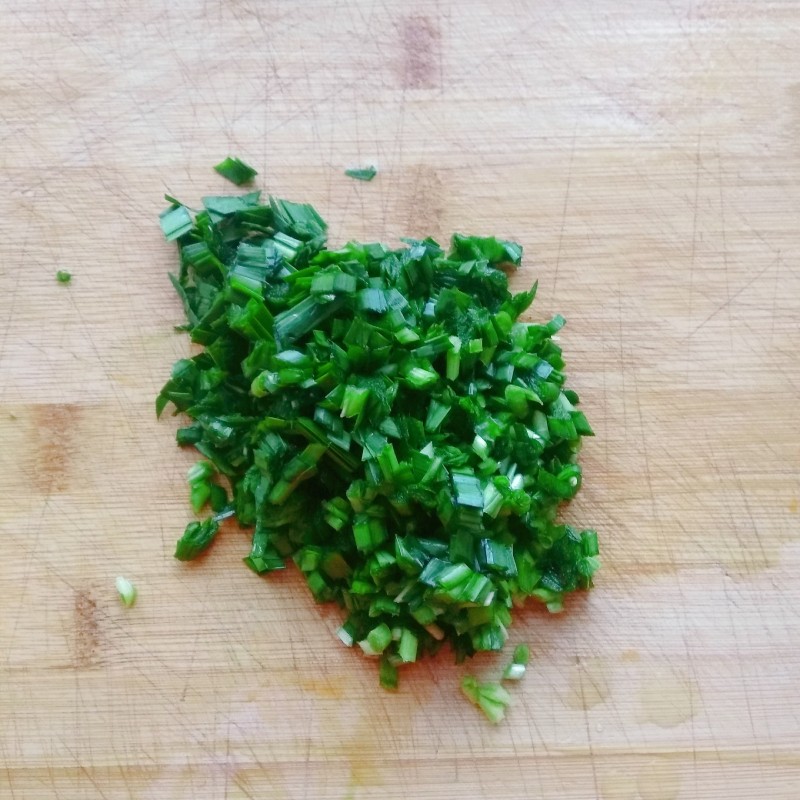
2.韭菜洗净切碎
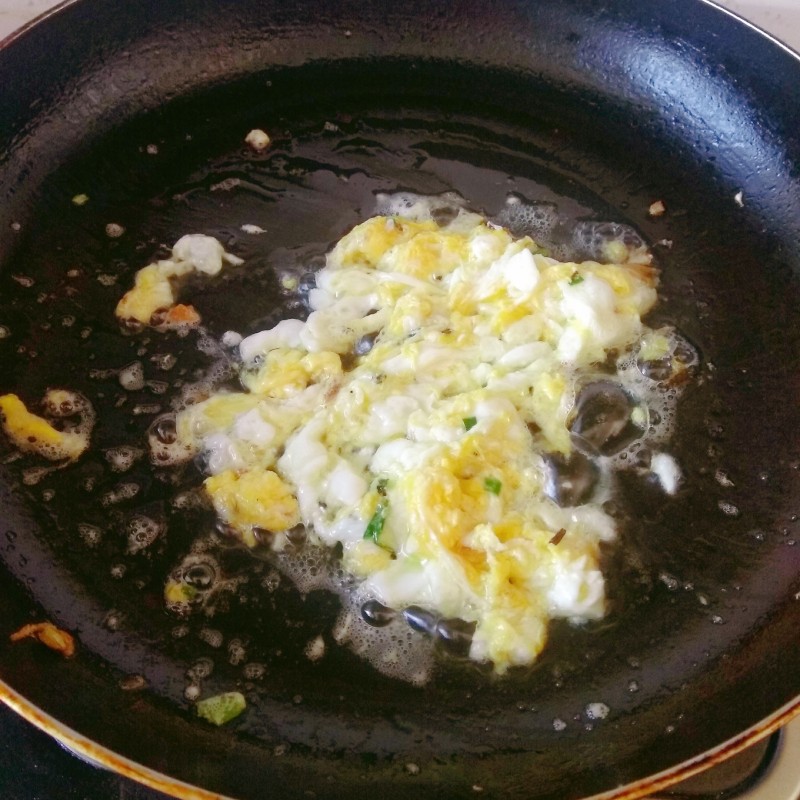
3.鸡蛋锅内放适量油,放入鸡蛋炒熟,然后盛出切碎
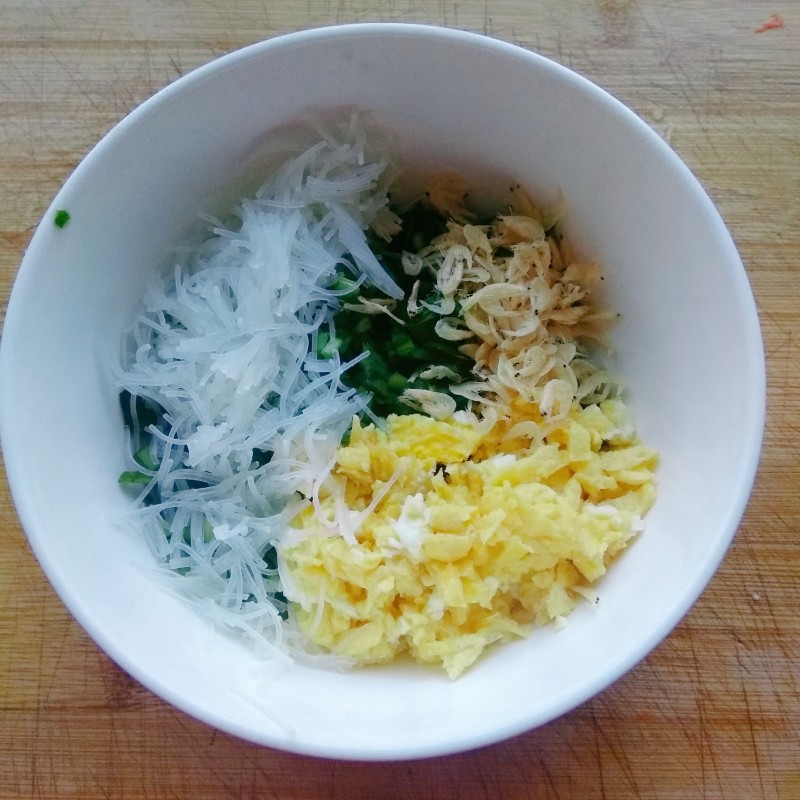
4.把韭菜鸡蛋,虾皮,粉丝放碗内
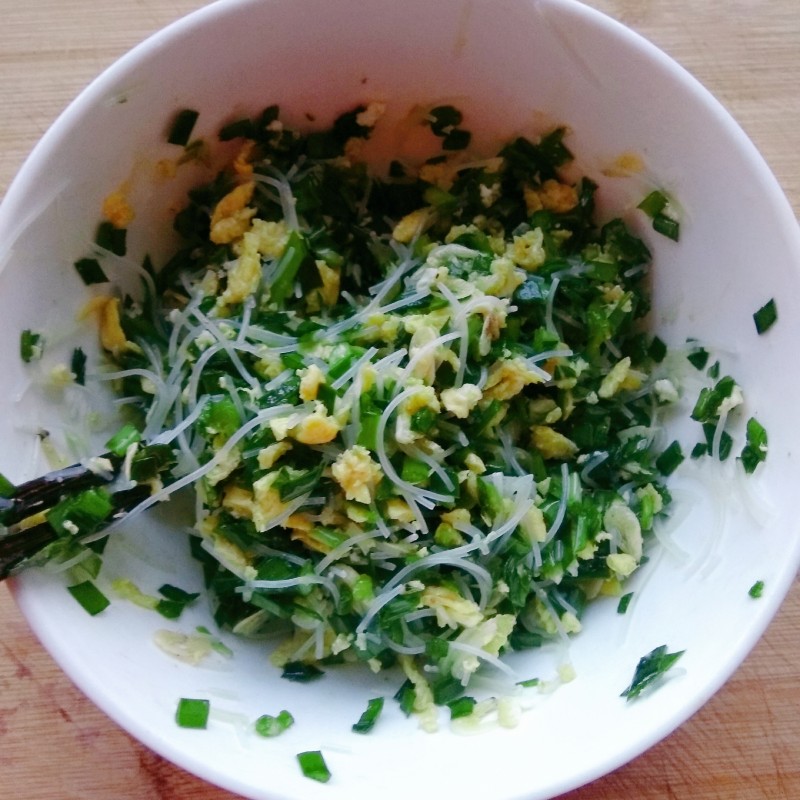
5.放入芝麻油搅拌,在放盐,生抽,十三香调味,搅拌均匀
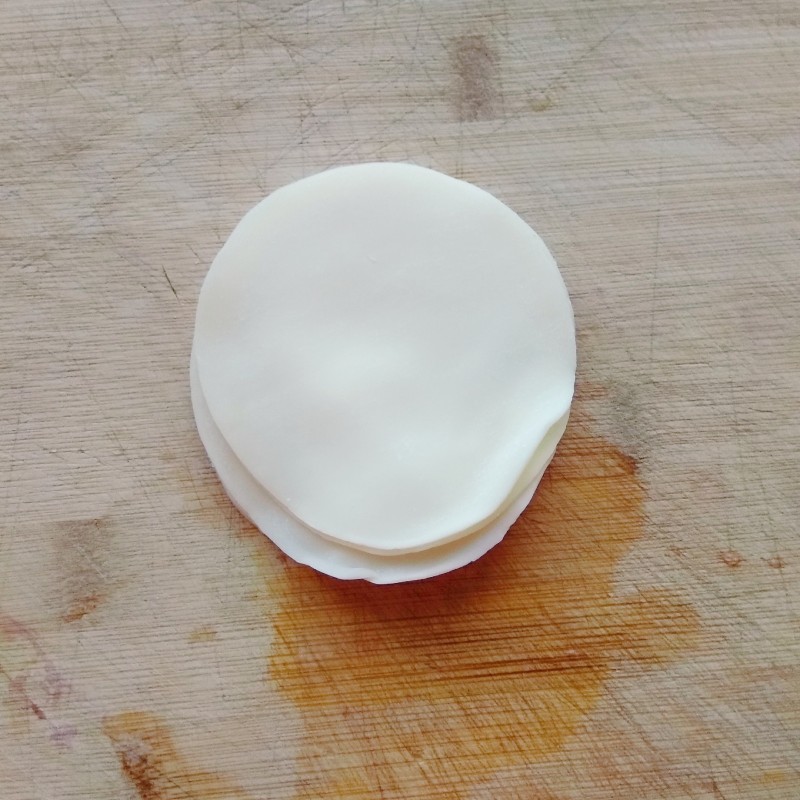
6.准备适量饺子皮
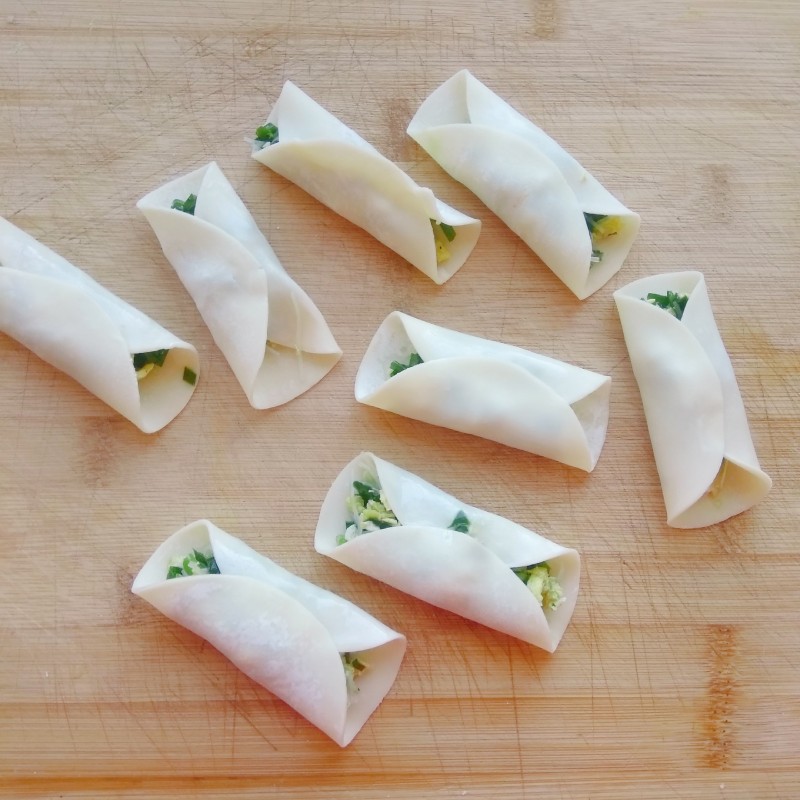
7.饺子皮包上适量韭菜馅,依次包好
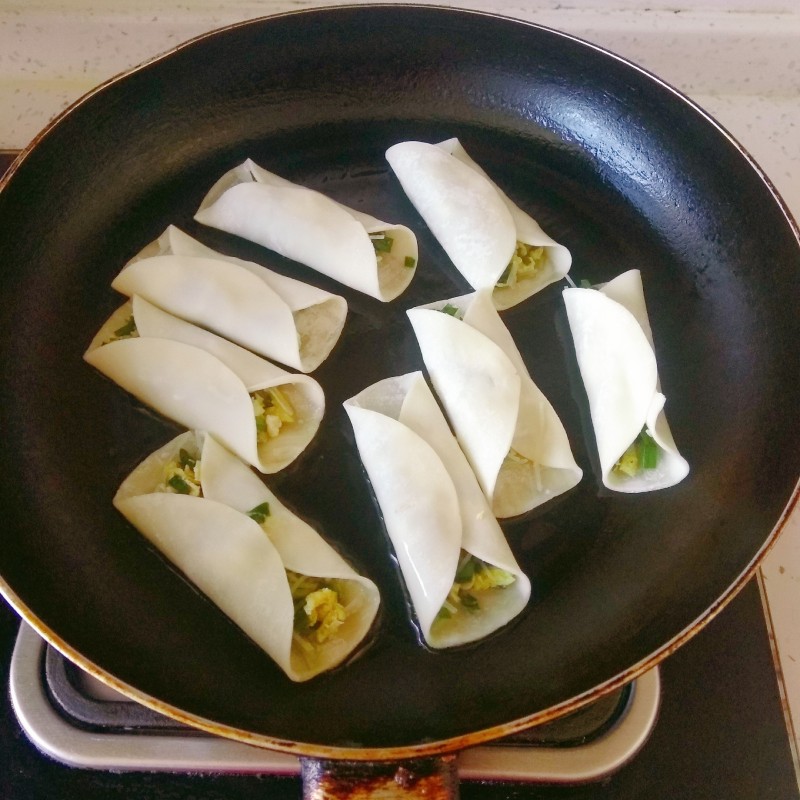
8.平底锅放适量油,放入锅贴,
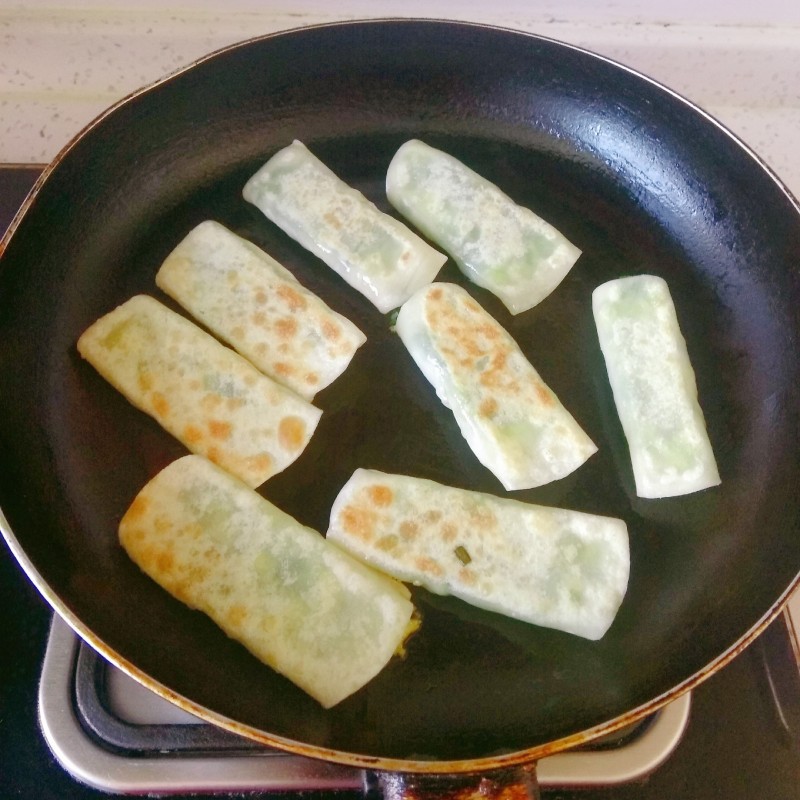
9.两面煎黄即可
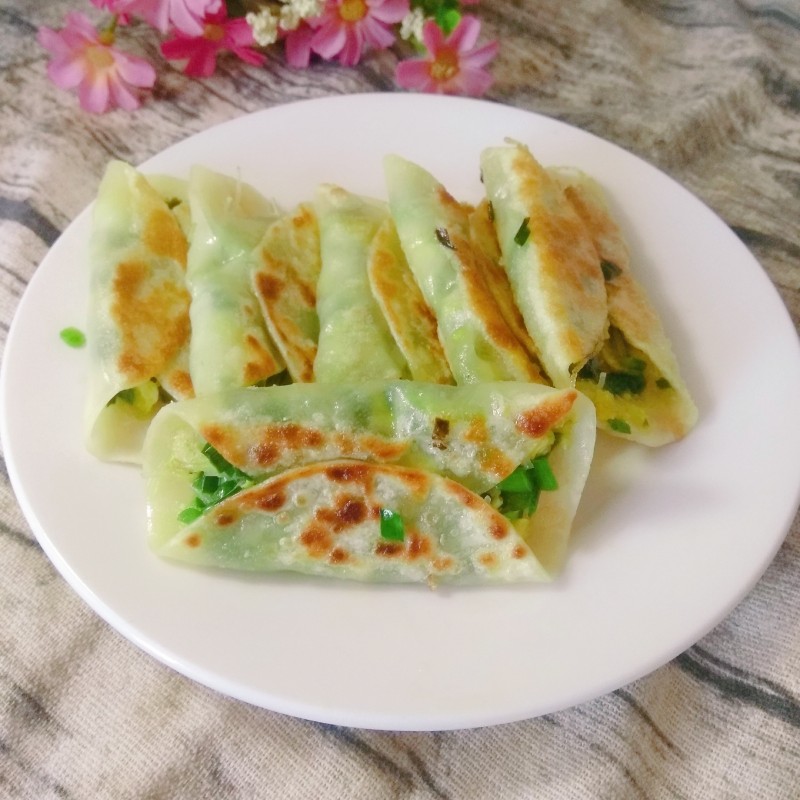
10.成品
小窍门&温馨提示
根据口味添加调味料
TAGS:
主食 家常菜 午餐 晚餐 韭菜
免责声明:本站部分文章转载自网络,图文仅供行业学习交流使用,不做任何商业用途。文章仅代表原作者个人观点,其原创性及文章内容中图文的真实性、完整性等未经本站核实,仅供读者参考。
上一篇: 芝麻煎饺
下一篇: 金针菇拌黄瓜
Deprecated: mysql_connect(): The mysql extension is deprecated and will be removed in the future: use mysqli or PDO instead in
/data/haozs.cc/xianguan.php on line
5
Deprecated: mysql_query(): The mysql extension is deprecated and will be removed in the future: use mysqli or PDO instead in
/data/haozs.cc/xianguan.php on line
7


